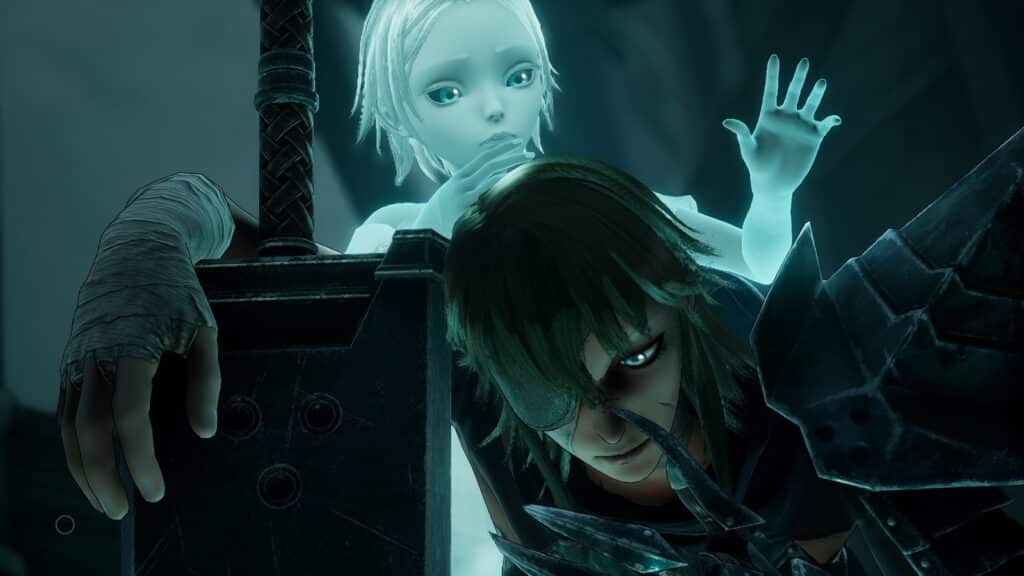
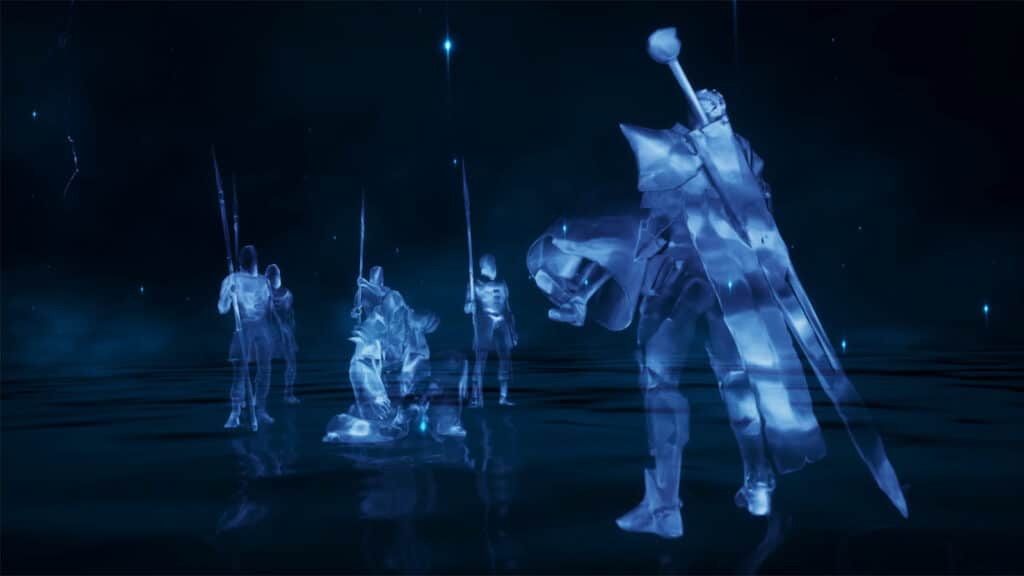
The Fall is the sixth chapter in Soulstice where Briar is starting to learn how to control her Rapture powers in combat. The sisters will then find their way closer to the city capital, but their journey will have to take a detour due to an attack by some yet unknown entities.
See previous Soulstice First Echo Memory Guide.
In this guide, we will talk about Chapter 6: The Fall in Soulstice, showing any tips, tricks, or collectibles that can be found within the chapter.
Soulstice Chapter 6: The Fall Walkthrough
Chapter 6 will start off with Briar regaining consciousness after her fight with Arrowhead. The sisters then have a talk about the dangers of using the Rapture, but Briar still uses it anyway, making sure that she controls herself from overdoing it. There are 5 encounters in this chapter, 1 Challenge of the Void, and 1 Upgrade.
You’ll then learn how to use the Rapture State which can be triggered once the sisters’ Unity is at its max. This state powers up Briar, while Lute takes on a more offensive stance. While in Rapture State, Lute does not need to put up any of the fields as Briars attacks will connect with any Wraith or Possessed enemies.

Briar will also be able to do Rapture Finishers while in Rapture State, and the type of finisher that can be done will depend on Lute’s alignment with her skills, which you can access right after the fight.
The first fight that happens will not count as an encounter, but rather just a tutorial fight for the Rapture State. Make your way to the large gate to proceed to the next section.
Argent Road, Ildenmere Bridge
As you exit the gate, you’ll see a Cobalt Motherlode on your left. There will also be some Crimson Tear Crystals that you can break up ahead. Moving across the bridge, you will arrive at your first encounter where you will see yet another new type of enemy called Blighted.

The Blighted can spit out noxious liquid at you and can also charge at your direction and explode momentarily as its final attack. Try to anticipate their movement so that you can evade their deadly charges.
Clear out the enemies and head to the side of the bridge where the stairs are. There is an Emerald Tear Shard that can be picked up here, as well as some Crimson Tear Crystals. Enter the door at the end of the path to proceed to the next section.
Guard Post, Ildenmere Bridge
Inside the guard post, you’ll see a room on your left. Clear out the debris and enter it to get your second encounter against Slashers. There are also some Crimson tear Crystals and a Motherlode to get form this room.

Head back out to the main room and climb the platforms and outcroppings to destroy three crystal sprouts, which will break the overgrowth blocking the ceiling exit. Climb the stairs to reach the next section.

City Walls, Ildenmere Bridge
Walk back from the hole you came out from to see a Crimson Motherlode at the back. Further ahead, you will meet Layton once again. Take the time to get the upgrades that you need.
Jump down from the ledge to reach the base of the gate. Before moving forward, approach the side of the bridge near the camera to reveal a path that leads to the Challenge of the Void: Tidy VI

Head back up the bridge and continue moving through the debris. Past the burning debris is a Cobalt Motherlode. Continue forward and you will arrive at a huge crystal formation. Use the Evocation Field to reveal the echo nearby and a cutscene will play. Interact with the shadow of a man on the horse to continue through the echo memory.

After the memory, another cutscene will play showing a beam of energy passing through the walls and destroying everything in its path. It is only briefly shown who shot the beam, but it came from somewhere in the city. The sisters will barely make it out of the path of the beam and they will find themselves in the slums.

Anthill Slums, Low Town
As you arrive at the town, you will find another Cobalt Motherlode. There will also be a Crystal Overgrowth that you need to destroy in order to continue. You will then arrive at your third encounter, facing another type of enemy called a Mongrel.

Mongrels are fast and rabid creatures that can jump at their target with high speeds. They also work in packs, so make sure to be aware with where with your positioning and don’t let the Mongrels surround you.
After the fight, you can then head on to the other platform where there is a Cobalt Vein nearby and an Emerald Tear Crystal.
As you move forward, you will find yourself in the fourth encounter, but this time, it is an assault and your objective is to make it to a safe space as soon as possible by weaving through the hordes of enemies in your path. At a junction during the assault, head to the left where you can find an Emerald Tear Crystal.
During the assault, you will need to destroy three Crystal Overgrowths along the way, and after the third one, turn right at a junction to get a Feeble Ethereal Filament. Destroy a final overgrowth and you will be able to shake off the enemies after crossing over a canal.

Heapton Square, Low Town
You will then arrive at the square. Head towards the burning building to the left first where you can find a Cobalt Vein. Go to the center of the square to get your fifth encounter. This final fight introduces another enemy type called Alpha, and it’s similar to a Mongrel, but it’s stronger and tougher. The chapter ends after defeating the enemies.
Soulstice Chapter 6 Achievements
- We’ll be careful: Master the Rapture state
See next: Soulstice Chapter 7: Lights and Shadows Guide.
If you like this guide, be sure to check out our other Soulstice articles:
- Soulstice Chapter 1: All the Lost Souls Guide
- Soulstice Chapter 2: Echoes from the Past Guide
- Soulstice Chapter 3: Point of No Return Guide
- Soulstice Chapter 4: The Shadeless Guide
- Soulstice Chapter 5: Death from Above Arrowhead Boss Fight Guide
- Soulstice First Echo Memory Guide
- Soulstice Chapter 6: The Fall Guide
- Soulstice Chapter 7: Lights and Shadows Guide
- Soulstice Chapter 8: Unstoppable Boss Fight Guide
- Soulstice Second Echo Memory Guide
- Soulstice PS5 Trophy Guide – How To Get Platinum
Check out this video by Gaming Tornedo showing the gameplay for Chapter 6:


