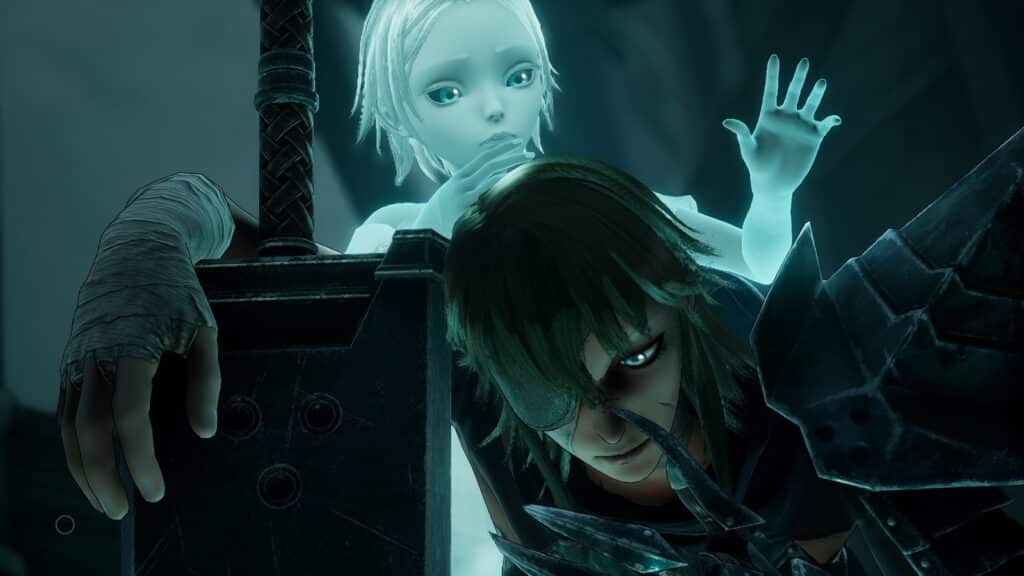
Point of No Return is the third chapter in Soulstice where Briar and Lute pass through an old prison that have been plagued by wraiths who feasted on everyone in it. The sisters will have to make their way through the hallways and cells while fending off against hordes of enemies.
See previous Soulstice Chapter 2: Echoes from the Past Guide.
In this guide, we will be going through Chapter 3: Point of No Return, showing any tips, tricks, or collectibles that can be found within the chapter.
Soulstice Chapter 3: Point of No Return Walkthrough
Chapter 3 starts off with the protagonists finding themselves inside an old prison. There are 8 encounters and 1 boss fight in this chapter, 1 Challenge of the Void, and 1 Upgrade.

Atrium, Wanelight Gaol
Follow the path onwards and you will see some Crimson Tear Crystals along the way. You will then arrive at a huge hallway where the first encounter will be. Clear the enemies and explore the cells around the hall. There is a Cobalt Vein and a Crimson Tear Crystal on the back cells, while there is a Crimson Tear Motherlode on the front wall, near the screen.
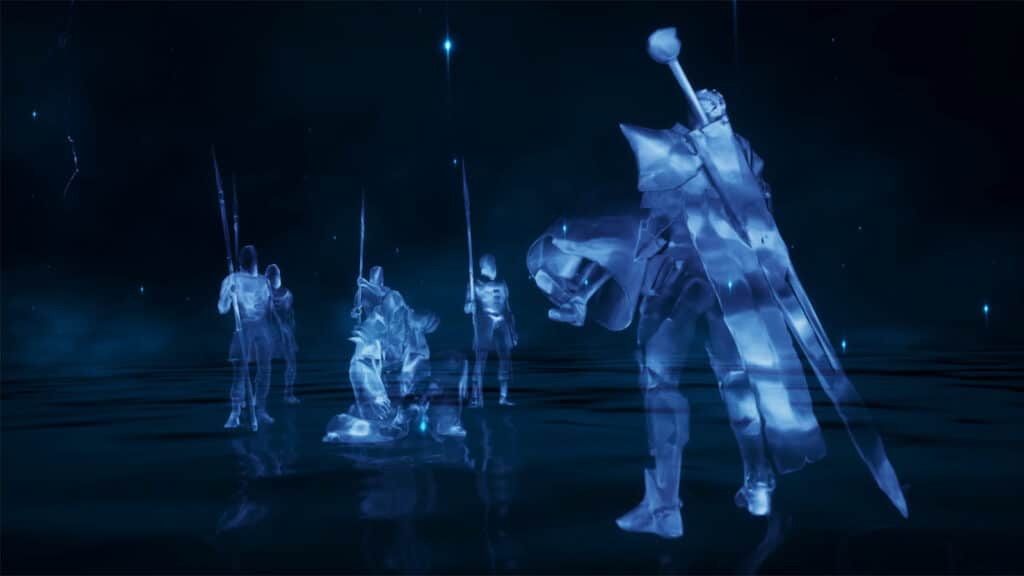
Head to the stairwell and fall down first where there are two Cobalt Veins that can be collected. Head back up and make your way outside to the side passageway and a cutscene will play showing the new enemies, the Revilers that will be the enemies for the second encounter.

These Revilers are Wraiths that can only be dealt damaged on when within the Evocation Field. They also shoot out lasers, but it takes them a while to charge them. Attack them when they are floating around and while charging up.
After clearing the Revilers and the other enemies, head to the door to go to the next section.

Gibbeting Corridor, Wanelight Gaol
On the next corridor, you will see a Crystal Overgrowth that blocks the room that contains Crimson Red Crystals and Motherlode. Head to the cell farthest to the right to get the third encounter. Clear the enemies then head to the stairwell and use the ethereal outcropping to reach the Cobalt Motherlode. Head down the stairs to reach the next section.

Main Hall, Wanelight Gaol
Upon arriving to the main hall, you will be ambushed by the fourth encounter. After clearing it, explore the cells starting from the left cell where an Emerald Tear Crystal can be found. Head to the right middle cell to get the fifth encounter. Head to the left cell at the back to find a Crimson Tear Crystal.


Take the next doorway to get back to the upper level of the main hall and then jump to the platform to the left to find the Challenge of the Void: Timely IV. In this challenge, you start off with a 10-second timer, and each enemy that you will adds up another 8 seconds. Try to deal with the Broken and other weaker enemies first to rack up some time, then go for the Guard. Once successful, you will be rewarded with a Feeble Ethereal Filament.

Back in the main hall, head to the room to the farthest right and past the main doorway to find another room with a Cobalt Vein. Let yourself fall into the hole back to the lower floor to get the sixth encounter.

Head back to the upper main hall and go to the main doorway to meet up with Layton. He will give you a new weapon called the Hand of Retribution which you can use for armored enemies and against the boss later on. Use this time to upgrade your skills for both Briar and Lute.

After meeting with Layton, head to the next area which is a high tower. Climb the scaffolding to the top and you will be ambushed by the seventh encounter, which is mostly Wraiths. After clearing it, an outcropping will appear and you can continue climbing up to the next section.


City Gates, Ildenmere Bridge
You’re back on the Ildenmere Bridge on top of a gate. Make your way to the bottom of the gate while collecting the Cobalt Veins along the way. At the bottom, check the side of the gate to find a Malformed Husk Fragment.
Continue moving forward past the debris and towards the next gate. There will be scaffolding along the way that hides a bunch of Cobalt Veins and a Motherlode. Move further and you’ll reach the eight encounter.

Boss Fight: Champion
You will face your first boss fight against a Champion. This boss is huge and wields a giant hammer. On the first part of the fight, use your Hand of Retribution to smash through its armor. Once it is out of armor, you can continue using your weapons to deal damage until it is defeated. Make sure to use Lute’s counter to get openings, and do not linger in front or beside it when he is disrupted or slowed to avoid getting hit once the counter wears off.
After defeating the boss, a short cutscene will play. Head to the right side near the tower with the hole in the wall and another cutscene will play showing the two climbing up the tower. The chapter ends here.
Next guide: Soulstice Chapter 4: The Shadeless Guide
If you like this guide, be sure to check out our other Soulstice articles:
- Soulstice Chapter 1: All the Lost Souls Guide
- Soulstice Chapter 2: Echoes from the Past Guide
- Soulstice Chapter 3: Point of No Return Guide
- Soulstice Chapter 4: The Shadeless Guide
- Soulstice Chapter 5: Death from Above Arrowhead Boss Fight Guide
- Soulstice First Echo Memory Guide
- Soulstice Chapter 6: The Fall Guide
- Soulstice Chapter 7: Lights and Shadows Guide
- Soulstice Chapter 8: Unstoppable Boss Fight Guide
- Soulstice Second Echo Memory Guide
- Soulstice PS5 Trophy Guide – How To Get Platinum
Check out this video by Jason’s Video Games Source showing the fight against the Champion:


