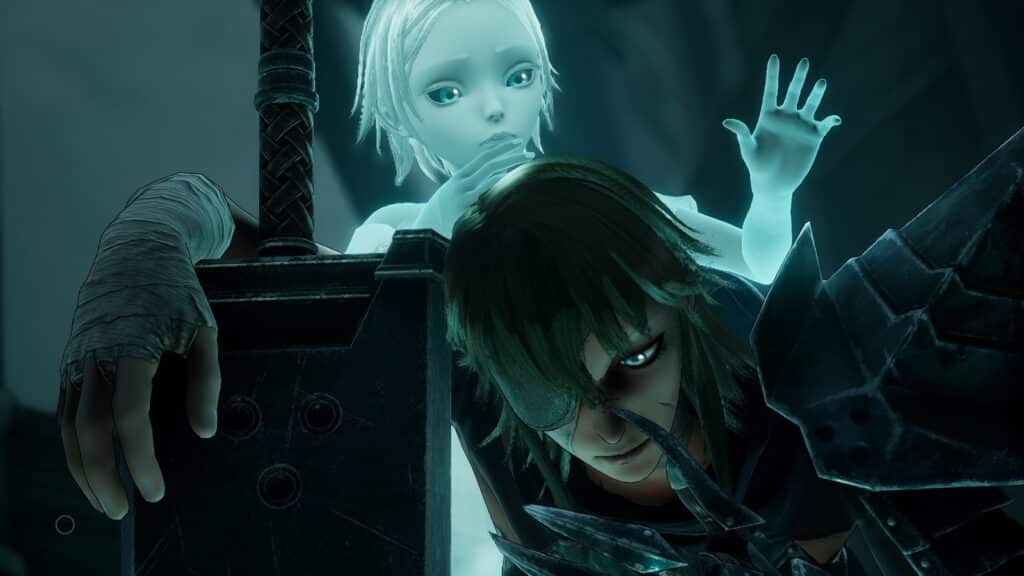
Underworld is the ninth chapter in Soulstice where Briar struggles to keep her corruption from going uncontrollable. During the process, she discovers the skill to use her powers against enemies, but it is still quite risky and it requires Lute to keep her in check.
See previous Soulstice Second Echo Memory Guide
In this guide, we will talk about Chapter 9: Underworld in Soulstice, showing any tips, tricks, or collectibles that can be found within the chapter.
Soulstice Chapter 9: Underworld Walkthrough
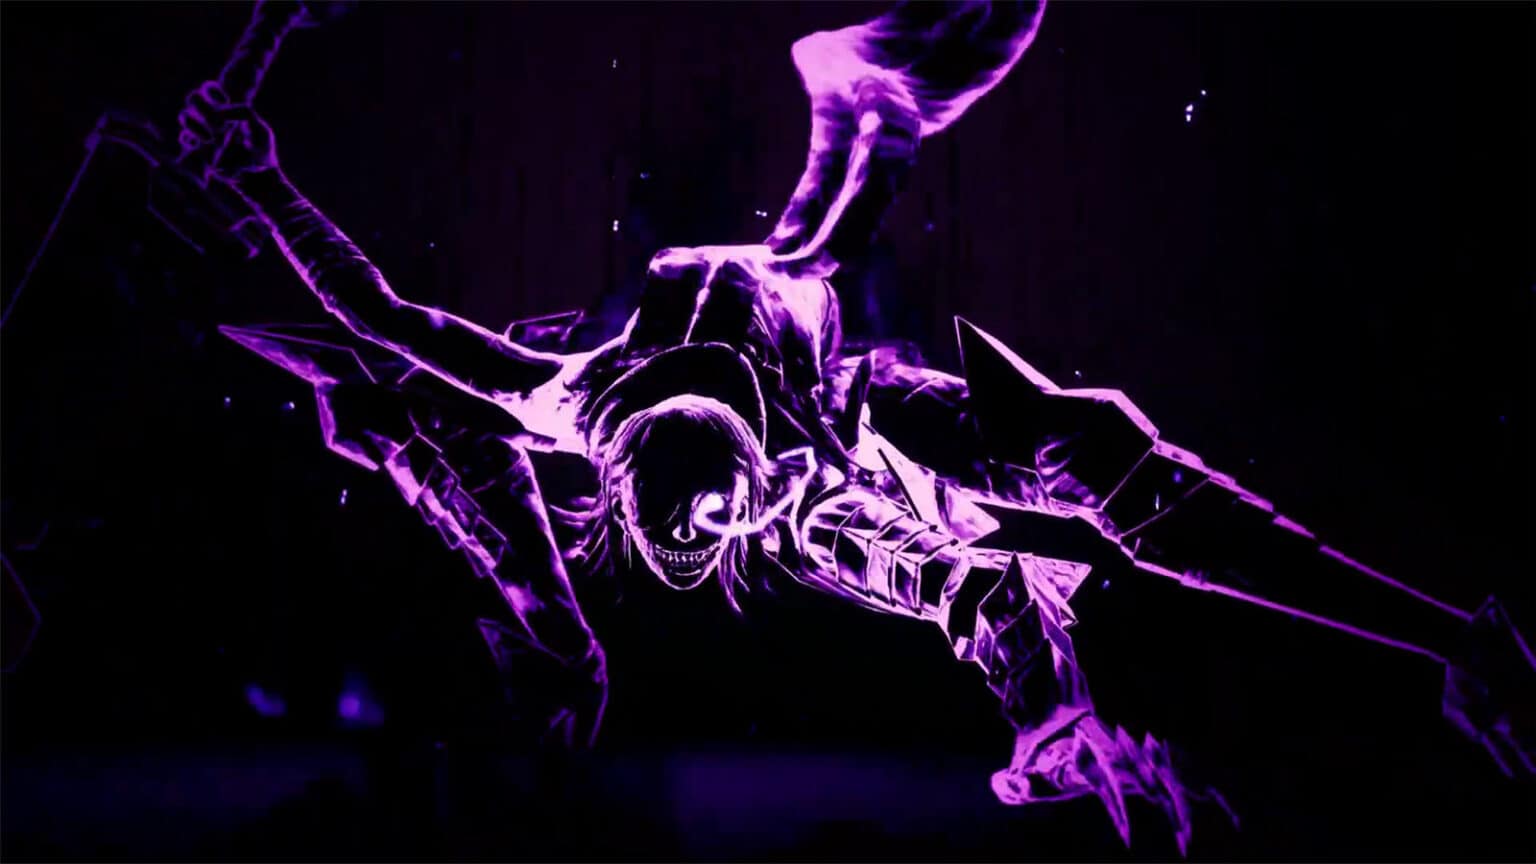
Chapter 9 starts off with Briar in her Berserk state. You’ll get a quick introduction on how the Berserk state works. When it is active, you will need to point the directional stick towards the direction as shown on the screen (purple light) to help quell Briar’s berserk. Afterwards, another QTE will appear where you will have to mash Lute’s button.
You’ll need to do this a couple of times until Briar comes out of the Berserk state. She can go into that state again if she goes into Rapture state while having a certain amount of HP below threshold.

After Briar is out of berserk state, a cutscene will play where Layton helped Briar recover. After their talk, Layton will give another weapon called Tearing Penance which is a bladed whip.
Continue following the paths upwards. You’ll see Crimson Tear Crystals along the walls of the corridor and a Cobalt Vein. Keep following the route until you arrive at a larger room with a ledge to a pit.

Jump down the pit to get your first encounter. After clearing the enemies, head to the room on the right to find a Forbearance Serum and some Cobalt Vein and Motherlode. Move to the room on the left and follow the path until you arrive at a room with a pulley mechanism. You will find an Emerald Tear Shard on the for right.

Pulling the lever on the pulley will show a cutscene of a door closing and another one opening. Head back to the previous room and head towards the gateway on the far right side.

You’ll then learn about Unstable Crystals which react when they are under the Banishment Field and explode after a few seconds. The overgrowth that you’ll see in the corridor will have one unstable crystal in front of it. Try to be quick by popping the field and using the hammer to quickly destroy the overgrowth. Then, head to the path on the left.
There will be a couple of Crimson Tear Crystals along the wall, but there will also be unstable crystals nearby. Continue to the next room where you will find an overgrowth that blocks the path to the next section.

Waste Warren, Sewers
Go through the next room in the warren to get the second encounter. The room to the left has a couple of Cobalt Veins. Proceed to through the corridor until you arrive at an overgrowth. Destroy the sprouts while staying aware of the unstable crystals to proceed to the next room.
In this room, there will be another pulley same as in the previous room. Pulling the lever will close some doors and open others. Walk back to the previous room and head to the left doors. In the next room, walk around to the other side where there’s a gap in the railing. There is a ledge that you can walk on that has a Feeble Ethereal Filament on the other side. There’s also a platform nearby with some Crimson tear Crystals. Afterwards, jump down from the ledge.


Once you’re down, head towards the screen where you’ll arrive at your third encounter. After clearing the enemies, check the rooms to the right where you can get and Elixir of Clarity and unlock the Challenge of the Void: Spectral IX.

Head back from where you dropped down on and move towards the next room forward. You will see an Emerald Tear Crystal immediately to the left and some Crimson Tear Crystals down below. Then, proceed to the huge gate for a cutscene to the next boss.

Abomination Boss Fight
The Abomination is a huge possessed boss enemy that deals attacks with brute force. Parts of its body is covered in Crimson Tear Crystals and so it can only be damaged under the Banishment Field. The catch is that the arena where you fight it is also dotted with unstable crystals, so it’s best to lure it away from them.
The Abomination’s attacks are:
- Triple Swing: It swings its fists three times; all of the swings can be countered with a slowdown.
- Double Swipe: It swings its larger right arm inwards then outwards close to the ground.
- Ground Smash: It jumps to the air and smashes down to the ground.
- Ram: It drops to the ground and charges forward.
Being a Possessed enemy, the Abomination releases its Wraiths when its health reaches 50% and 0%. Three tethered Wraiths will come out of its body and attack you if you come close. As usual, they can be killed when damaged under an Evocation Field. Otherwise, they will return to the Abomination’s body and its health replenishes depending on the number of surviving Wraiths. Any killed Wraith will not respawn once the boss’ health reaches the threshold again.
Once all three Wraiths are killed on the 0% threshold, then the Abomination will be defeated. You can then continue towards the gate with a burning tree to complete the chapter.
Soulstice Chapter 9 Achievements
- Back to your senses: Recover from Berserk state
See next Soulstice Chapter 10: Sunless Maze Guide.
If you like this guide, be sure to check out our other Soulstice articles:
- Soulstice Chapter 1: All the Lost Souls Guide
- Soulstice Chapter 2: Echoes from the Past Guide
- Soulstice Chapter 3: Point of No Return Guide
- Soulstice Chapter 4: The Shadeless Guide
- Soulstice Chapter 5: Death from Above Arrowhead Boss Fight Guide
- Soulstice First Echo Memory Guide
- Soulstice Chapter 6: The Fall Guide
- Soulstice Chapter 7: Lights and Shadows Guide
- Soulstice Chapter 8: Unstoppable Boss Fight Guide
- Soulstice Second Echo Memory Guide
- Soulstice PS5 Trophy Guide – How To Get Platinum
Check out this video by GamerFuzion showing the gameplay for Chapter 9:
