")
Lost is the fifth chapter of The Callisto Protocol following Jacob’s escape from the prison and journey to the hangar where he plans to fly off from Callisto. However, his plans are don’t go well as Capt. Ferris somehow survived and is now tracking him down.
In this guide, we will go through the events in Chapter 5: Lost of The Callisto Protocol, sharing tips and listing down any collectible that can be found in the chapter.
See previous The Callisto Protocol: Habitat Walkthrough (Chapter 4)
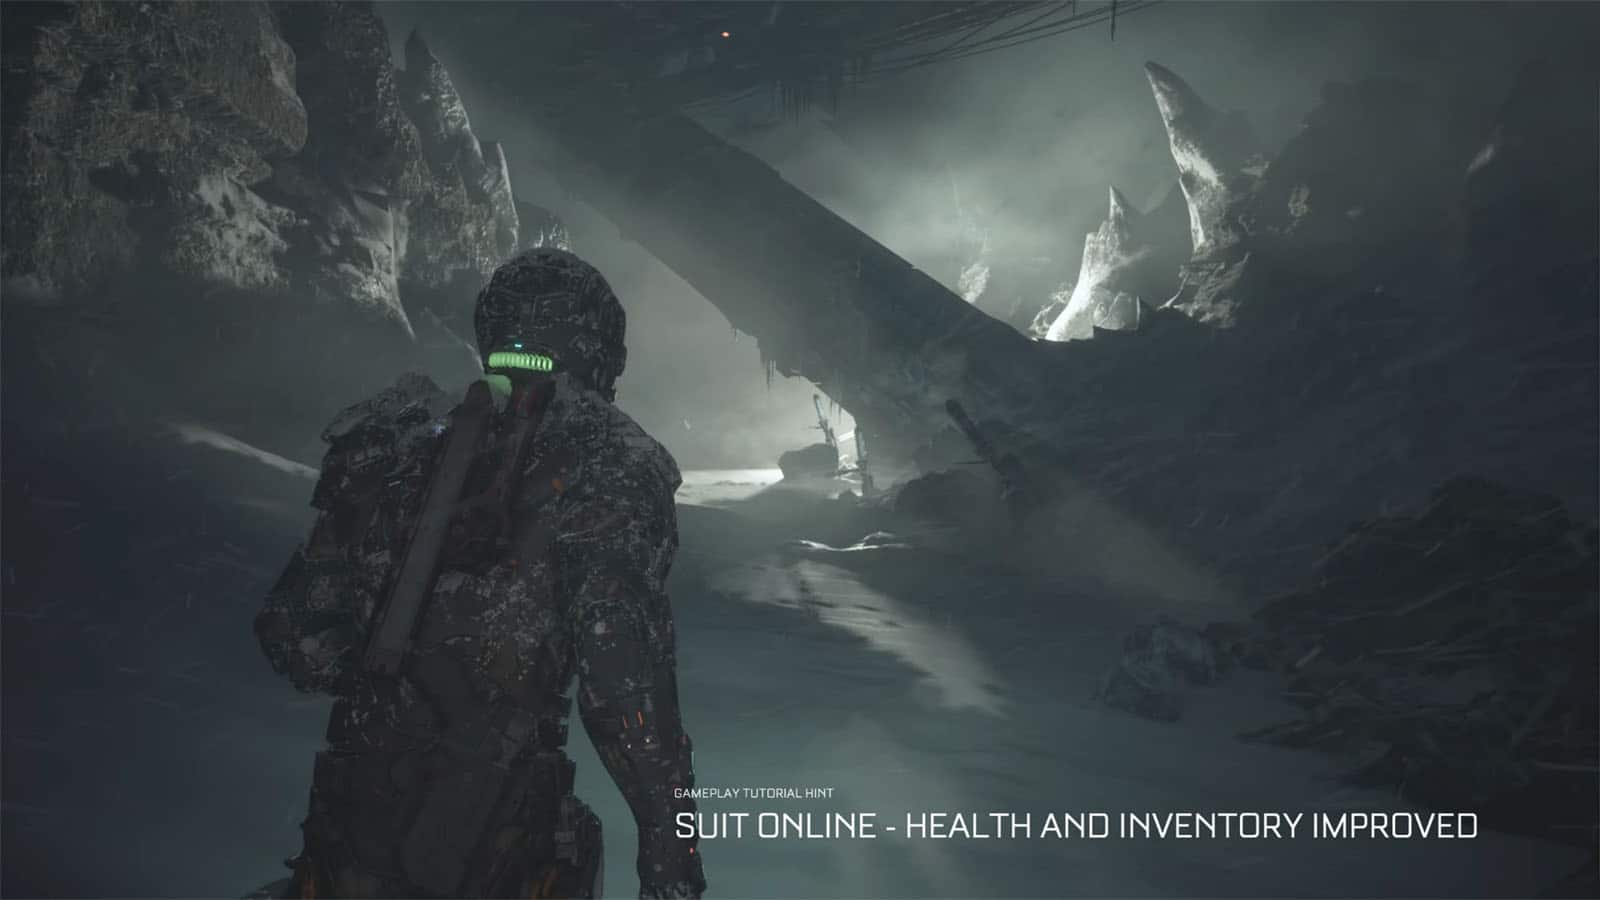
This chapter starts off with Jacob and Elias barely surviving the fall after being ejected to the Callisto wilderness by an infected Capt. Ferris. Thanks to the suits that they’ve donned prior to the incident, they can weather out the harsh freezing temperature, Jacob has more health, plus he now has an expanded inventory with 3 more item slots for a total of 12 slots.
Chapter 5: Lost Objectives
- 5.1 Find Elias
- 5.2 Find shelter in the outpost / Data-Bios #20
- 5.3 Keep moving to the hangar
- 5.4 Try to help the trapped worker
- 5.5 Find the keycode / Data-Bios #21
- 5.6 Enter the tunnels to the garage
- 5.7 Find a way through the tunnels / Data-Bios #22
- 5.8 Get to Dani
- 5.9 Reach the control room / Data-Bios #23
- 5.10 Go to power station control room
- 5.11 Unlock the security room with a fuse
- 5.12 Unlock security gate
- 5.13 Get to the control room
- 5.14 Explore the power station / Data-Bios #24
- 5.15 Enter the power control room
- 5.16 Use code to open the gate
- 5.17 Find Dani in the Courtyard
- 5.18 Follow Dani / Crash Site Achievement
- 5.19 Find Dani / Data-Bios #25
- 5.20 Follow Dani / Data-Bios #26 and #27 / In the Pipe, Five by Five Achievement
Find Elias
Jacob recovers from the fall and barely fixes his helmet’s visor. After doing so, you regain control of him. Follow the trail lined up with lights and push through the snowy area. Prepare for a fight as the first figure you’ll see will not be Elias, but rather a grunt. Dispose of it and carry on. You’ll eventually get back on the lit trail and see Elias’ emergency beacon. You’ll have to cross ledges and squeeze through gaps to get to him.
Find shelter in the outpost / Data-Bios #20
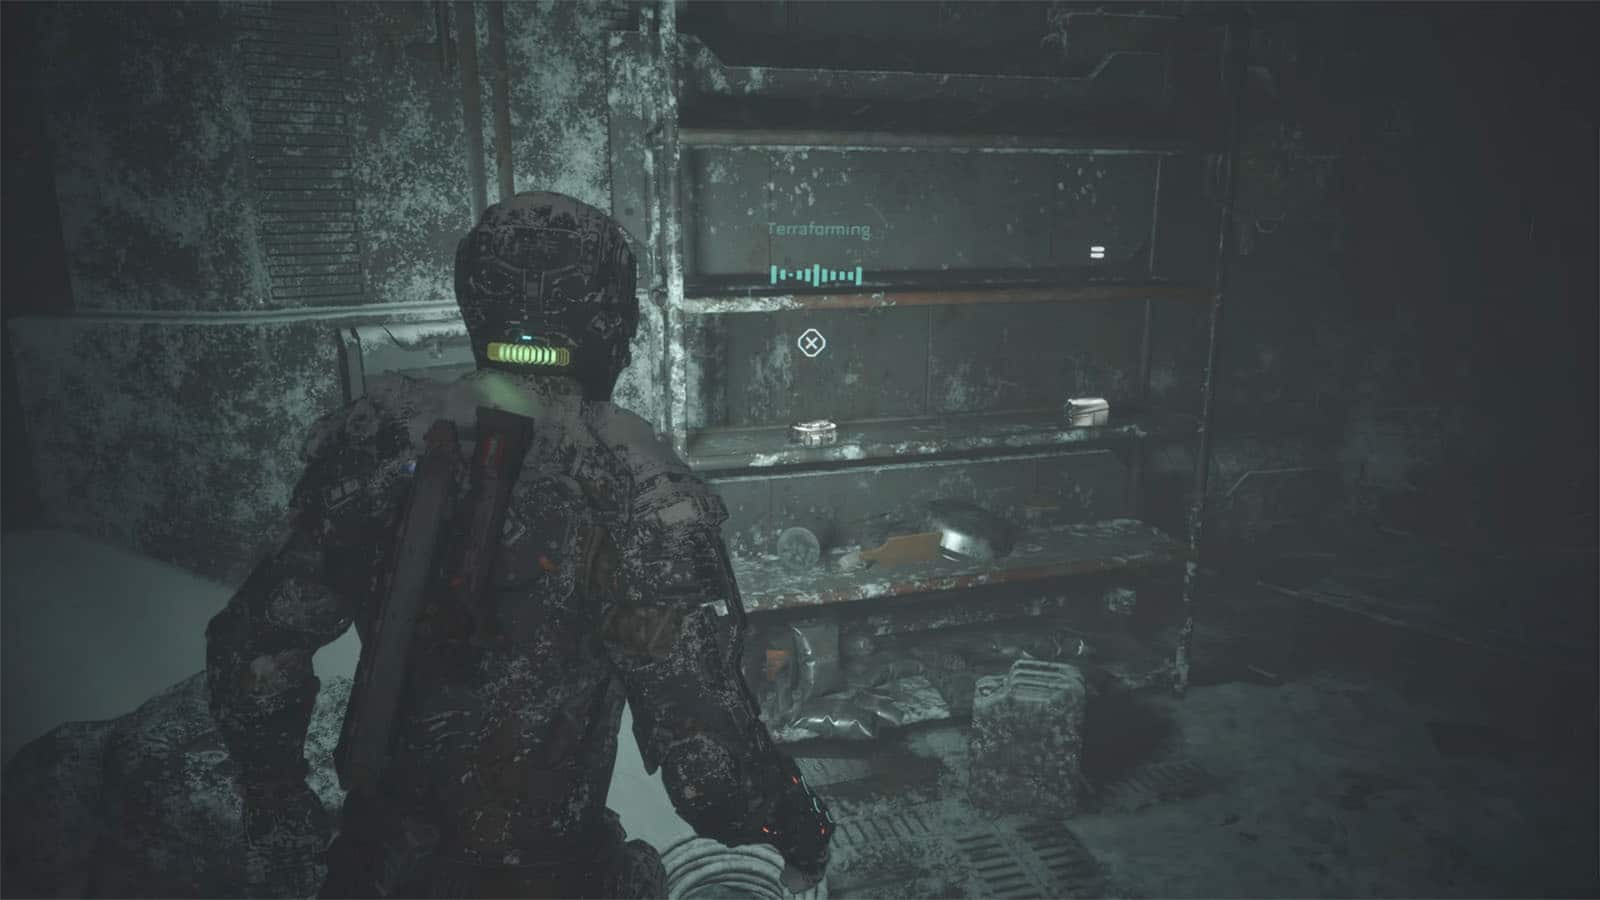
After the cutscene, you’ll then have to go through the gate nearby to get to the shelter. Pull the lever to the left to open the next gate. Head straight to the building at the far end of the path, passing by the lit building for now. Inside the building are some loot and the Data-Bios #20: Miranda Kristofich: Terraforming.

Go back to the lit building and inside to the right is a gap that you can squeeze through where you can find a Reforge station. After using the station, head back out into the main room and follow the stairs down to the lower level.

Continue towards the lit room on the far end, you’ll see some healing injector in the cabinet to the right. Pay attention to the frozen grunts as some of them will come back to life, one would be just past the sink. They should be easily dispatched by the wall spikes nearby. One more grunt is by the exit doorway; kill it and then proceed.
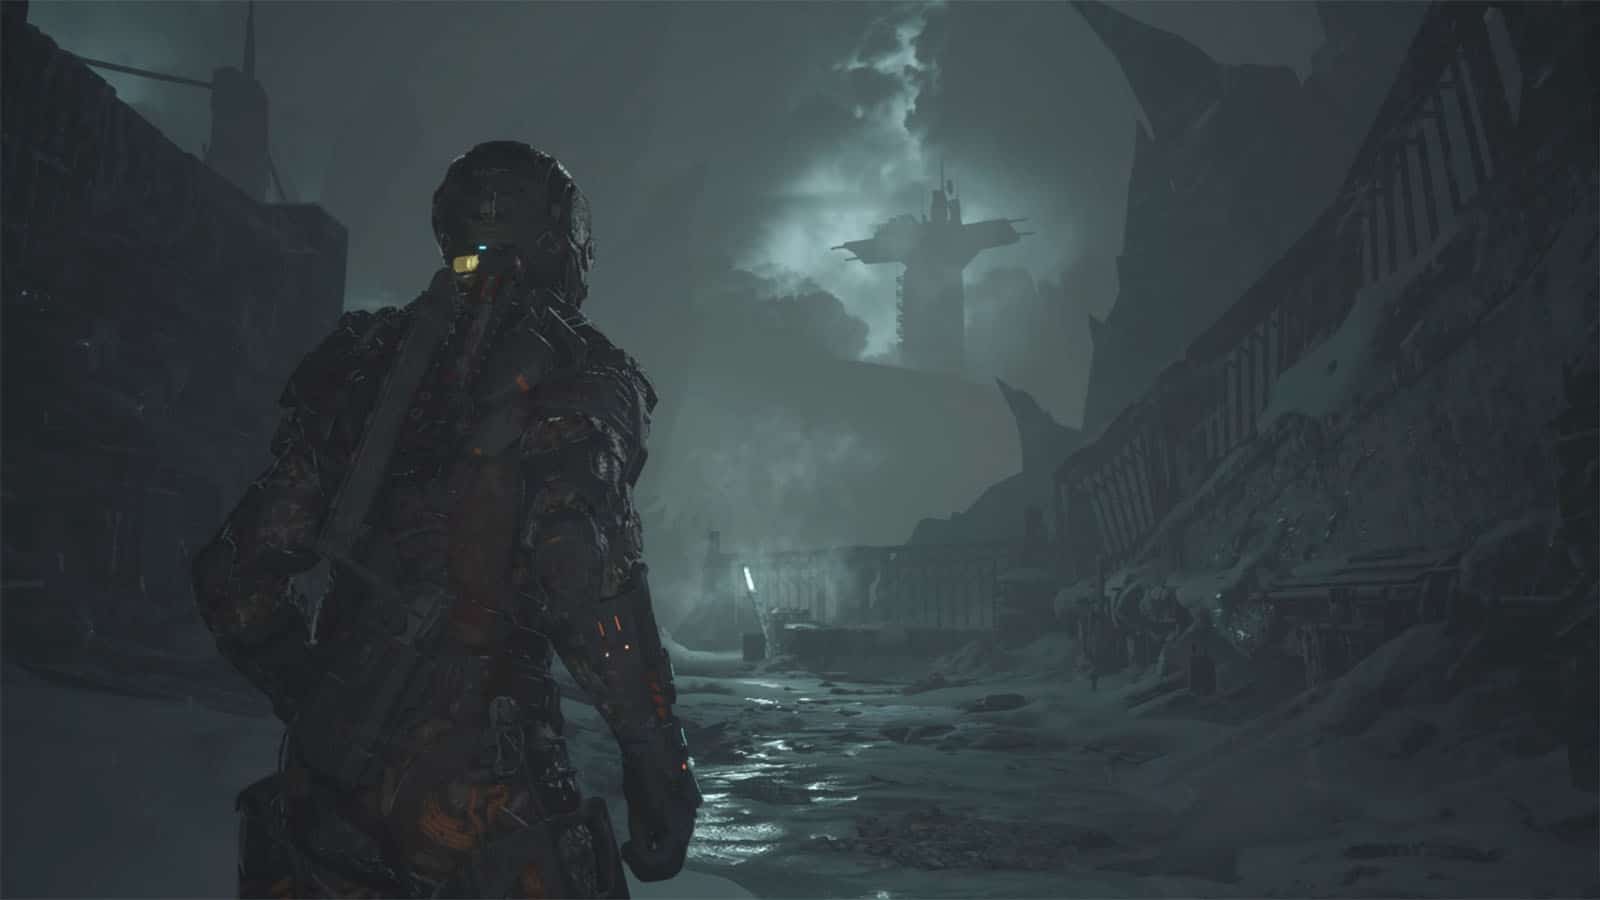
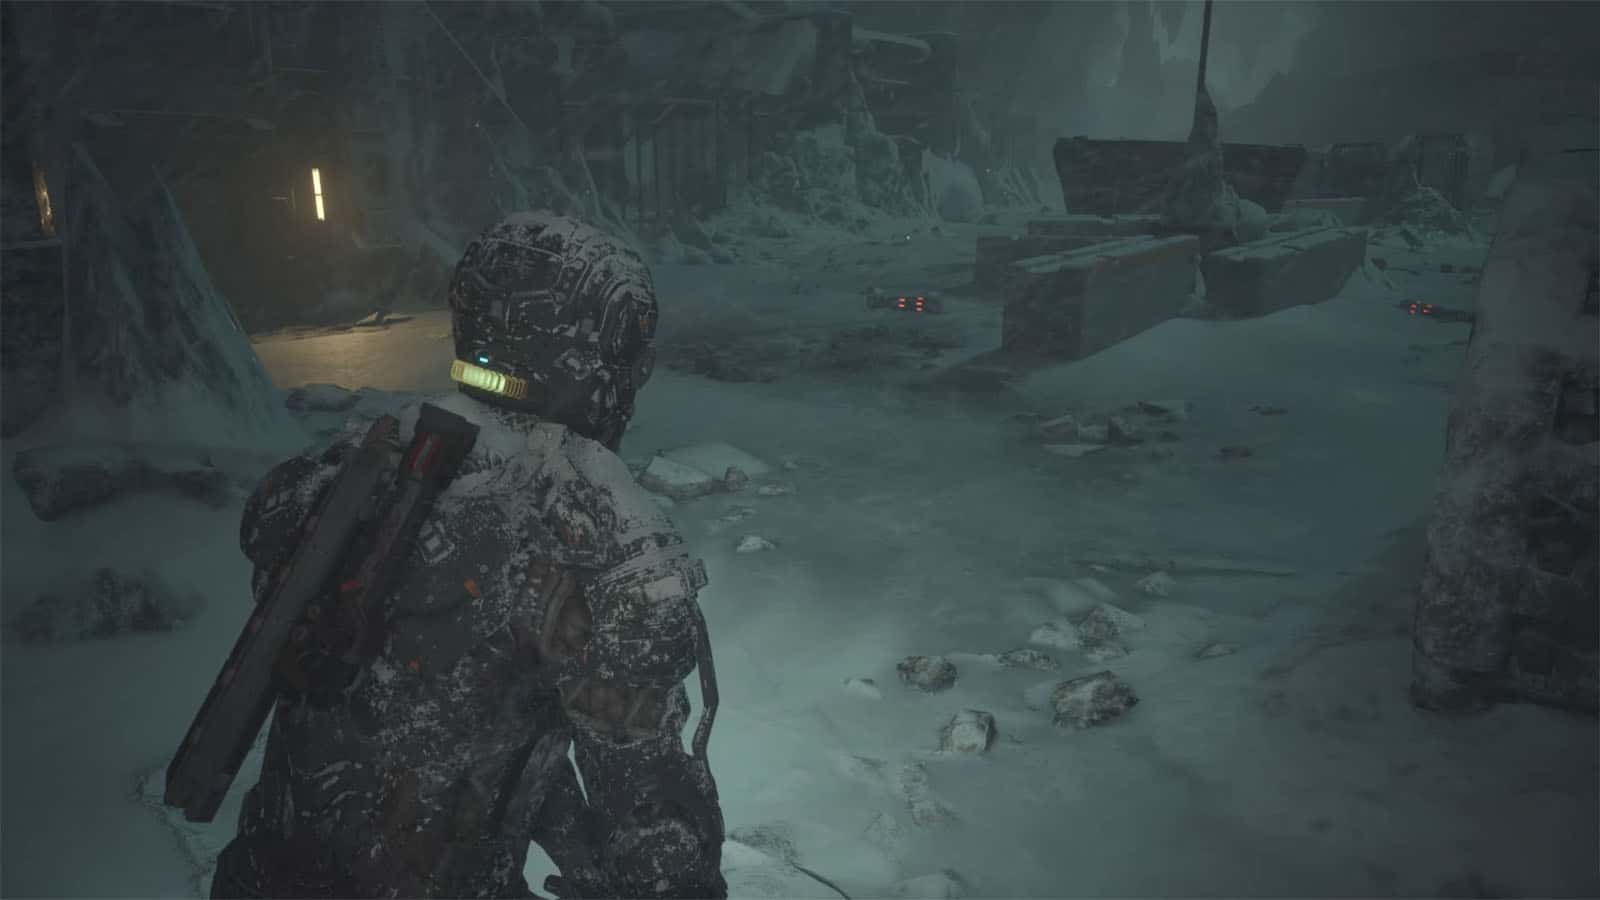
Keep moving to the hangar
As you exit the building, continue moving towards the hangar in the distance. Prepare to be ambushed by grunts that pop out from the snow as you approach the debris. Continue up to the bridge then cross it. Squeeze through the two carts and then continue your crossing by hugging the right side of the bridge.
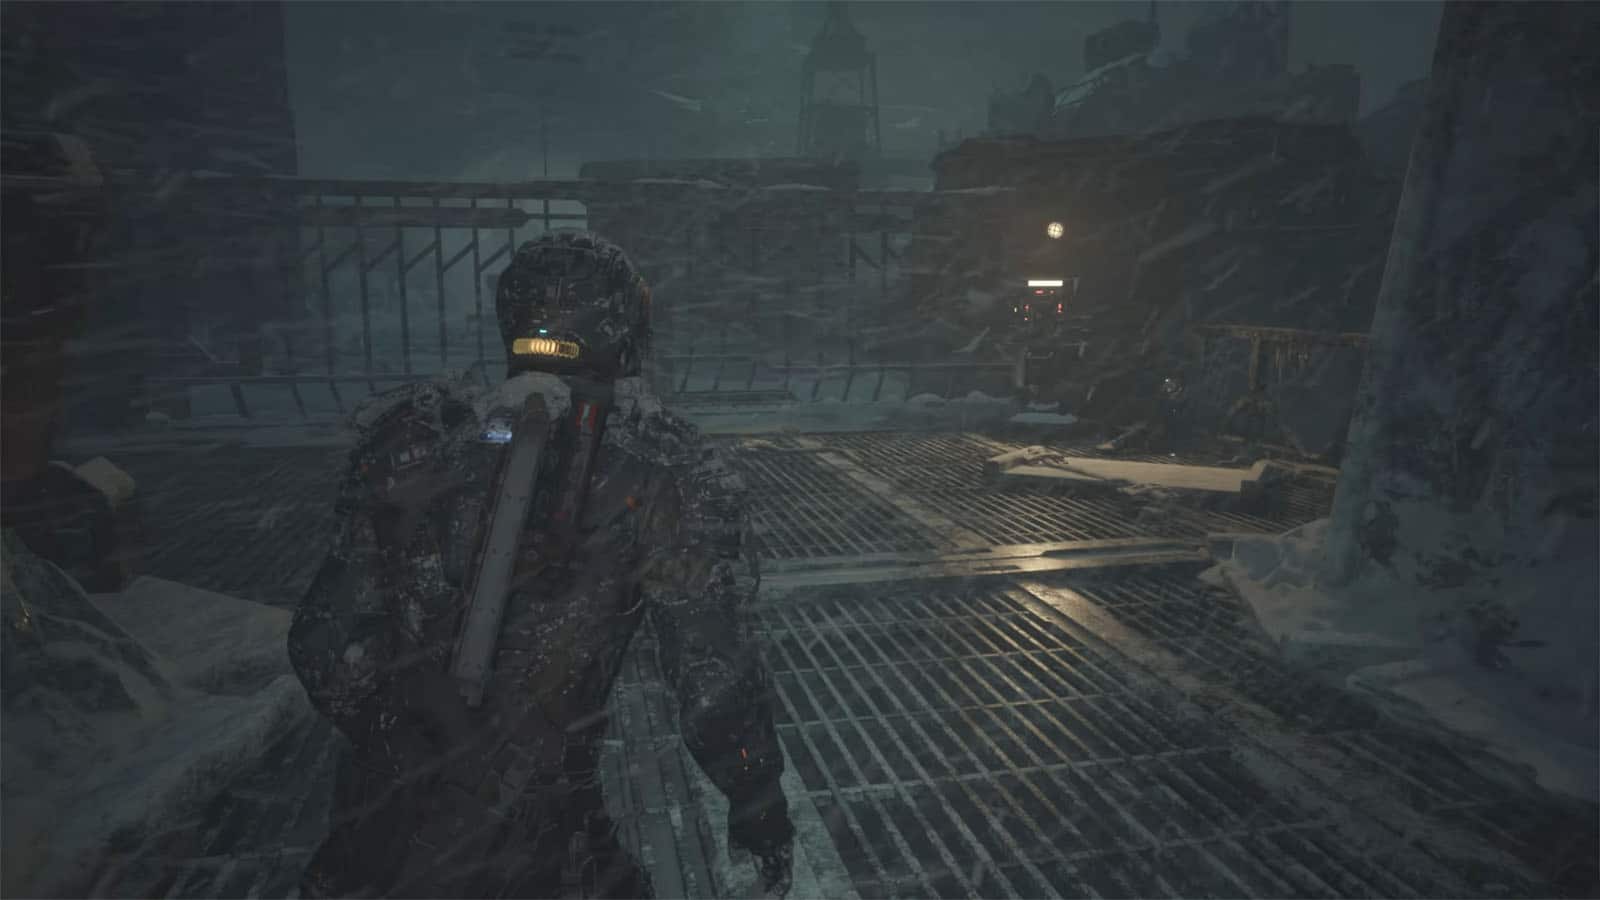
Once you’re on the other end of the bridge, you’ll see a lit panel by the right corner. Prepare to be ambushed by a Corruptor as you approach it. Once it’s killed, pull the lever on the panel to open the gate then proceed to the next area.
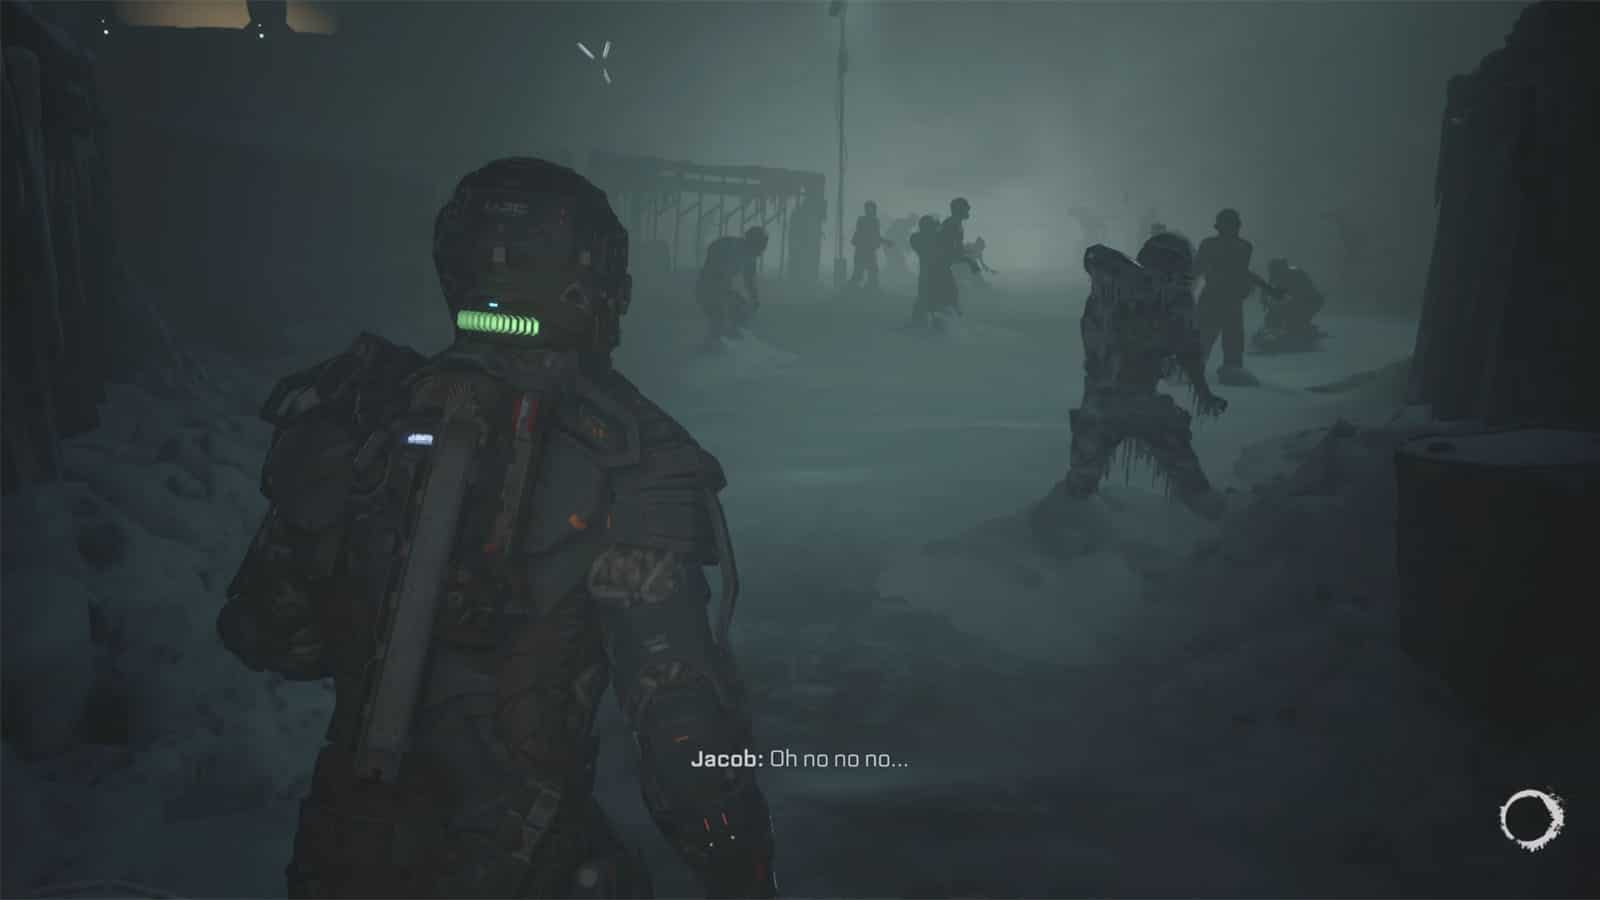
Try to help the trapped worker
You’ll notice that there are a lot of explosive canisters in this open area. You’ll then hear the voice of an Ofc. Wayne calling out for your help to pry open a door. Afterwards, you’ll start hearing skittering around so prepare for a fight as enemies start closing in on your position.
Find the keycode / Data-Bios #21
From the gate you’ve entered from, approach the gate on the left that is lit. It’s locked so you’ll then have to find the keycode for it. After a few moments, the enemies should start appearing.

You’ll be fighting against Corruptors first. Use your GRP to throw the canisters over to them for a one-hit kill, just make sure to throw it far away from your to not get caught by the blast. After killing a few enemies, Ofc. Wayne will get killed anyway, so make your way to the far right building where an enemy will come out from. Kill it then check inside to find the Data-Bios #21: Richard Cids and the keycode.
Enter the tunnels to the garage
Head back to the locked building and enter it using the keycode that you got.
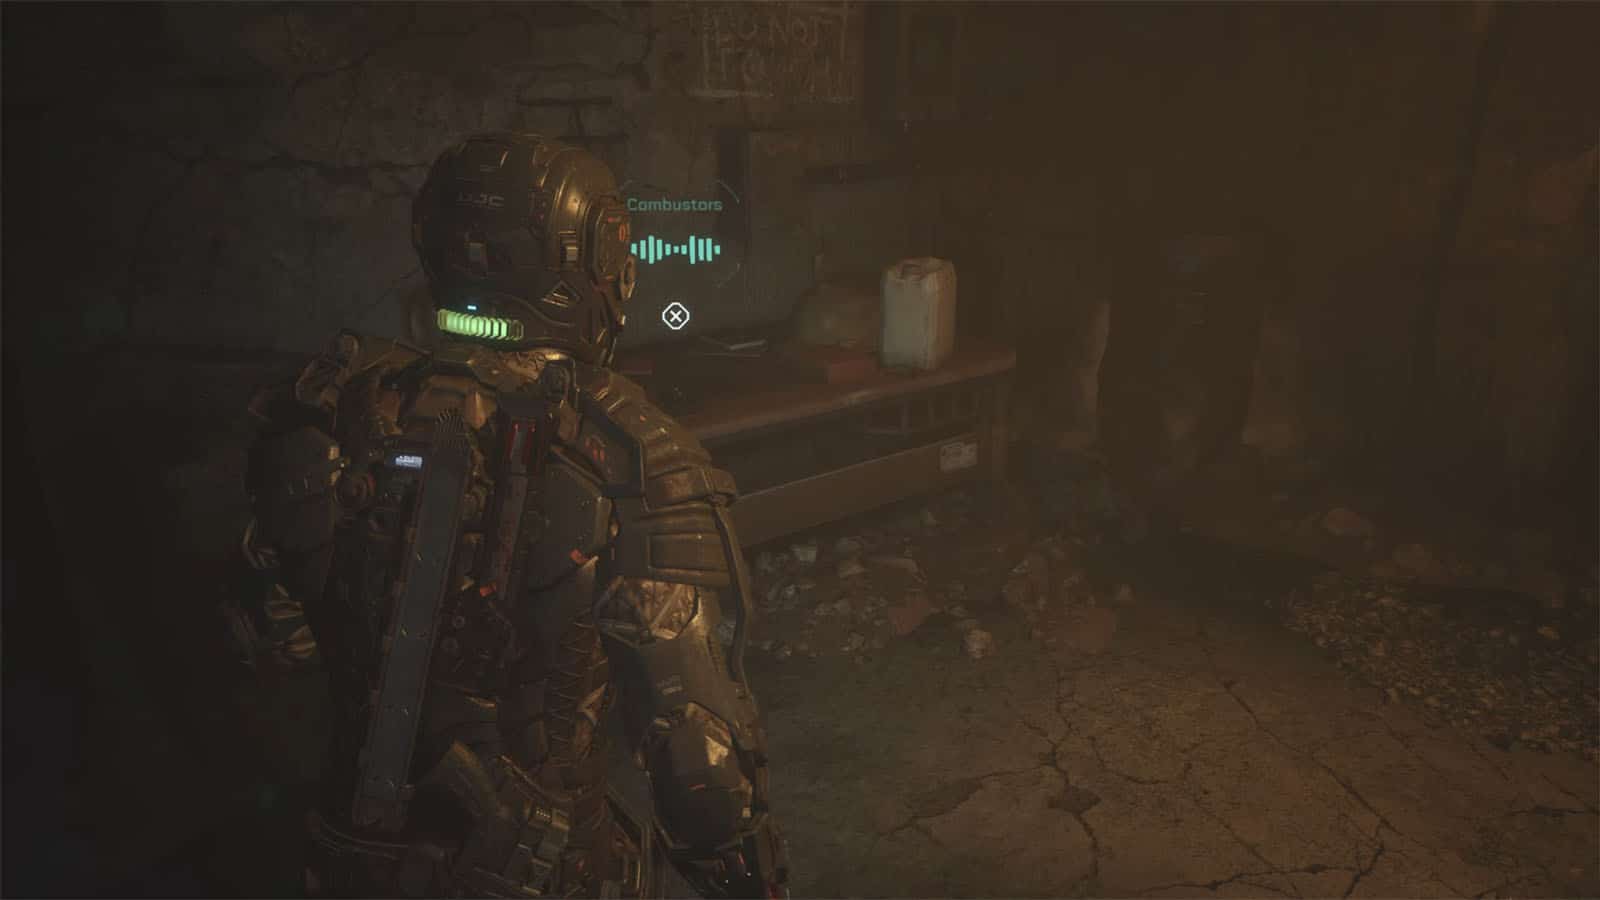
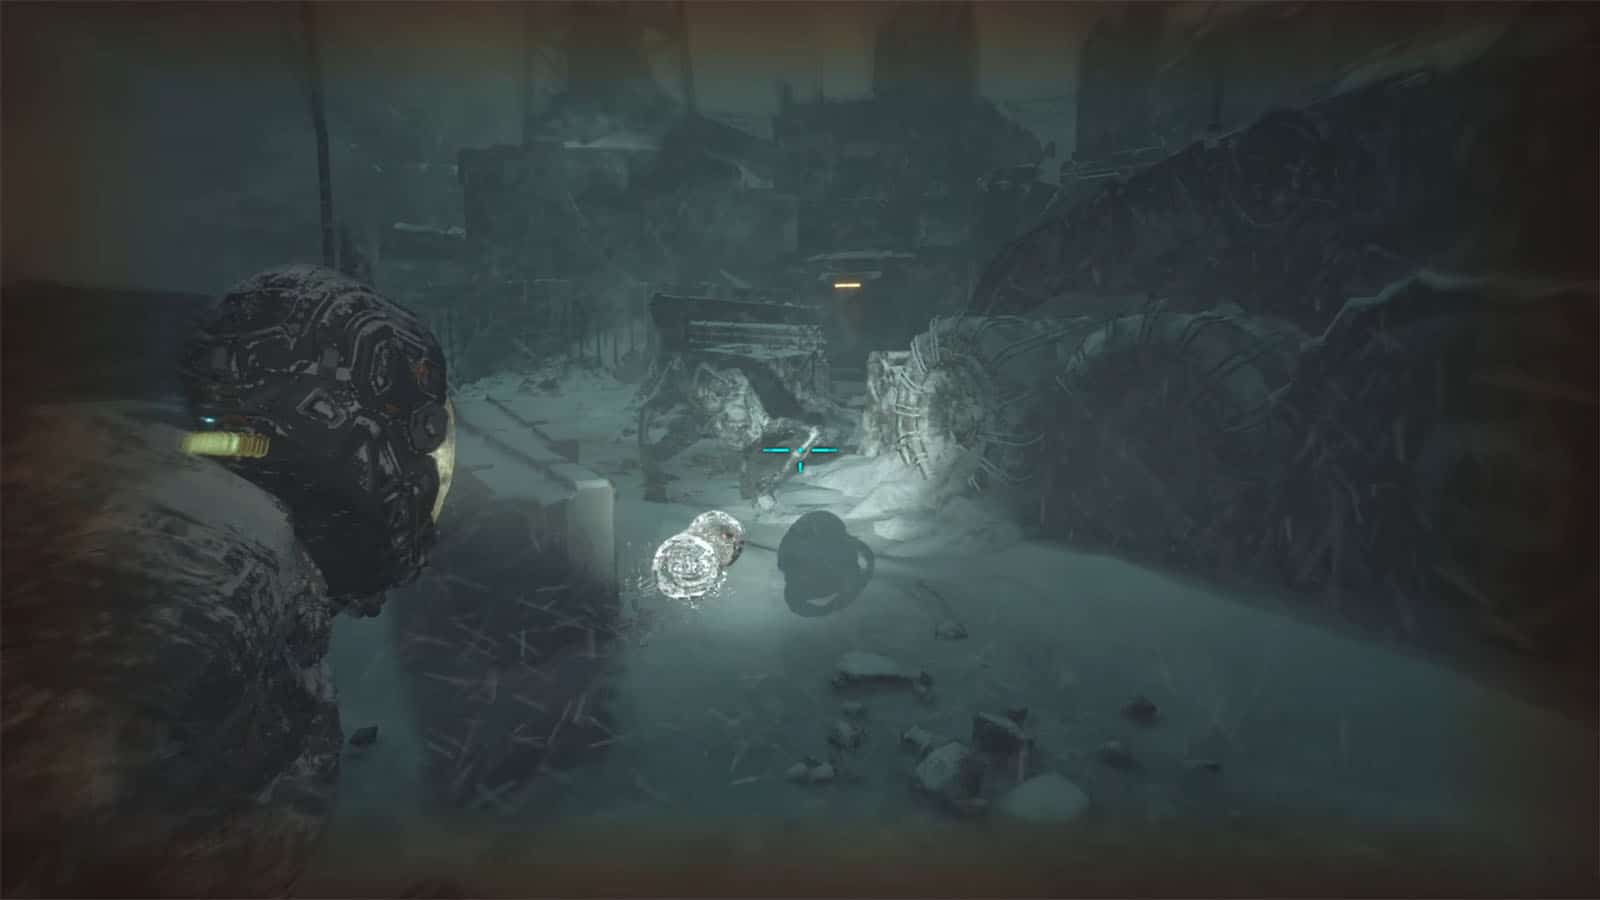
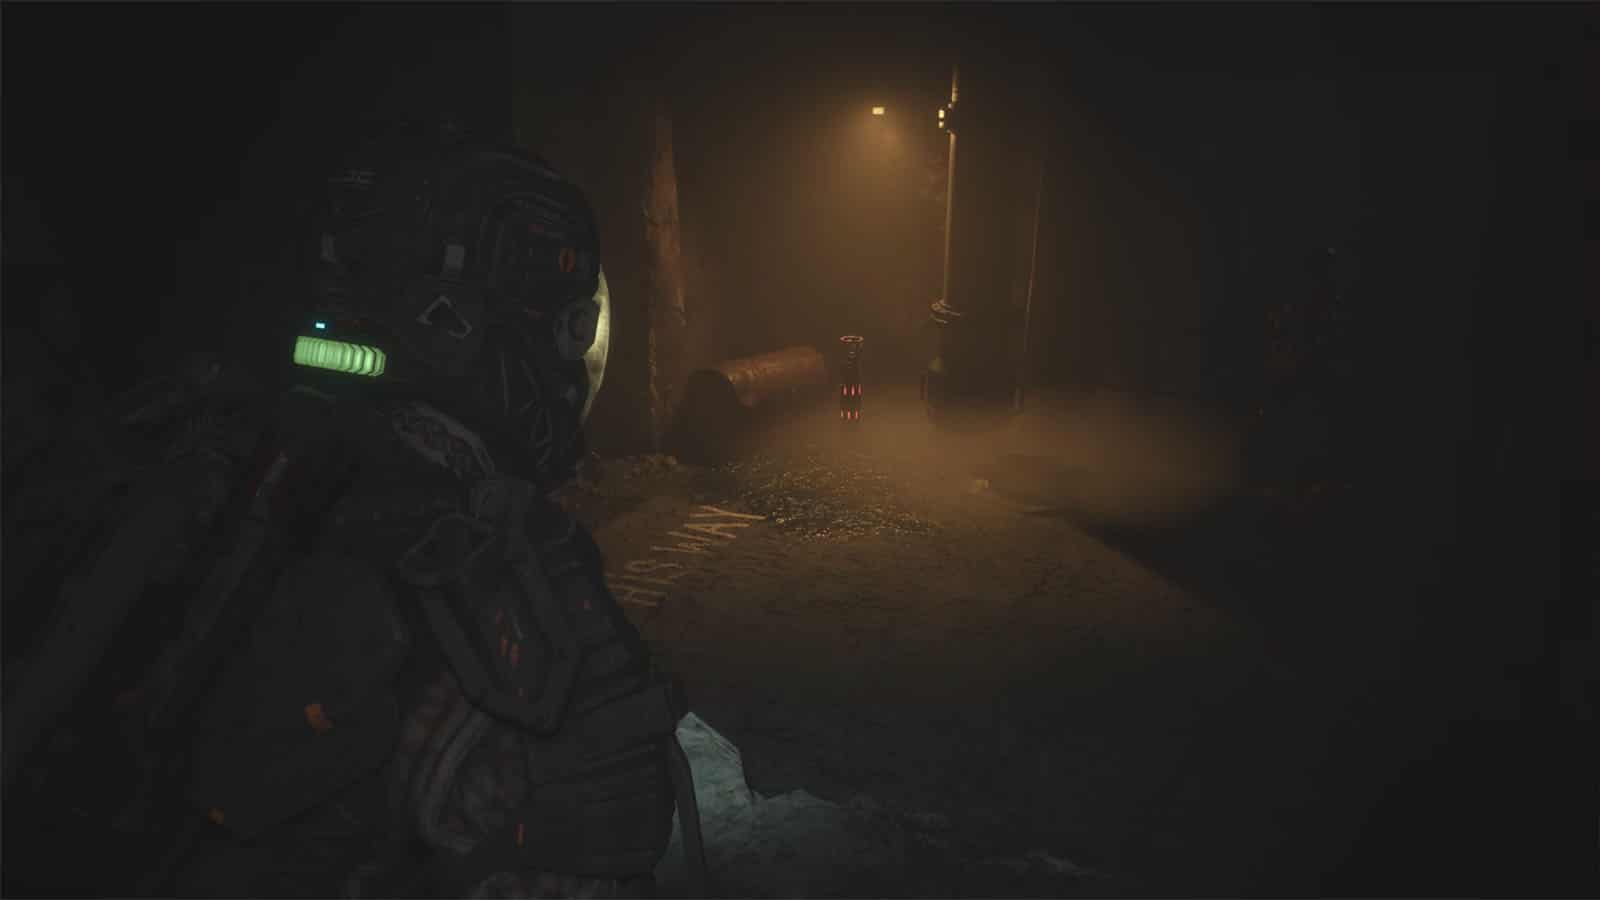
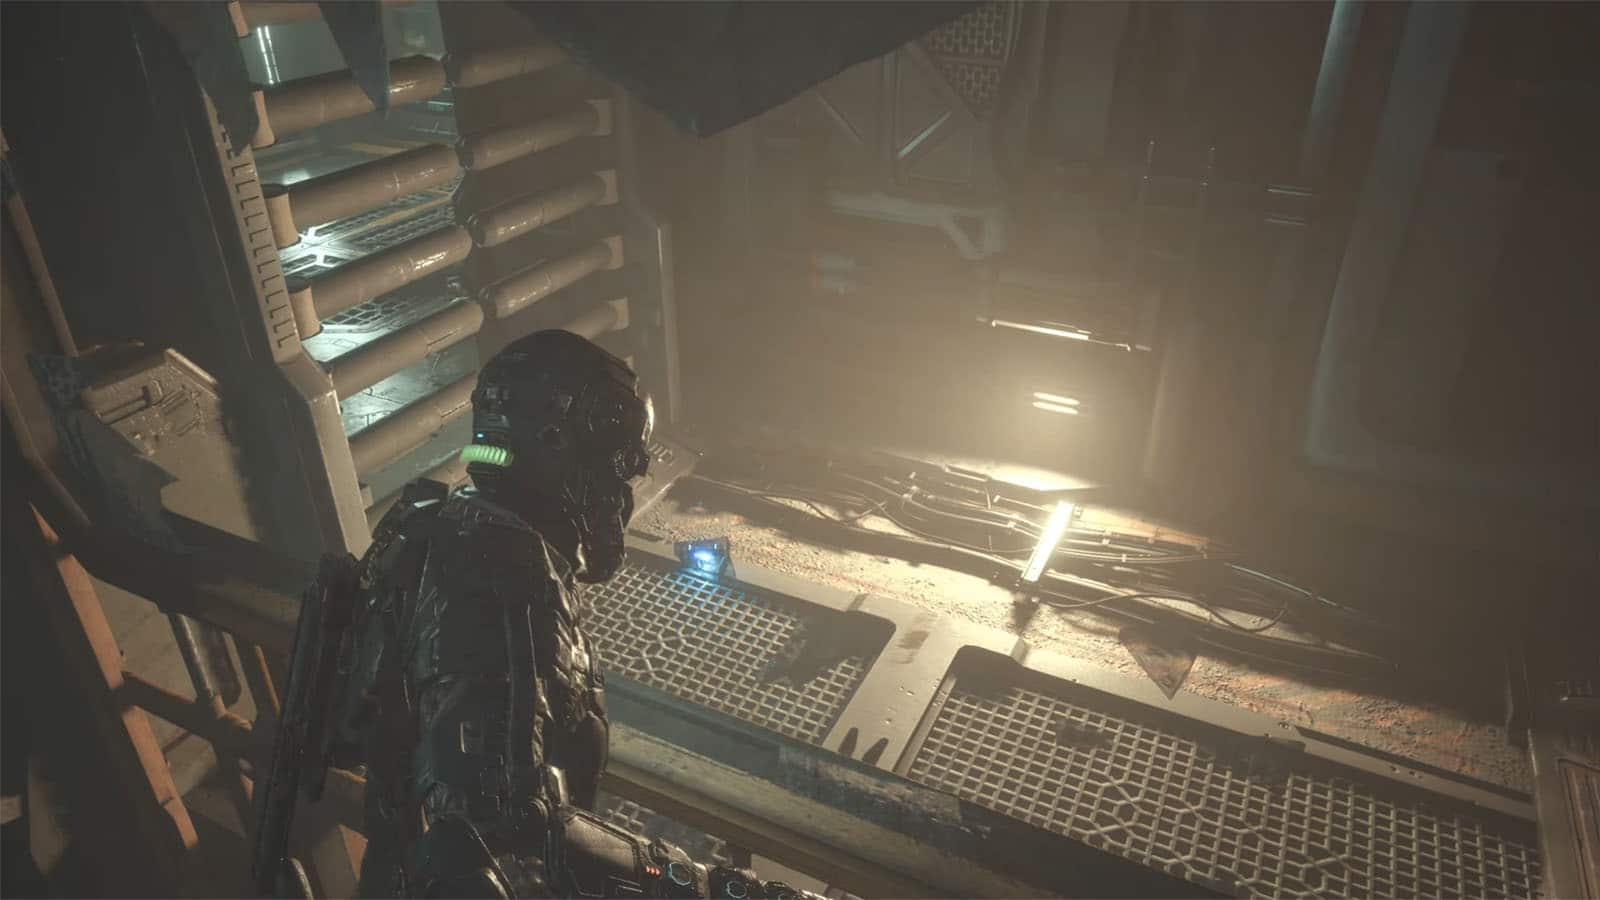
Find a way through the tunnels / Data-Bios #22
Make your way down to the stairs an into the tunnels. You can follow the arrows painted on the walls, and once you’re out from crawling under the rubble, head to the corridor on the left first. In the next room, you’ll find the Data-Bios #22: Dr. Caitlyn Mahler: Combustors.

Make your way back to the previous area and go to the opposite corridor. As you pass by the long corridor, you’ll see something crawling ahead. Follow it and you’ll find yourself in another split path. You can check the path to the left first for loot, then head to the path in the middle where you’ll have to squeeze through a gap.
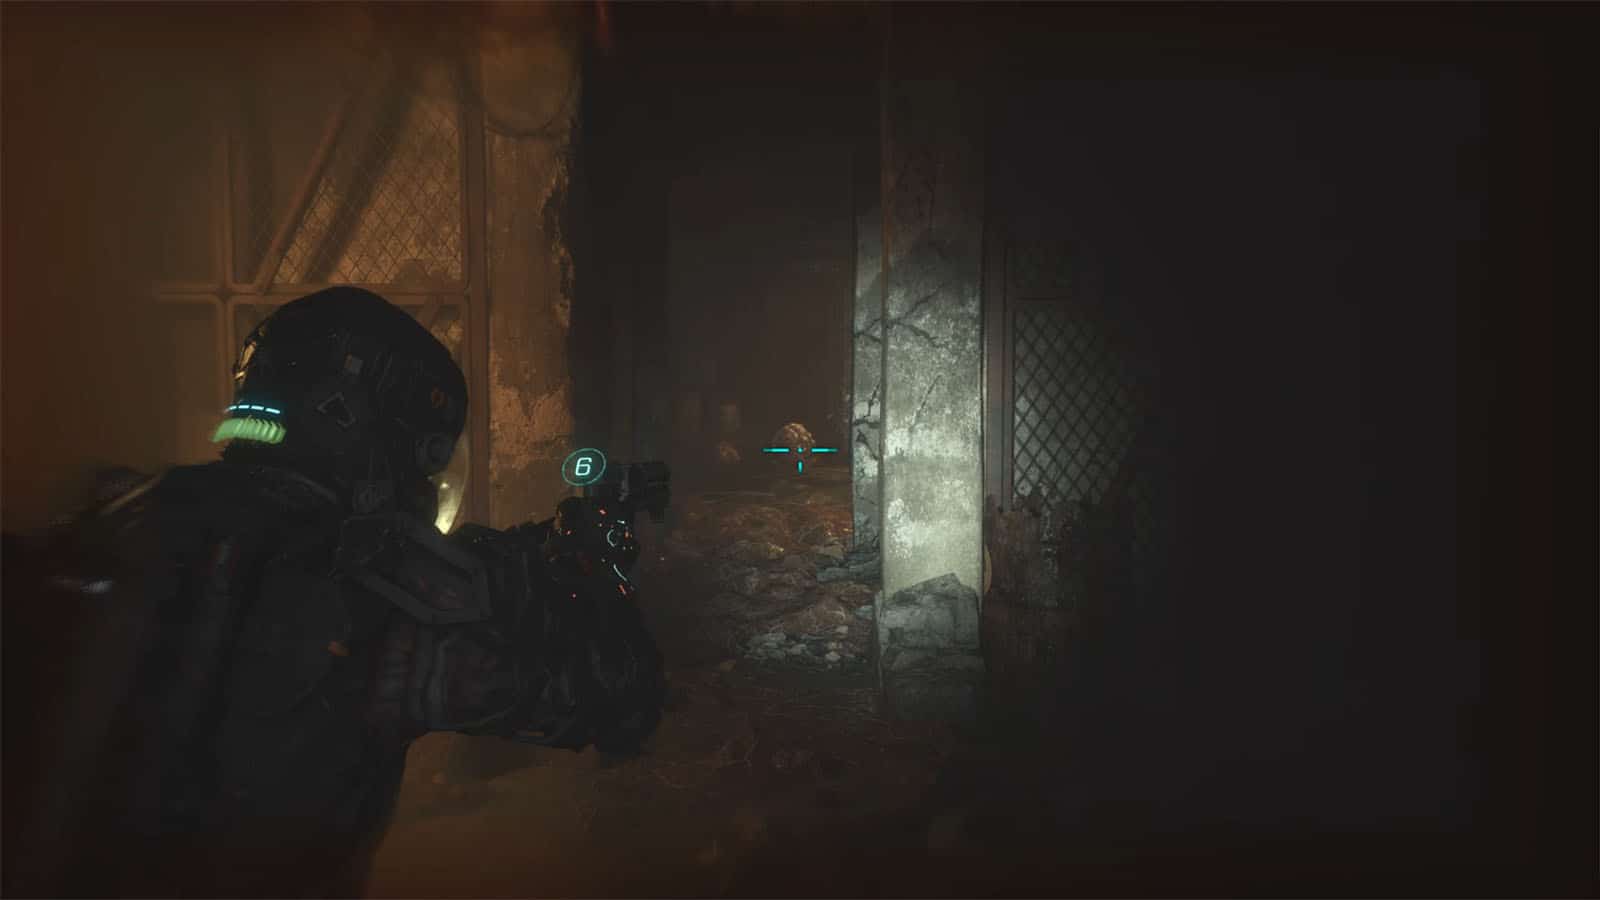
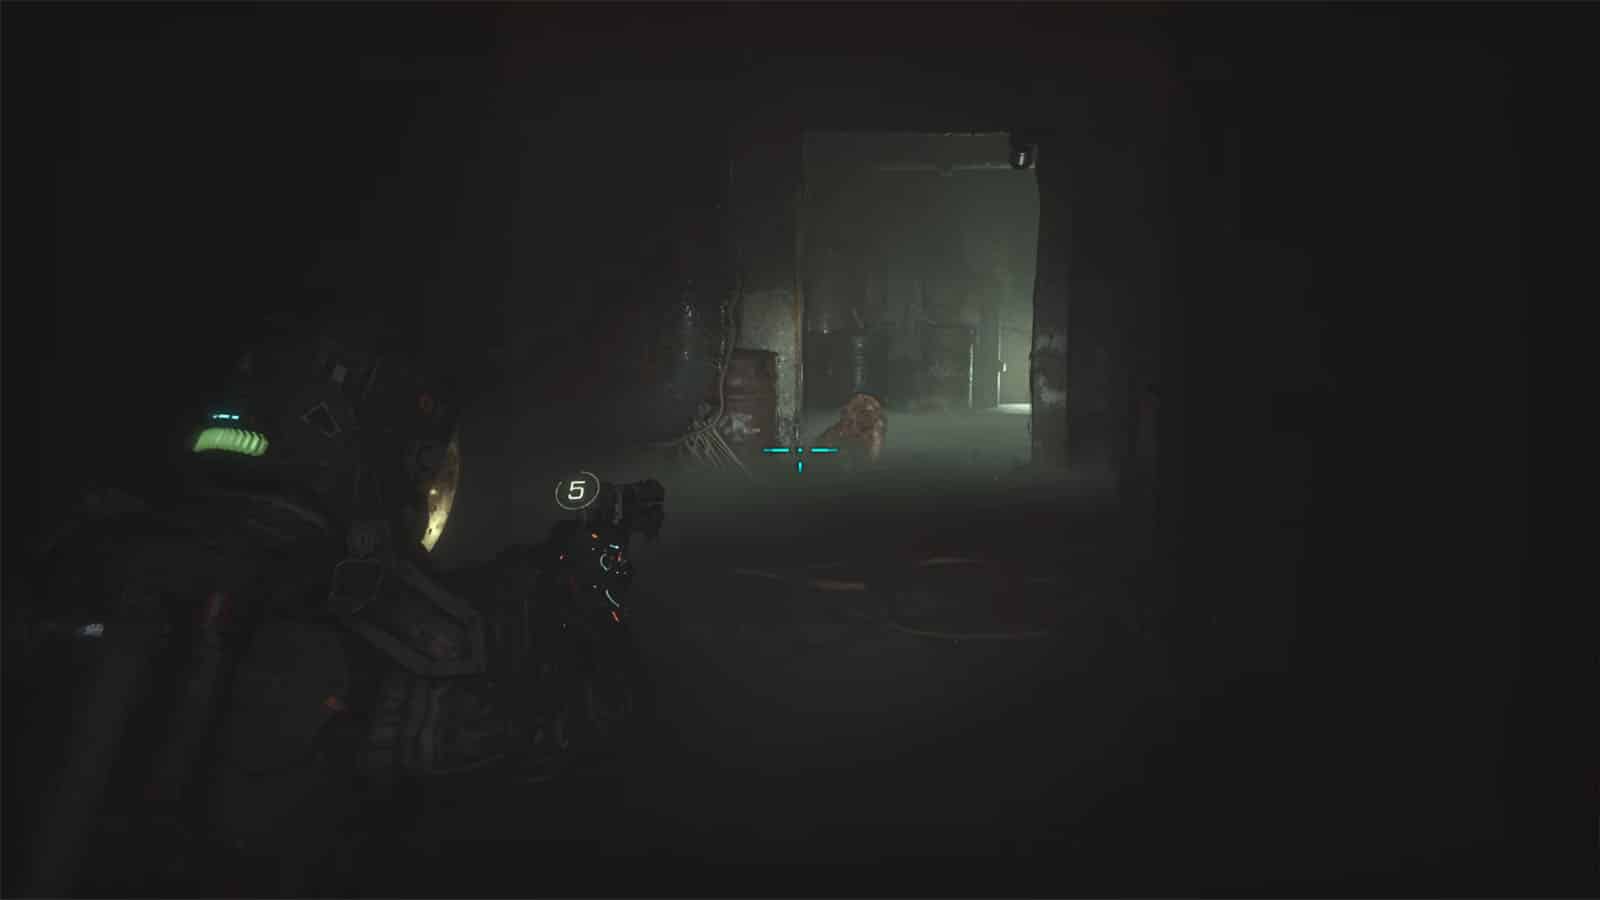
Prepare to fire your gun or your GRP as you exit that gap as an Exploder will start rushing at you from a distance. As the name suggests, these explode once they get in close proximity, so detecting them early is key to survival. They can also be grabbed by the GRP and flung away, acting like an explosive grenade that you can take advantage of in certain situations.

Continue following the path until you arrive at another split up ahead and towards the stairs on the right; take the stairs as the other path is a dead end. Prepare to fight the heavy at the bottom of the stairs. Proceed up the next stairs and prepare for an Exploder rushing towards you from the left.
Proceed down the next flight of stairs and kill the next Exploder that comes at you, and the parasites that tag along. Move forward through the corridor and you’ll find another Exploder coming at you. Up the path ahead is a crack in the wall where you can squeeze in. There’s another grunt on the other side that can be stealthily killed or exploded by the nearby canister.
Up the stairs to the left is another Exploder followed up by another one and a bunch of parasites. You’ll end up in another split path; check out the paths on the left and up ahead for some loot and enemies, then continue onwards to the path on the right. Another grunt will drop from the ceiling, kill it then climb the ladder.
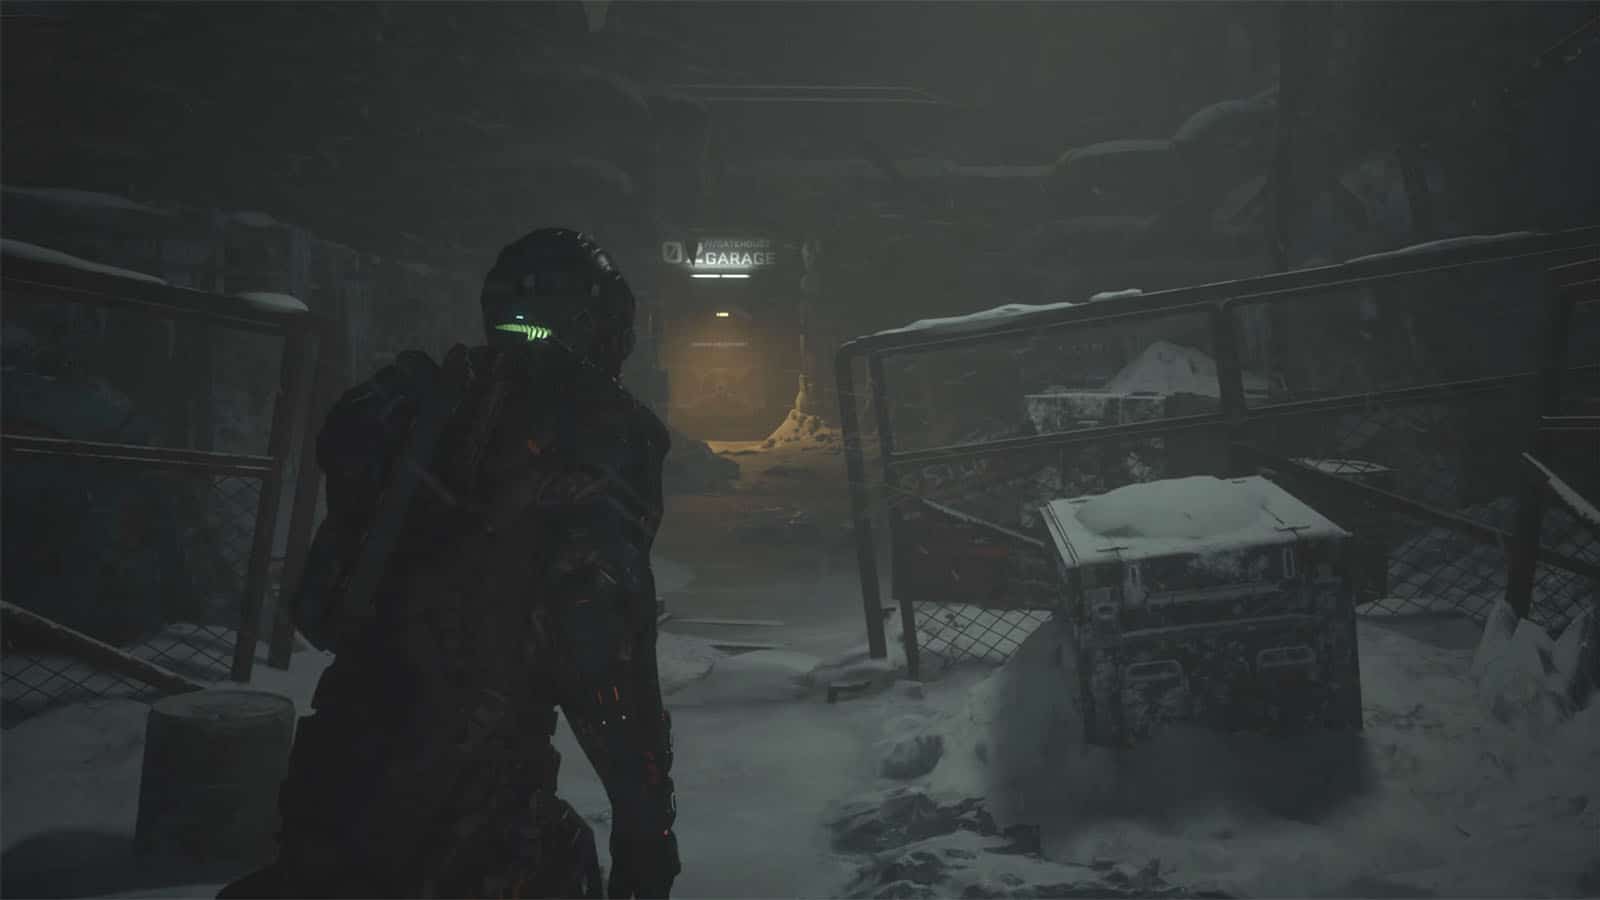
You’ll be back outside heading towards the Garage airlock. Look for the crate on the left side as you pass by.
Enter the airlock, wait for it to pressurize, and as you exit, you’ll be fighting against a mob of enemies while Dani is also being attacked up top. There are wall spikes that you can use for the enemies scattered around the garage. Once they’re all taken care of, head up the upper floor to help Dani.
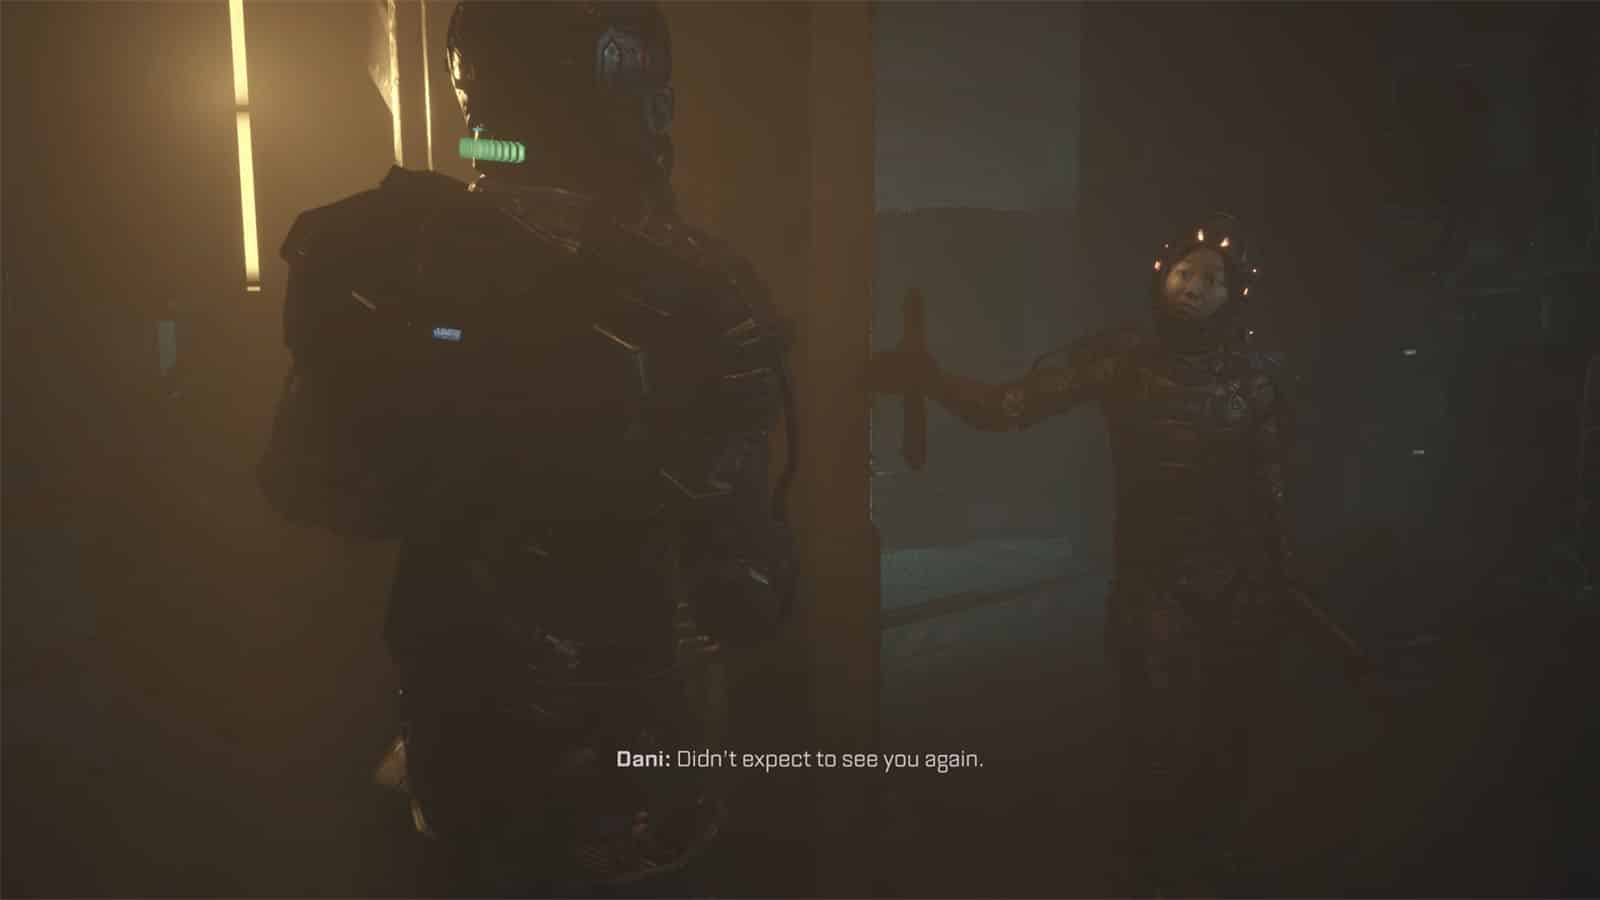
Get to Dani
Cut the wires on the door panel to open the door. After the short dialogue with Dani, she hands you a Riot Gun which works as a shotgun. You will learn the controls on how to swap your ranged weapon.
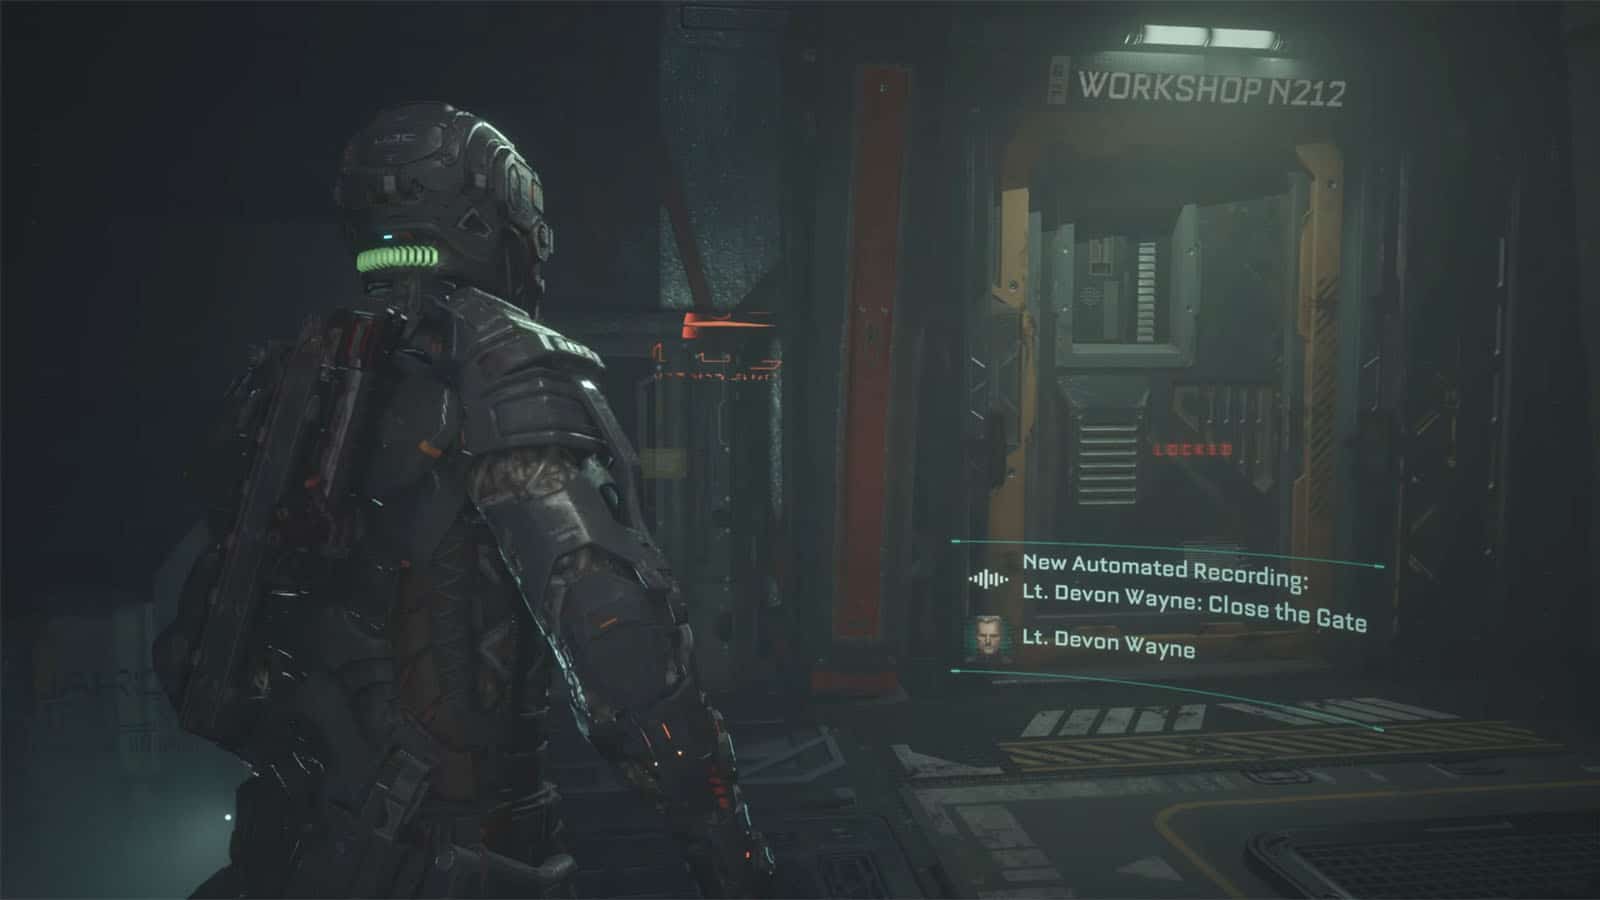
Reach the control room / Data-Bios #23
Continue up the stairs into the control room. There are a bunch of loot that you can grab from the cabinets and the tables, including the Data-Bios #23: Lt. Devon Wayne: Close the Gate.
Afterwards, go to the control panel to initiate another cutscene. Dani will then tell you to move to the power station control room.

Go to power station control room
Go to the door on the left to find another Reforge station and some loot. Then go down the stairs and enter another airlock. Wait for it to depressurize and then head out. Follow the path towards the power station door. After passing through the airlock, head over to the elevator and prepare for another fight as it opens its doors. Once you’re up, crawl under the half open door to proceed.
Unlock the security room with a fuse
You’ll arrive in a holding room full of cages. Go around the room to the left until you find a box that you can climb op to get to the gate fuse on the other side. Go back to the door you just passed and use the gate fuse on the panel to open the security room.
Unlock security gate
After looting the place, interact with the panel to proceed.
Get to the control room
Go back to the place where you got the gate fuse and you’ll be able to pass the gates now. To the left is a staircase to an item, and tot he right is the door to the objective.

Explore the power station / Data-Bios #24
Inside the power station, head to the far corner to see a corpse stuck in the turbine. Interact with it to get the Data-Bios #24: Ofc. Aaron Taycho. Doing so will make the other turbines start moving, attracting the other enemies to show up. Use your GRP to throw the enemies to the turbines for some easy kills.
Enter the power control room
After killing all the enemies, go to the stairs on the right side of the room and enter the next door.
Use code to open the gate
Before interacting with the control panel, go to the left side to find a Reforger station. Afterwards, activate the panel and it will open up the gate outside.
Find Dani in the Courtyard
Go out the door to the left and make your way down the stairs and through the corridor to the next airlock. Check the crate inside the airlock for some more loot. As you get out of the airlock, you’ll see a lot of frozen enemies along your path. Some of them are still alive, so try to tread slowly so as no to awaken too many of them at once.
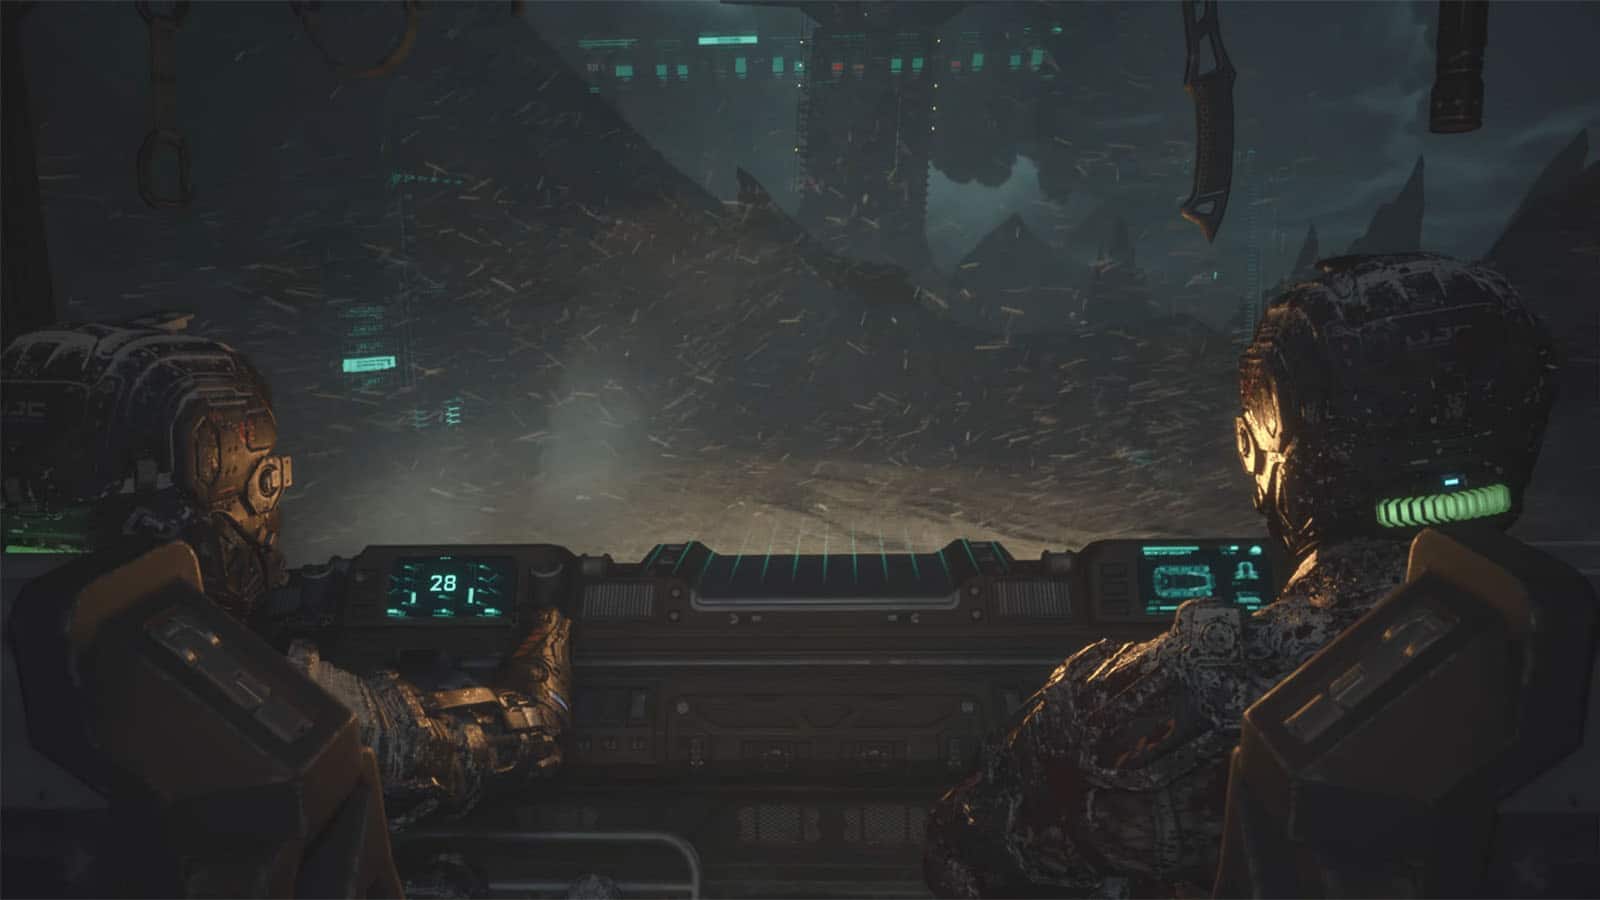
Once you’re at the end of the path, you’ll see Dani and her vehicle. Ride it to get to safety.
Follow Dani / Crash Site Achievement
Dani drives back to Jacob’s ship and wants to investigate something. Follow her inside the ship. You’ll then get the Crash Site Achievement upon entering the ship.
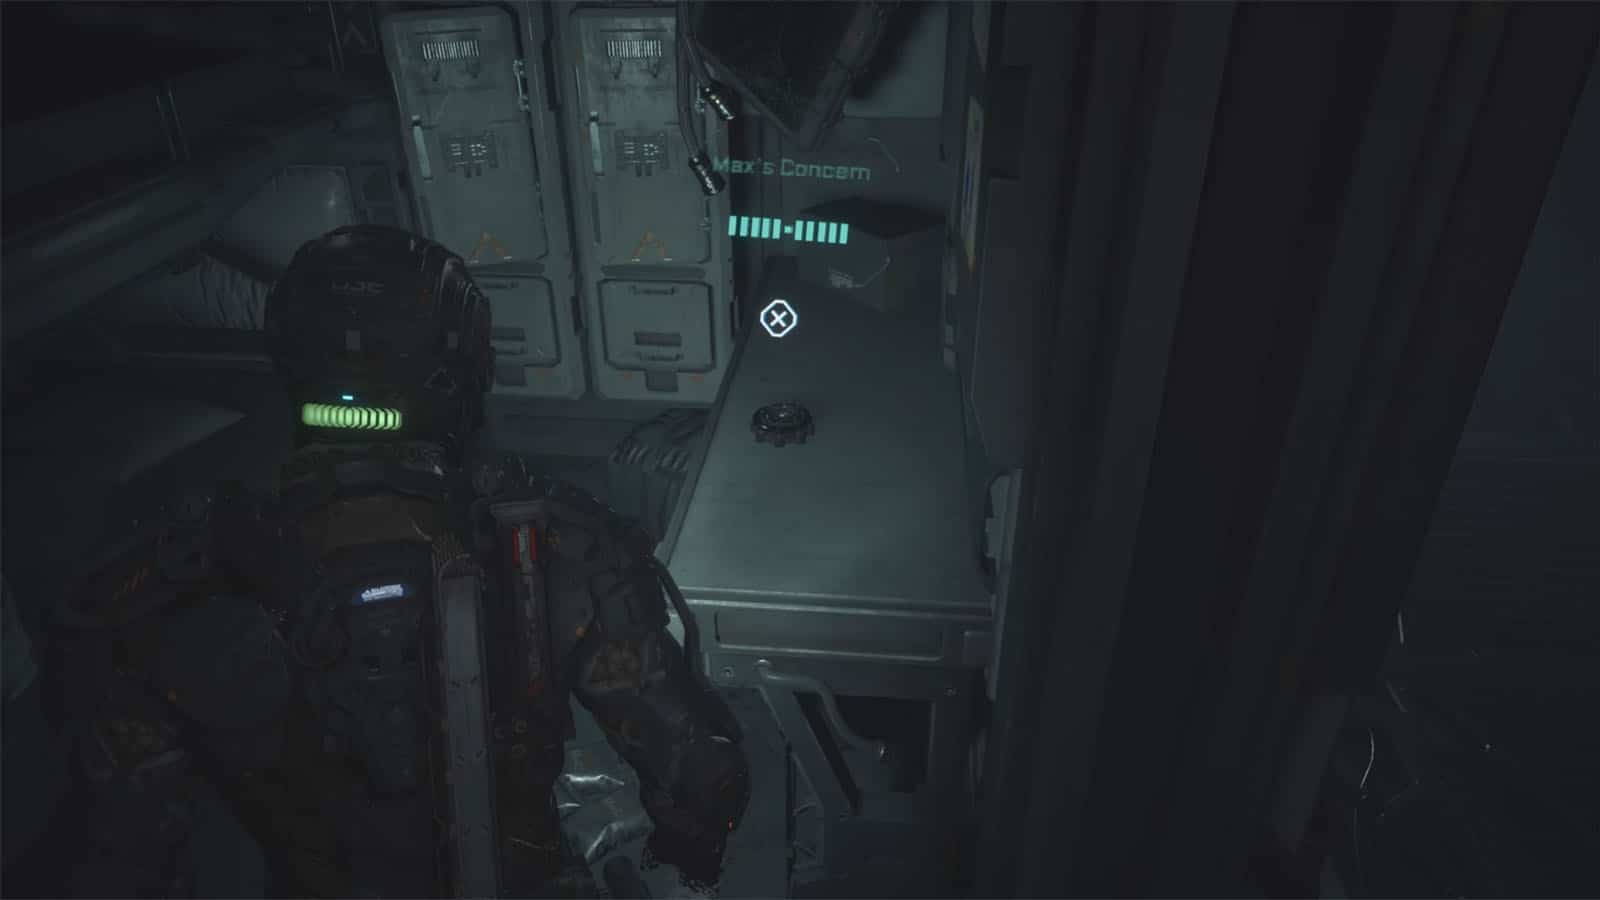
Find Dani / Data-Bios #25
Go through the cabins and you’ll find the Data-Bios #25: Max Barrow: Max’s Concern in his cabin. Continue moving through the cargo hold of the ship and you’ll find Dani trying to open a crate. A cutscene will then play.
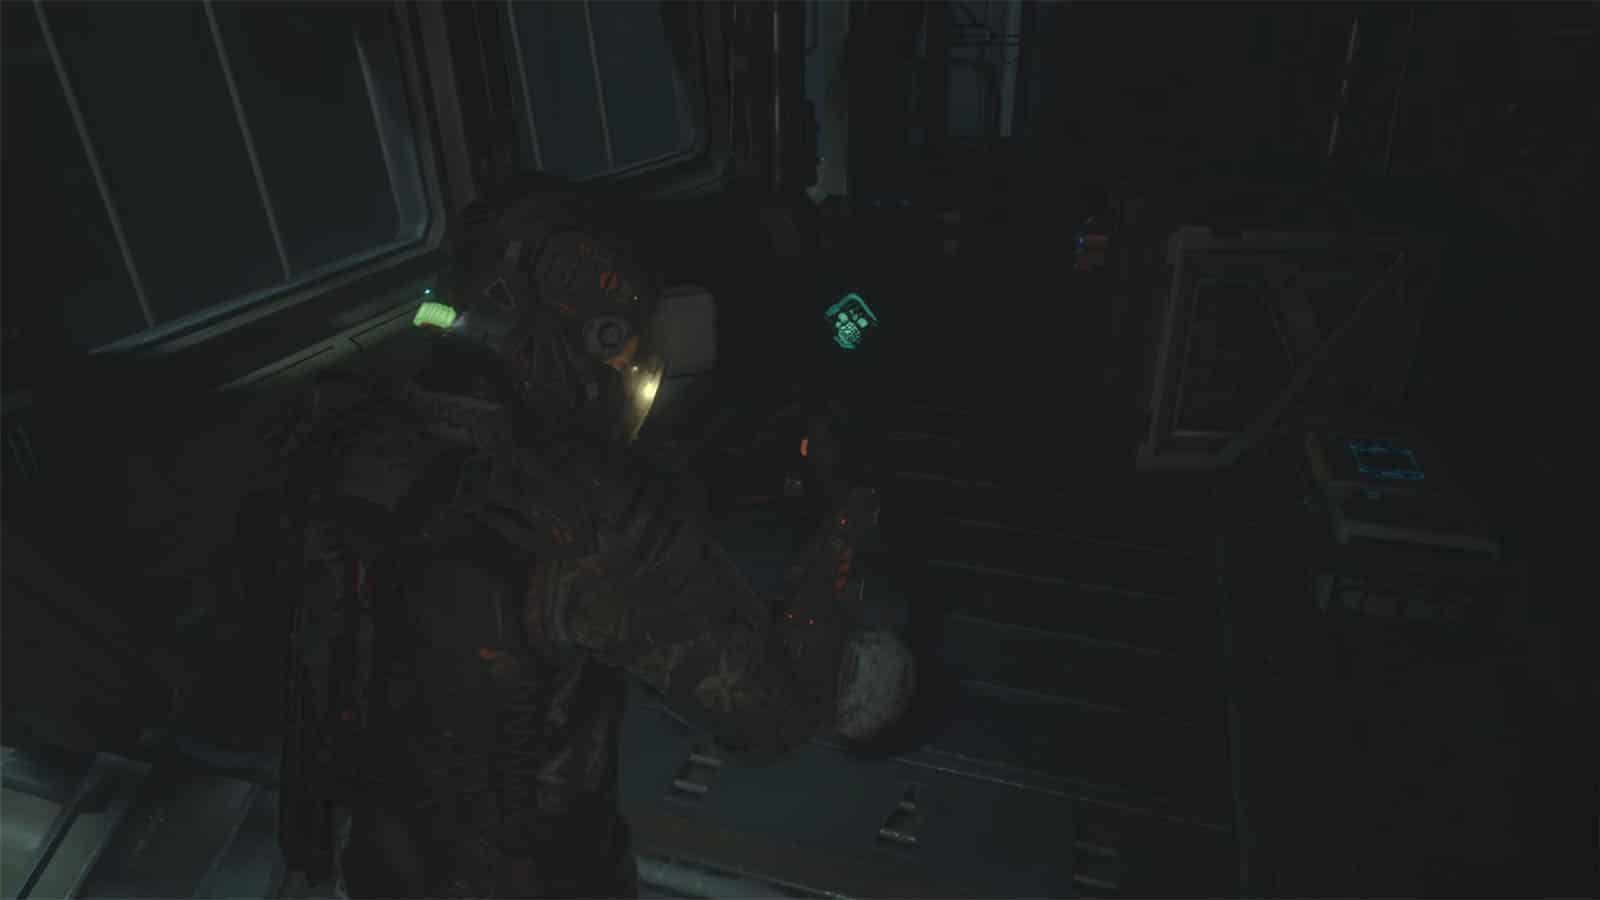
Follow Dani / Data-Bios #26 and #27 / In the Pipe, Five by Five Achievement
Dani will be walking into a hangar. Once you’re in, check out the left side for some loot. Then, head to the right side to find the Data-Bios #26: Sgt. Scott Dvitny inside a vehicle along with a crate.

Head to the next airlock up the stairs. In the next room, go check the loot crate on the far side. Proceed to the next room and Dani will tell you to look around first. Check the crate by the ladder to find the Data-Bios #27: Dr. Caitlyn Mahler: Shipments. Up the stairs is another pristine energy converter that you can get. Join Dani at the elevator to proceed. You’ll receive the In the Pipe, Five by Five Achievement upon reaching the top floor.

After another cutscene with the warden’s hologram, prepare for some QTEs as you’ll be falling through the hangar’s debris. Though the first QTE with Dani will fail, you’ll have a couple more chances on trying to grab hold of something. Pay attention once you see the light bars and hit the button prompt as it appears.
The chapter ends with Jacob waking up from the fall.
Chapter 5: Lost Achievements
Here are the achievements that can be obtained in chapter 5:
- Crash Site: Return to the crashed ship.
- In the Pipe, Five by Five: Reach the Hangar flight deck.
See next The Callisto Protocol: Below Walkthrough (Chapter 6)
If you like this guide, be sure to check out our other The Callisto Protocol articles:
- The Callisto Protocol Characters and Cast
- The Callisto Protocol Chapters List
- The Callisto Protocol ending explained
- How to upgrade weapons in The Callisto Protocol
- How long to beat The Callisto Protocol?
- The Callisto Protocol PC Plays Horrendously
- The Callisto Protocol Post-Launch Content Revealed
- Is The Callisto Protocol on Xbox Game Pass?
- The Callisto Protocol PC System Requirements Revealed
- The Callisto Protocol to Include Denuvo DRM Protection
- The Callisto Protocol Devs Refute “Extra” Death Animations Behind Paywall
Chapter Walkthroughs:
- The Callisto Protocol: Cargo Walkthrough (Chapter 1)
- The Callisto Protocol: Outbreak Walkthrough (Chapter 2)
- The Callisto Protocol: Aftermath Walkthrough (Chapter 3)
- The Callisto Protocol: Habitat Walkthrough (Chapter 4)
Check out this video by BuffMaister showing gameplay for Chapter 5 – Lost:

