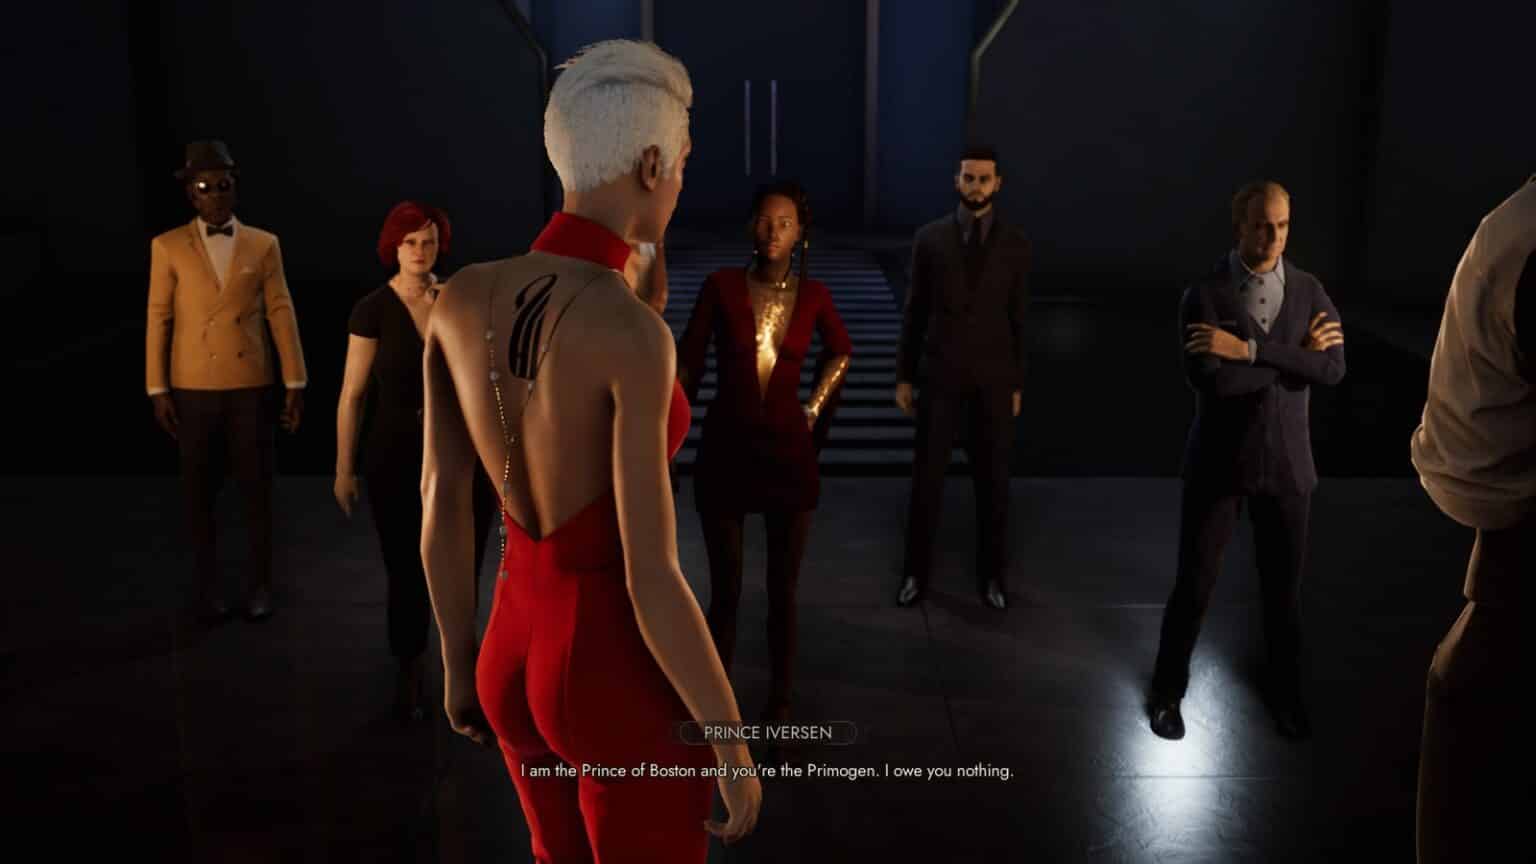
Vampire the Masquerade Swansong is not your typical narrative-driven game, it is an exercise in deduction and one’s ability to read between the lines. At the start of the game, a Code Red has been issued. Everyone is on edge as Prince Iversen calls an emergency meeting to discuss their next steps. She calls upon her most reliable retainers – Emem, Leysha, and Galeb to look into what exactly happened.
Emem
After the brief introduction to the mechanics of the game, we start the game proper.
After talking to and subsequently failing to use her powers on April Bosley, Emem unlocks the ‘Put in her place’ trait.
More characters are introduced and that’s when we talk to Hilda MacAndrews. This tutorial is all about the Dialogue options and changing the outcome using WILLPOWER. It also teaches us about what happens when they TIE. After speaking to her, we head straight to Hazel’s floor for a debrief. You can talk to the people in the lobby, but these interactions aren’t that important in the grand scheme of things.
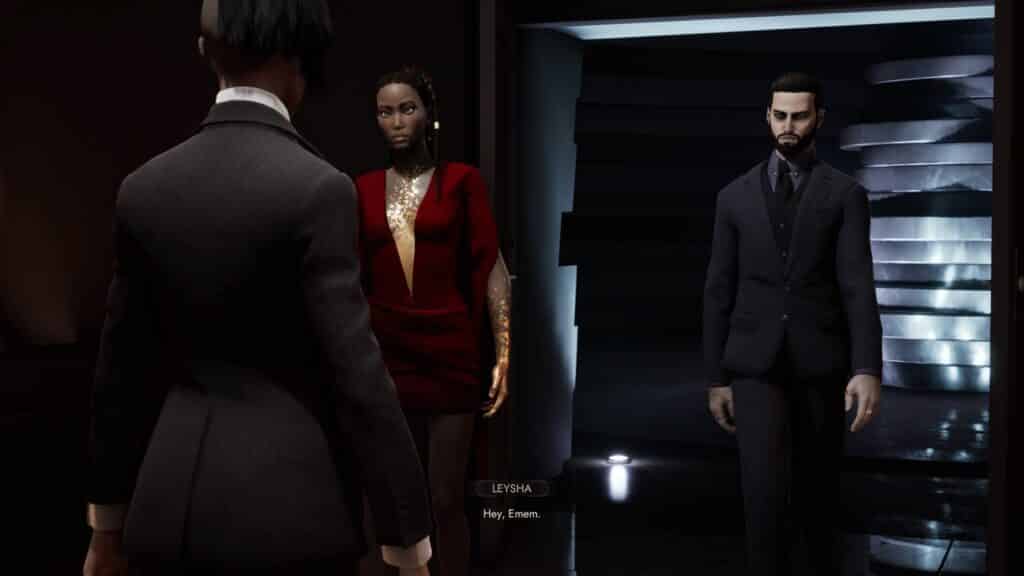
After reaching the Prince’s floor, Emem and Galeb are joined by Leysha. If you read between the lines, you can tell they maintain a professional relationship, even if they have a slight dislike for each other.
Looking at this interaction action after beating the game once, reveals certain virtues that you may want to take note of.
After you’ve sorted out which profile you want to run with Emem. You will have a meeting with Prince Hazel Iversen. The prince will ask you to bring Journey in for questioning.
This is the point the game truly starts as you will be conducting the first of many investigations.
The first thing you want to do is talk to Abigail Nurmi, she will point you towards April Bosley. Unfortunately, that lead will most likely be useless to you. Unless you have Psychology(3), you won’t be getting anything out of her. And it’s not like you can get out of the room just yet. A servant will continue to deny you access to the next room until you stumble upon Journey’s scarf. The item itself is located in an alcove behind Abigail. You need to use Auspex to track down her movements, at the cost of HUNGER(2). Once you’ve done that, you are free to continue your investigation.

Following the trail will lead you to characters you can talk to. You can do so if you wish but it won’t help in the current situation. So, the trail will lead you towards the Archive. You’ll need a keycard to open that room.
Following the trail again will lead you to Journey’s office where Emem can attempt to recover Journey’s search history with Technology(2), at the cost of Willpower(3). Uncovering this sheds more light on what Journey was trying to do. Otherwise, you can consult the computer to find out that Abigail was Journey’s last contact. You can also find a ‘club business card’ that Emem can use to restore Willpower(2).
Abigail’s office is located across the opposite side of Journey’s. Inside the office, you’ll find something burning on her table. Interactive with it to get the next clue.
Once you’ve done that, the next thing you want to do is to find a way into the Archives. You can bypass the lock with Technology(3) but the more simple solution is to head towards Lazarus Sheridan’s office and “borrow” a keycard. The office is located opposite Abigail’s office.
Now that you have access to the archives, you can follow the trail to a filing cabinet where Emem puts the 2 clues together. From there, you’ll need to have another chat with Abigail. Oh, and one more thing, if you’ve already got enough on Abigail, don’t bother with using Auspex on the files. It’s excessive use of HUNGER points.
After confronting Abigail, she’ll next point you toward Jara Drory’s room. To get to it, you’ll need to head back to the offices and in the hallway next to April’s office, you’ll find the stairs leading up to the Primogen’s rooms. Jara’s room is located on the left side before entering a large meeting room. A gold plaque will point you in the right direction.
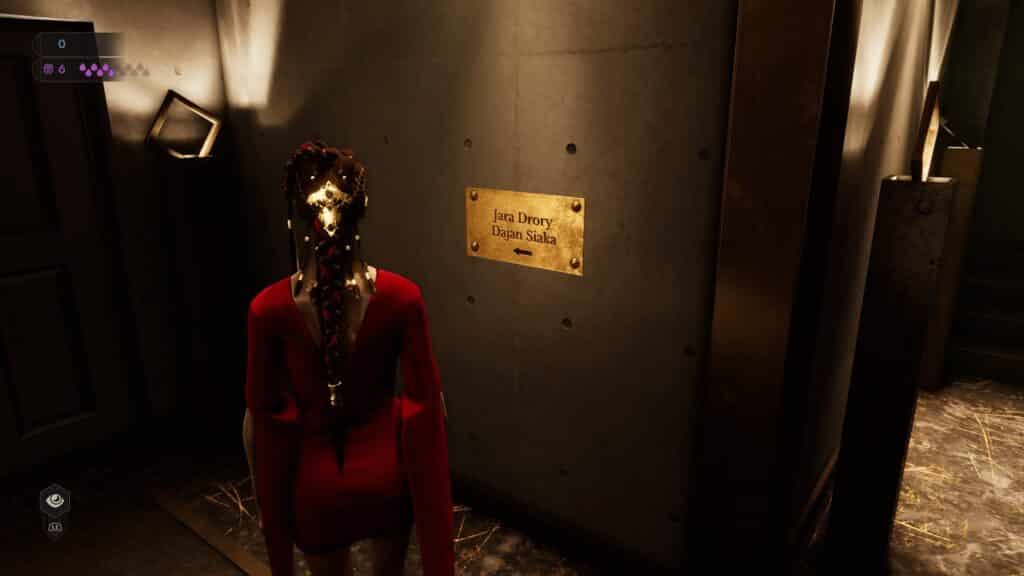
Entering Jara’s room will trigger the next scene. This also means you won’t be able to explore anymore past this point. If you’ve got unfinished business, this is the time to do it.
Inside the room, you’ll find Journey in a panic, looking for any evidence to clear her of any wrongdoings. At this point, the player is asked to either TAKE HER TO THE PRINCE or TELL HER TO RUN. Remember, these choices are what’s going to affect the ending of this game, so choose carefully.
And congratulations, you’ve completed your first investigation. Now, on to the next chapter.
Leysha
The scene opens up with Hazel asking Leysha to spy on the Primogen. As was previously established, the Primogen is the check and balance of the Prince’s powers, and without their support, Hazel couldn’t have become the Prince of Boston. But something has changed since then and now Hazel can’t trust them for some reason. Leysha must find as much dirt on the Primogen and that starts in Jara’s room.
Cloaked, Leysha enters Jara’s room only to find Emem and Journey in conversation. And then suddenly, Leysha is nearly overcome with a vision. As the player, you can either choose to STAY FOCUSED or GIVE IN TO A PREMONITION. If you chose to give in, you’ll see something that only makes sense later on in the game. If you chose to stay focused, you can eavesdrop on the conversation between the two. Which comes into play later on.

By giving in to the vision, Leysha would have unlocked the ‘Introspective’ trait which grants her.
When that’s done, you can start your investigation properly. The first piece of evidence is located inside a small box on top of the bedside table. It’s the proof needed to prove that everything went according to plan. On the bookshelf above the computer, there’s a red file that states that Journey did her job after all. You can pick that up to further clear her name. As for the computer, you can either try to force yourself in with Technology(3) or find the password to open it. The password is located in the living room, written on a picture on top of the deck with the letter.
The password is 1841, by the way.
Once you’ve left the room, you can either meet up with Halsey to end the mission, or continue your investigation of the other 3 members of the Primogen. Personally, I’d go for the latter, experience points are hard to come by and you’ll need as many as you can to give yourself more options to solve puzzles in later levels.
To end the level quickly, all you need to do is to head straight past all the Primogen’s rooms and enter Richard Durham’s room. There, you’ll need to talk Halsey to end the level.
If you’ve decided to follow through and investigate the rest of the Primogen, you can start with the Dajan Siaka. His room is directly left of Jara’s room. Don’t worry about Dajan though, he won’t be in his room so you are free to look around as much as you want.
There are a handful of things you can interact with that hints towards Dajan’s next moves after the Code Red has been lifted. There’s even a ‘polaroid picture’ consumable on the table beside the sofa. Use it later to recover Willpower(2).
But if you’re in a hurry, the evidence you’re looking for is inside Dajan’s bedroom. You’ll need to use Auspex at the cost of Hunger(2) to reveal a piece of paper that might be of interest to Hazel.
Once you’re done with that, you might want to head to Hilda MacAndrews’ room. Her’s is actually very simple. While cloaked, you need only listen to what she’s saying using Auspex. That’s all. Easy, right?
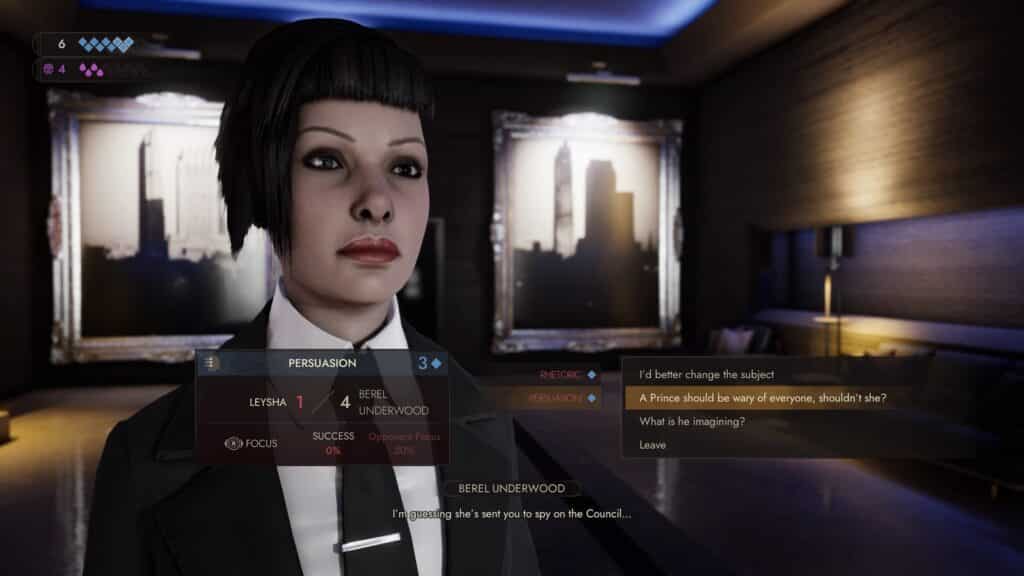
The last one is a little more complicated though. You need to talk to Berel Underwood to get information. But to even have a chance at a conversation you’ll need at least 2 points in Persuasion or Rhetoric. And even then you won’t be guaranteed success even if you use up all your Focus. You can either get lucky to invest in a third skill point. If you manage to succeed, you’ll have more information for Hazel. If not, tough luck.
After you’ve done all that, you can join Halsey in Richard’s office past the other Primogen’s rooms. Richard’s room only the floppy disk for you discover. There’s nothing much to it other than information about the Red Salon and the Warlocks.
The level ends with Leysha’s report to Hazel. If you manage to pick up the red file from Jara’s, you can give that to Hazel to unlock the ‘Merciful‘ trait which allows for a 10% increase in the success rate in Rhetoric ties. Good stuff.
Galeb
The final actor of this scene is Galeb, and compared to what the others have been through, this scene can be seen as a walk in the park.
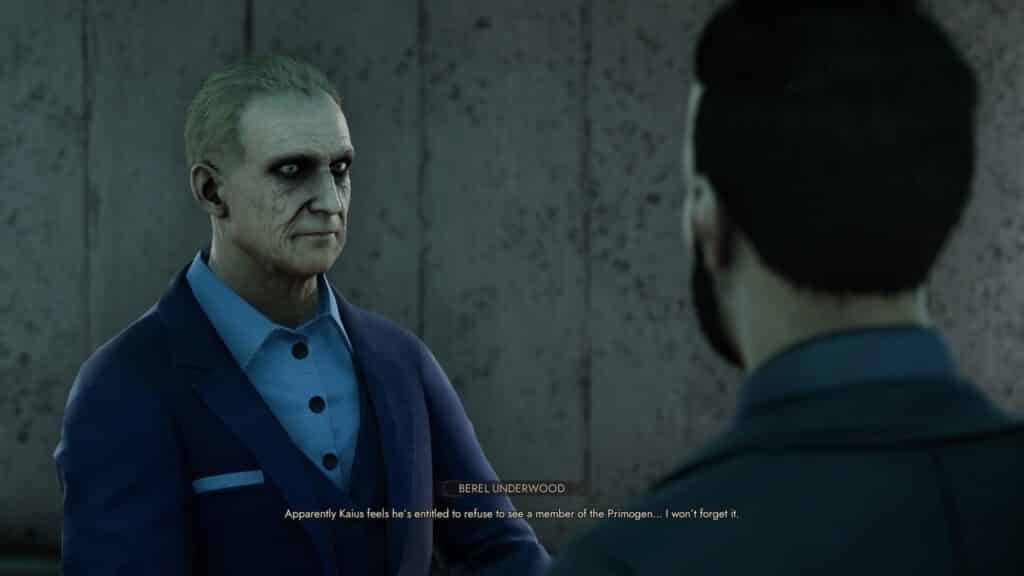
You encounter is Berel at the security office. To have a chance, you’ll need to have at least 2 points in Rhetoric or Psychology then use Focus to give you an opening. To ensure victory though, you’ll need to use ‘Walls of the Mind’ Discipline Power to overcome his silver forked tongue. That’s what I thought though but it seems Discipline powers do not work in conversations. As of this version of the game on PS5, it would appear that the option is busted. You can save it by back to the main menu. It can’t be helped. If the game is broken, you just have to play the odds more than usual to get something that was guaranteed IF the game wasn’t broken.
The next part of the conversation requires Persuasion(2) to have a chance. Lose, however, and you’ll get the ‘Chatterbox’ trait which lowers the success rate of Intimidation ties by 10 percent. Kind of hurts but it can’t be helped.
After the encounter, you can pick up the small security key inside a small box on the computer’s dashboard. You can use that key to open a safe containing an ‘old coin’. If you don’t have a point in Technology, your only option is to end the level.
Because of the bug, you had more trouble than it was worth. But at least you learned why Berel Underwood wanted to see Kaius Leto. And that’s worth 25 points of experience. It’s better than nothing.
After a briefing with the Prince, the agents are set loose to investigate matters pertaining to the party.
All Vampire the Masquerade Walkthrough guides:
- Vampire the Masquerade Swansong Walkthrough Part 1 – Prince’s Quarters
- Vampire the Masquerade Swansong Walkthrough Part 2 – Loft
- Vampire the Masquerade Swansong Walkthrough Part 3 – Moore’s Apartment
- Vampire the Masquerade Swansong Walkthrough Part 4 – Unknown
- Vampire the Masquerade Swansong Walkthrough Part 5 – Prince’s Quarters
- Vampire the Masquerade Swansong Walkthrough Part 6 – Long Island
- Vampire the Masquerade Swansong Walkthrough Part 7 – Anarch’s Domain
- Vampire the Masquerade Swansong Walkthrough Part 8 – Red Salon
- Vampire the Masquerade Swansong Walkthrough Part 9 – SAD Base (Leysha)
- Vampire the Masquerade Swansong Walkthrough Part 10 – SAD Base (Emem)
- Vampire the Masquerade Swansong Walkthrough Part 11 – SAD Base (Galeb)
- Vampire the Masquerade Swansong Walkthrough Part 12 – Intelligence Elevator
- Vampire the Masquerade Swansong Walkthrough Part 13 – Basement 3
- Vampire the Masquerade Swansong Walkthrough Part 14 – Server Room
- Vampire the Masquerade Swansong Walkthrough Part 15 – Basement 4 Labs
- Vampire the Masquerade Swansong Walkthrough Part 16 – Hospital Chapel
Check out our other Vampire the Masquerade: Swansong content:
- Vampire the Masquerade Swansong – Deeper Look into the Mechanics
- Vampire The Masquerade Swansong – Best Starting Profile For Each Character
- Vampire The Masquerade Swansong – Removing the Red Salon Guard
- Vampire The Masquerade Swansong – QR Code ARG
- Vampire The Masquerade Swansong – Which Coffin for Miley
- Vampire The Masquerade Swansong – The Right Dose of Trajax
- Vampire The Masquerade Swansong Secret Endings
- All Vampire The Masquerade Swansong Endings
Also check out this Vampire The Masquerade Swansong Gameplay Walkthrough Part 1 by GameRiot:


