Galeb manages to overpower and subsequently kill the soldiers holding him prisoner in one fluid motion. His mission has not changed. He still needs to locate and eliminate Monseniur Stanford.
Check the rest of this guide to know which points to invest in before starting the level. And remember, just cause there is a solution that saves you Willpower in the end, it doesn’t mean it’s the best solution. You WANT to use your Willpower to improve your mastery of talents.
And with that out of the way, let’s start the level.
Before leaving the interrogation room, make sure to pick up the High Security key off the corpse of one of the soldiers. You’ll also want to collect the Blue SD card from the fallen tripod on the floor. You can also find a poker in the same tray as the cross and other torture instruments. It’ll come in handy later.
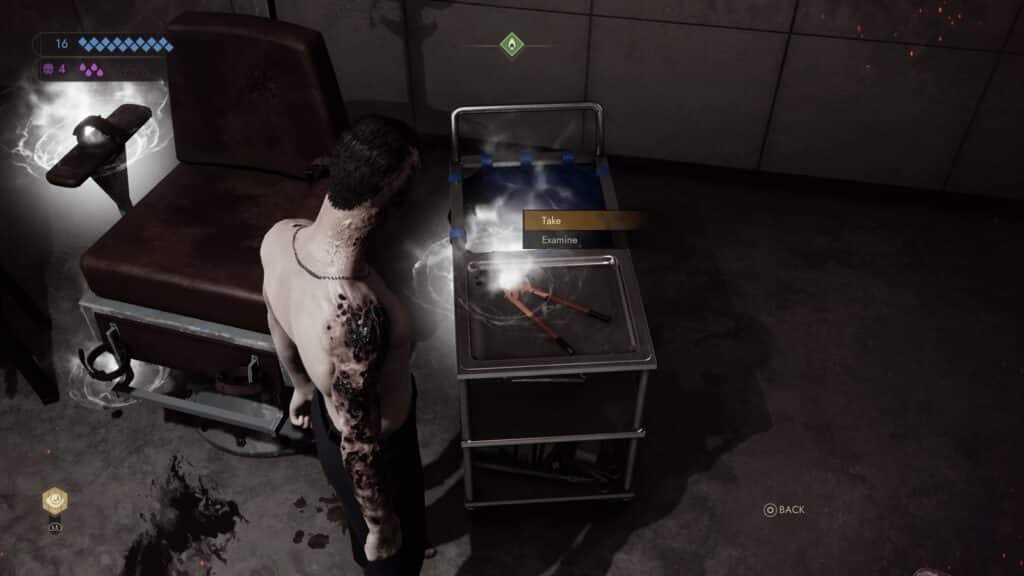
After exiting the room, you’ll want to turn left towards another torture chamber. Inside, you’ll find a saw and cutters beside the torture chair. Pick them up. Using your Sense the Unseen power, you discover that they’ve been torturing a werewolf. He can come in handy as a distraction if you choose to let him loose on everyone in the facility.
Across the hall past the cells, you’ll come across a soundproof booth. Inside the room, you’ll find the other key that opens the cells. It’s located inside a key storage locker. Now that you’ve gotten the keys, you can use them both to open the cells.
Now, let’s work on your options
Prisoner Transfer Request
If you have the SD card with you, you can insert it into the recorder inside the closet. Listening to it reveals that you can use a prisoner transfer request to get yourself out. All you need is someone willing to help you.

Go back to the main cell block and enter cell 4. There, you will find Michelle Davis. You need at least Dominate(3) for the two of you to start talking and Presence or at least Persuasion(4) to convince her to go with your plan. And that plan involves faking a prisoner transfer.
To make this escape attempt happen, you’ll need to:
- Return to the interrogation room and pick up the stake they drove into your heart.
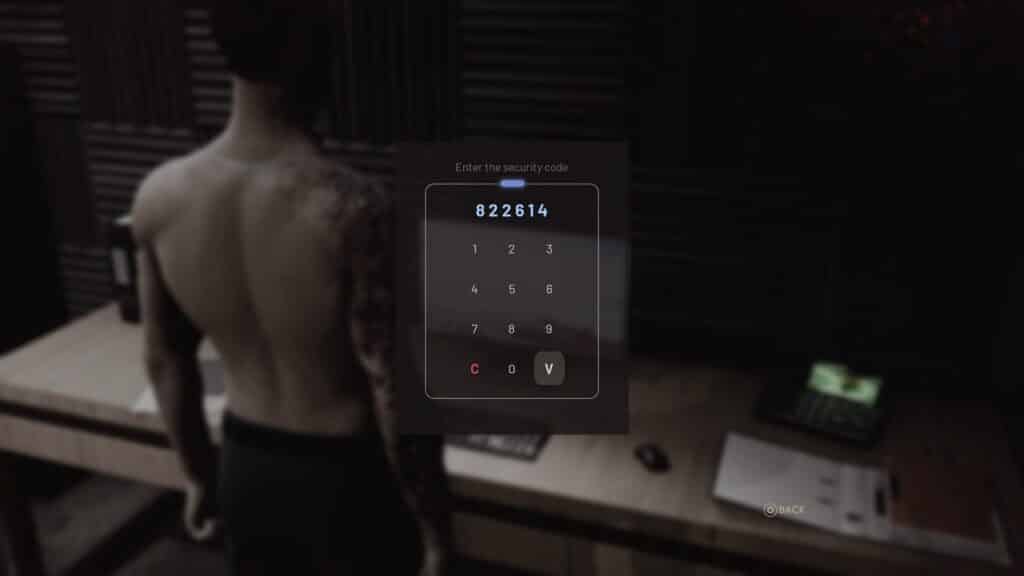
- Go to the office right next to the soundproof room and use Presence to terrify Agent Dern to reveal her rank to you. If you killed her before getting anything out of her, you can still get her rank using the rusty crowbar on the locker right of her locker to get the passcode for the computer in the soundproof room. Open access it, enter 822614, and there you can find out Dern’s rank.
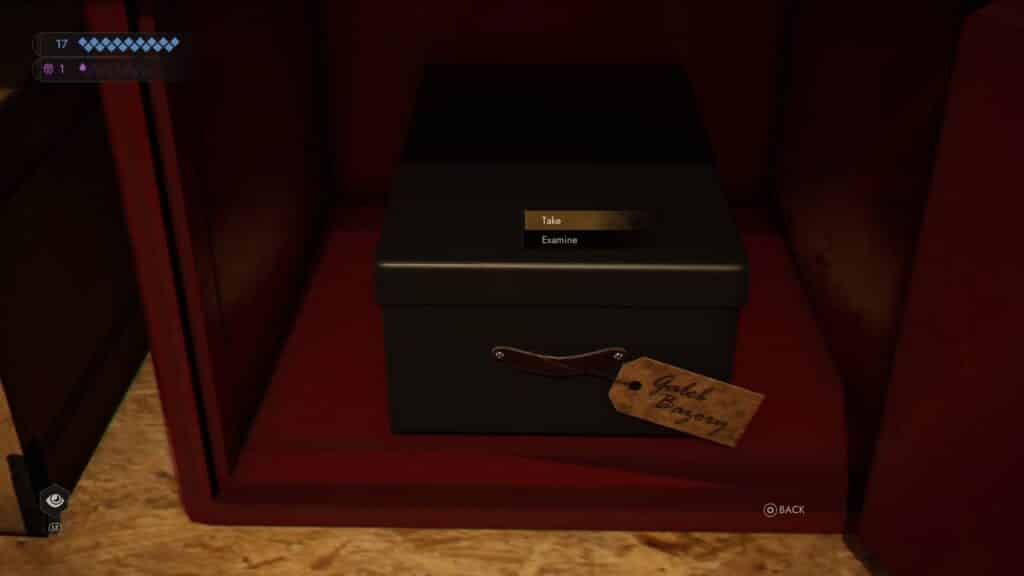
- Go through Dern’s pockets to get a key that you can use to open her locker. Inside her locker, there’s a cellphone that Michelle can use to imitate Georgia Dern. You may need to listen to one of the entries first before the option to pick it up becomes available.
- To get the full A745_C form, you’ll need to pick up a blank certificate from the cabinet in the soundproof room. Go back to the room with the confiscated items and use the stamp to prepare the document for use. And find finally, to get Dern’s implant number, look at the sign-in sheet on the wall above the computer in the room where you killed Dern. Once you know the implant number, use the stationaries on the other table to fill out the form.

While you’re in the confiscated items lock-up, if you kept the Red Implant secret from Stanford, you will be able to easily get the consumables you have lost when you got first captured.
Cooperating with the Werewolf
If you couldn’t use Dominate to get Michelle on your side, you’ll have to find another way to escape the prison. And that method involves a Werewolf.
After you’ve opened the cells, go to the back of the cellblock. There you will find a High-Security cell that houses the Werewolf.
To easily convince him that the SI are a greater threat, you’ll need to look at a report inside the soundproof where it takes about the other wolves. If you’ve read that, choose ‘I discovered that the SI has tracked down his pack’ as your dialog option. Else, you’ll need at least Psychology(4) to convince him.

Once you open the door, you’ll be treated to a cutscene of him transforming into a Werewolf before storming out and killing everyone downstairs.
If you chose to go with the Werewolf, you can take the time to chat with Berel once more and decide if his worth to the Camarilla is more than the peace you get by walking away from such a problematic Childe.

If you choose to release him, I hope you’ve set him straight and he hasn’t been talking to Xu Feng behind your back. You don’t need another mistake shadowing you to the end of your days.
To end the level, walk up to the evidence and interact with your clothes to go deeper into the facility.
All Vampire the Masquerade Walkthrough guides:
- Vampire the Masquerade Swansong Walkthrough Part 1 – Prince’s Quarters
- Vampire the Masquerade Swansong Walkthrough Part 2 – Loft
- Vampire the Masquerade Swansong Walkthrough Part 3 – Moore’s Apartment
- Vampire the Masquerade Swansong Walkthrough Part 4 – Unknown
- Vampire the Masquerade Swansong Walkthrough Part 5 – Prince’s Quarters
- Vampire the Masquerade Swansong Walkthrough Part 6 – Long Island
- Vampire the Masquerade Swansong Walkthrough Part 7 – Anarch’s Domain
- Vampire the Masquerade Swansong Walkthrough Part 8 – Red Salon
- Vampire the Masquerade Swansong Walkthrough Part 9 – SAD Base (Leysha)
- Vampire the Masquerade Swansong Walkthrough Part 10 – SAD Base (Emem)
- Vampire the Masquerade Swansong Walkthrough Part 11 – SAD Base (Galeb)
- Vampire the Masquerade Swansong Walkthrough Part 12 – Intelligence Elevator
- Vampire the Masquerade Swansong Walkthrough Part 13 – Basement 3
- Vampire the Masquerade Swansong Walkthrough Part 14 – Server Room
- Vampire the Masquerade Swansong Walkthrough Part 15 – Basement 4 Labs
- Vampire the Masquerade Swansong Walkthrough Part 16 – Hospital Chapel
Check out our other Vampire the Masquerade: Swansong content:
- Vampire the Masquerade Swansong – Deeper Look into the Mechanics
- Vampire The Masquerade Swansong – Best Starting Profile For Each Character
- Vampire The Masquerade Swansong – Removing the Red Salon Guard
- Vampire The Masquerade Swansong – QR Code ARG
- Vampire The Masquerade Swansong – Which Coffin for Miley
- Vampire The Masquerade Swansong – The Right Dose of Trajax
- Vampire The Masquerade Swansong Secret Endings
- All Vampire The Masquerade Swansong Endings
Also, watch this video by 100% Guides on Vampire The Masquerade Swansong Parley Trophy Guide:


