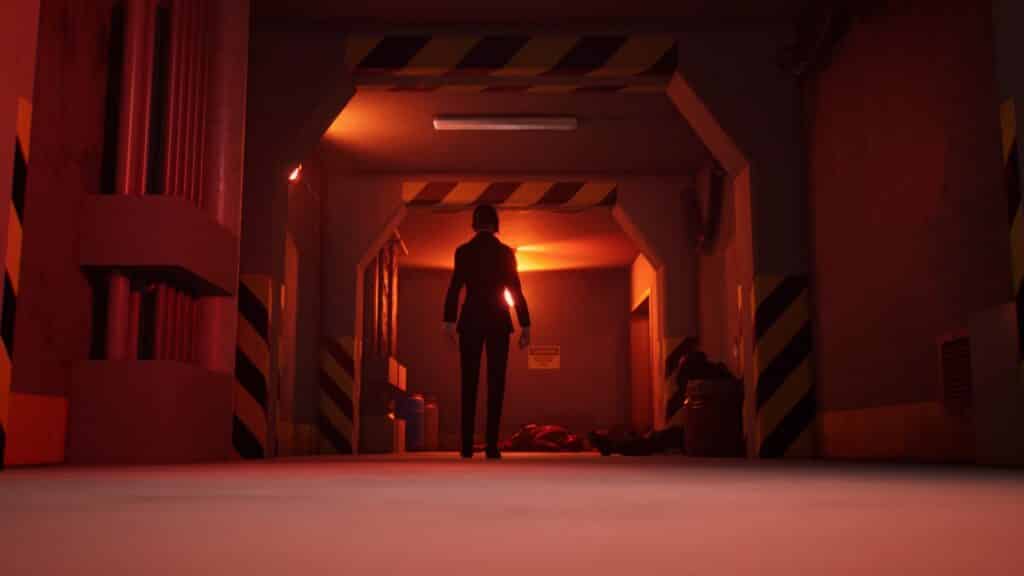
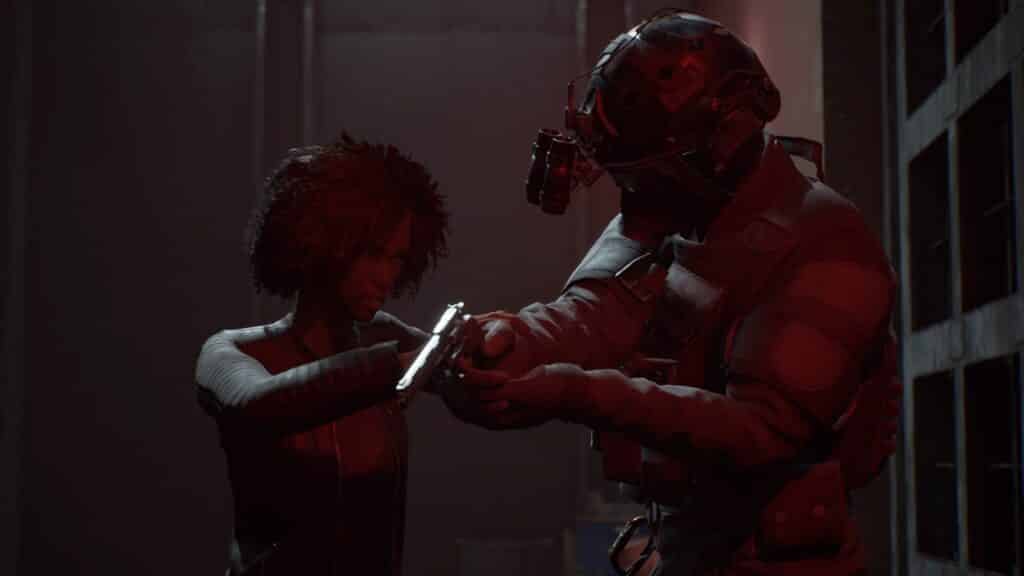
Emem is slowly making her way towards the server room. She made it all the way to the Intelligence elevator before a group of soldiers appeared and started to work on something on this floor. Emem must find a way to go through them.
Check the rest of this guide to know which points to invest in before starting the level. And remember, just cause there is a solution that saves you Willpower in the end, it doesn’t mean it’s the best solution. You WANT to use your Willpower to improve your mastery of talents.
And with that out of the way, let’s start the level.
This level is actually straightforward. What you want to do first is to make your way to the elevator shaft via the maintenance level above the Intelligence offices.

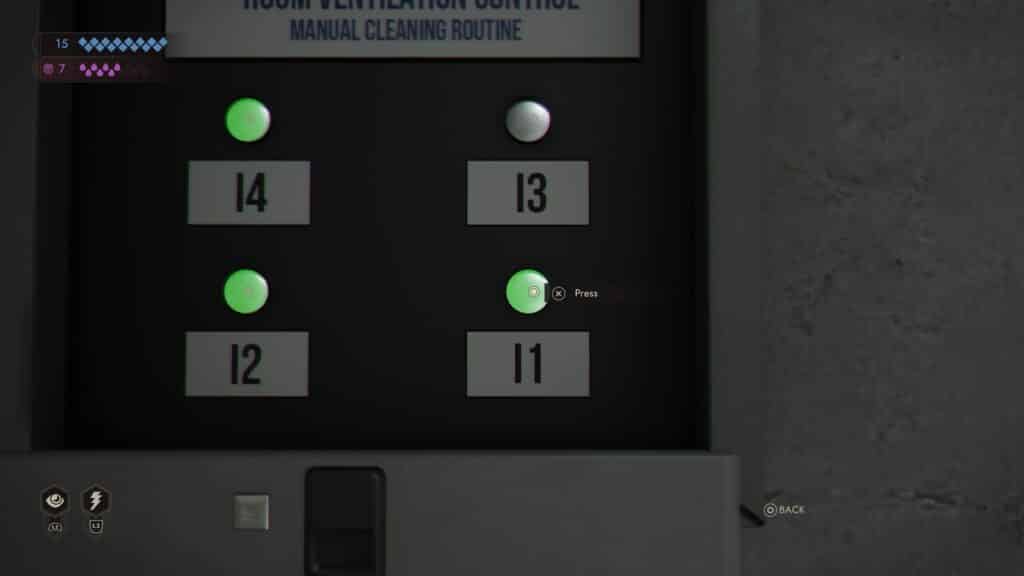
Pick up the magnetic key card from the storage cabinet. Make your way back to the Intelligence offices and look for the vent control panel. You’re going to use the panel to thin out the herd.

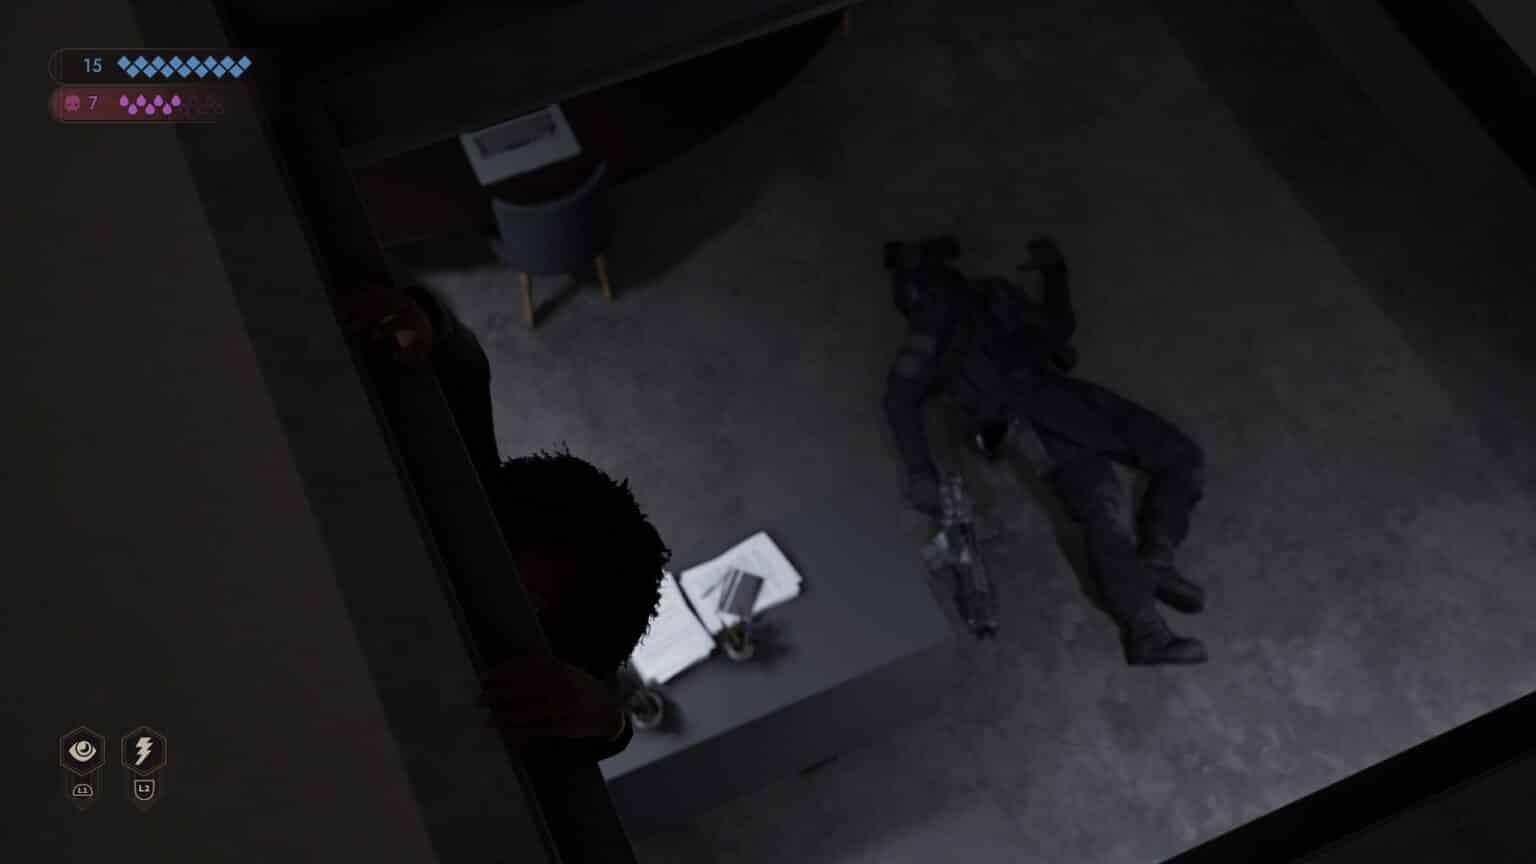
Start with either Room 11 or Room 12. As the system is resetting, the action will draw one of the guards into the room. Wait above the ceiling until the guard enters the room. As soon as the room opens, you will get a prompt to eliminate them. You don’t need to wait for them and there’s no chance of them warning their friends. Additionally, after Emem kills a soldier, she will immediately go back up to the maintenance level.
Repeat the process again to kill the other guard.
After you’ve eliminated both guards, the third guard will start to get impatient and will start to make patrols of his own. Conveniently, he starts his patrol in Room 13, the only room that doesn’t have a dead body in it.
After you’ve dealt with that guard, you are free to eliminate the last agent on the floor. Head to the hatch above Room 14 to take out the agent.
You are free to end the level here and there. Simply walk over to the dead agent and pick up the key to the office. Go to the elevator to finish the level.

If you don’t want to end the level yet, you can go around the offices to collect information vital to your search for the traitor.
Collecting Intelligence on the Traitor
To find the first clue, you’ll need to know more about Charles Nussbaum. You can find out about him by looking at the memo from the Intelligence director’s room.
From the memo, you find out that Nussbaum was fired for gathering information on the organization with the intent of releasing that information to the public. He never went through with his plans but his intel will come in handy for us.

Start by going to his former workstation in Room 11. Using Auspex on his belongings, you catch glimpse of how far he went to keep his findings a secret. You need to look up at the ceiling to know where he hid his intel. When that’s done, head back to Room 14 to go up to the maintenance floor and make your way to the area above Room 11. Hidden in the base’s pipes is the intel.

Alternatively, if you don’t want to use increase your hunger, simply go back to the dead agent and look at her shoes to find a note as to where she can find the hidden message. Apparently, Nussbaum and Rowen were on the same page.
In the message, we find that Charles managed to get the code to Brehm’s safe.
To open the safe, go back to the main floor, to Room 13, and in the safe in the back, input the following code.

Enter 050211 as the security code.
The intel reveals that the informant goes by the name of “Corvus”. This will be crucial when looking for their identity later on.

All Vampire the Masquerade Walkthrough guides:
- Vampire the Masquerade Swansong Walkthrough Part 1 – Prince’s Quarters
- Vampire the Masquerade Swansong Walkthrough Part 2 – Loft
- Vampire the Masquerade Swansong Walkthrough Part 3 – Moore’s Apartment
- Vampire the Masquerade Swansong Walkthrough Part 4 – Unknown
- Vampire the Masquerade Swansong Walkthrough Part 5 – Prince’s Quarters
- Vampire the Masquerade Swansong Walkthrough Part 6 – Long Island
- Vampire the Masquerade Swansong Walkthrough Part 7 – Anarch’s Domain
- Vampire the Masquerade Swansong Walkthrough Part 8 – Red Salon
- Vampire the Masquerade Swansong Walkthrough Part 9 – SAD Base (Leysha)
- Vampire the Masquerade Swansong Walkthrough Part 10 – SAD Base (Emem)
- Vampire the Masquerade Swansong Walkthrough Part 11 – SAD Base (Galeb)
- Vampire the Masquerade Swansong Walkthrough Part 12 – Intelligence Elevator
- Vampire the Masquerade Swansong Walkthrough Part 13 – Basement 3
- Vampire the Masquerade Swansong Walkthrough Part 14 – Server Room
- Vampire the Masquerade Swansong Walkthrough Part 15 – Basement 4 Labs
- Vampire the Masquerade Swansong Walkthrough Part 16 – Hospital Chapel
Check out our other Vampire the Masquerade: Swansong content:
- Vampire the Masquerade Swansong – Deeper Look into the Mechanics
- Vampire The Masquerade Swansong – Best Starting Profile For Each Character
- Vampire The Masquerade Swansong – Removing the Red Salon Guard
- Vampire The Masquerade Swansong – QR Code ARG
- Vampire The Masquerade Swansong – Which Coffin for Miley
- Vampire The Masquerade Swansong – The Right Dose of Trajax
- Vampire The Masquerade Swansong Secret Endings
- All Vampire The Masquerade Swansong Endings
Also, watch this video by 100% Guides on Vampire The Masquerade Swansong Black Rattlers Trophy Guide:


