


The Prince sends Leysha and Halsey to the apartment where the massacre went down. She has no idea what’s happened. It’s up to her to make sense of everything, recover all important documents linking back to the Camarilla, and piece together the events that led to the massacre.
As always, check the rest of this guide to know which points to invest in before starting the level. And remember, just cause there is a solution that saves you Willpower in the end, it doesn’t mean it’s the best solution. You WANT to use your Willpower to improve your mastery of talents.
And with that out of the way, let’s go start the level.
After leaving the elevator, you will come across two officers guarding the door to the apartment. There’s nothing to do besides talking to them. They’ll inform Leysha that the only ones allowed in there are the officers. And that’s when you’ll have access to the ‘Mask of a Thousand Faces’, which allows you to disguise yourself in the uniform of anyone in authority, at the cost of Hunger(2).

Now, if you think it was as easy as taking using the uniform of those beat cops and waltzing your way through, then you are sorely mistaken. You do this and the officers in the front will deny you access because they don’t want too many rank and file in there.
What you need to do is to use Obfuscate to sneak past the guards, and copy the uniform of a Homicide Detective. Doing so will allow you access to the apartment and you can interact with the environment as if you are looking for clues.
Cross the police line to get to the next part of the level. This is where the game introduces you to Confrontations.
To successfully calm Halsey down, you’ll need to distract her by making her focus on making up riddles instead of thinking about the carnage around her.
In the first stage you’ll want to choose ‘Let’s take a time out‘. The other options using Willpower can work but Halsey’s so distraught that failure is more likely.
Leysha asks Halsey to think of a riddle to occupy her mind. After hearing the riddle, you can either solve it, use Willpower to ask for a hint, or use Dominate to shut the conversation down.
If you chose to solve the riddle, go for ‘I think it’s’ and then ‘Fire’.
Doing so, will calm Halsey down somewhat and reduce her Hunger(2).
In the living room with the fireplace in the middle, go around the left side, and hidden behind a couple of large pillows, you’ll find some items belonging to Dr. Richard Durham.
After finding the items, the left side of the apartment should open up. On the right side of the hall, there’s a safe zone with a ‘lockpicking tool’ inside. The hall might seem like a dead-end but it’s not. In reality, someone hid an entire room from the humans. Break the illusion and you get to talk to a survivor of the attack. Natasha sheds some light on the incident. Talking to this witness will give Leysha some experience.
Before leaving the room, make sure to pick up the ‘polaroid picture’ consumable on top of the desk Natasha is leaning on.
You can talk to Captain Paulson to increase your trait mastery.
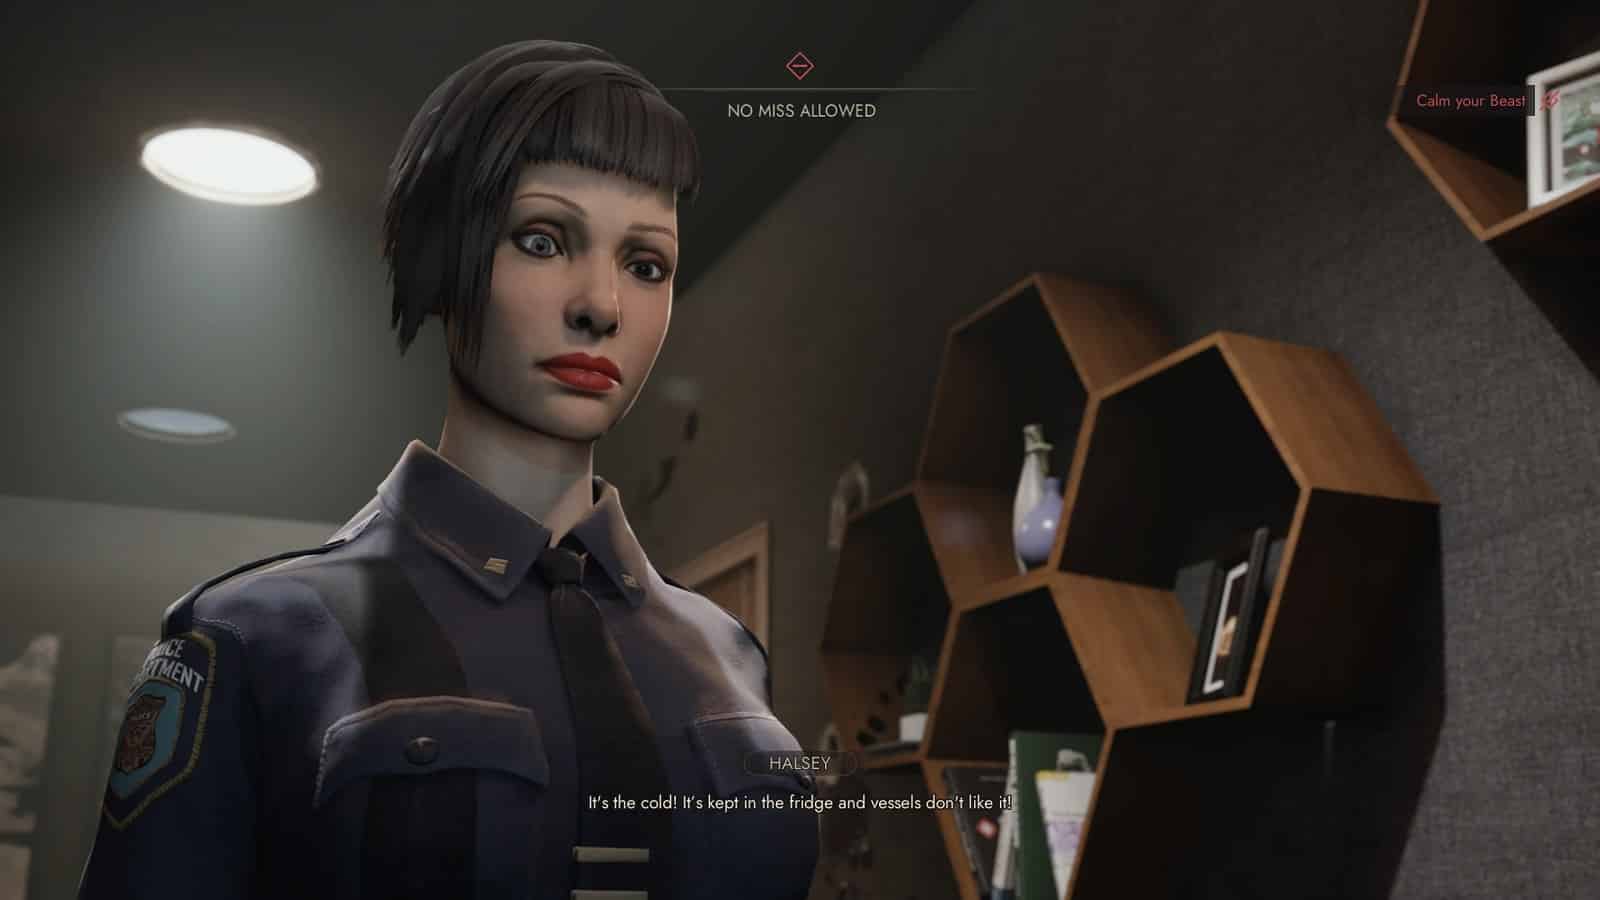
Go straight down the hall towards where forensics officers are working. This will trigger the next Confrontation with Halsey.
You can use Dominate to convince her that you’ve already given an answer, but I think that’s a waste of Hunger(3). Instead, you’ll want to choose ‘I know…’ first, and then answer with ‘The cold’. There’s only one stage for this Confrontation.
After the Confrontation, Halsey will ask Leysha about voices in their heads. You can try to change to subject for Willpower(3) or admit that you hear voices too. You can either talk about random voices or you do hear Richard’s voice. It’d be best if Leysha was honest with the child. But it’s ultimately up to you to decide.
A little further, there’s the kitchen.
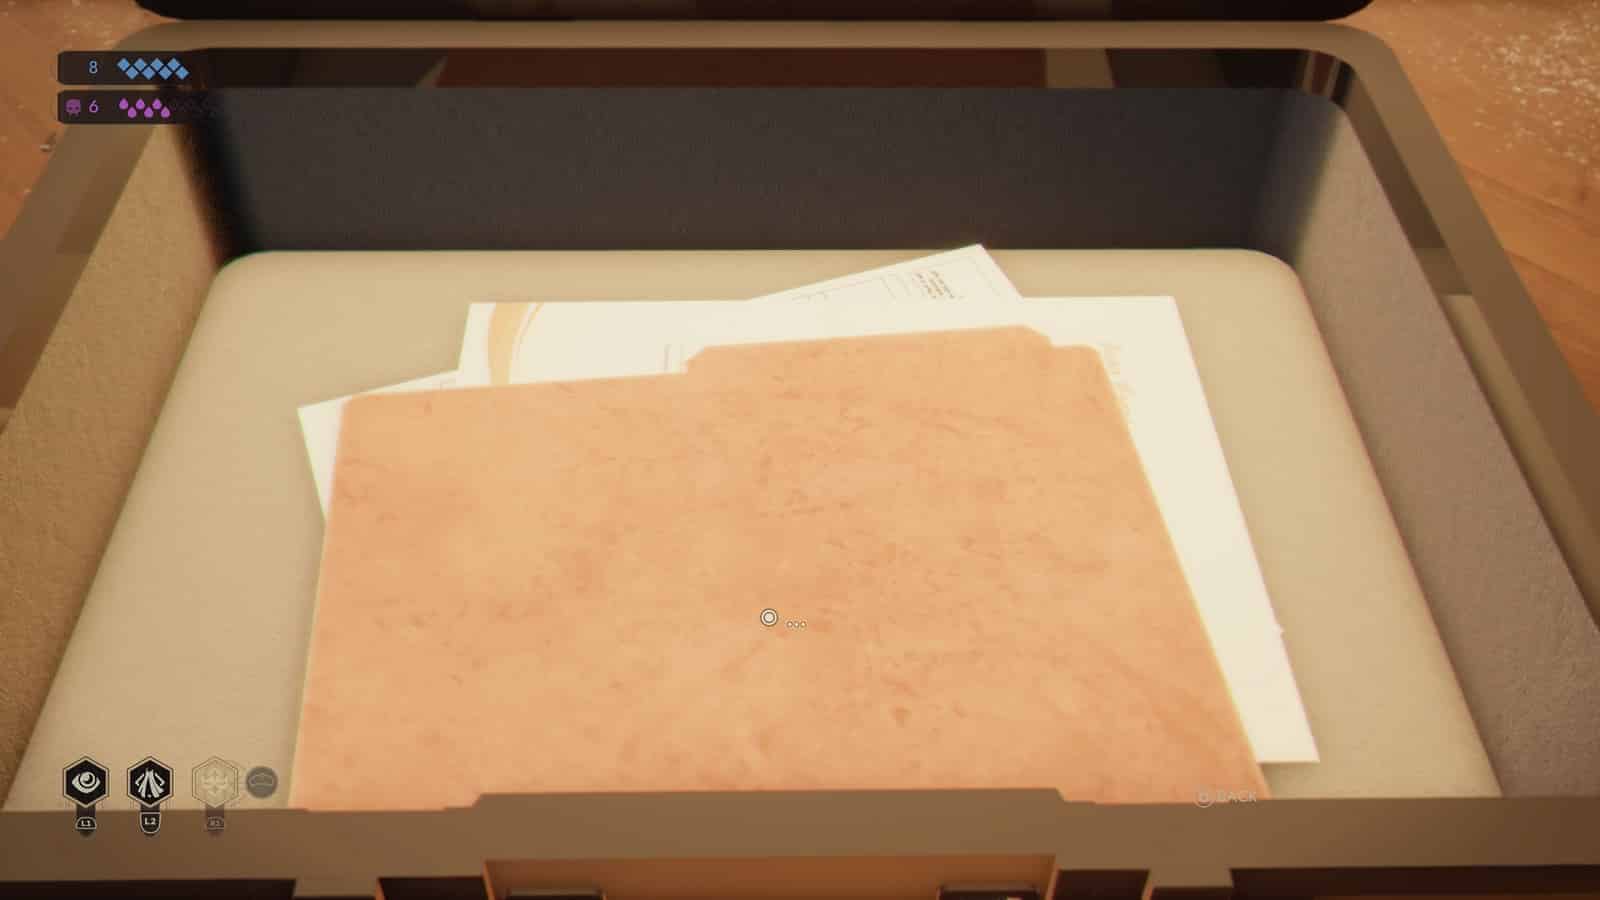
On the island in the middle of the room, there’s a briefcase with information invaluable to the Vampires. You need to deal with it. You can open it by hacking it. You need Technology(2) to unlock it. If you don’t want to use your Willpower, you can look around for the Keycode.
Don’t forget to use ‘Cloak of Concealment’ to hide it from view. If you leave it be, that’s going to increase your Suspicion meter and that’s detrimental to all 3 characters.
To get the code for the briefcase, you’ll need to go into the wine storage room and inspect the phone next to one of the dead servants.
The code is 6159.
Before leaving the storeroom, you can find the ‘Thin-Blood Watch’ which benefits players who use Willpower a lot. It comes in handy during ties. The piece of Gear can be found in the wine rack in the back, farthest away from the door, facing the dead servant.
To advance to the next section, you’ll need to copy the uniform of someone from Forensics. After crossing the police line, Halsey will call you to the laundry room for one last Confrontation.
The last riddle is a kind of a head-scratcher. Halsey’s going to ask you a ‘who am I?’ riddle.
For a quick solution, choose ‘Her childe’. Successfully doing this will calm Halsey down while further reducing your Hunger(2).

Exit the room and then go to the bedroom to the left. There you will be someone who shows signs of a BDSM session gone horribly wrong. You can’t do anything in the room yet so your next step is to go to the room on the right.
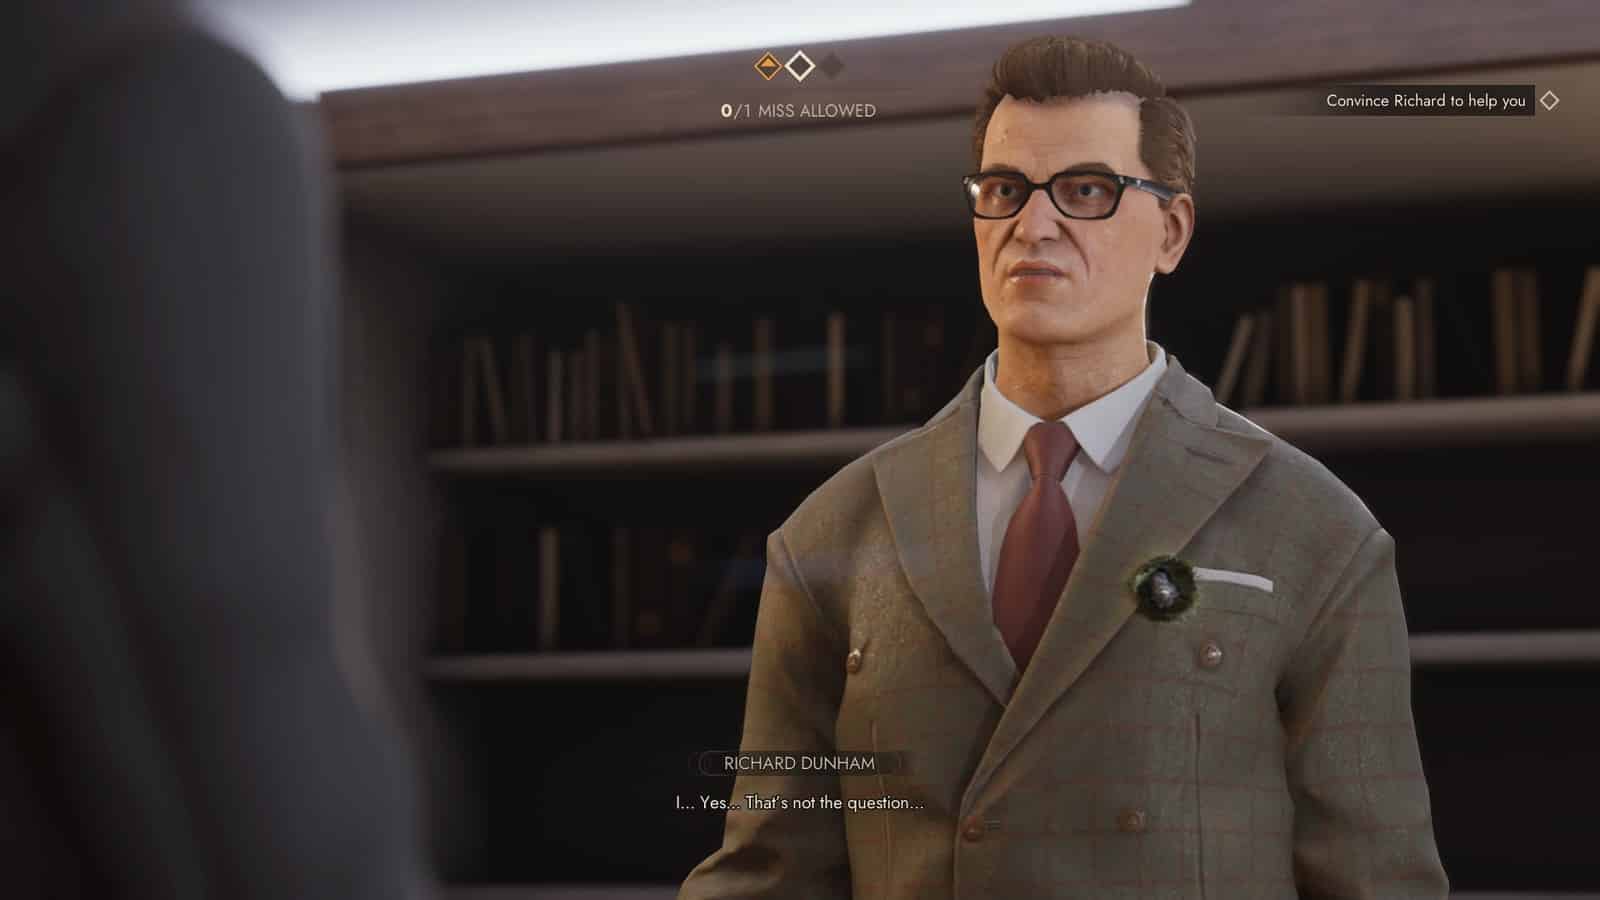
In that room, you will find Richard… with a stake through the heart. Leysha removes the stake but Richard is in a foul mood. They both get into an argument, but it’s your job to convince him to help.
To win this confrontation without wasting Willpower in Rhetoric(3) and Psychology(4), you’ll need to choose ‘I came for him’.
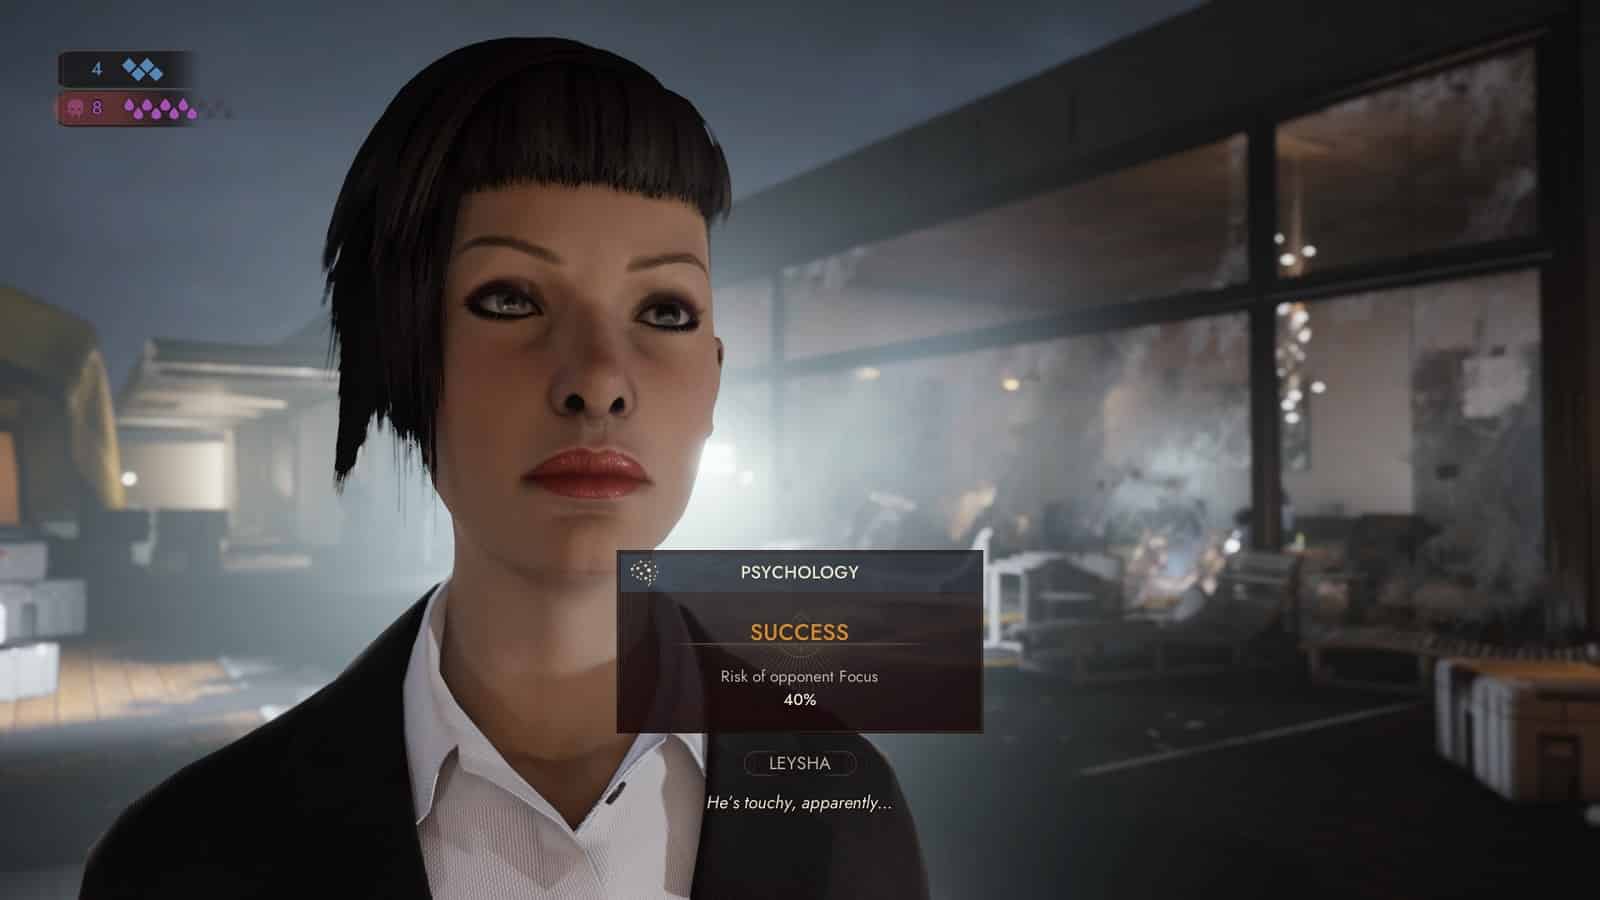
If you don’t have 1 point in Education, you’ll have to choose ‘He’s wrong’, followed up by ‘She said she trusted me’. You can also choose the Psychology(4) option if you have enough points for it. If you did have a point in Education, you’ll have won that round instantly.
For the final round, you’ll want to choose ‘I’ll go back later’. With enough Persuasion(3), you can try and convince him that you’re not sick anymore.
Winning the Confrontation will temporarily unlock the ‘Elusive’ trait which allows you to do Doppelganger even if you are under-leveled for it. It will be useful for the next part. Before going to the final part of the level, you may want to check the bathroom. There you will find a polaroid picture consumable.
The final part of the level will require you to copy the uniform of an FBI agent. Good thing there’s one of them at the entrance. Once you’ve copied it, go back to the bathroom, and transform into an agent to gain access.
Once you are on the deck, your job is then to look for Miley. She’s in one of those steel containers. If you’ve been paying attention, you can figure out that she’s a heavy smoker… with a preference for cigars. On one of the deck chairs, you can use your powers to track down the essence to a marker with KI2 written on it inside the kitchen.
But before that, you’ll want to check the center of the deck. At the top left side of the first aid crate, you’ll find a small key. At the threshold of the big medical tent, you’ll find a medkit with adrenaline in it. Take it and go back to the room with the tortured man.
Inject the adrenaline into him. Ask him a few questions to get a few more experience points. Once you’ve done that, you are free to head back to the observation deck.
To collect more pieces of loose evidence you’ll need to convince the guard to move away from his station. You can do this by either using Dominate or using Doppelganger to imitate Emmet Olsen, the only person allowed to move those documents.
There’s one last decision to make. But before that, you may want to have a peek at one of those couches on the balcony near Emmet Olsen. There’s a ‘magnetic key’ consumable just waiting for someone to pick up.
The final decision of the level requires Leysha to investigate the tent with Monseniour Stanford in it. Or cart out the container Miley is in. If didn’t convince Richard to help you, then you’ll have to cart Miley out of there. So, choose KI2 and GTFO.
If you have chosen to spy on Stanford, you’ll need to talk to Olsen to gather enough information to make Doppganger work. You’ll need to collect 3 pieces of information about him to use the ability. The first two bits of information are easy to get. With enough Psychology(2), you can force him to spill the beans for the last bit of information. Or you can use Dominate.
And that’s it for the level. I think the Monseniour ending for this level is more exciting. Like something you’d find in psychological horror flicks. But there is merit in getting the Prince’s Childe out to safety.
All Vampire the Masquerade Walkthrough guides:
- Vampire the Masquerade Swansong Walkthrough Part 1 – Prince’s Quarters
- Vampire the Masquerade Swansong Walkthrough Part 2 – Loft
- Vampire the Masquerade Swansong Walkthrough Part 3 – Moore’s Apartment
- Vampire the Masquerade Swansong Walkthrough Part 4 – Unknown
- Vampire the Masquerade Swansong Walkthrough Part 5 – Prince’s Quarters
- Vampire the Masquerade Swansong Walkthrough Part 6 – Long Island
- Vampire the Masquerade Swansong Walkthrough Part 7 – Anarch’s Domain
- Vampire the Masquerade Swansong Walkthrough Part 8 – Red Salon
- Vampire the Masquerade Swansong Walkthrough Part 9 – SAD Base (Leysha)
- Vampire the Masquerade Swansong Walkthrough Part 10 – SAD Base (Emem)
- Vampire the Masquerade Swansong Walkthrough Part 11 – SAD Base (Galeb)
- Vampire the Masquerade Swansong Walkthrough Part 12 – Intelligence Elevator
- Vampire the Masquerade Swansong Walkthrough Part 13 – Basement 3
- Vampire the Masquerade Swansong Walkthrough Part 14 – Server Room
- Vampire the Masquerade Swansong Walkthrough Part 15 – Basement 4 Labs
- Vampire the Masquerade Swansong Walkthrough Part 16 – Hospital Chapel
Check out our other Vampire the Masquerade: Swansong content:
- Vampire the Masquerade Swansong – Deeper Look into the Mechanics
- Vampire The Masquerade Swansong – Best Starting Profile For Each Character
- Vampire The Masquerade Swansong – Removing the Red Salon Guard
- Vampire The Masquerade Swansong – QR Code ARG
- Vampire The Masquerade Swansong – Which Coffin for Miley
- Vampire The Masquerade Swansong – The Right Dose of Trajax
- Vampire The Masquerade Swansong Secret Endings
- All Vampire The Masquerade Swansong Endings
Also check out this Vampire The Masquerade Swansong Gameplay Walkthrough on the Loft by NamelessDreadx37x:


