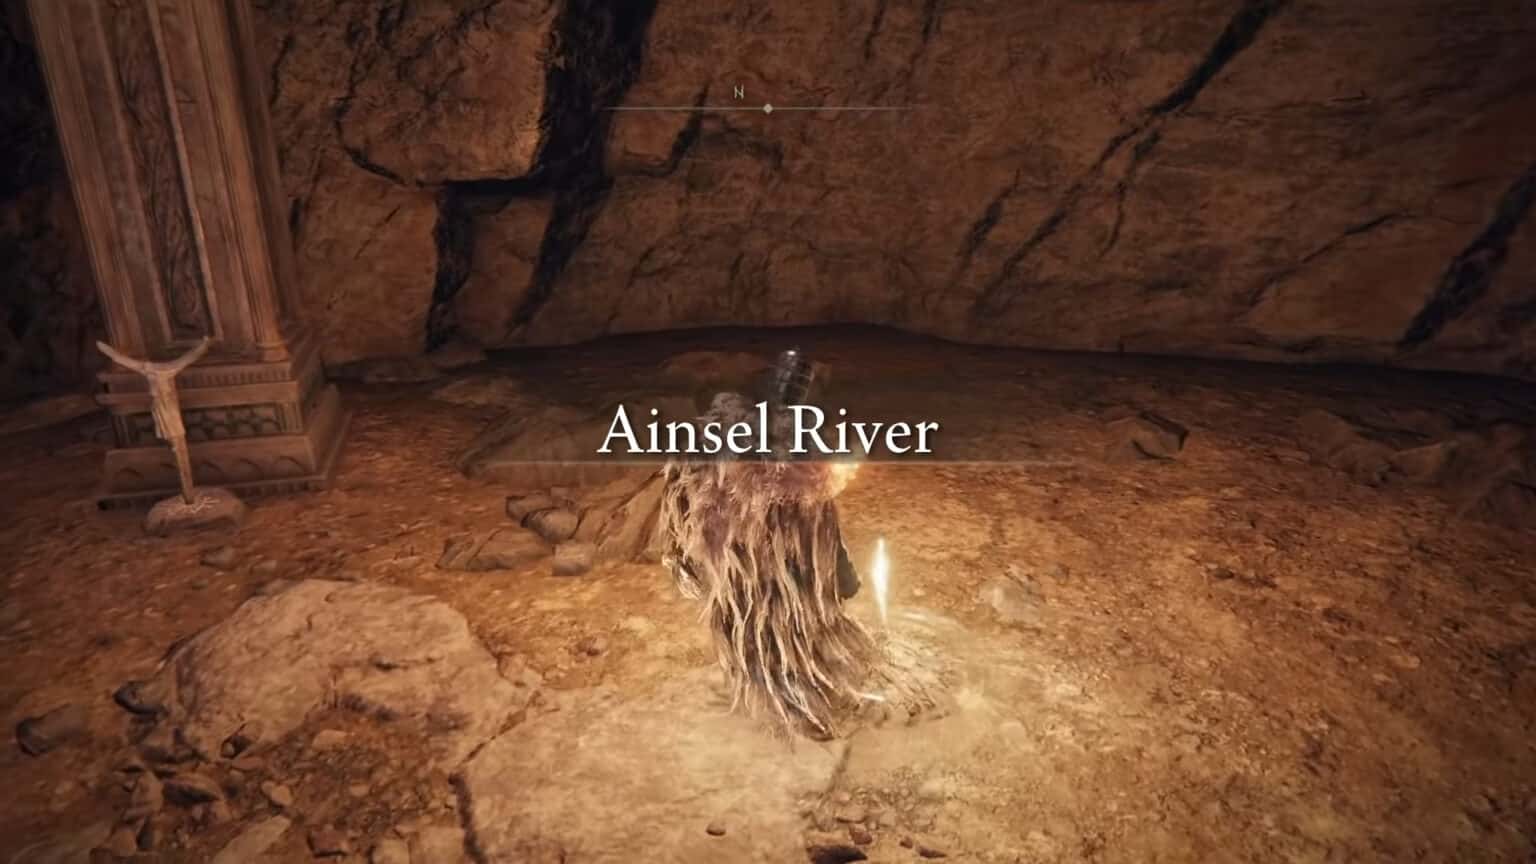
Ainsel River is one of the underground locations within the Lands Between in Elden Ring. Within the river and cave system are ruins of an ancient civilization as well as Nokstella, Eternal City. Exploring the Ainsel River can get confusing and dangerous with all the enemies that try to ambush you, so best be always on your feet.
In this guide, we will explore the Ainsel River an talk about the important and valuable loot that you can get in it. This guide will focus on the south Ainsel River area that can be accessed through the Ainsel River Well.
How to Get to the Ainsel River?
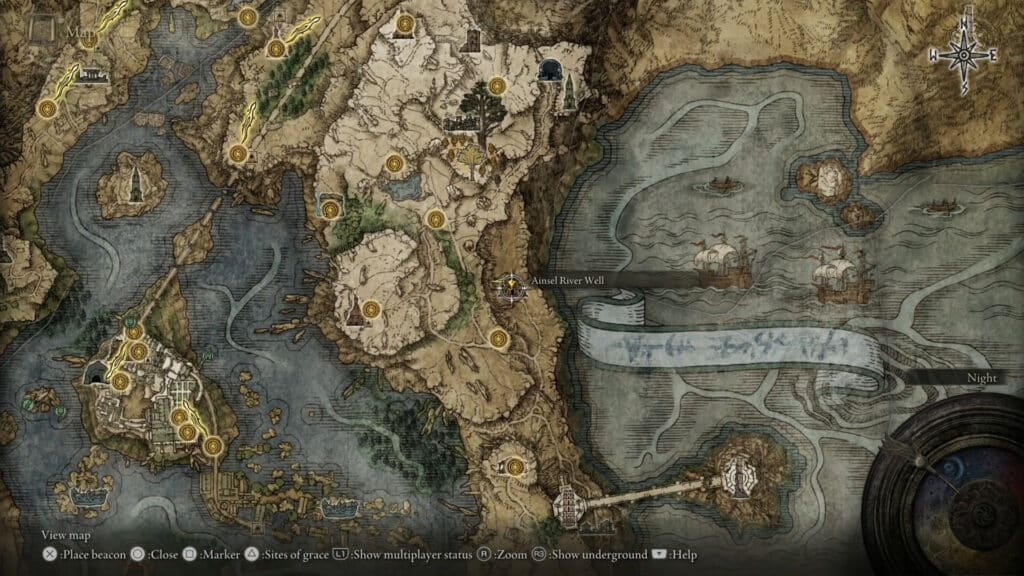
Once you have unlocked Liurnia, head north and follow the path from the Liurnia Tower bridge. You will arrive at the Ainsel River Well guarded by a giant which you can defeat or just slip through. Head inside the well and use the elevator to go down into the Ainsel River Depths. You can then use the Site of Grace to freely fast travel to this location.
This is just one of the multiple entrances to the Ainsel River, however the Ainsel River Well entrance will only allow you to access the southern part of the area. Accessing the Ainsel River Main and Nokstella requires you to go through Ranni’s questline in order to get access to the waygate that leads to the Ainsel River Main.
How to Navigate the Ainsel River?
The paths inside Ainsel River can split into intersections with some paths leading into dead ends. It would still be worth the time checking these dead ends as they often have loot such as smithing stones. In this guide, we will be going through each accessible section of the area and talk about any notable enemies or loot to be aware of within them.
South Uhl Palace Ruins
Coming from the Well’s Site of Grace, going right lead you to a dead end. Head towards the left path and follow the flow of the river. Be aware of the Giant Ants that crawl all over the cave floor, walls, and ceiling. They are easy to deal with as long as you do not get mobbed by them.
Ainsel River Sluice Site of Grace
Continue down the path until you reach another intersection. Going left will lead to a dead end. Take the path to the right until you arrive at another intersection. Both paths end up at the same area, but take the path to the right for now so that you can reach the Ainsel River Sluice Site of Grace. To reach it, simply make your way up to the right side, and cross on top of the sluice to reach the room where the Site of Grace is.
Celestial Dew
You can head back to the intersection and take the path on the left. It will lead to a nest of Giant Ants. Kill the queen by shooting at its abdomen to get a Rune Arc. Continue down the path and you can get a Smithing Stone and a Celestial Dew from the corpses nearby.
Malformed Star
Go back to the Ainsel Sluice Site of Grace and take the elevator in the other room to go down the other side of the sluice and arrive at the South Uhl Palace Ruins. There will be a lot of Claymen in the area and similar to the Giant Ants, just make sure to take them down one at a time to avoid getting mobbed.
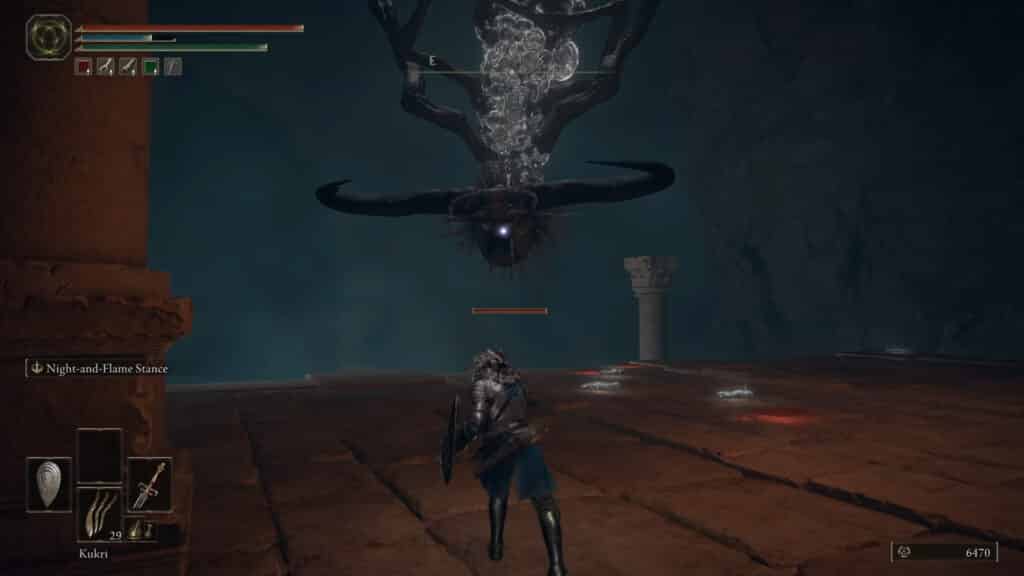
You can enter the lit path towards the next section, but it is better to just follow the flow of the water. Right behind one of the giant statues in front of the lit path is another cave where the river flows. Take this path to exit in a different area of the next section. Taking this path gives you more cover against the Malformed Star that will be hurling meteorites towards you as soon as it spots you.
The Malformed Star will send out its meteorites in waves, so to take care of it right away, make your way up via the fallen pillars while staying behind cover when meteorites start to fly, until you reach the top where you can simply hit it with your ranged attack or a weapon with a long enough reach.
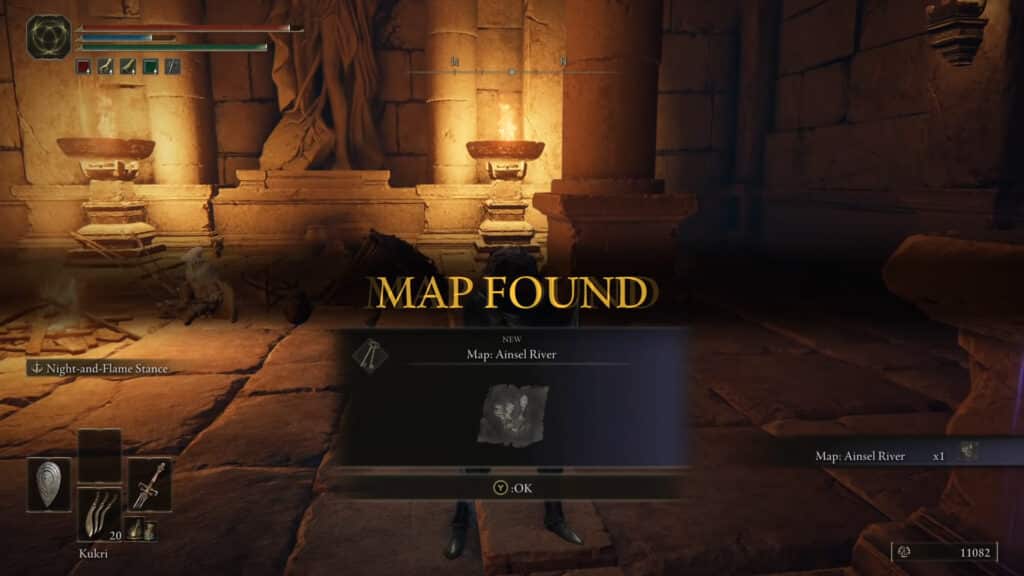
Hermit Merchant, Ainsel River Map, and the Ainsel River Downstream Site of Grace
Once the Malformed Star has been defeated, you can head back down to explore the area. Go inside the temple structure to see a Hermit Merchant. You can also pick up the Ainsel River map from a corpse nearby. There is also the Ainsel River Downstream Site of Grace to the west, just follow the river while on top of a ledge.
Immunizing Horn Charm
Continue following the river until you arrive in another chamber with ants. You can then kill all the ants and one of the items on the ground is the Immunizing Horn Charm. There are two paths to go to again in this room.
Somber Smithing Stones and Aeonian Butterflies
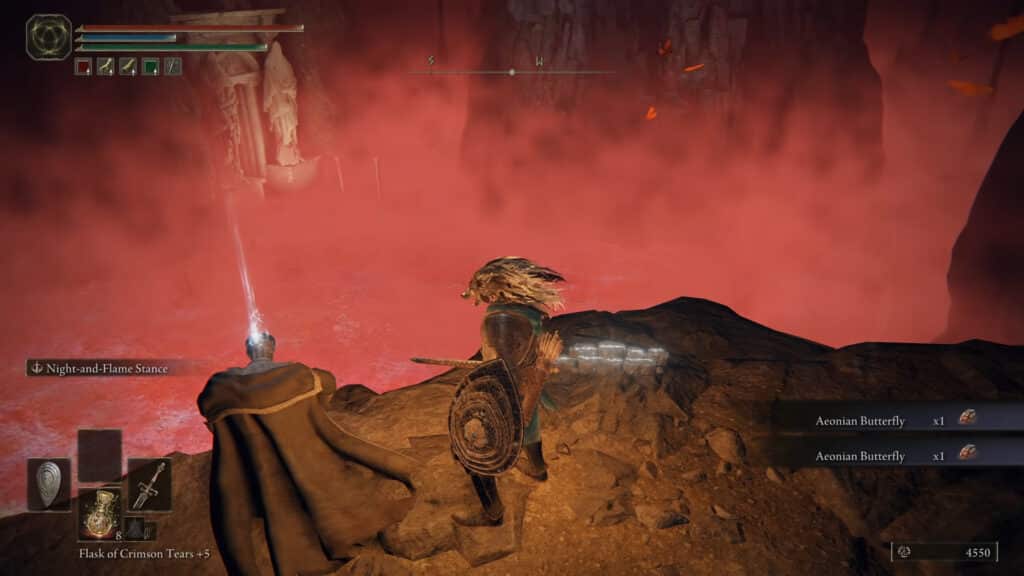
The path to the left will lead to a dead end overlooking the Lake of Rot. Be very careful when going this path as there are Basilisks that are holed up on the side nooks of the walls. These breath out smoke that inflict Death which will kill you once the Death meter is full. At the very end of the path are a bunch of Aeonian Butterflies, as well as a corpse with some Somber Smithing Stones.
Dragonkin Soldier of Nokstella
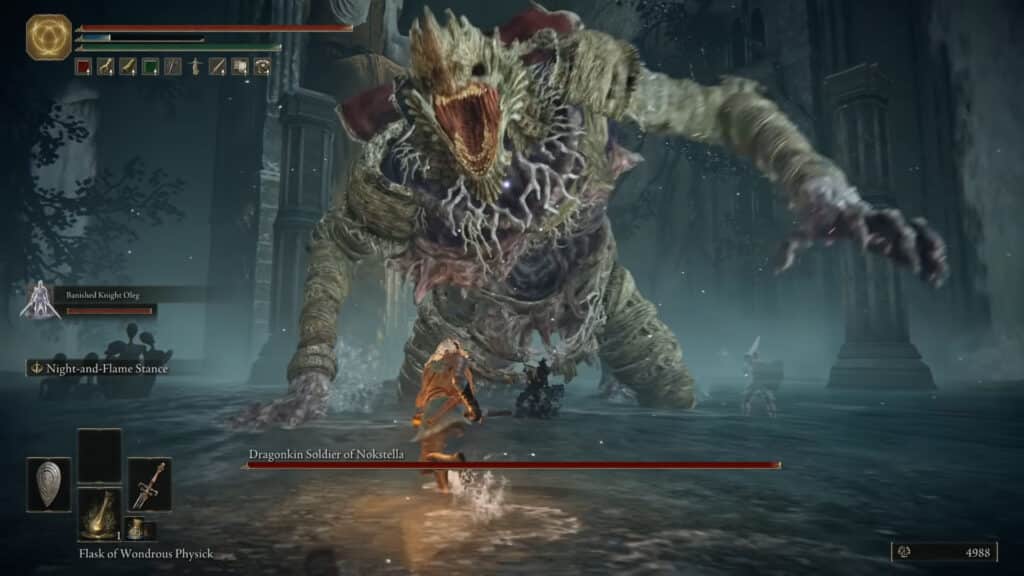
Head back down the chamber and go to the other path. After a few moments of walking, you will arrive at at the Nokstella Waterfall Basin. Once you approach the huge statue, be prepared to be ambushed by the Dragonkin Soldier of Nokstella.
In its first phase, its attacks are slow but can reach a wide area, so be careful not to get caught in front of it. Focus your attacks on its feet and ankle and avoid staying underneath its stomach. Once its HP is below half, it will transition into its second phase. Stay away from it while it is charging up to avoid getting caught in the following blast.
It will start throwing Lightning Ice bolts down on the ground as it jumps backwards. The ground will start charging up and icicles will shoot out from it after a few moments. The attack has a cone-shaped pattern, so simply try to get away from the hit zone as soon as possible. Once it has been defeated, you will be rewarded with the Frozen Lightning Spear Incantation and 14,400 Runes. Don’t forget to touch the Site of Grace in this room.
Great Ghost Glovewort
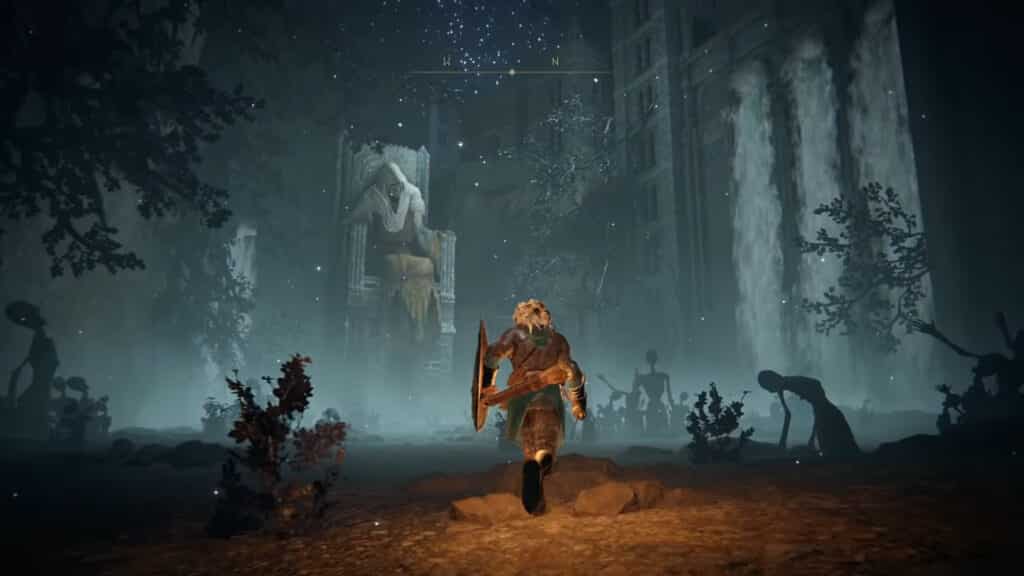
Head into the room underneath the giant throne to find a chest. Open the chest and you will receive a Great Ghost Glovewort that lets you upgrade Elite Spirit Ashes to +10.
Those are all the details that you need to know to make your exploration of the Ainsel River safe and worthwhile. If you want to continue your journey to the northern region of the Ainsel River and into Nokstella and need to figure out how to access the place, check out How to Access Nokstella, Eternal City here.
If you like this guide, be sure to check out our other Elden Ring articles here:
- Elden Ring – Where to Find & How to Get Smithing Stones
- Elden Ring – Best Keepsake and All Starting Item Guide
- Elden Ring Rumor About George R.R. Martin Initials Denied by Author
- Elden Ring Patch 1.03.2 Fixes Few Bugs for All Platforms
- Elden Ring – 2022’s Best Game?
- Elden Ring Glitch Turns Magic Attacks Invisible Making Problems in PvP
- Elden Ring Bug Makes Dogs More Powerful Than Bosses
- Tekken 7 Elden Ring Mod So Well Made That It Got Noticed by Harada Himself
- Elden Ring Player Discovers Unique Mechanic of Latenna Spirit Summon
- Elden Ring Patch 1.03.3 Finally Buffs Up Radahn Again After Getting Nerfed Accidentally
- Elden Ring Cut Content Reveals Dream Collecting Feature
- Elden Ring Miquella’s Haligtree & Elphael DLC Rumors – What We Know So Far
- Elden Ring How to Get the Cinquedea Guide
Check out this video by CC Beanie showing his venture into the Ainsel River:


