
Trek to Yomi is the newest cinematic action game to get published by Devolver Digital. Set in feudal Japan, this game follows the story of Hiroki, a samurai who has to defend his town from a warlord that is out to claim lands to his name. Trek to Yomi is presented in the Kurosawa art style with everything in black and white and is set on a 2.5D world.
This Trek to Yomi Chapter 3 Walkthrough is third part of the Trek to Yomi guide series, we’ll follow Hiroki through the third chapter of his journey. If you have not seen the previous chapter yet, check out our Trek To Yomi Chapter 2 Missions Walkthrough.
How to Complete Trek to Yomi Chapter 3
The steps below are the paths to take to get through the objectives quickly. There can be different paths that should be taken to get to secret areas and find upgrades or collectibles which can easily be missed. We’ve included notes at parts of the guide to tell which areas have artifacts.
Find Aiko
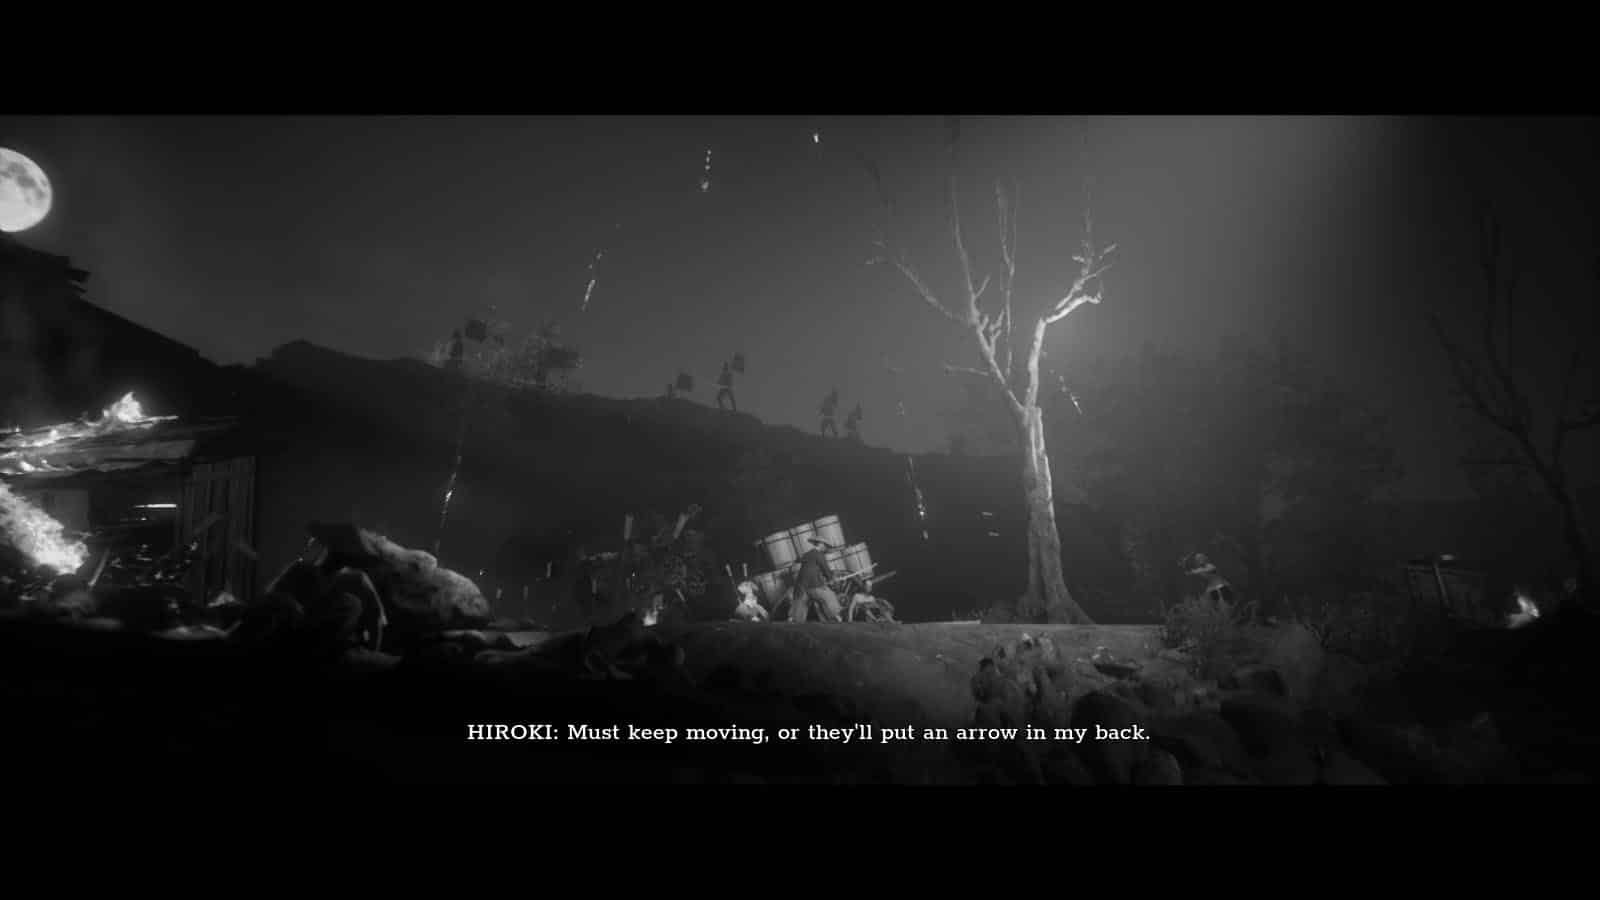
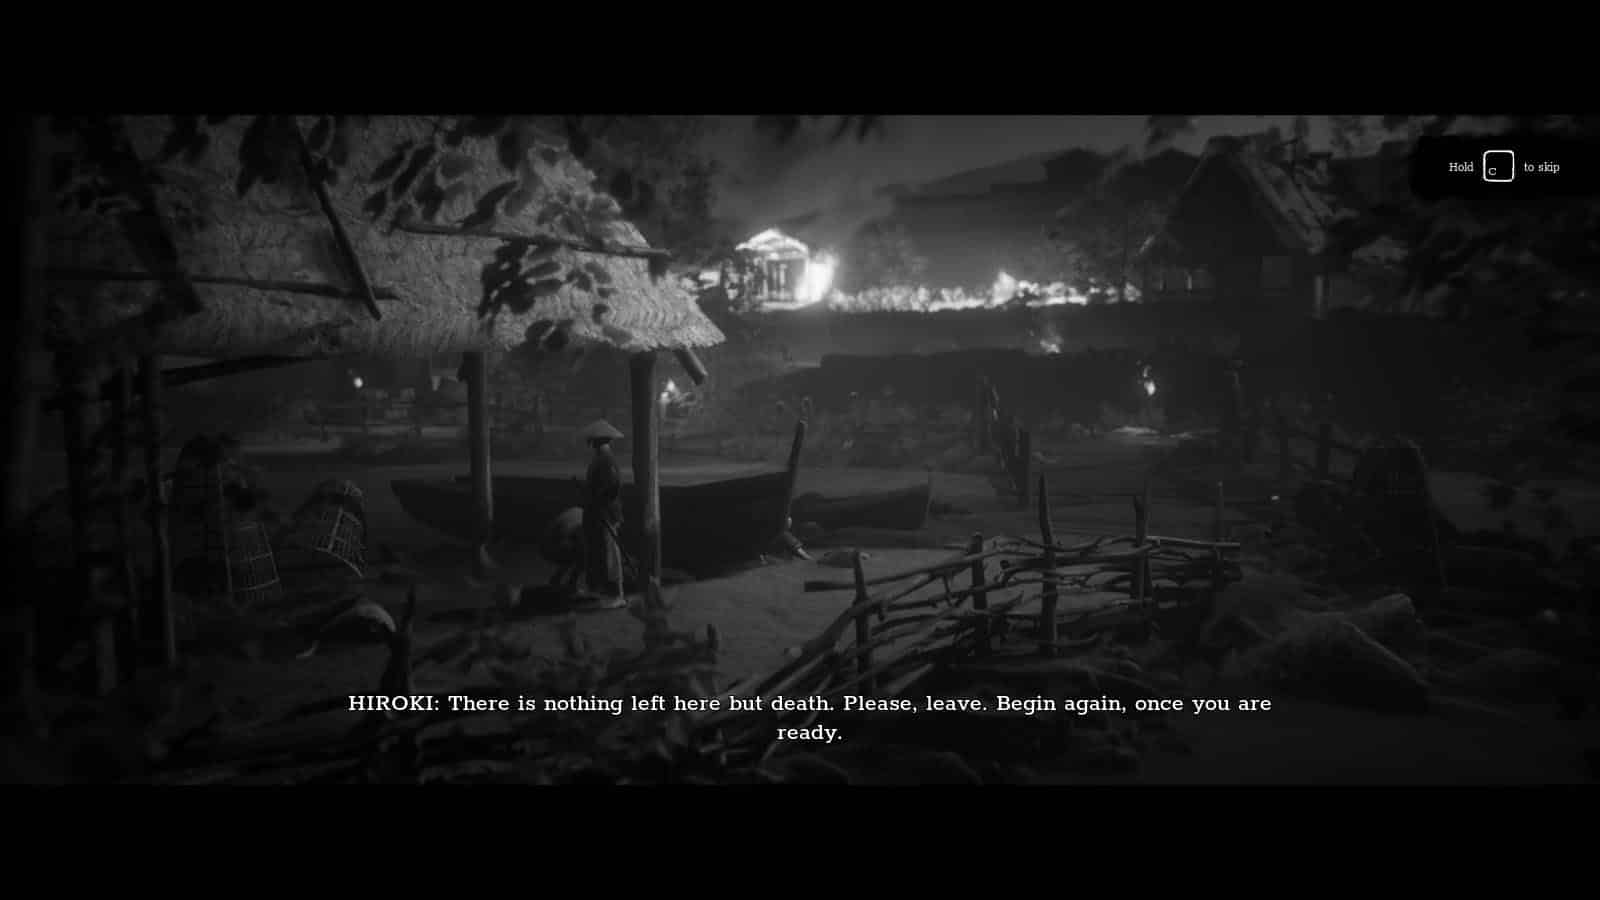
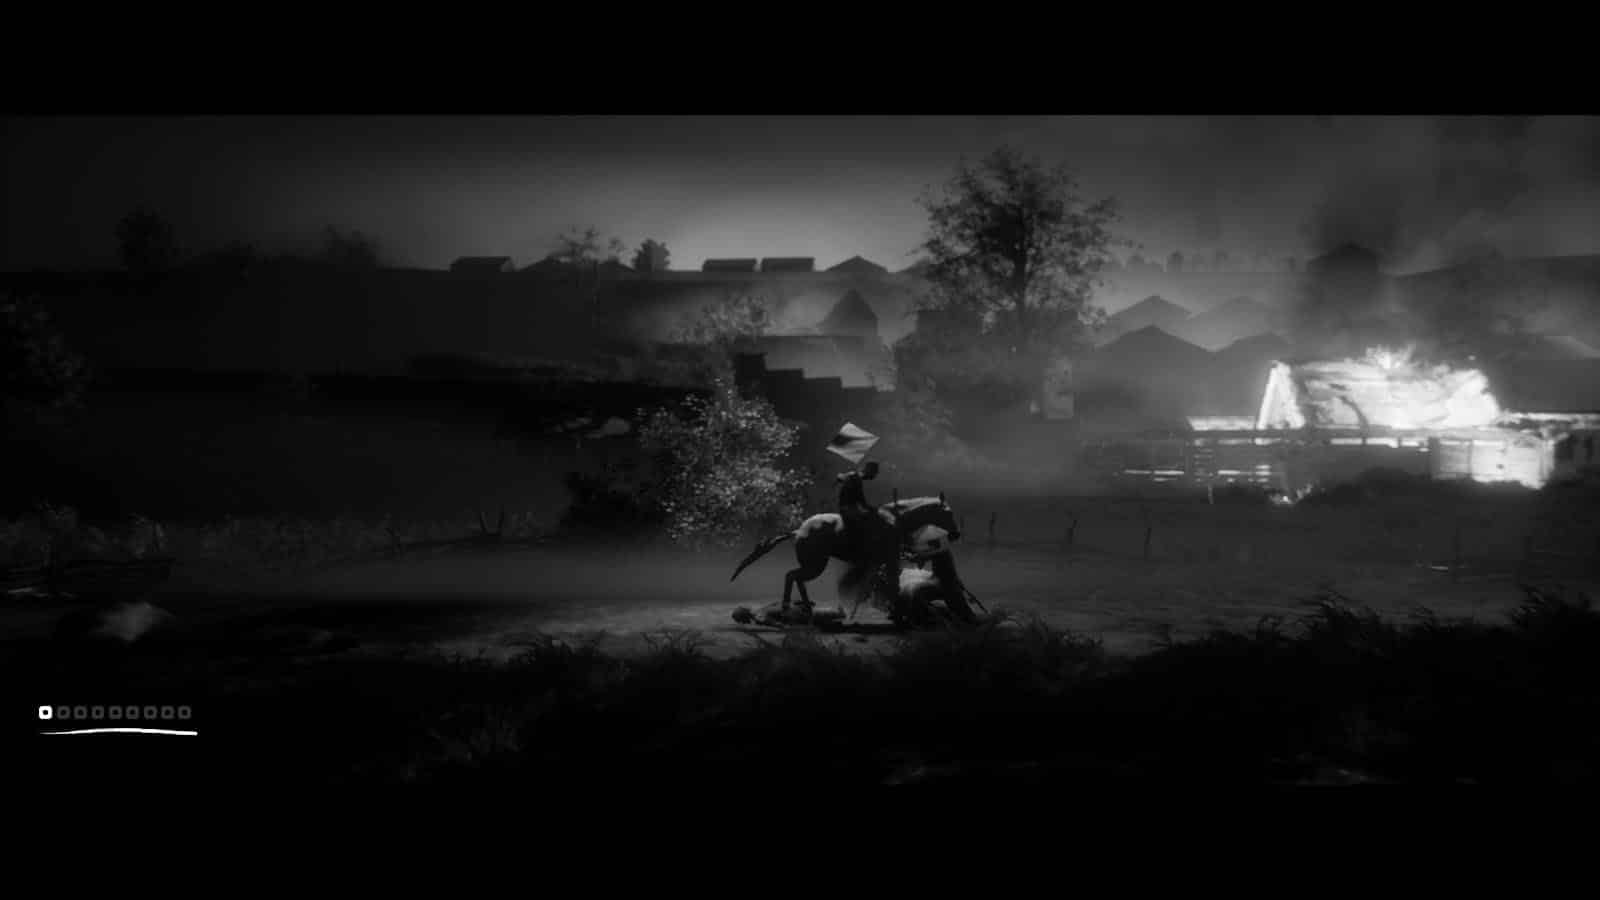
You arrive back at the village which has now been attacked and destroyed by your enemies. Go through the burning street and climb the platform to the left to cross the obstacle. (The Swordsmith’s Hammer Artifact can be picked up from the street)
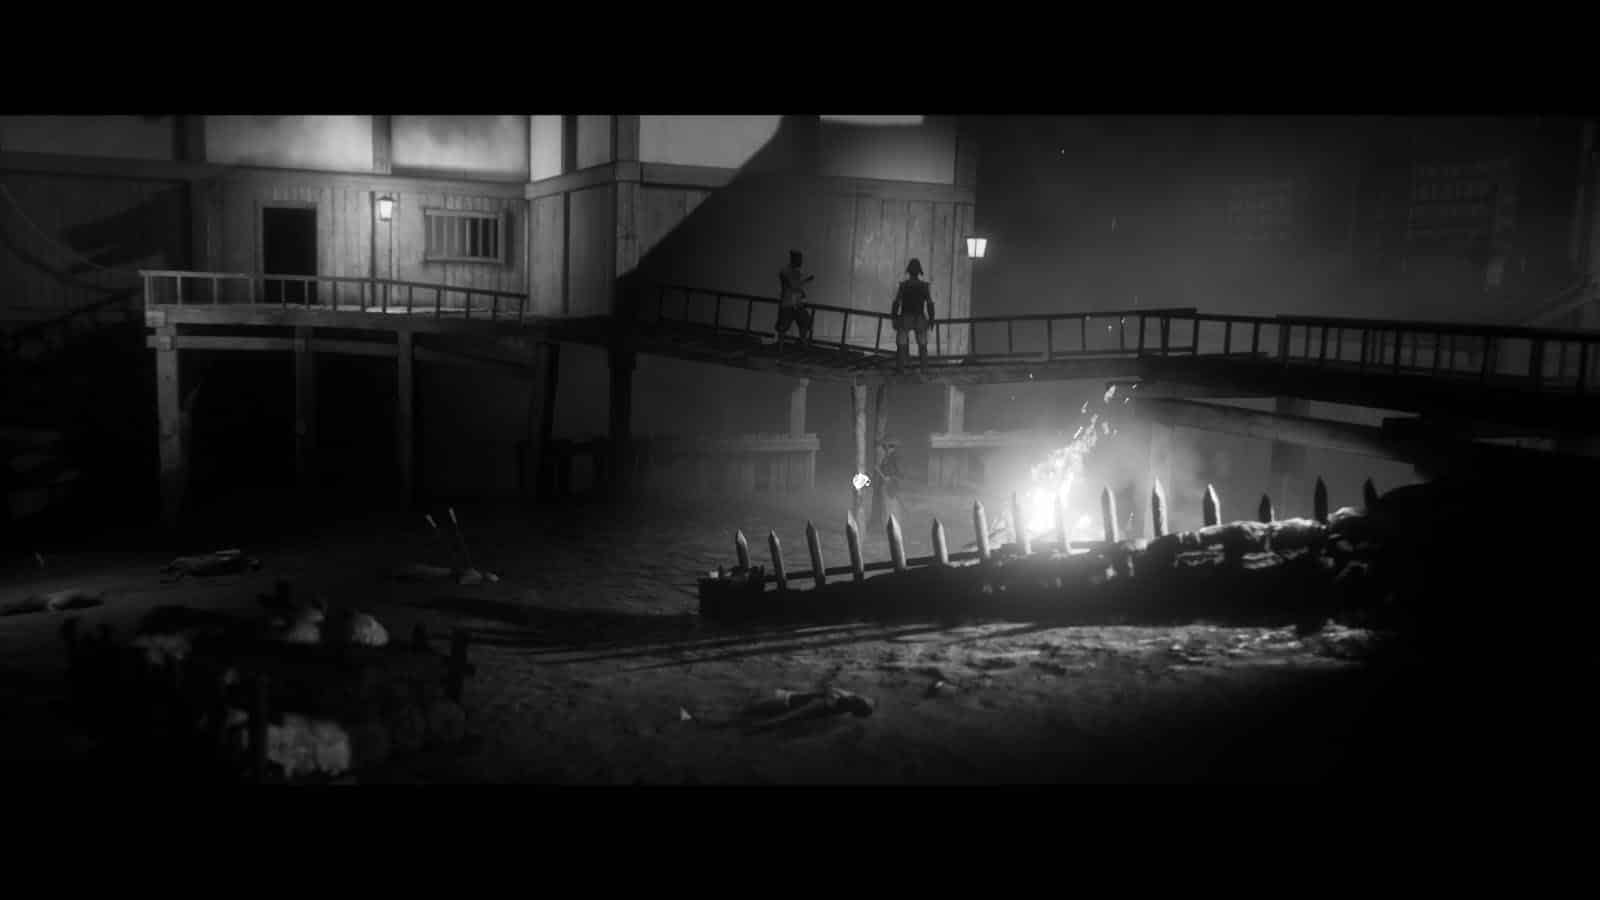
Continue moving forward the street as you defeat enemies along the way. As you god down flights of stairs, you will reach a shrine. Continue moving forward and you will see some enemies on top of a bridge. Go down the bridge and break the post holding it to kill the two enemies. You can also talk to the villager hiding below and get a Bo-Shuriken from a post.
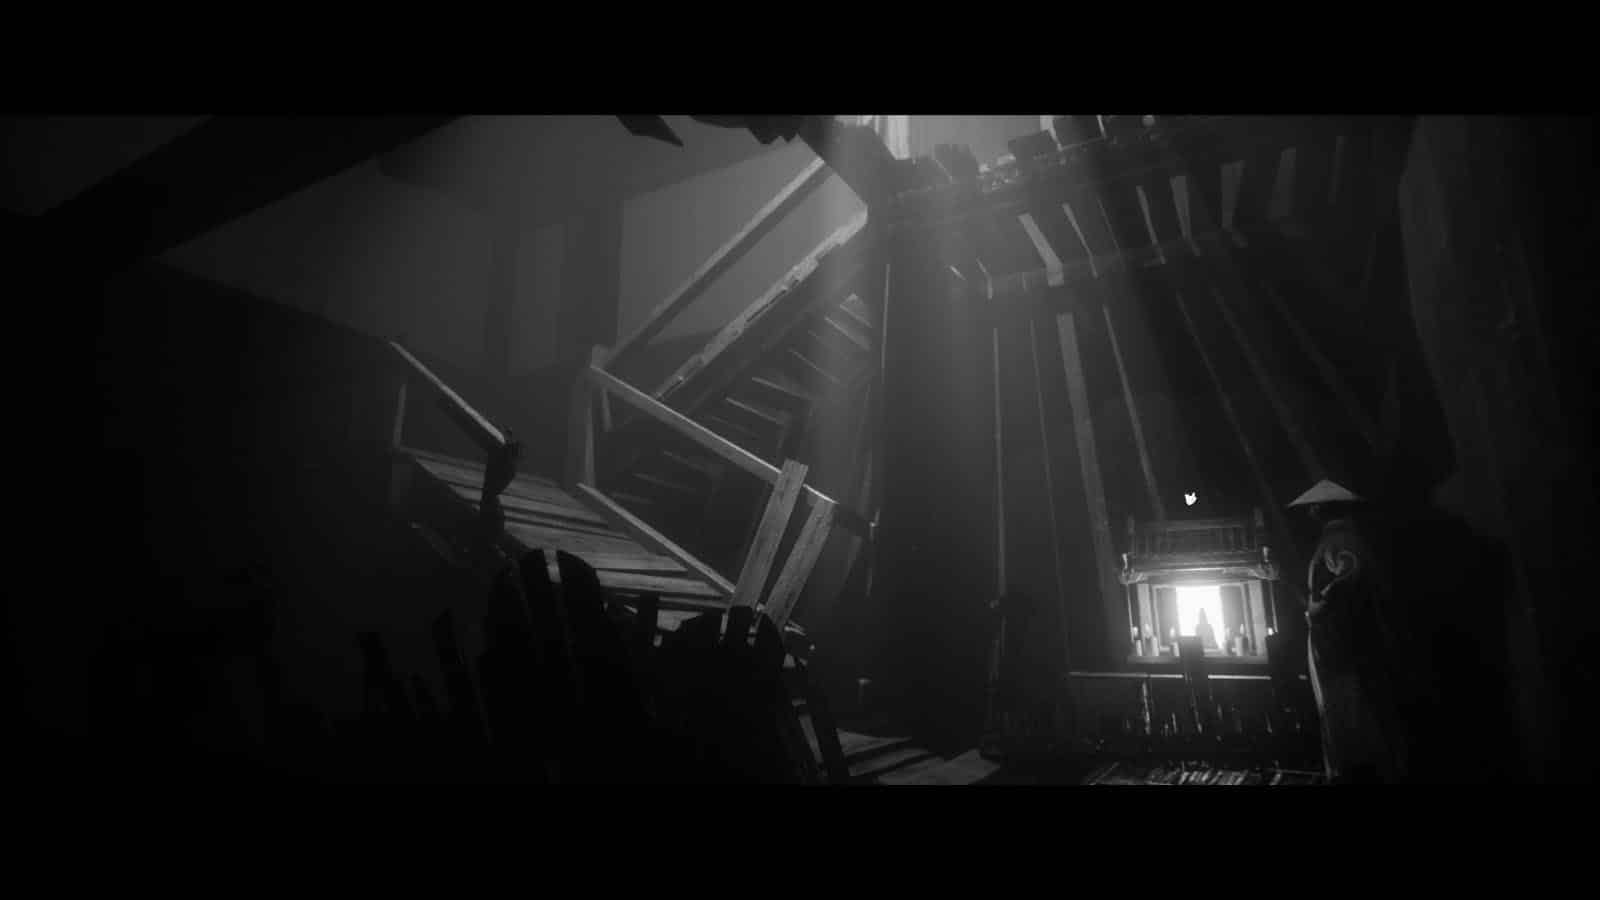
Head towards the doorway that is lit and get the Roll Attack scroll on the drawer. Head upstairs and open the door to reveal a shrine. You can also get the Dove Artifact in this room. Continue moving to the room to the left and you will fall down the floor into another room where you will encounter more enemies.
You’ll then reach another shrine. Proceed to climb up the ramps to get back to the upper floor. Go to a room and defeat the bandit in it. There will be another bandit stuck under some burning logs who you can just ignore.
Head outside and you’ll encounter an archer. Defeat this archer to acquire the ability to use the bow and arrow as a weapon. Continue into the stables and climb the ladder to reach the upper platform. Step on the hanging platform to crash it down and prepare to fight the bandits.
Exit the stables and you will reach another shrine. Head towards the left to get the Place Swap Parry skill. Interact with the horse to make it kick its cart towards the burning planks.
Exit the gate and you will have to avoid the rain of arrows from the archers on top of the ledge by hiding behind the obstacles and trees for cover. Enemies will also be rushing in on your position, so prepare to eliminate them quickly. Once you clear the archers, defeat the other bandits in the way. you’ll then reach another shrine. Take the path to the left to encounter more bandits and get the Magatama Bead Artifact and a Bo-Shuriken.
Go down the ledge and walk back to towards the bridge to find the Quiver Capacity Upgrade and the Fujin Print Artifact. Continue onwards and you will encounter bandits once again. Defeat them and you will reach another shrine. (To the left of the shrine is the Fishing Pole Artifact)
Move towards the right and you will encounter three mounted bandits. Each take around three light hits and projectiles, so use your Bo-Shuriken and arrows to chip down their health. Time your slashes just as the horse’s head is within your blade’s range to register a hit.
Continue moving to the right and use the shrine. Go into the cemetery once more where you will get a Stamina Upgrade. Go back and head towards to the town’s gate. (Go to the outer edge of the wall to the right to find the Ugajin Artifact)
Aid your people
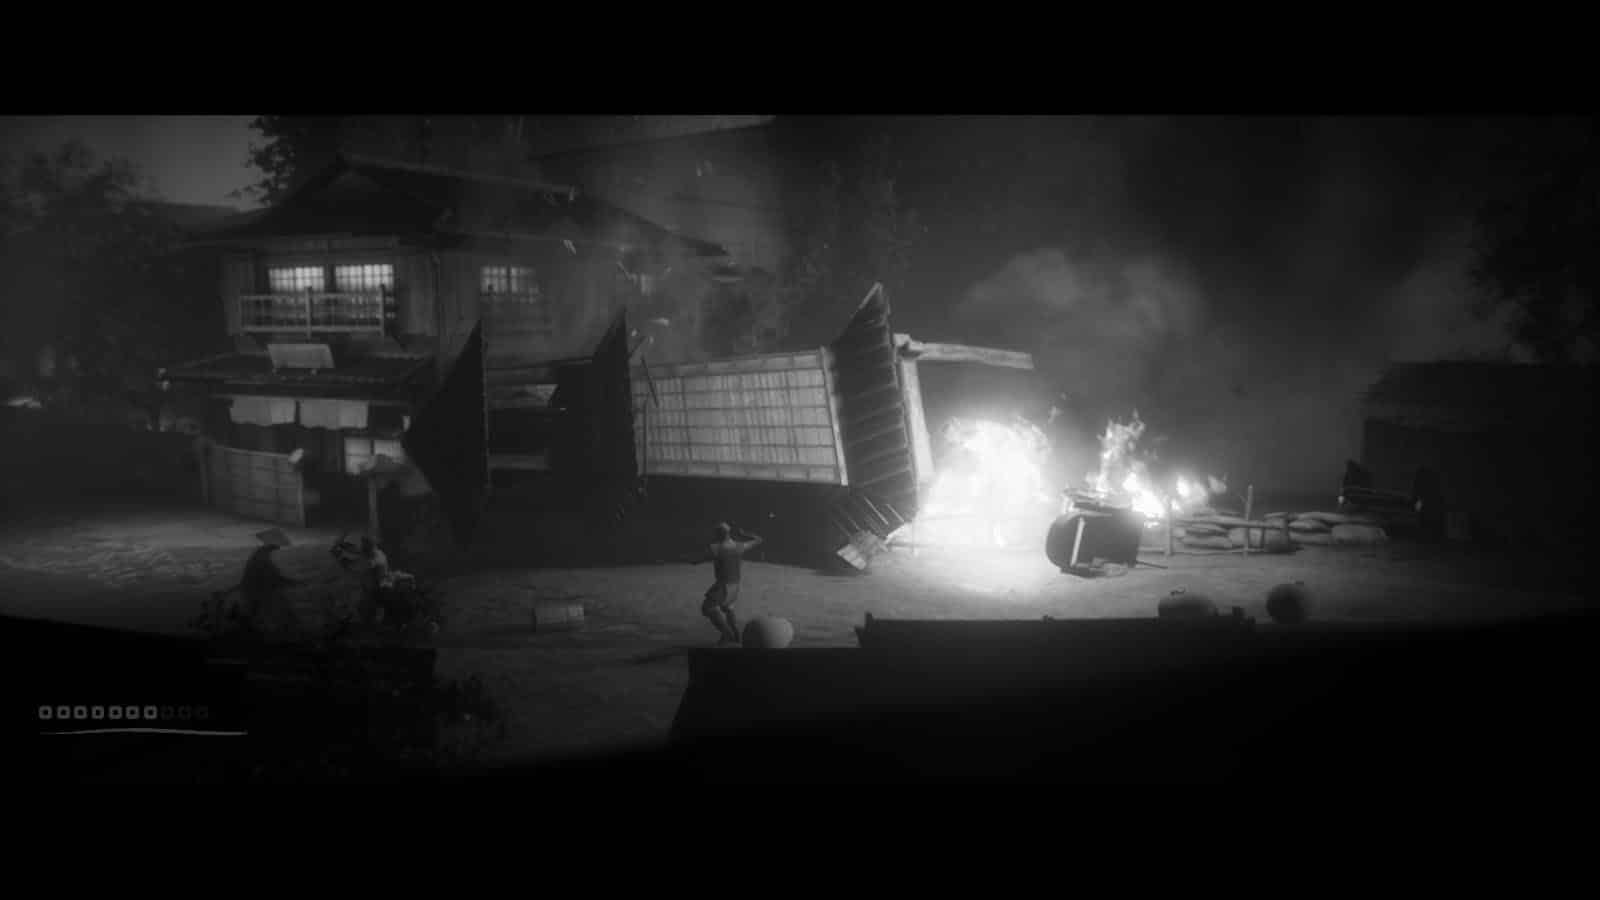
As you enter the village, you will reach another shrine and face a pack of bandits. Defeat them and climb up the ledge and go through the burning house. (The Bronze Mirror Artifact is just by the other end of the house)
Reach the other shrine and go down the stairs to fight the spearman. Hitting perfect parries with the spearman is key to be able to get the right opening and land a counter attack, otherwise you will just parry his spear to the side without an opening. After defeating him, you will learn how to do the Heavy Thrust.
Head towards the house and as you enter, climb the ladder to the second floor. (Before climbing the ladder, head to the room to the right to get the Inarizushi Artifact and a Stamina Upgrade)
Grab the arrows by the table and exit through the open window. You will be ambushed by a bandit coming from the roof. Afterwards, head to the next shrine. Climb up the ladder and defeat the bandits on top of the roof and in the corridor. Head down the flight of stairs and head to the right first to get arrows and a Health Upgrade, then move towards the left.

Climb up another flight of stairs and reach the next shrine. Head towards the right and kick down the post to send debris to fall down on to the lower level, creating a bridge that you can walk across. Then, go down the ladder to get the Light Overhead Combination skill and a Bo-Shuriken. (You can get the Moon Flask Artifact from some crates before climbing down the ladder)
Walk over the makeshift bridge and climb back up to the upper level where you can get a Stamina Upgrade. Continue moving up towards the right to reach the next shrine. Then, defeat the bandits along the way and the ones at the bell tower as it falls down. Continue to the right to reach the next shrine.
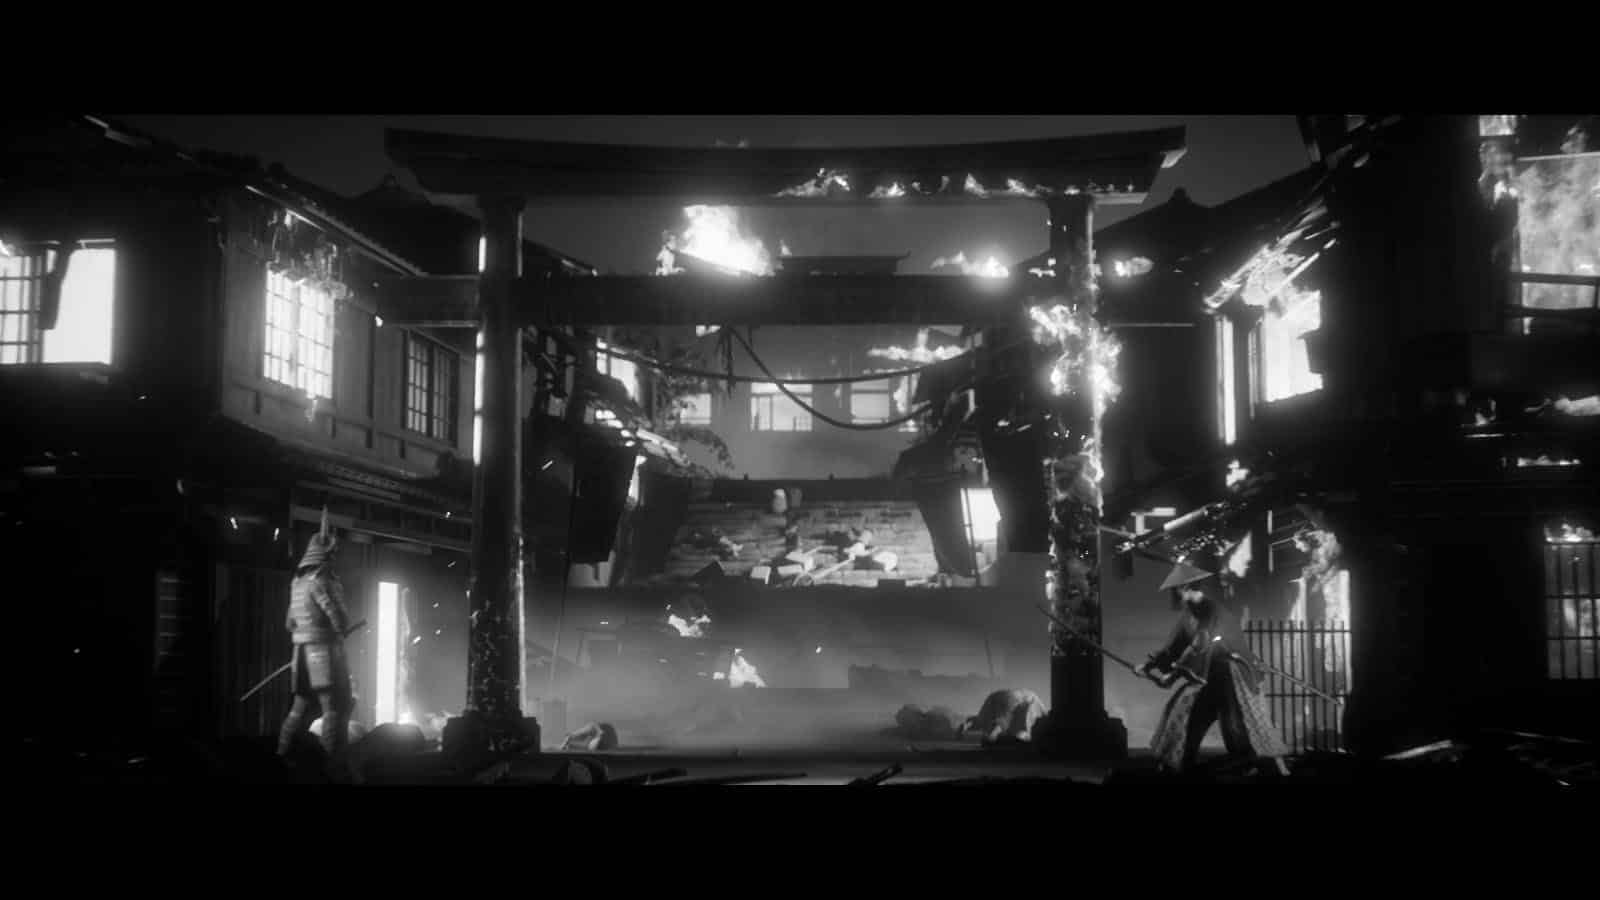
Continue pressing forward and get arrow and Bo-Shuriken along the way. Defeat the bandits in the bamboo garden and in the market area. Make sure to tread this area carefully as the next shrine will not be until you reach the other side of the bridge where a couple more bandits are waiting.
Once you clear the bandits on the bridge, use the shrine and head to the burning storage hut. Defeat the bandits that will ambush you inside the hut. As you exit, you will find another Stamina Upgrade on the side of the path. (The Rice Bowl Artifact is also among the carts on the side of the path)
As you progress to the left side, prepare your bow as there will be an archer just outside the screen ready to shoot at you. Shoot it once to bring him down as the other bandits and a spearman pour in. Continue to the left to reach the next shrine.
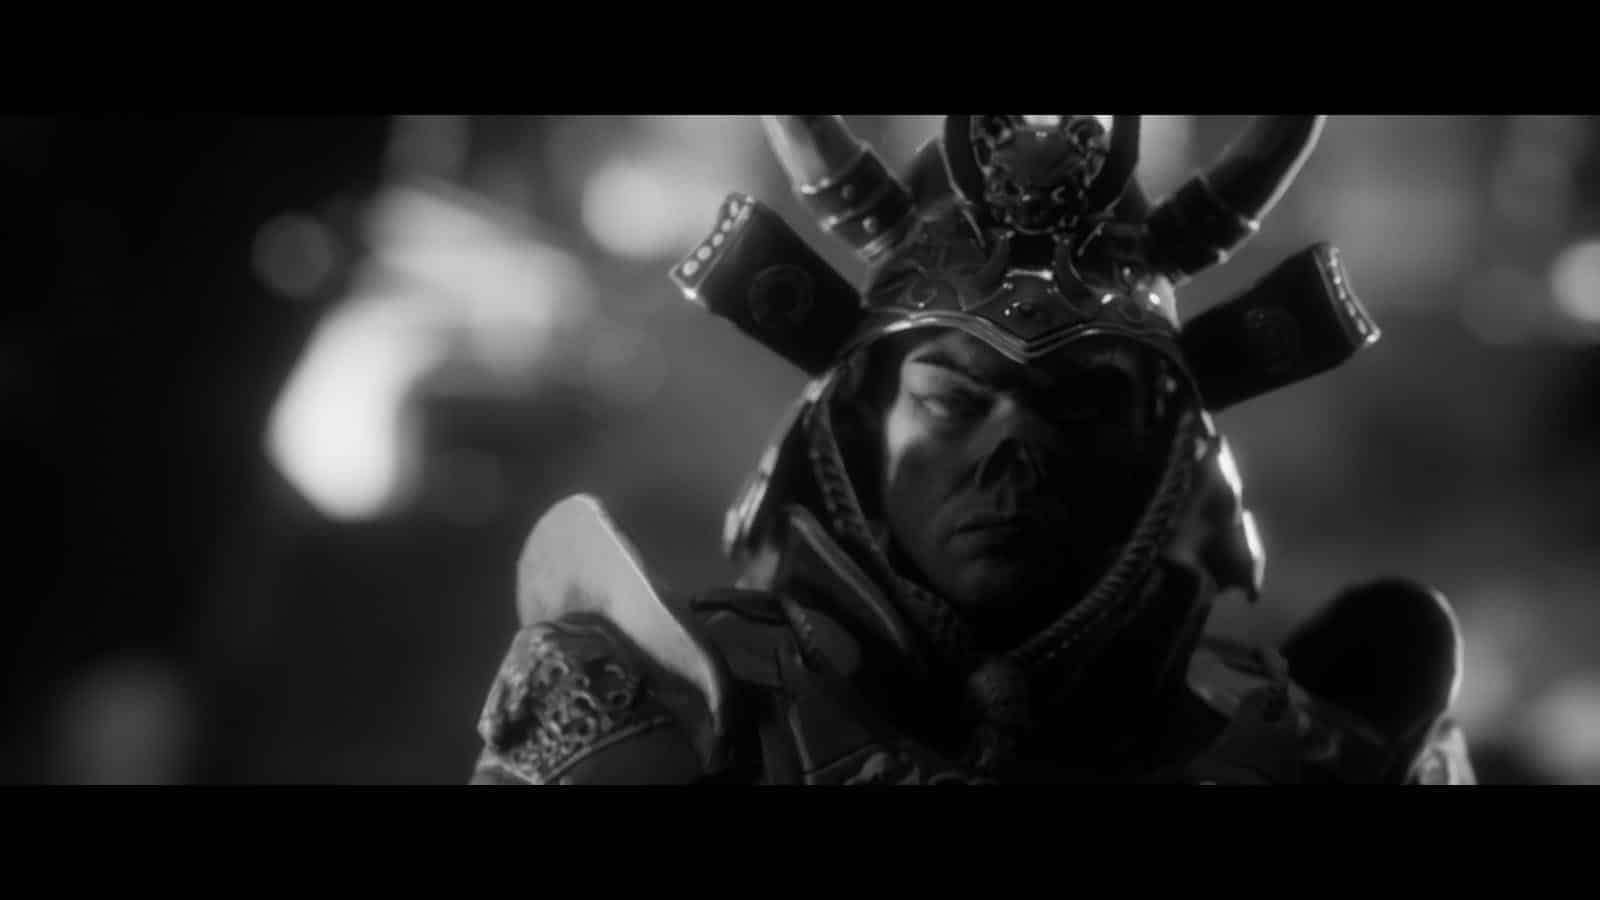
You will then have to face Kagerou Shogun at the base of the dojo. At this point, you can consider doing a manual backup of your save file as there is a secret ending and an achievement tied to this fight and once he defeats you, the story will still progress.
Whether who wins the duel, the story proceeds to Chapter 4.
If you like this guide, be sure to check out our other Trek to Yomi articles:
- Trek To Yomi Collectible Artifact Locations (Chapter 1)
- Trek To Yomi Collectible Artifact Locations (Chapter 2)
- Trek To Yomi Collectible Artifact Locations (Chapter 3)
- Trek To Yomi Collectible Artifact Locations (Chapter 4)
- Trek to Yomi Chapter 1 Walkthrough Guide
- Trek to Yomi Chapter 2 Walkthrough Guide
- Trek to Yomi Stamina Upgrade Locations
- Trek to Yomi Health Upgrade Locations
- Trek to Yomi Achievements – Trophy Guide and How to Get Platinum
- How Long is Trek to Yomi?
Check out this video by MKIceAndFire showing the full gameplay of Trek to Yomi:

")
")