
Trek to Yomi is the newest cinematic action game to get published by Devolver Digital. Set in feudal Japan, this game follows the story of Hiroki, a samurai who has to defend his town from a warlord that is out to claim lands to his name. Trek to Yomi is presented in the Kurosawa art style with everything in black and white and is set on a 2.5D world.
This Trek to Yomi Chapter 4 Walkthrough is the fourth part of the Trek to Yomi guide series, we’ll follow Hiroki through the fourth chapter of his journey. If you have not seen the previous chapter yet, check out our Trek To Yomi Chapter 3 Missions Walkthrough.
How to Complete Trek to Yomi Chapter 4
The steps below are the paths to take to get through the objectives quickly. There can be different paths that should be taken to get to secret areas and find upgrades or collectibles which can easily be missed. We’ve included notes at parts of the guide to tell which areas have artifacts.
Follow Aiko
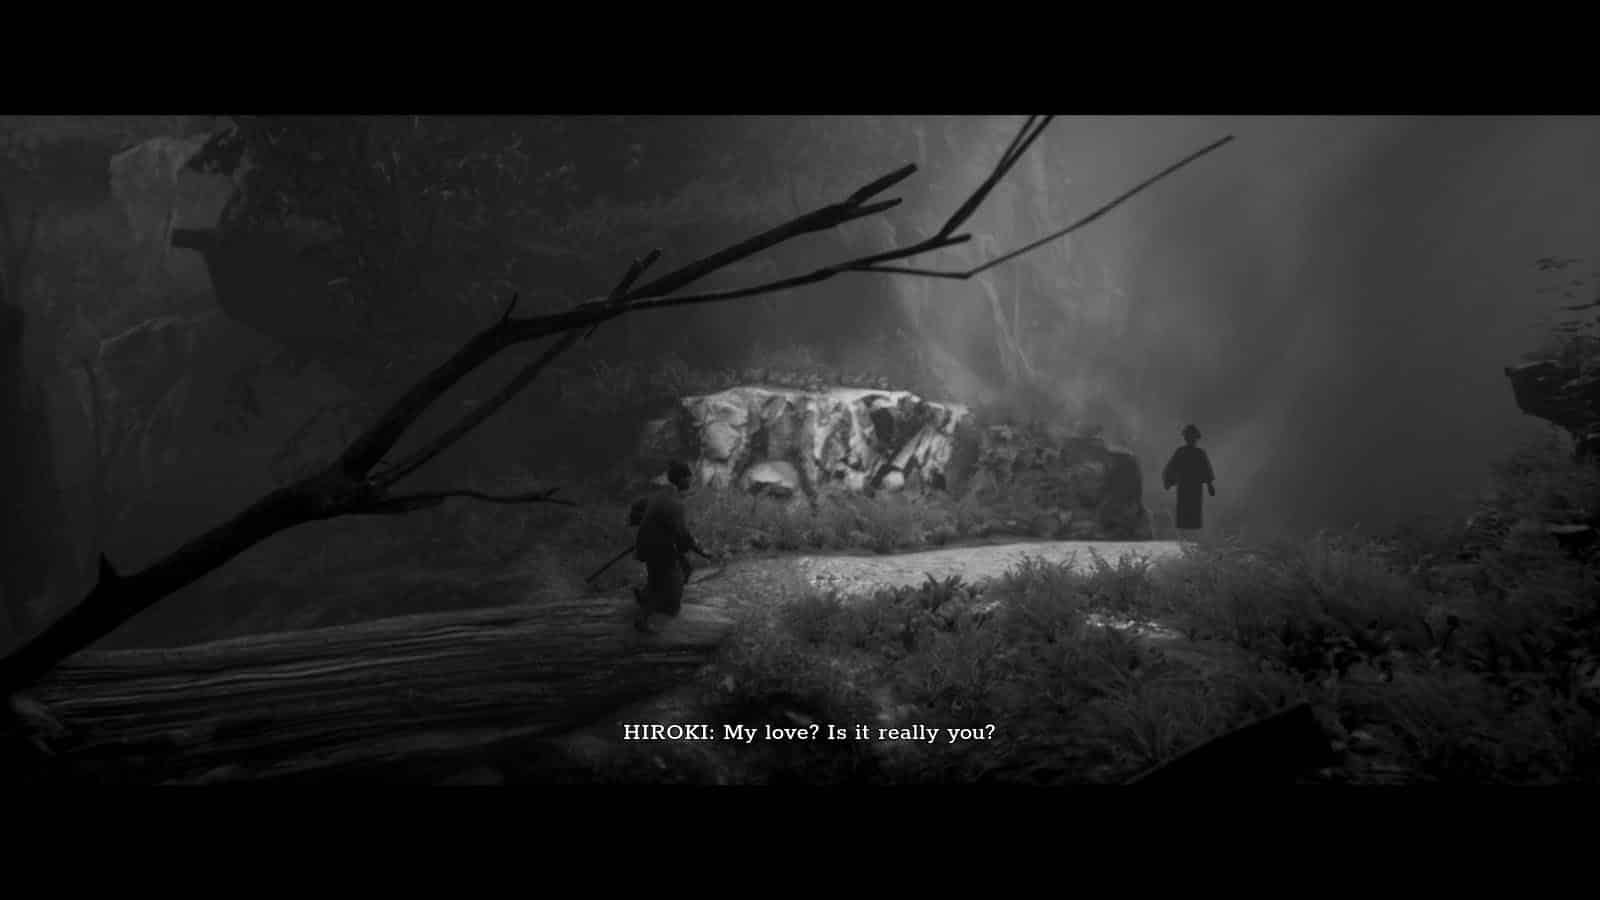
You wake up and find that you are being nursed by Aiko, but it was all a dream. You wake up in the burning ruins of the village and see Aiko from afar. You follow her through the corrupted land but you only see shadows. (You will see the Onyudo Artifact by the bench at the fork in the road)
Continue going up the path to see the first shrine of this chapter. Head to the house on the left of to get more ammunition and the Noppera-Bo Artifact. Go back outside and head to the path to the right. You will find a Health Upgrade on top of the crates south of the fire.
Head back to the previous area and take the path up north. You will encounter a couple of blighted. Defeat the first one to get a Quiver Capacity Upgrade. Continue following the past through the forest and defeat more blighted along the way.
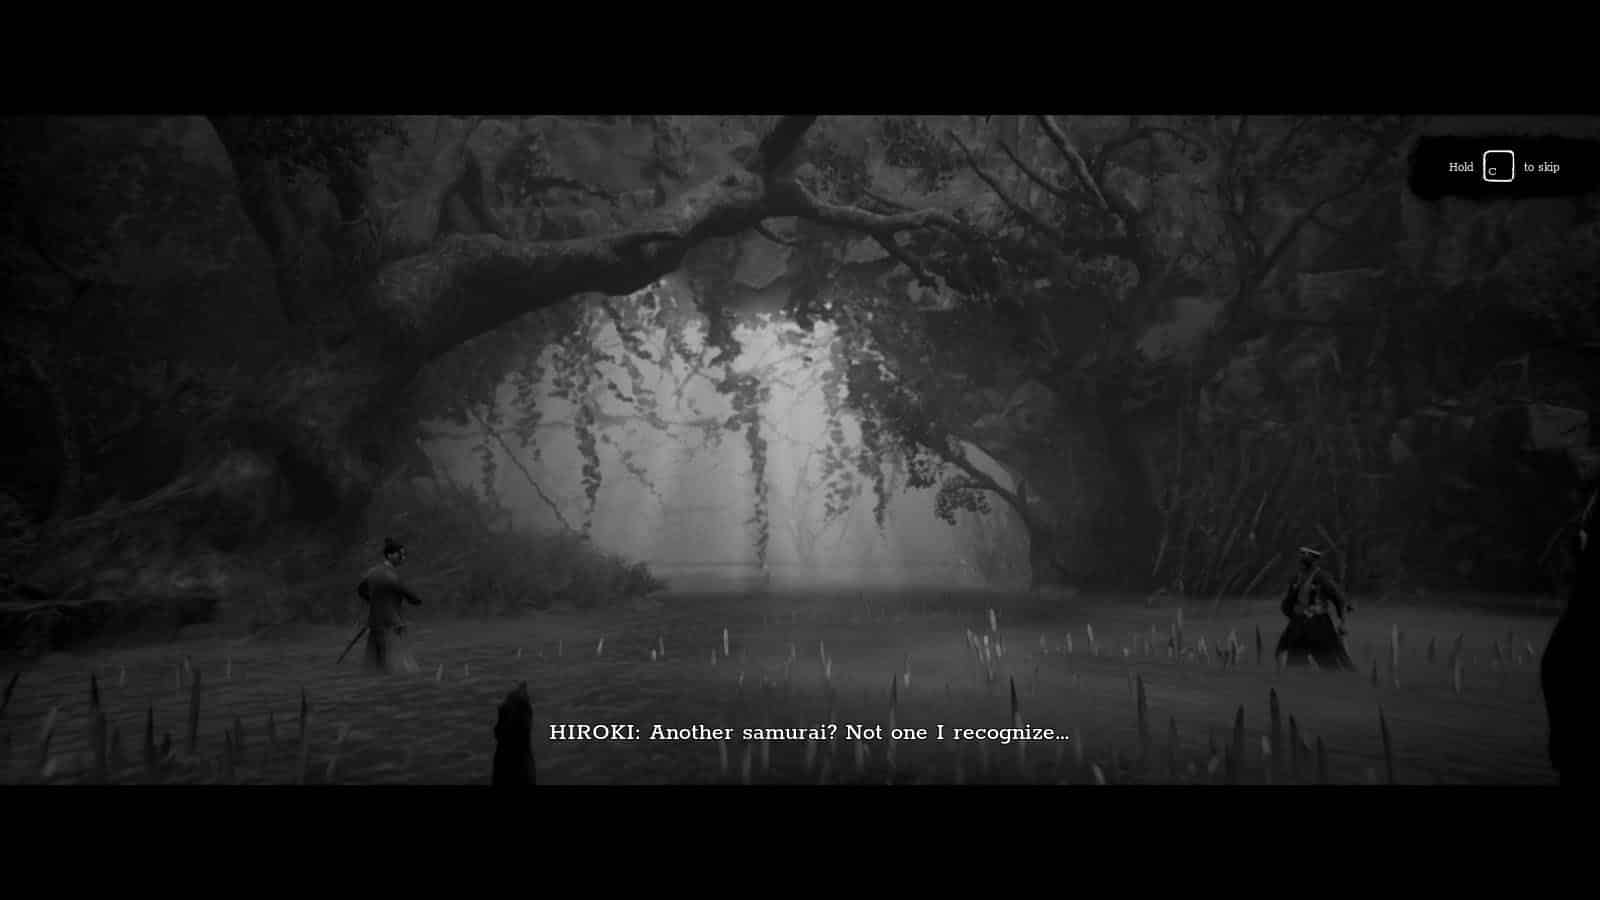
You’ll arrive at a fallen log on top of a gap. As you cross, it will break, causing you to fall to the river below. Defeat the blighted once more and proceed to the area to left. you will get the Light Thrust skill and some more ammunition. Head back to the path to the right. You will then face another samurai that you have to defeat.
Seek Answers
After defeating the samurai, head to the right and you’ll be surrounded by a bunch of blighted. Some of them require a lot more hits to fall down, so take your time going through them and try to swap places and put them all on one side. After that, go up the ledge to reach the next shrine. Go through the hut across the shrine to get the Otoroshi Artifact, and continue towards the left to get an arrow and a Stamina Upgrade.
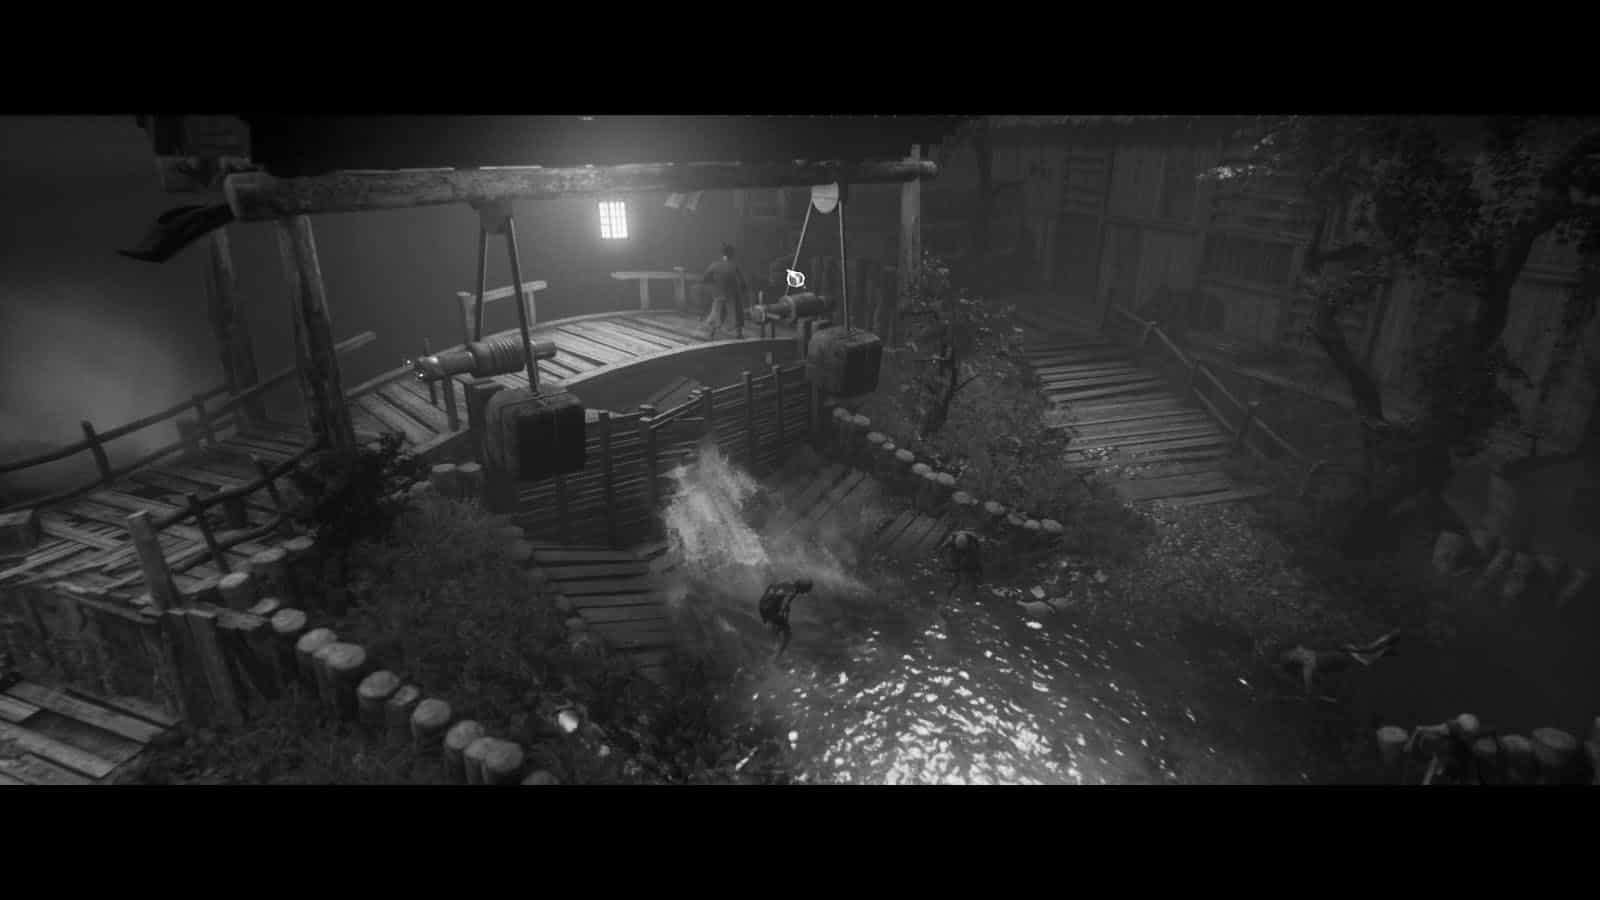
Go back and through the gate and fight the armored blighted to learn the Light Stunning Combination. You’ll then arrive at the next shrine. Go up the dam and cut off the two weights to release the water and wash away the blighted below. Head to the building to the right and climb up the ladder inside to get a Stamina Upgrade. (Beside the ladder on the ground floor is the Hitotsume-Kozo Artifact)
Exit the building and you will encounter a bunch of blighted. Be careful not to stand near the hanging sacs as their claws can hurt you. Continue pushing forward through the path lined with huge rock faces until you reach a forking platform. Head to the south path to reach the next shrine, continue to the right and push the tree to create a bridge and cross the gap. You can then get the Stamina Upgrade and Yurei Artifact.
Head back and take the north path. Go down the platforms and up the cliffs. Prepare to fight a bunch of blighted and destroy the sacs before passing through them. Continue to the right to reach the next shrine. You will then encounter another samurai at the bridge. After defeating the samurai, head to the left and into the house. (Continue heading to the left to get the Uwan Artifact)

Inside the house, make your way down the ledge and take the path to the left, down the ladder, to get the Health Upgrade and some ammunition. Head back up and go towards the path to the right. Climb up another ledge and head to the left. (Head to the right to get the Nuppeppo Artifact)
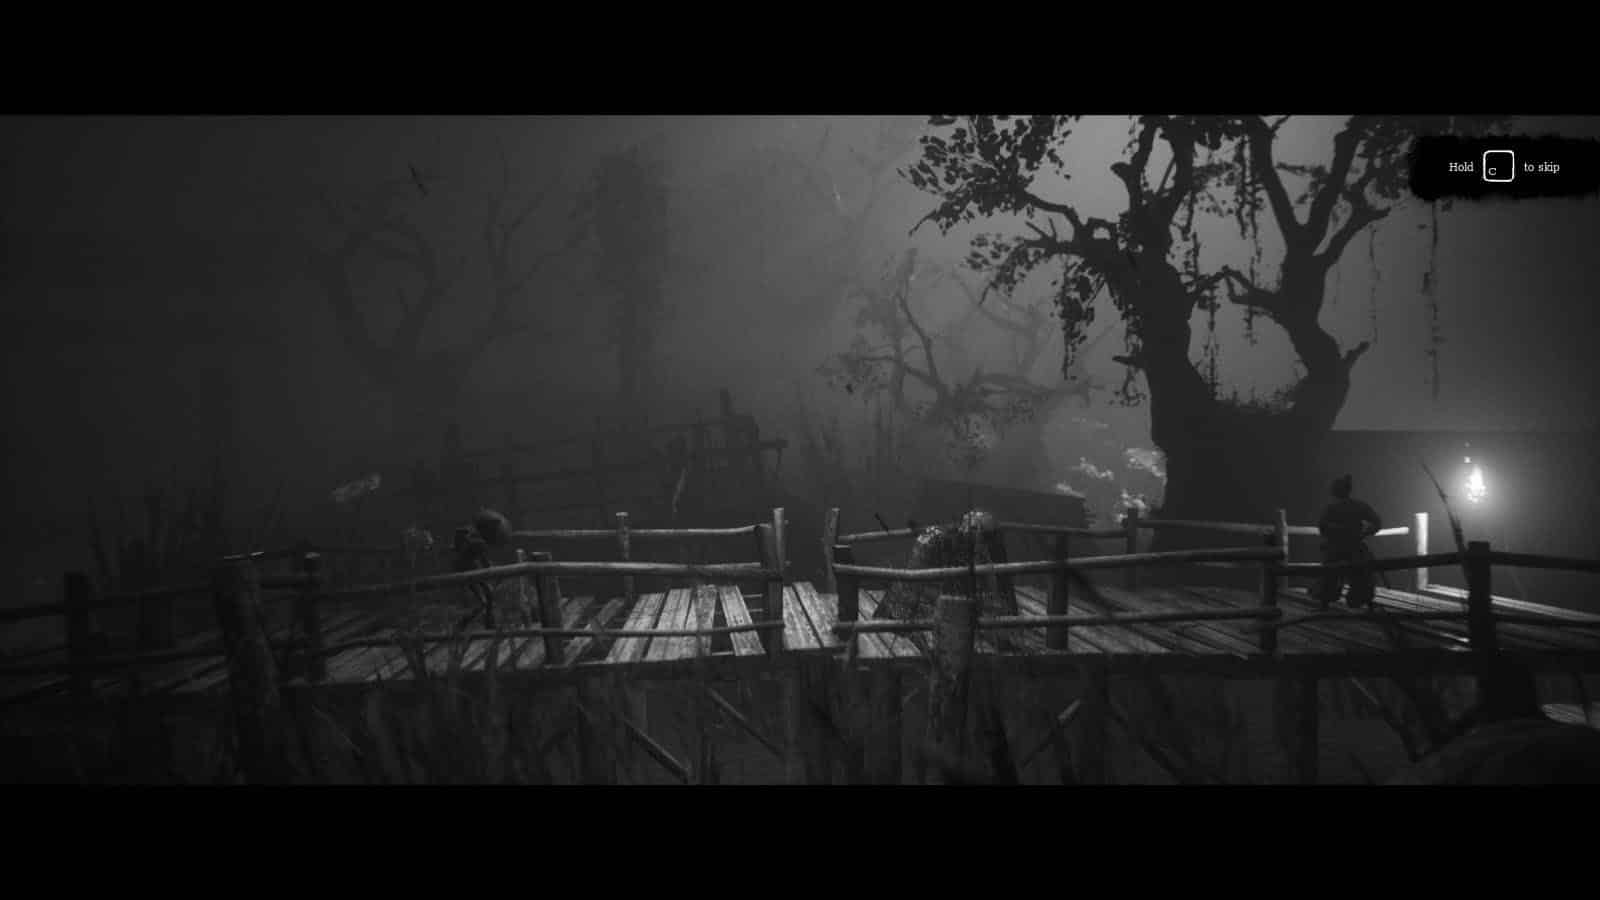
Cross the bridge after fighting the blighted to reach the next shrine. Follow the path down the docks and head tot he jar at the end of the dock to get a Stamina Upgrade. Go to the north path and arrive at another bridge where you will encounter a blighted with a flintlock. Defeat it to unlock the Ozutsu weapon.
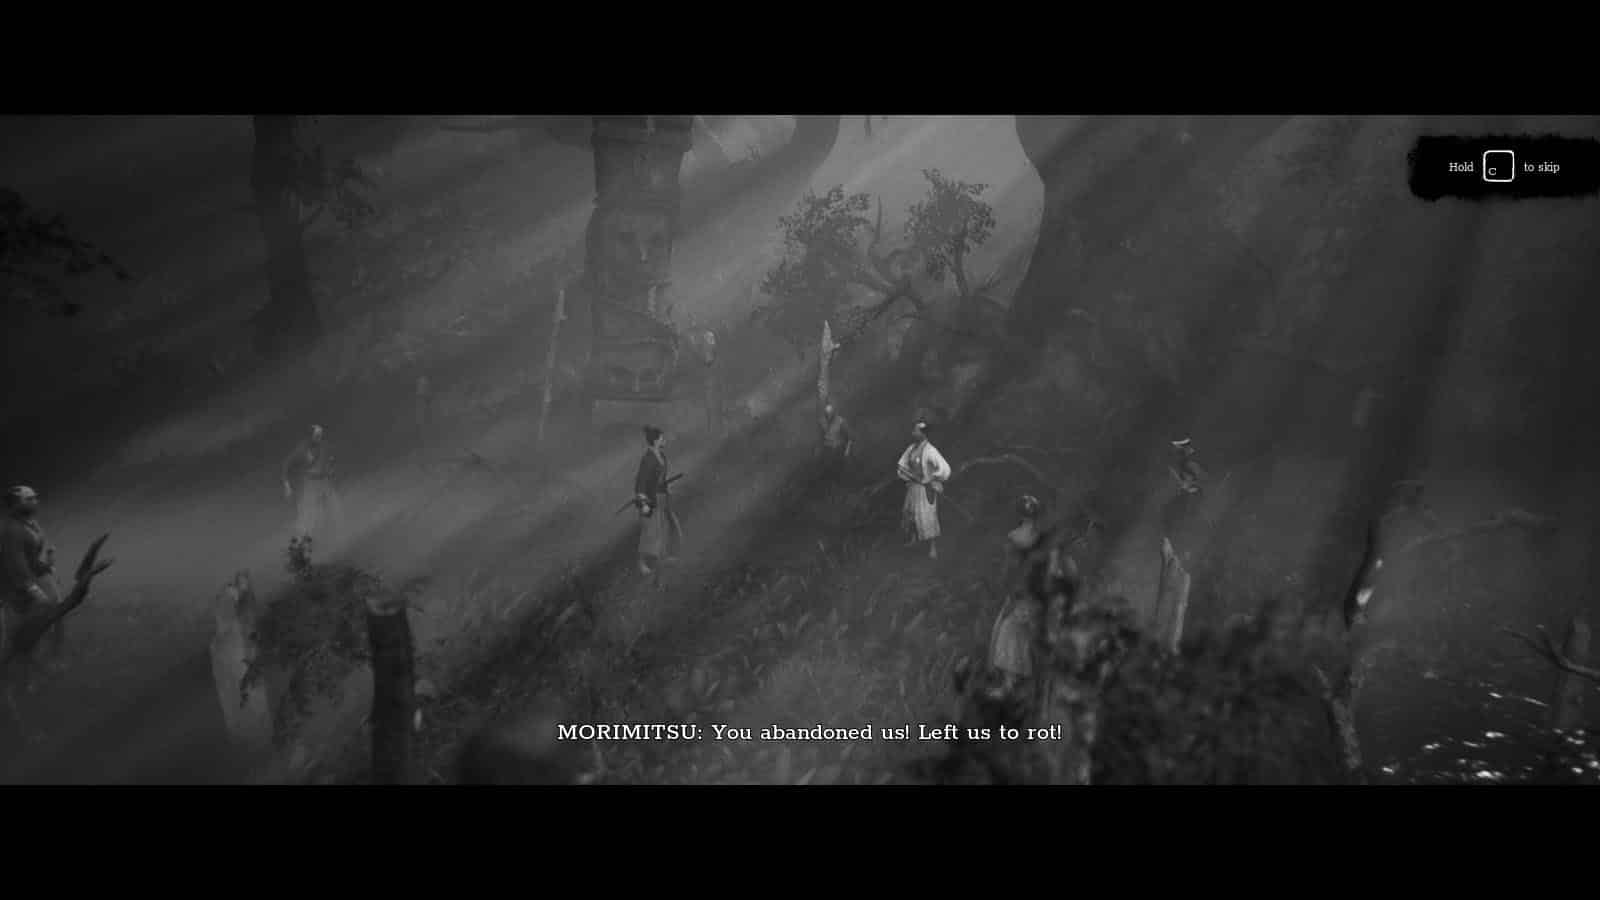
Continue moving forward to reach the next shrine. The next encounter will be against Morimitsu and your other companions’ souls. After defeating them, head to the shrine and go through the gate. Proceed into the center of the town and head left to get a Stamina Upgrade. Head to the right path and you will unlock the Heavy Stun skill.
Defeat the blighted on top of the bridge and continue heading to the right. As you go on the platform, head towards the south (towards the camera) to reveal the next shrine. Go up the ladder and before entering the hut, get the Inugami Artifact. Inside the hut, break down the door and proceed to fight the blighted. Go to the bridge and it will collapse back down to the lower level.
Continue going through the platforms until you reach the end of the docks where you will ride a raft. On the other end of the ride, you will reach the next shrine. Cross the bridge as you defeat another bunch of blighted and enter the tower. Go up the ladder to reach the next shrine. Go up the next ladder to get a Bo-Shuriken Capacity Upgrade and light up the fire of the tower. Go back down to the lower level.
Prepare to kill the blighted as fast as possible since the bridge will slowly collapse behind you. It is recommended to use your Heavy Stun attack followed up by a finisher. After defeating the armored blighted, you are safe from the bridge. (Head to the far right end to climb a platform and get the Ushi-Oni Artifact)
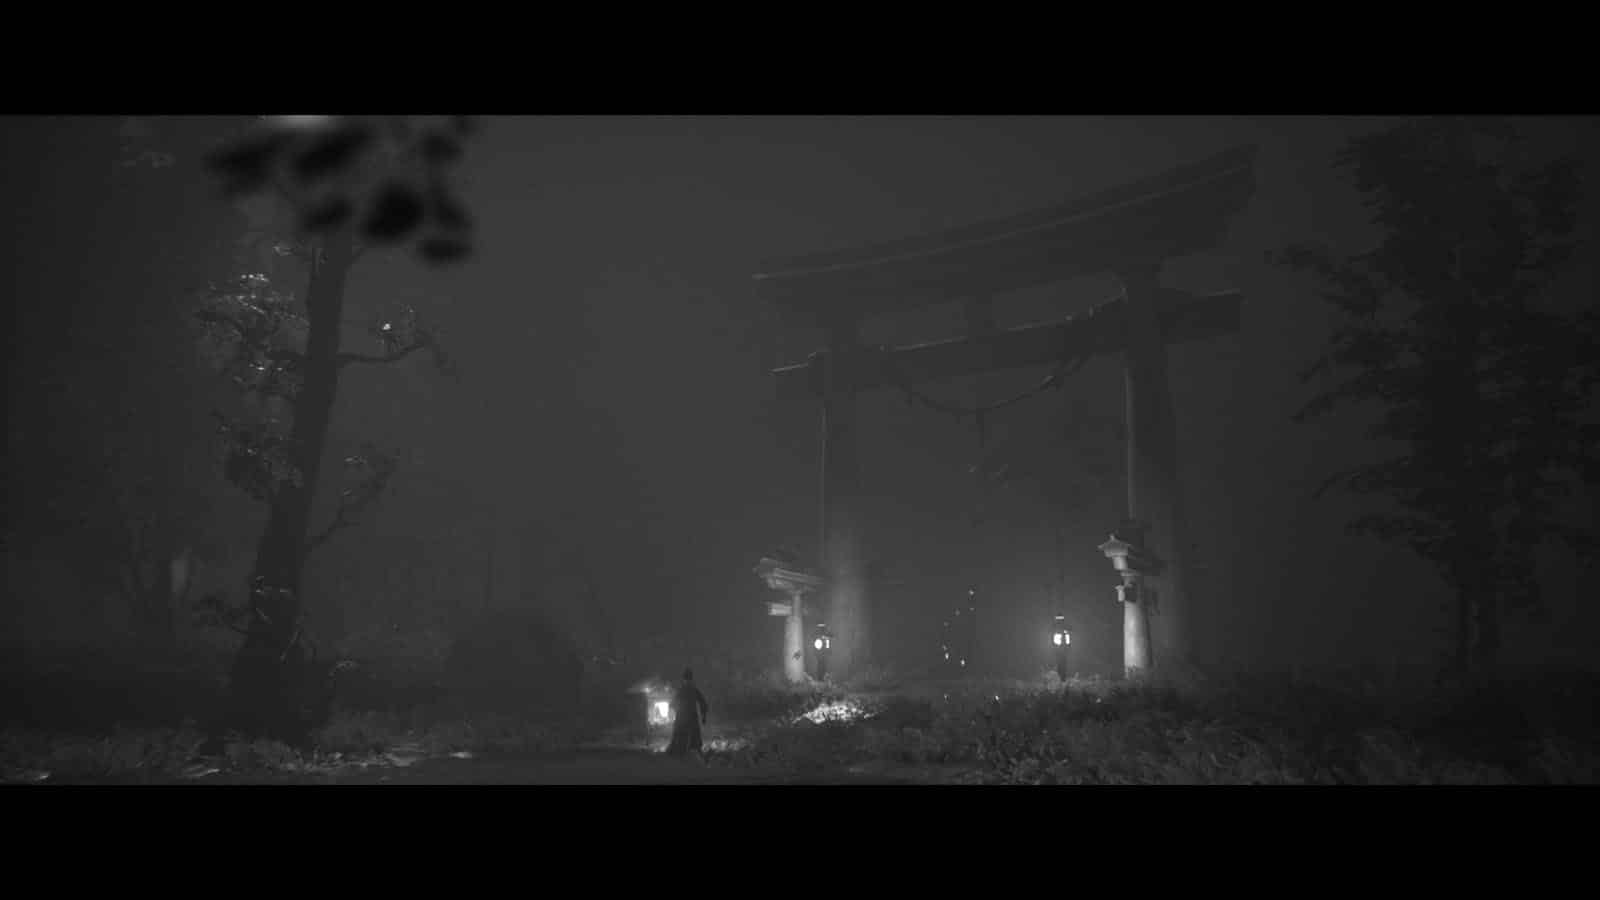
Go to the next shrine and proceed to the north path. Defeat the blighted on the bridge and continue heading straight until you reach a dead end. Push the pole to create a bridge and cross it to the other side. You’ll then have to slide down a cliff and continue following the path and Aiko’s shadow. (The Yamawaro Artifact is on top of a crate just as you get down from the cliff)
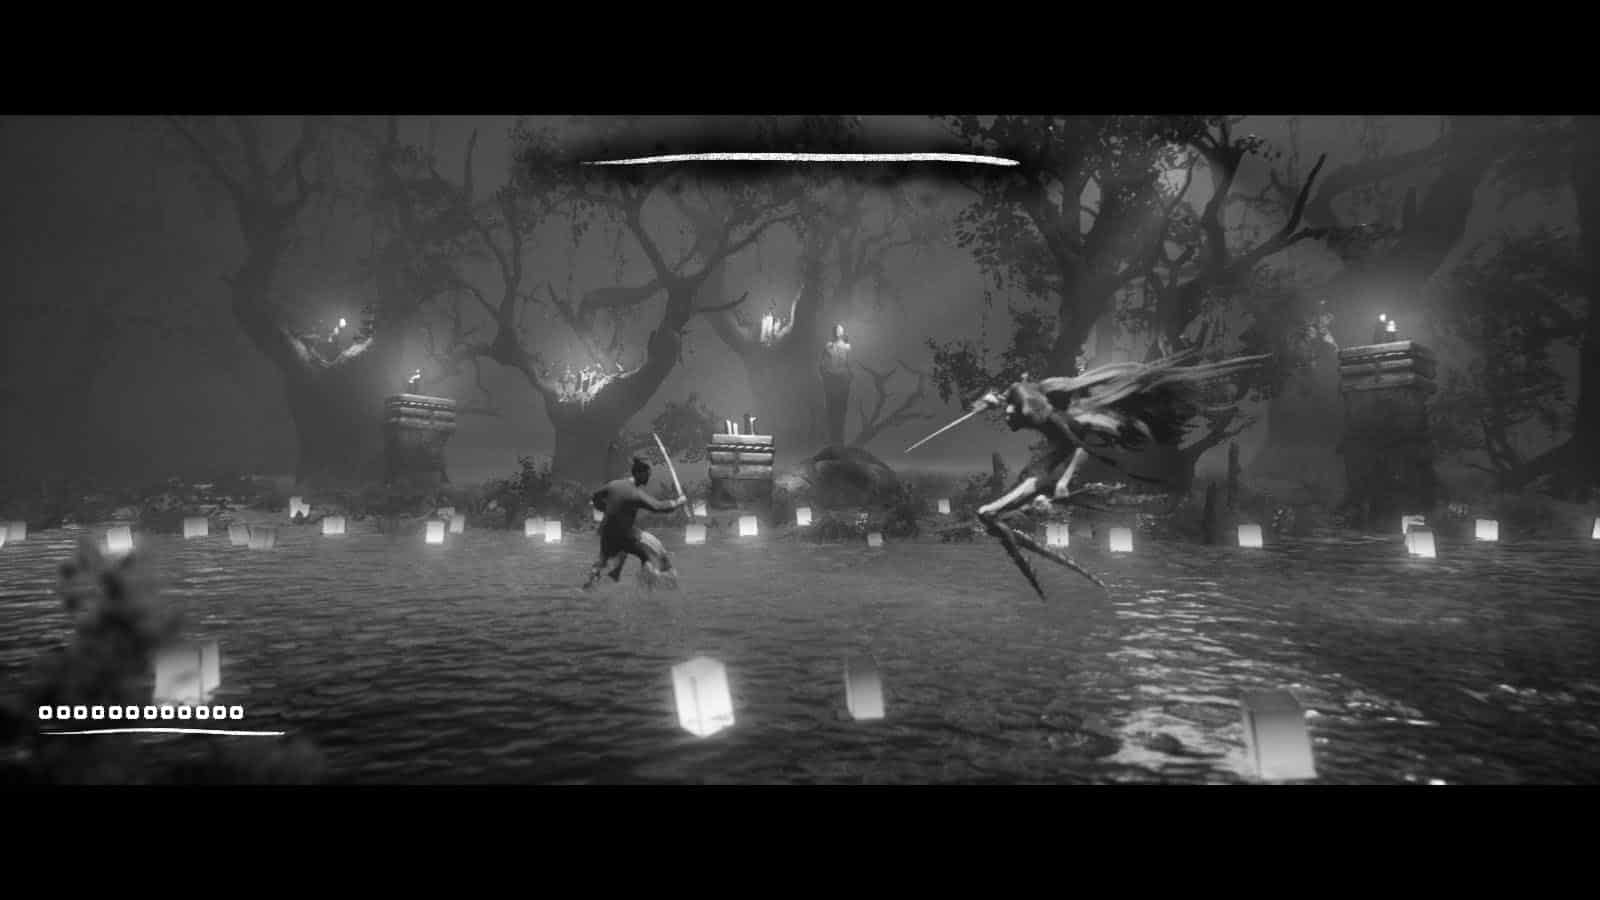
You’ll then reach a torii with a shrine near the base of it. Passing through this torii will move you to the Shadow Aiko boss fight.
Shadow Aiko Attacks
Shadow Aiko has four main attacks:
- Sword Slam: Shadow Aiko will jump into the air and slam both of her swords on you. You cannot parry or block this attack so you either have to back away far enough from the swords’ reach or roll through her attack. Rolling through is a good way to get an opening to punish by doing a Rotation attack, followed by a heavy attack.
- Sword Flurry: She will do three sword slashes and delay a fourth one. The first three can be blocked, while the last slash is unblockable. She will also not do the fourth slash if you are too far away. Only punish if you manage to roll through her fourth attack.
- Soul Rain: She will cross her swords and make souls rain on three spots; the middle one is where you are, the one in front is where you’ll land depending on the speed that you are moving at the time of the attack, and another one behind you. You can roll through these without getting hit.
- Soul Beam: She will stand tall and shoot out a beam of souls towards the direction that she’s facing. She will do this when her health goes past 50% and it is the best time to roll through her and punish her from behind.
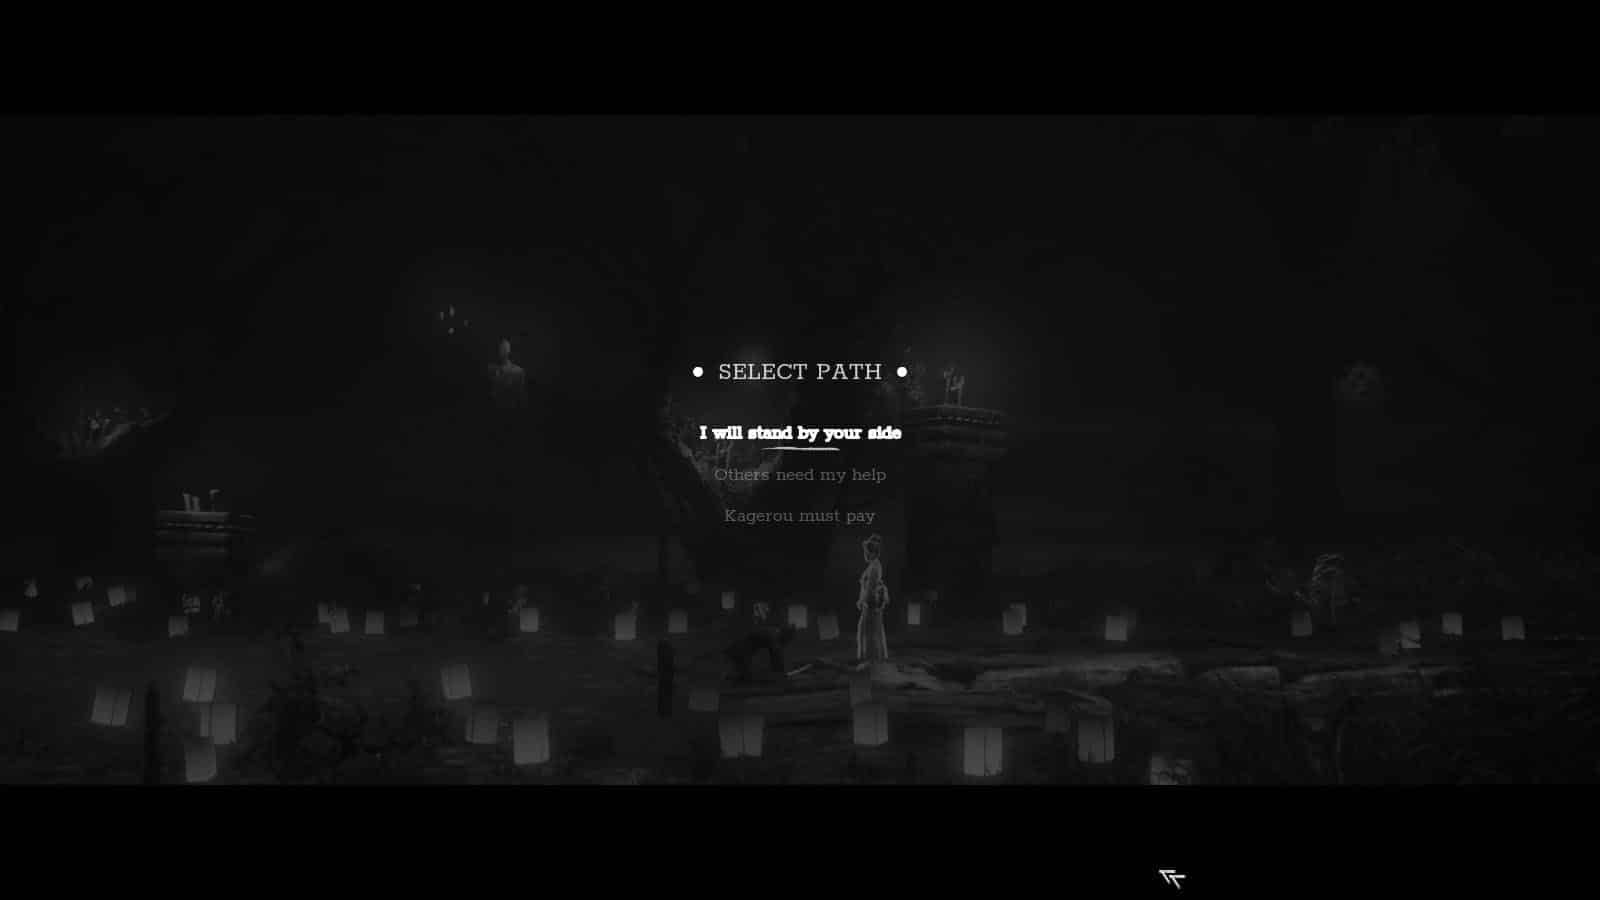
After defeating Shadow Aiko, you will meet Aiko’s spirit and she will make you choose between three choices:
- I will stand by your side
- Others need my help
- Kagerou must pay
These three choices are connected to the three different endings of the game. At this point, choosing any of the choices will not affect the ending of the game yet as this will happen after the Shadow Hiroki fight in Chapter 5.
If you like this guide, be sure to check out our other Trek to Yomi articles:
- Trek To Yomi Collectible Artifact Locations (Chapter 1)
- Trek To Yomi Collectible Artifact Locations (Chapter 2)
- Trek To Yomi Collectible Artifact Locations (Chapter 3)
- Trek To Yomi Collectible Artifact Locations (Chapter 4)
- Trek to Yomi Chapter 1 Walkthrough Guide
- Trek to Yomi Chapter 2 Walkthrough Guide
- Trek to Yomi Chapter 3 Walkthrough Guide
- Trek to Yomi Stamina Upgrade Locations
- Trek to Yomi Health Upgrade Locations
- Trek to Yomi Achievements – Trophy Guide and How to Get Platinum
- How Long is Trek to Yomi?
Check out this video by MKIceAndFire showing the full gameplay of Trek to Yomi:

")
")