
The Prince of Boston tasks Emem to check up on the mages of Jefferson Library. But before she even had a chance to talk to any of them, Emem gets ambushed and gets dragged away into an unknown place.
As always, check the rest of this guide to know which points to invest in before starting the level. And remember, just cause there is a solution that saves you Willpower in the end, it doesn’t mean it’s the best solution. You WANT to use your Willpower to improve your mastery of talents.
And with that out of the way, let’s go start the level.
Emem wakes up in this nightmarish prison. There’s nothing much to interact with. The door is jammed. If you choose to move a piece of debris, rats will enter the cell. Emem can feed on them but the act itself is repulsive to modern vampires. Oh well, beggars can’t be choosers. To escape, Emem needs to use her Celerity ability. After warping beneath the tower, you’ll be transported to another room where you’ll start to piece together the events leading up to you being trapped there.
After the walking simulator, you’re free to go around for a bit. Use Celerity to port to different parts of the map. You can eat rats to keep your hunger down. But eating too many of them will cause Suspicion to rise… so be careful.
Going to the right will get you a set of lockpicks and a bunch of rats to feed off of.
You’ll want to go to the broken bridge on the left to advance. Once you’re there, you’ll want to go through the left corridor to get back your memories. Yes. Emem’s memories are scrambled. You can advance to the next part of the level easily without much struggle. But for the sake of storylines and Traits, you may want to piece yourself together.
At the end of the leftmost corridor, you need to use Celerity to reach a floating operation room. That’s where the first of your memories are sealed away. Interact with the bed, do the whole walking simulator again, and listen to Emem’s story.
Go back to the main platform when you’re done.
The second memory is located at the base of the stairs. Go down and interact with the blue candle to relive another one of Emem’s memories.
Once you’ve exhausted your options, you can enter the tower and start solving a set of puzzles.
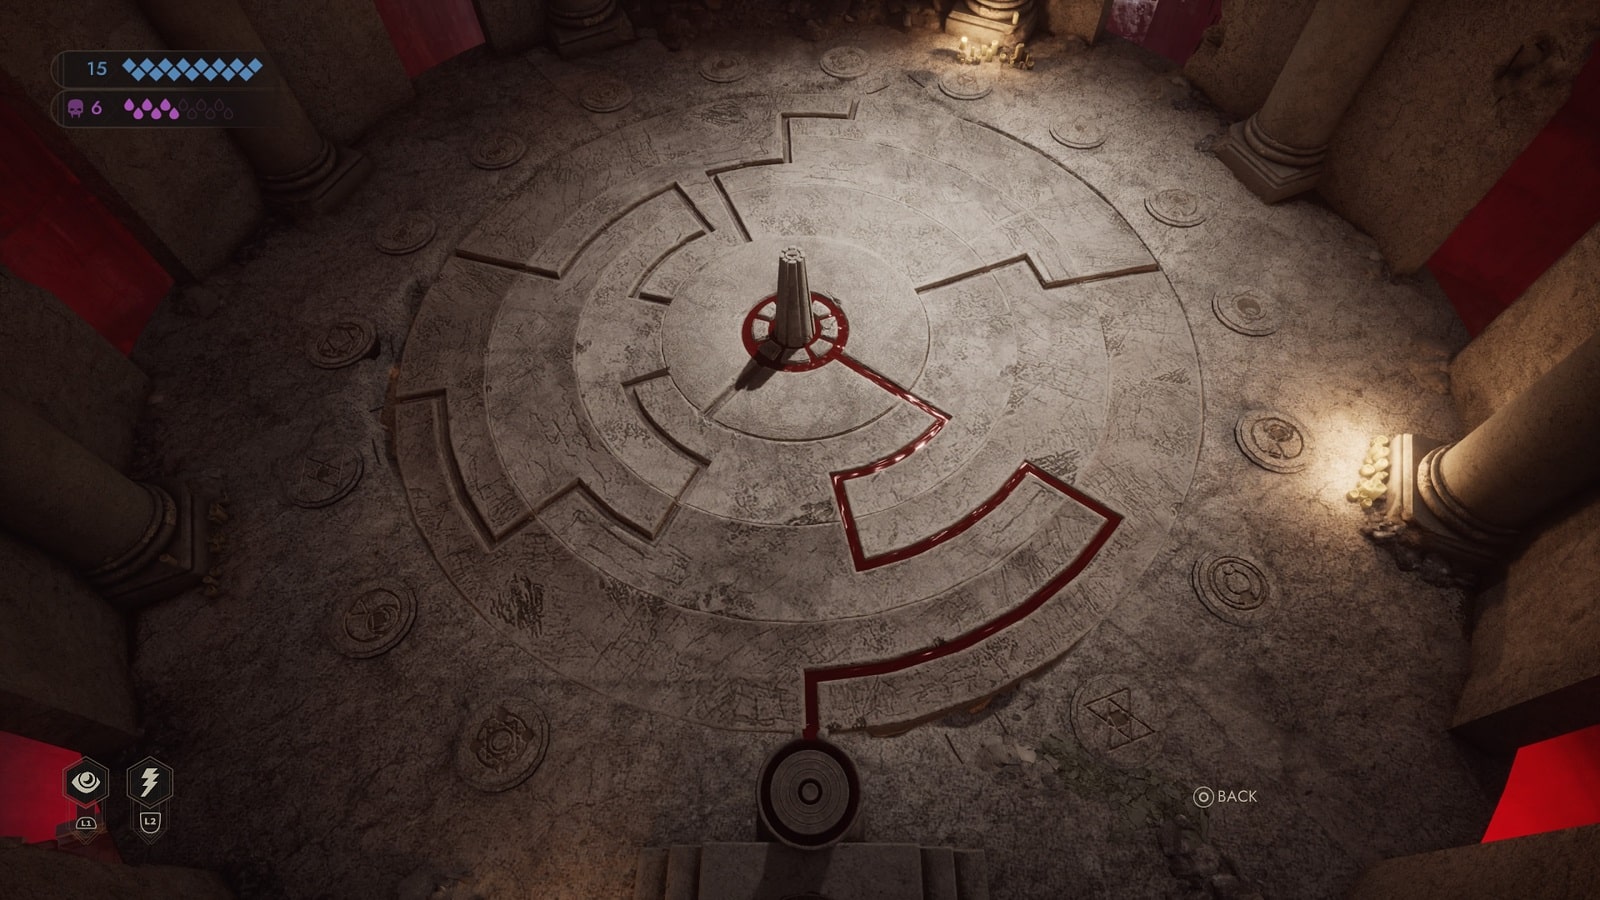
The puzzle themselves go by a locking mechanism. You operate 3 separate disks and you’ll have to rotate them to form a path for blood to the central pedestal.
Unknown – First Floor Puzzle Solution
Here’s what the complete puzzle for the first-floor puzzle looks like.
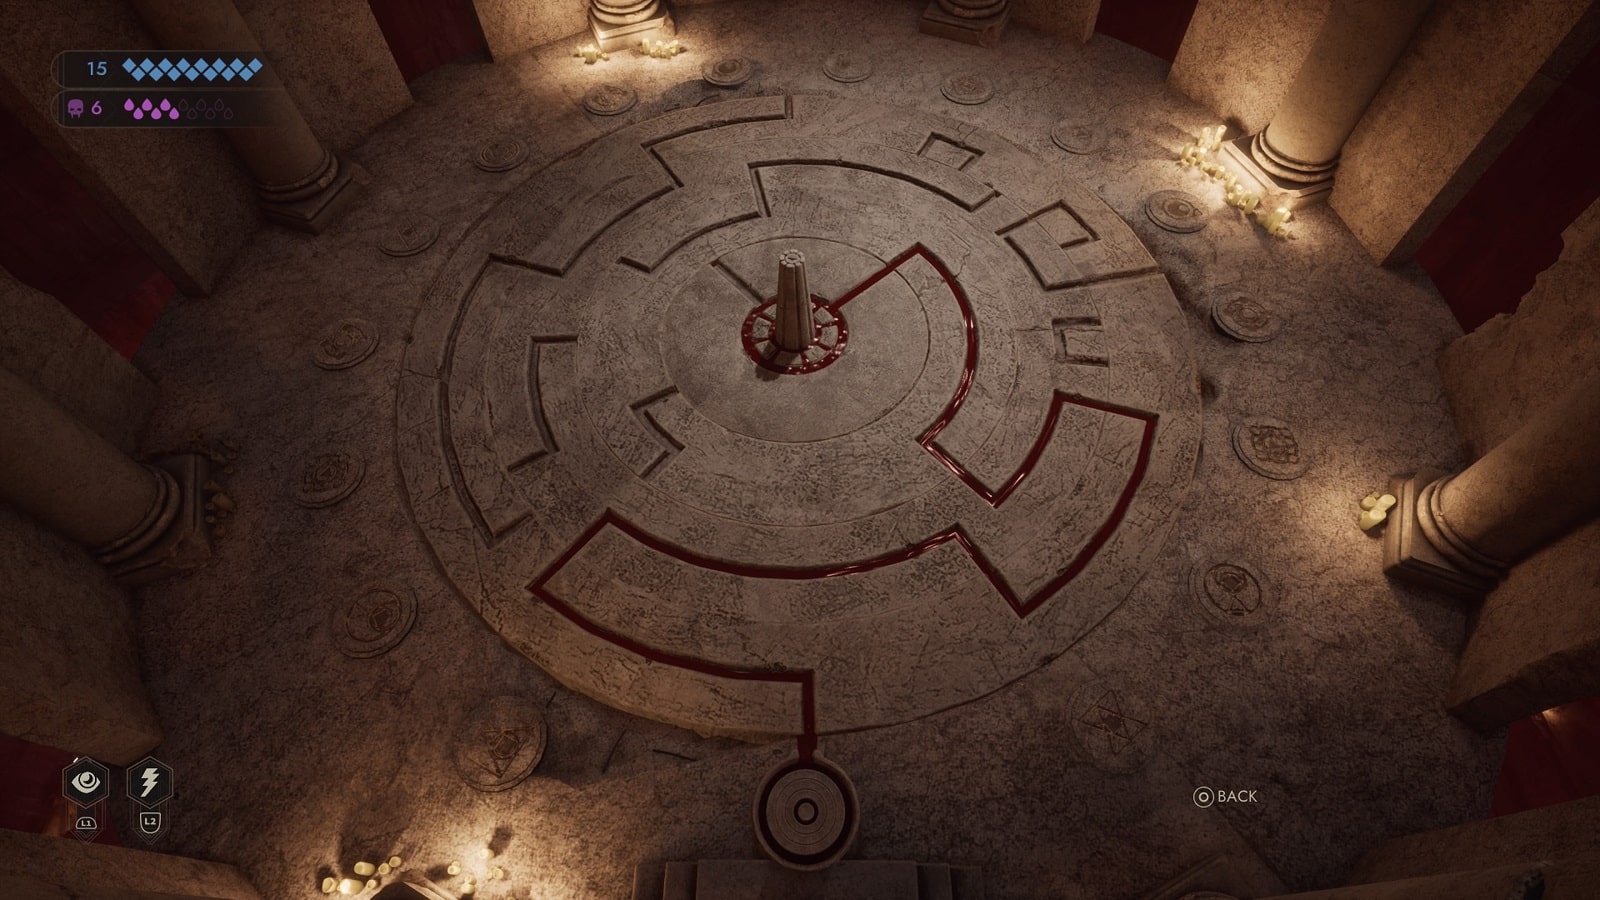
Unknown – Second Floor Puzzle Solution
You need to do this puzzle section again a couple more times. Here’s the second-floor puzzle.

Unknown – Third Floor Puzzle Solution
And finally, here’s the third-floor puzzle. Oddly enough, the third puzzle seems to be easier to solve than the floor before it.
The fourth floor is where the exit is. But before exiting to the next part of the level, check around the tower. There’s a fire poker in one of the braziers. Interact with to regain another of Emem’s lost memories.
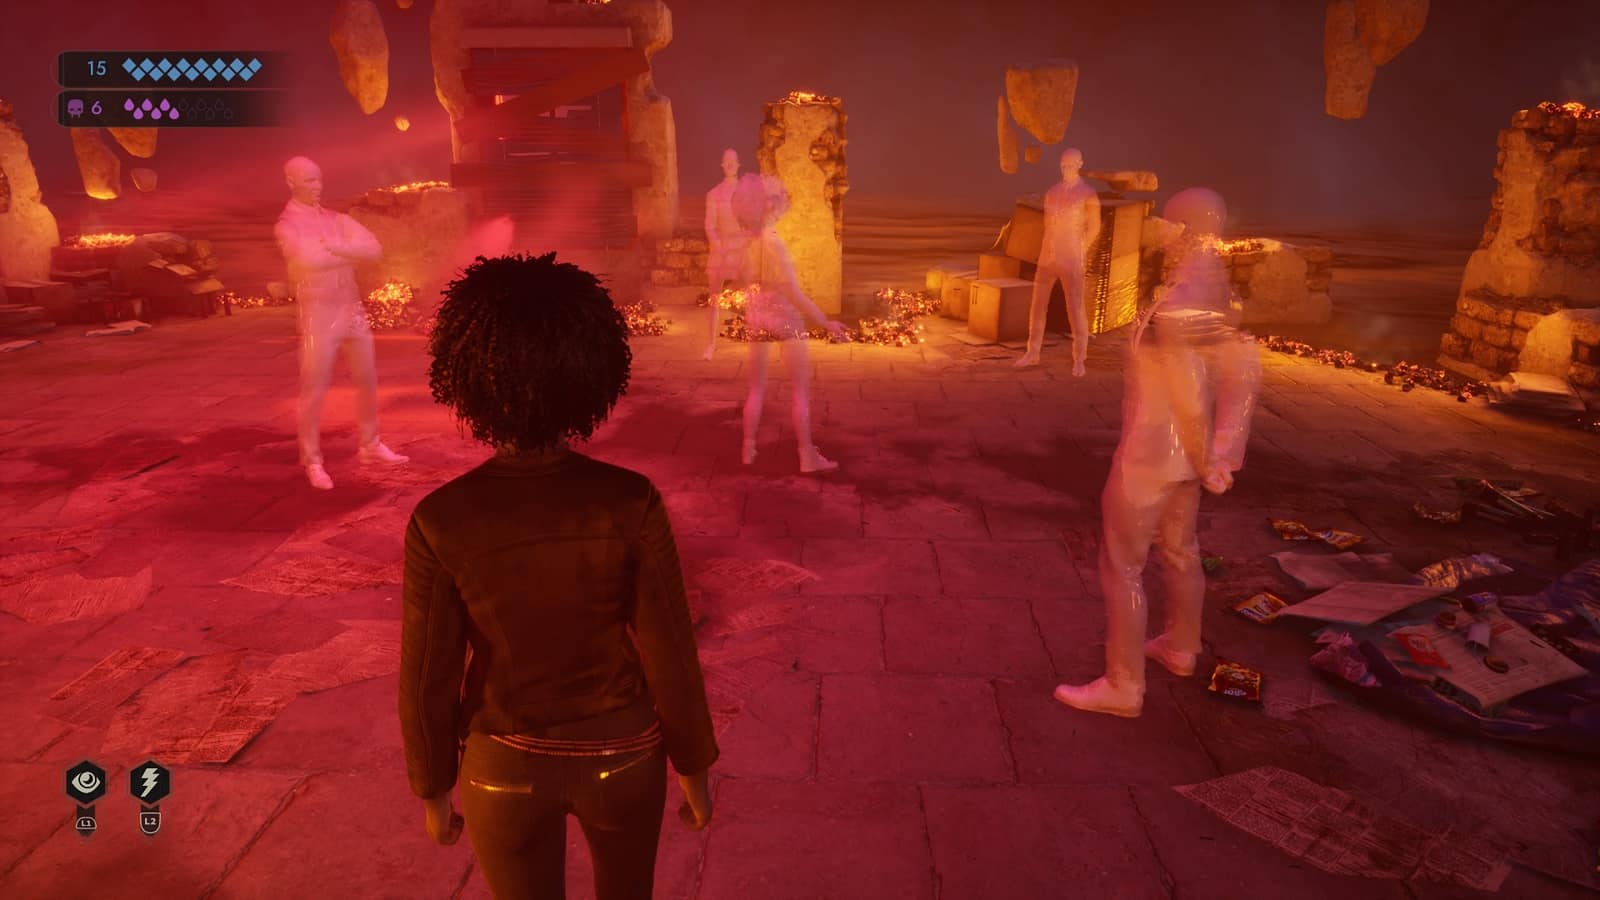
Confrontation with the Mages
Now, you have a chat with the Mages.

The Confrontation with the mages starts with you either defending yourself or not. You need Intimidation(1) to have a chance of succeeding. If don’t have a point there, you have no choice but to not defend yourself. It’s going to cost you the first of four rounds. But at least you are allowed 2 misses.
The second part of the Confrontation requires Psychology(2), Persuasion(2), or Rhetoric(3). If you don’t to commit resources into any of those options, choose ‘We had an agreement’ to insist and move on to the next stage. That would be enough to get you into stage 3.
The third stage has a Persuasion(2) option. It’s pretty much the same as the other right answer, that is, ‘The agreement about the blood trade‘. Emem will list down the particulars of the agreement in an attempt to convince the mages that she’s serious about the alliance.
The fourth stage is where the negotiations begin. To guarantee the future of this alliance, Emem is going to have to promise something big. And the only option more important than money and power, is a place to call home. Vampires…
Choose, ‘A neighborhood in Boston’ to seal the deal.
And that’s it for this level. Don’t worry too much if you didn’t get all the memories. One of the puzzles requires you to upgrade Celerity in order to progress. This may seem like a straightforward level, but the walking simulator adds a lot more time on the clock unnecessarily.
All Vampire the Masquerade Walkthrough guides:
- Vampire the Masquerade Swansong Walkthrough Part 1 – Prince’s Quarters
- Vampire the Masquerade Swansong Walkthrough Part 2 – Loft
- Vampire the Masquerade Swansong Walkthrough Part 3 – Moore’s Apartment
- Vampire the Masquerade Swansong Walkthrough Part 4 – Unknown
- Vampire the Masquerade Swansong Walkthrough Part 5 – Prince’s Quarters
- Vampire the Masquerade Swansong Walkthrough Part 6 – Long Island
- Vampire the Masquerade Swansong Walkthrough Part 7 – Anarch’s Domain
- Vampire the Masquerade Swansong Walkthrough Part 8 – Red Salon
- Vampire the Masquerade Swansong Walkthrough Part 9 – SAD Base (Leysha)
- Vampire the Masquerade Swansong Walkthrough Part 10 – SAD Base (Emem)
- Vampire the Masquerade Swansong Walkthrough Part 11 – SAD Base (Galeb)
- Vampire the Masquerade Swansong Walkthrough Part 12 – Intelligence Elevator
- Vampire the Masquerade Swansong Walkthrough Part 13 – Basement 3
- Vampire the Masquerade Swansong Walkthrough Part 14 – Server Room
- Vampire the Masquerade Swansong Walkthrough Part 15 – Basement 4 Labs
- Vampire the Masquerade Swansong Walkthrough Part 16 – Hospital Chapel
Check out our other Vampire the Masquerade: Swansong content:
- Vampire the Masquerade Swansong – Deeper Look into the Mechanics
- Vampire The Masquerade Swansong – Best Starting Profile For Each Character
- Vampire The Masquerade Swansong – Removing the Red Salon Guard
- Vampire The Masquerade Swansong – QR Code ARG
- Vampire The Masquerade Swansong – Which Coffin for Miley
- Vampire The Masquerade Swansong – The Right Dose of Trajax
- Vampire The Masquerade Swansong Secret Endings
- All Vampire The Masquerade Swansong Endings
Also check out this very helpful video by Quick Guides on Vampire The Masquerade Swansong ALL PUZZLE SOLUTIONS in Scene 4 “Unknown” (Blood Rotating Puzzles):


