")
Below is the sixth chapter of The Callisto Protocol where Jacob and Dani find themselves deep in the old colony of Arcas after their escape ship was blasted out of the sky by the Warden. They learn more about what happened to the colony and how it got involved in the demise of the whole Black Iron Prison and the rest of Callisto.
In this guide, we will go through the events in Chapter 6: Below of The Callisto Protocol, sharing tips and listing down any collectible that can be found in the chapter.
See previous The Callisto Protocol: Lost Walkthrough (Chapter 5)
The chapter picks up from Jacob’s fall after Dani wakes him up at the bottom of the facility. The two find themselves in Arcas which is the original colony that settled in Callisto.
Chapter 6: Below Objectives
- 6.1 Follow Dani
- 6.2 Find another way down
- 6.3 Reach the transport hub / Data-Bios #28 and #29 / Giving Back Achievement
- 6.4 Find the power tunnels keycard
- 6.5 Unlock the power tunnels door
- 6.6 Locate the power reactor / The Commonality Achievement / Data-Bios #31
- 6.7 Reset the breakers
- 6.8 Find the first breaker
- 6.9 Find the second breaker
- 6.10 Find the third breaker / Power Up Achievement
- 6.11 Return to the transport platform
- 6.12 Ride the platform to Arcus
- 6.13 Survive the platform ride: Two-Head Boss Fight / Two Heads Are Better Than One Achievement
- 6.14 Locate Arcas Station / Data-Bios #32
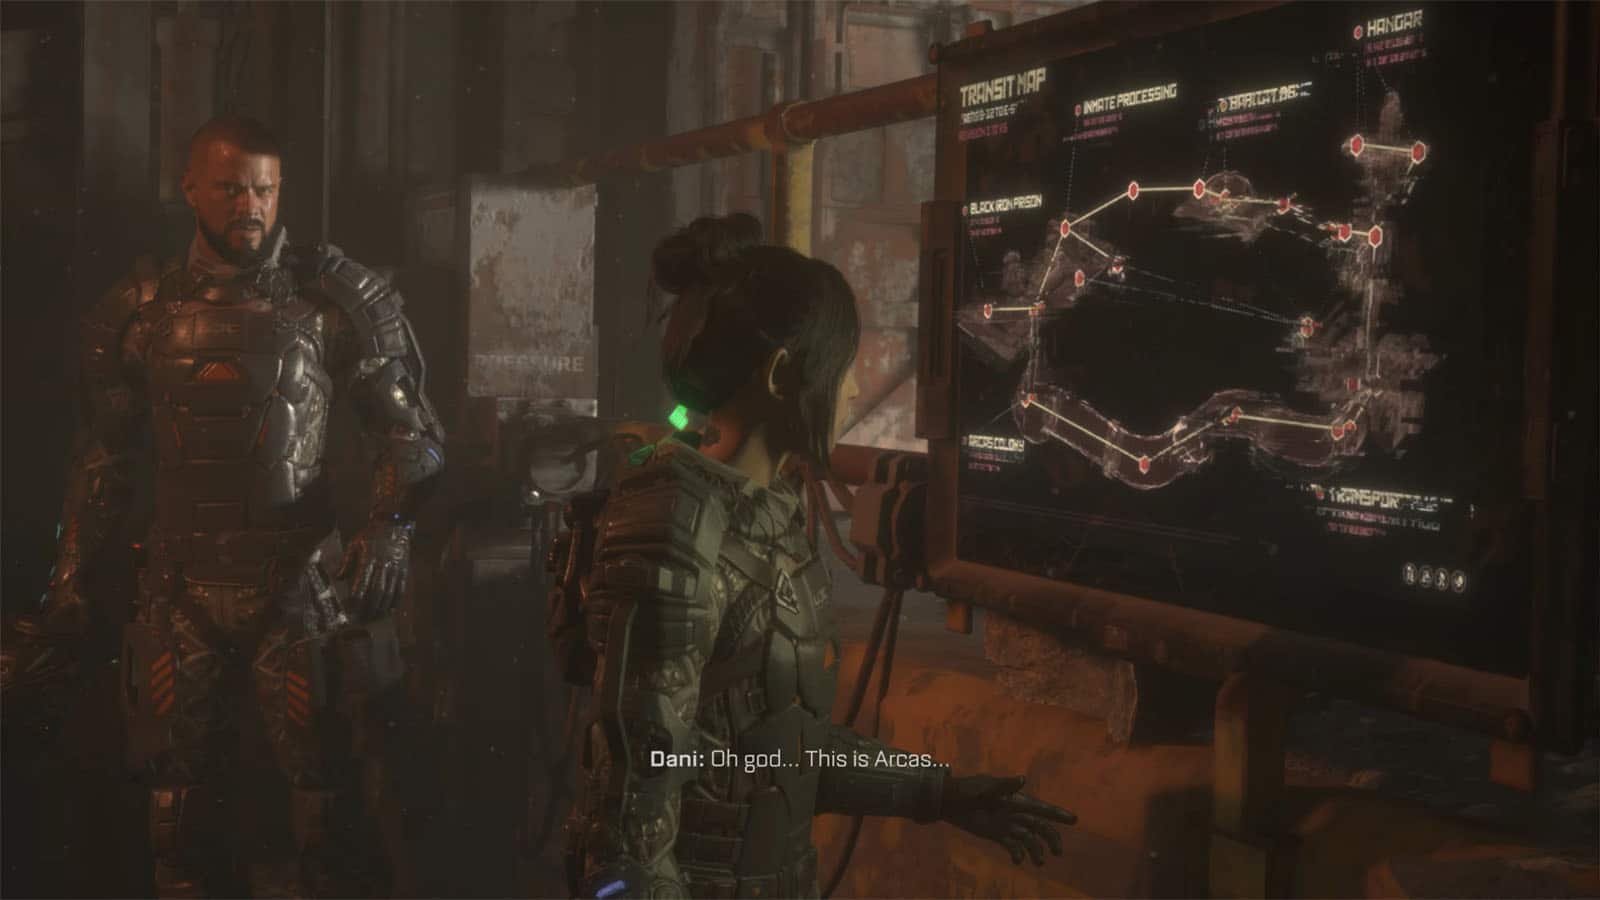
Follow Dani
For this part, simply follow Dani as she gives out some exposition about Arcas. There’s a staircase on the right that you can take a quick detour on for some loot. You’ll arrive at an elevator at the end of the walk, but it’s not operational. Debris also cuts off a walkway, separating you from Dani.
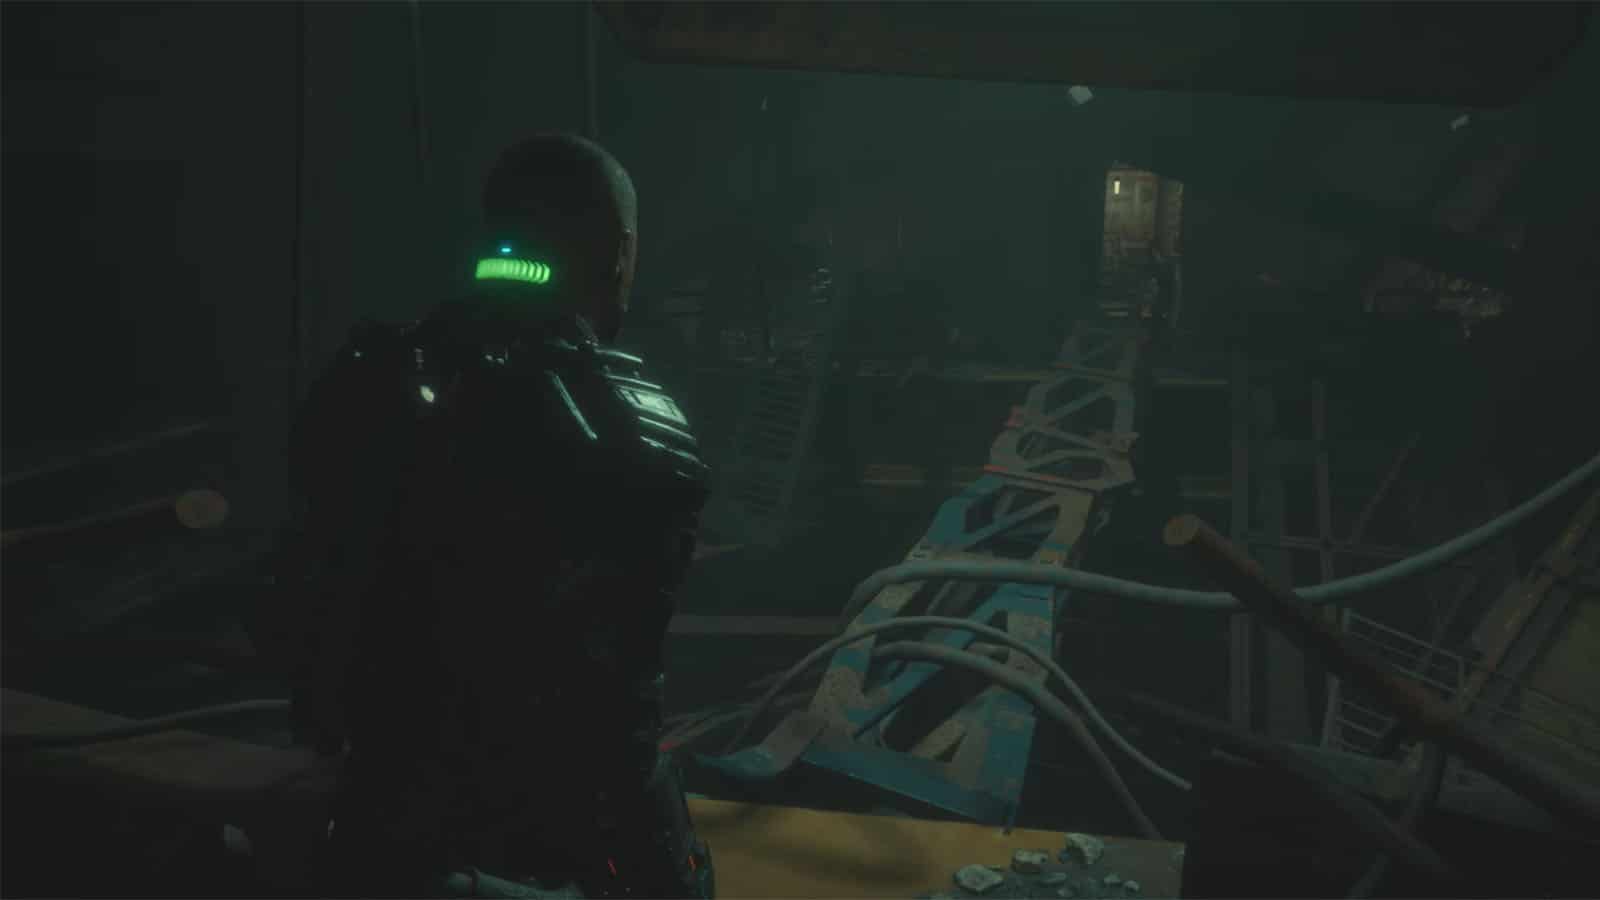
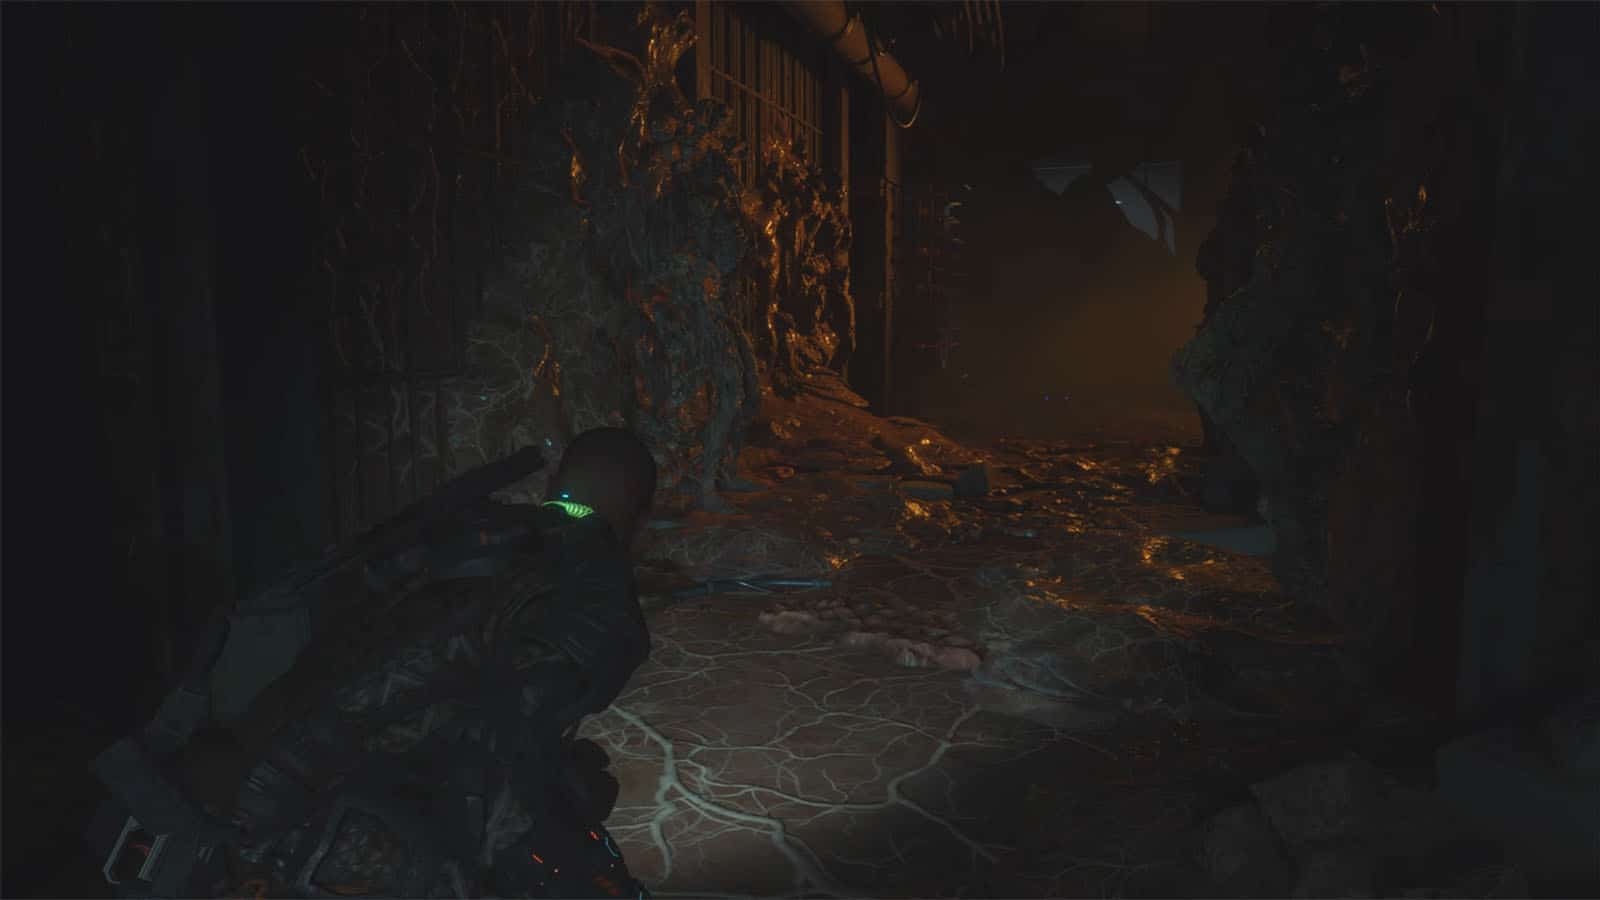
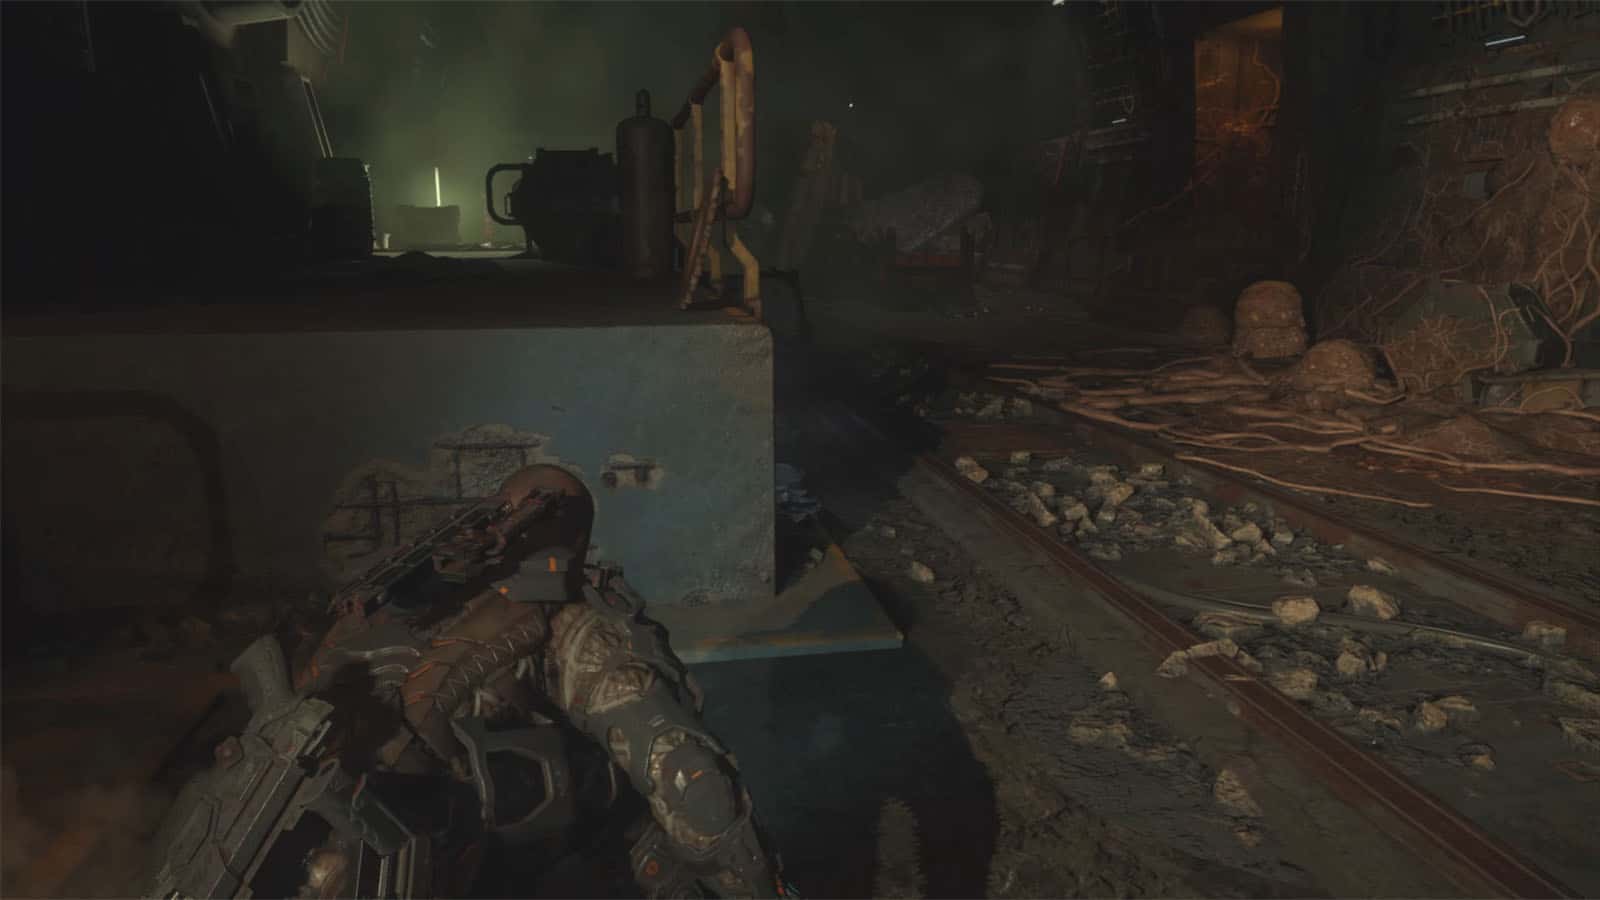
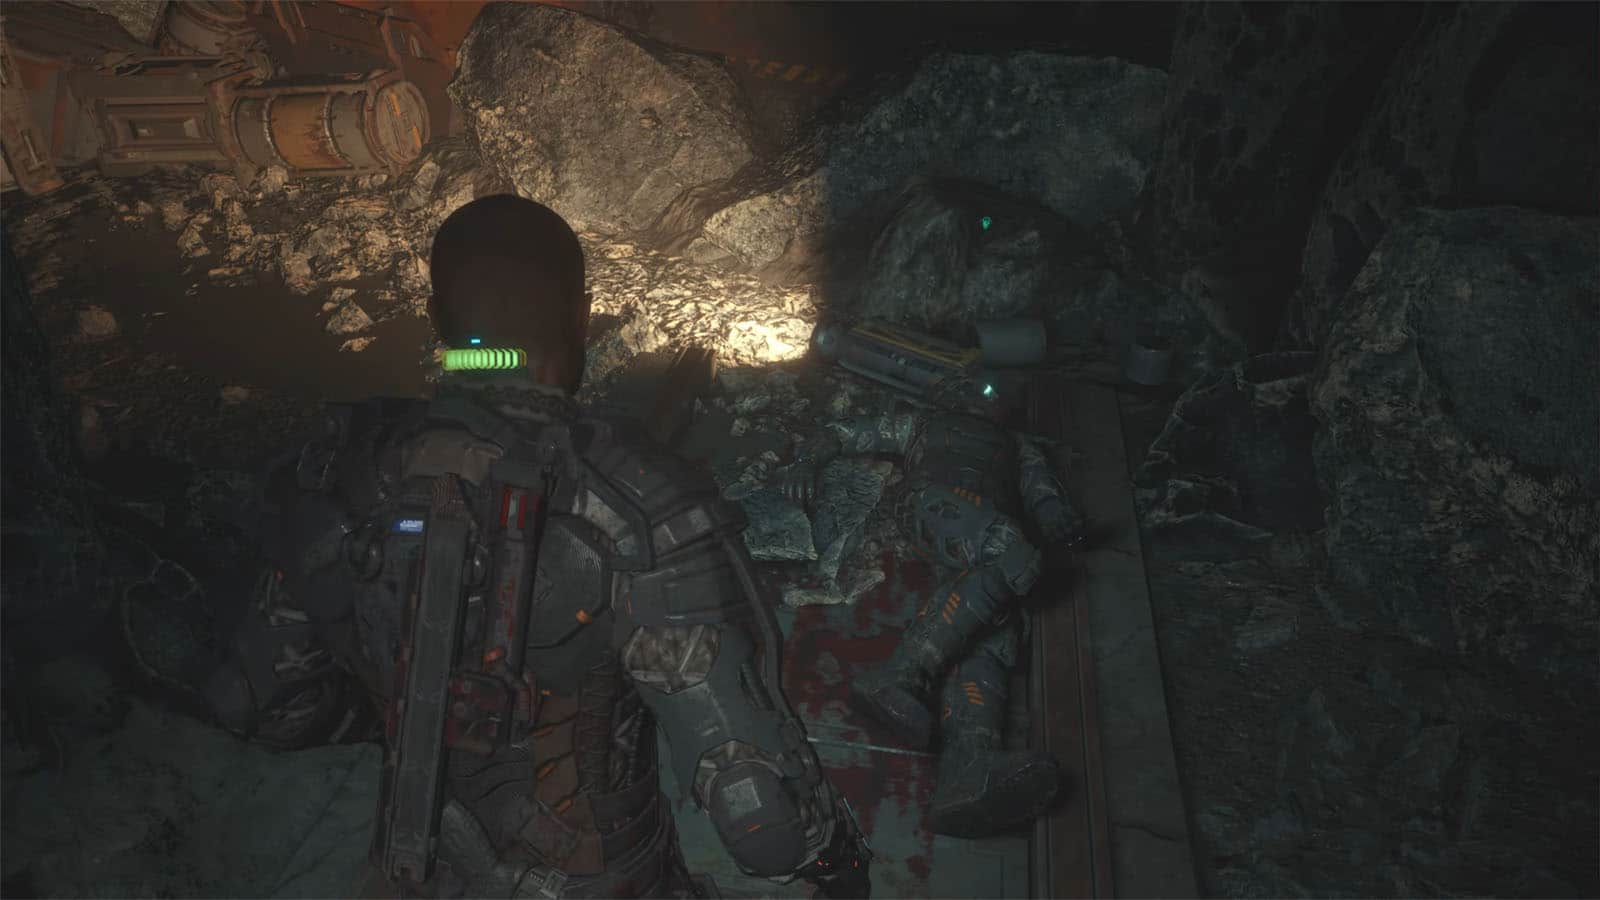
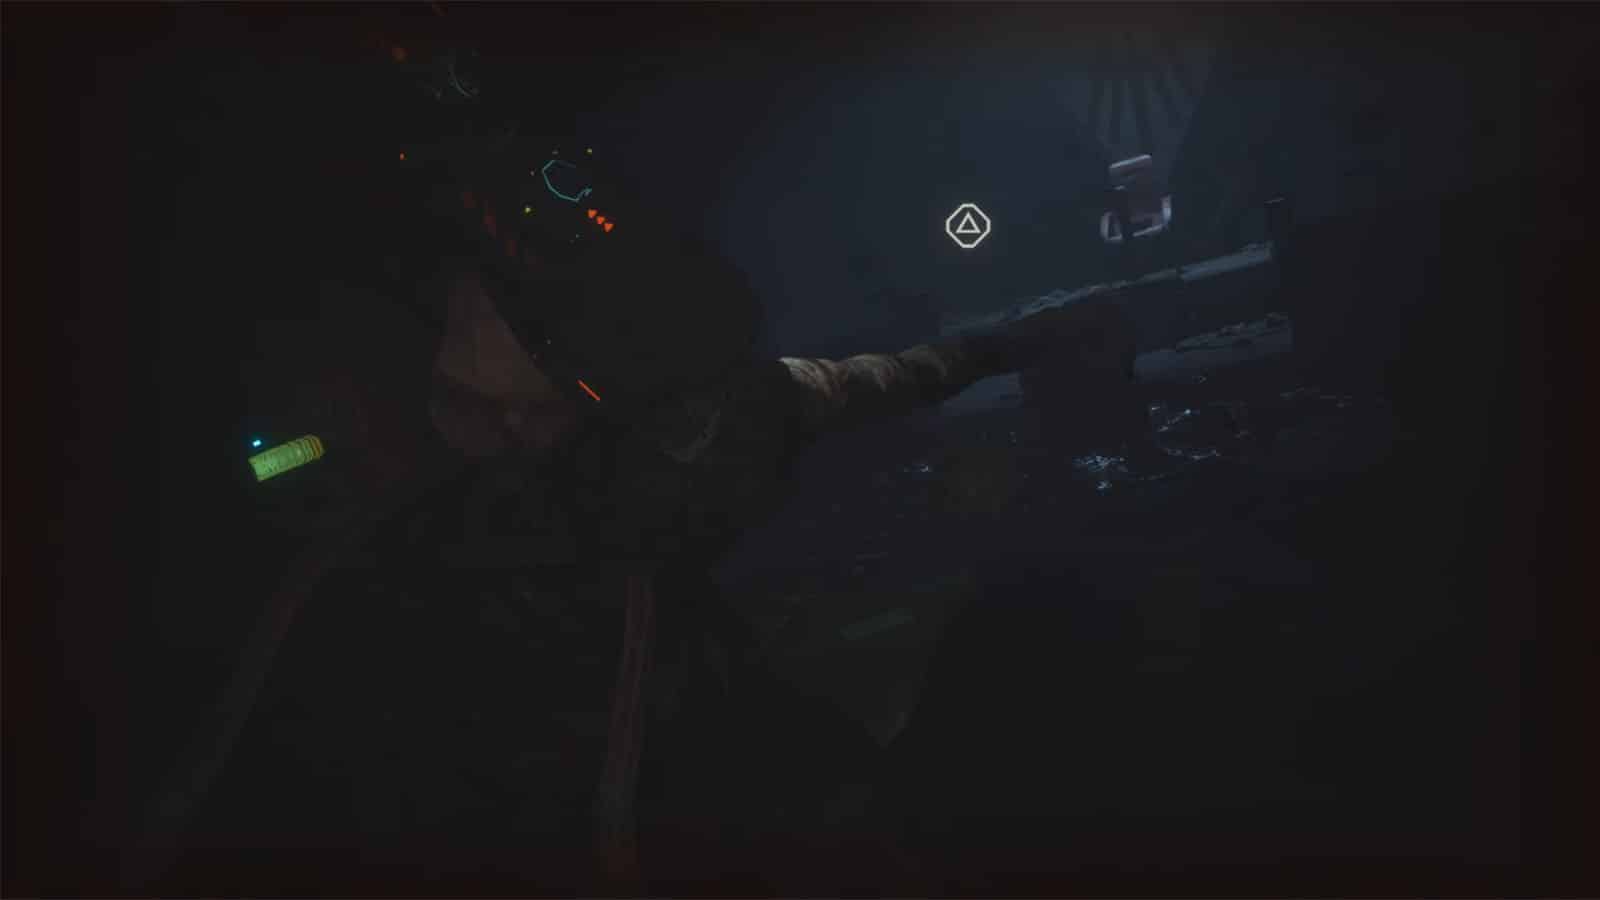
Find Another Way Down
Make your way down the scaffolding and walkway until you reach the steel beam that you have to cross. You wouldn’t make it all the way through as the beam collapses, sending you way down into an infested part of the colony.
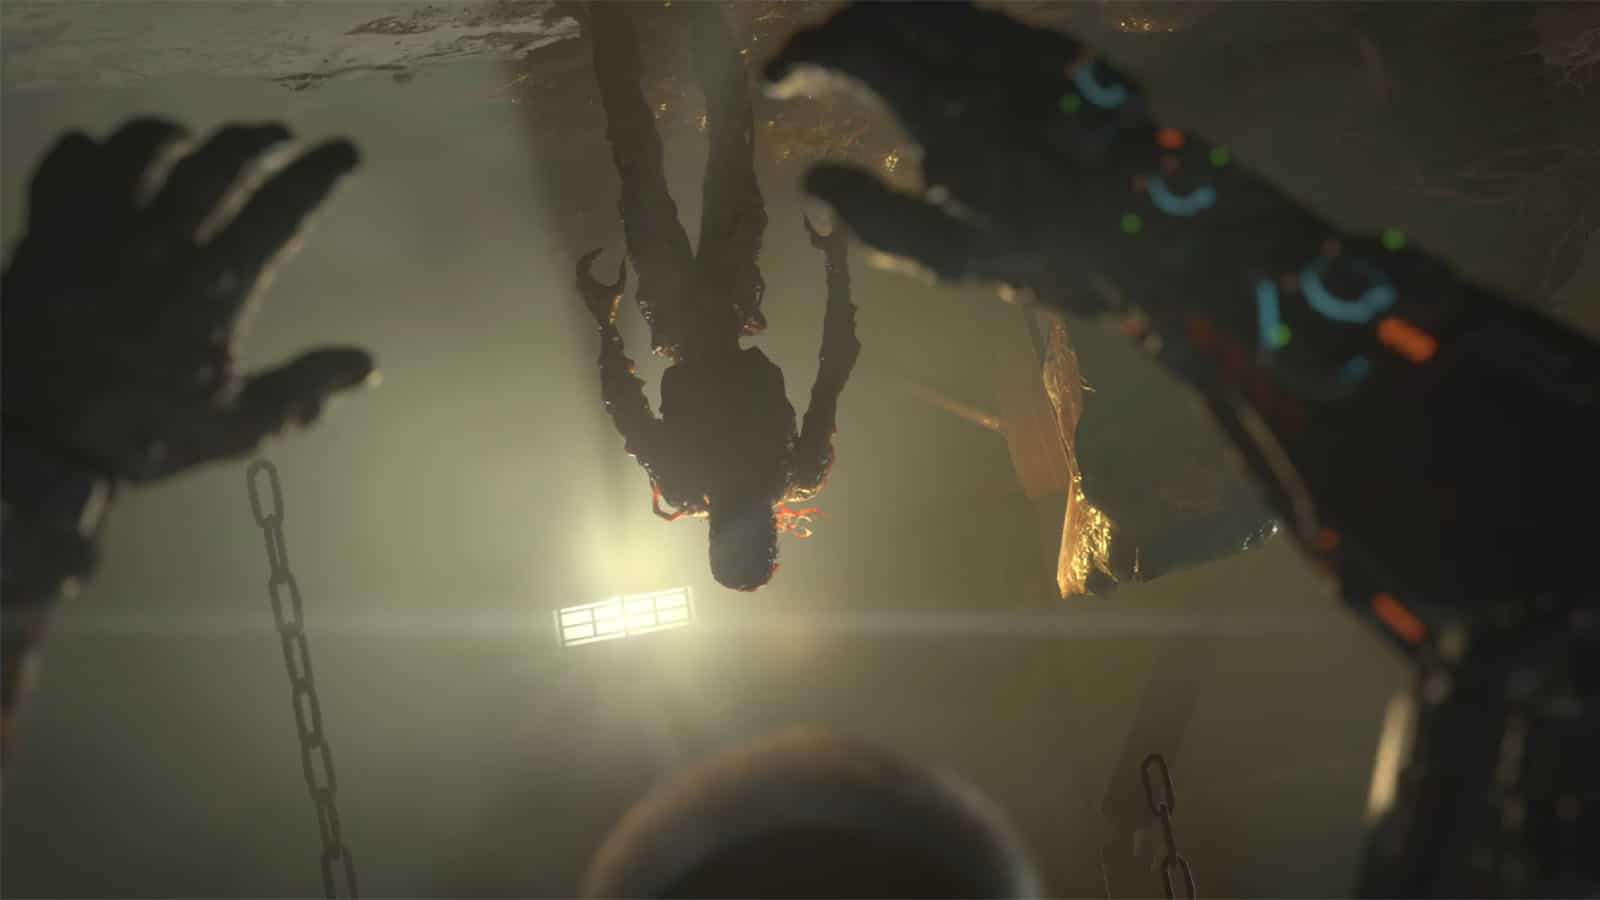
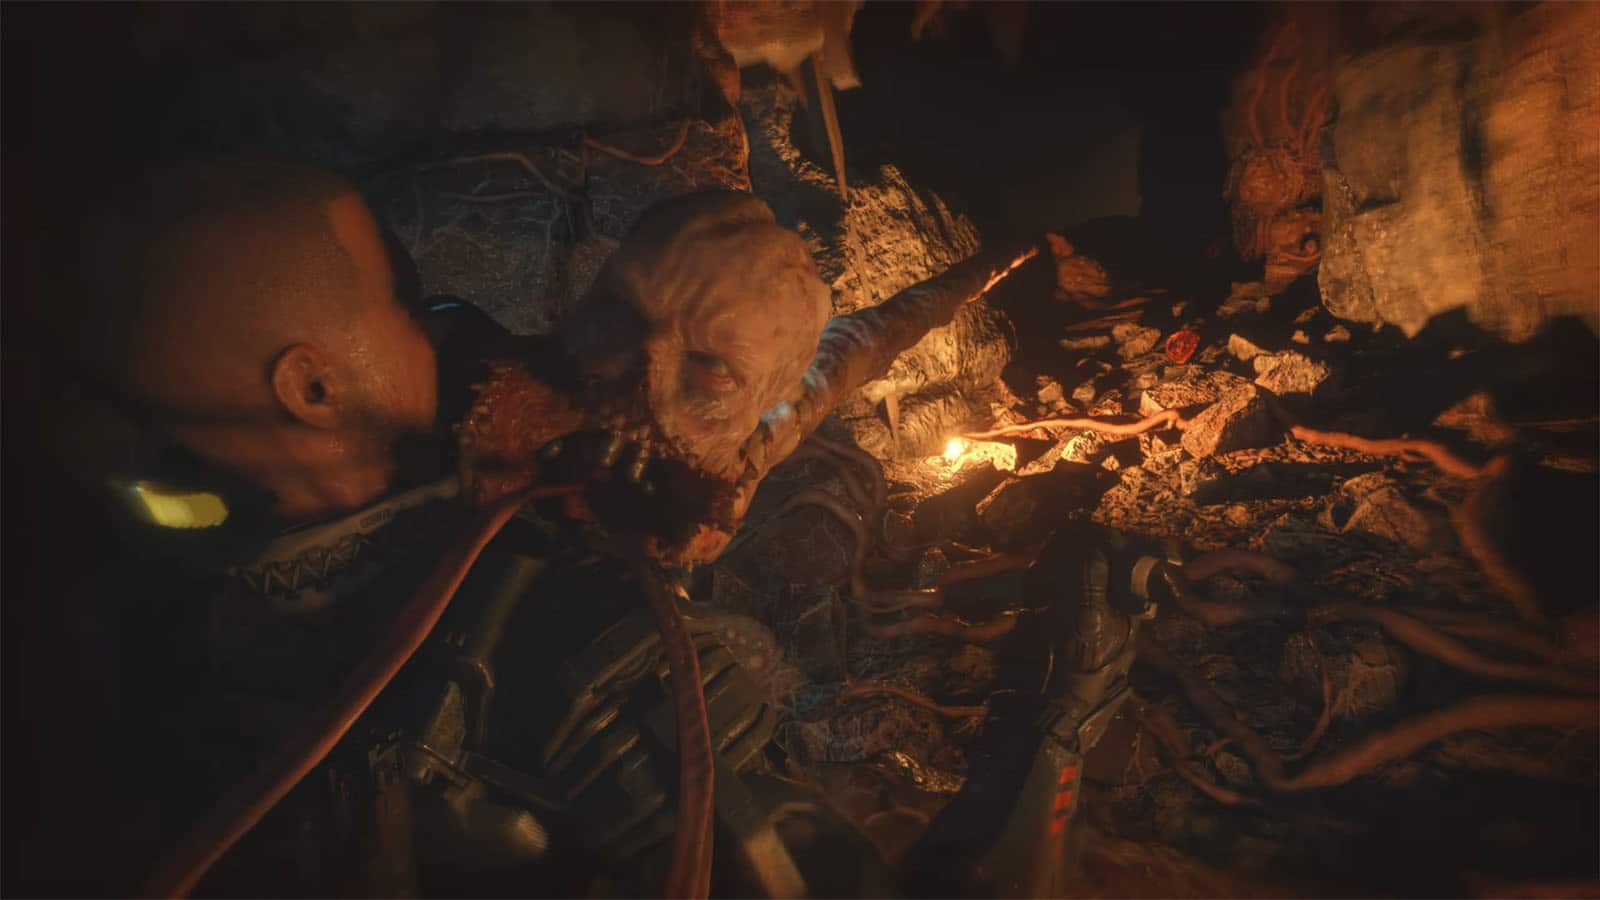
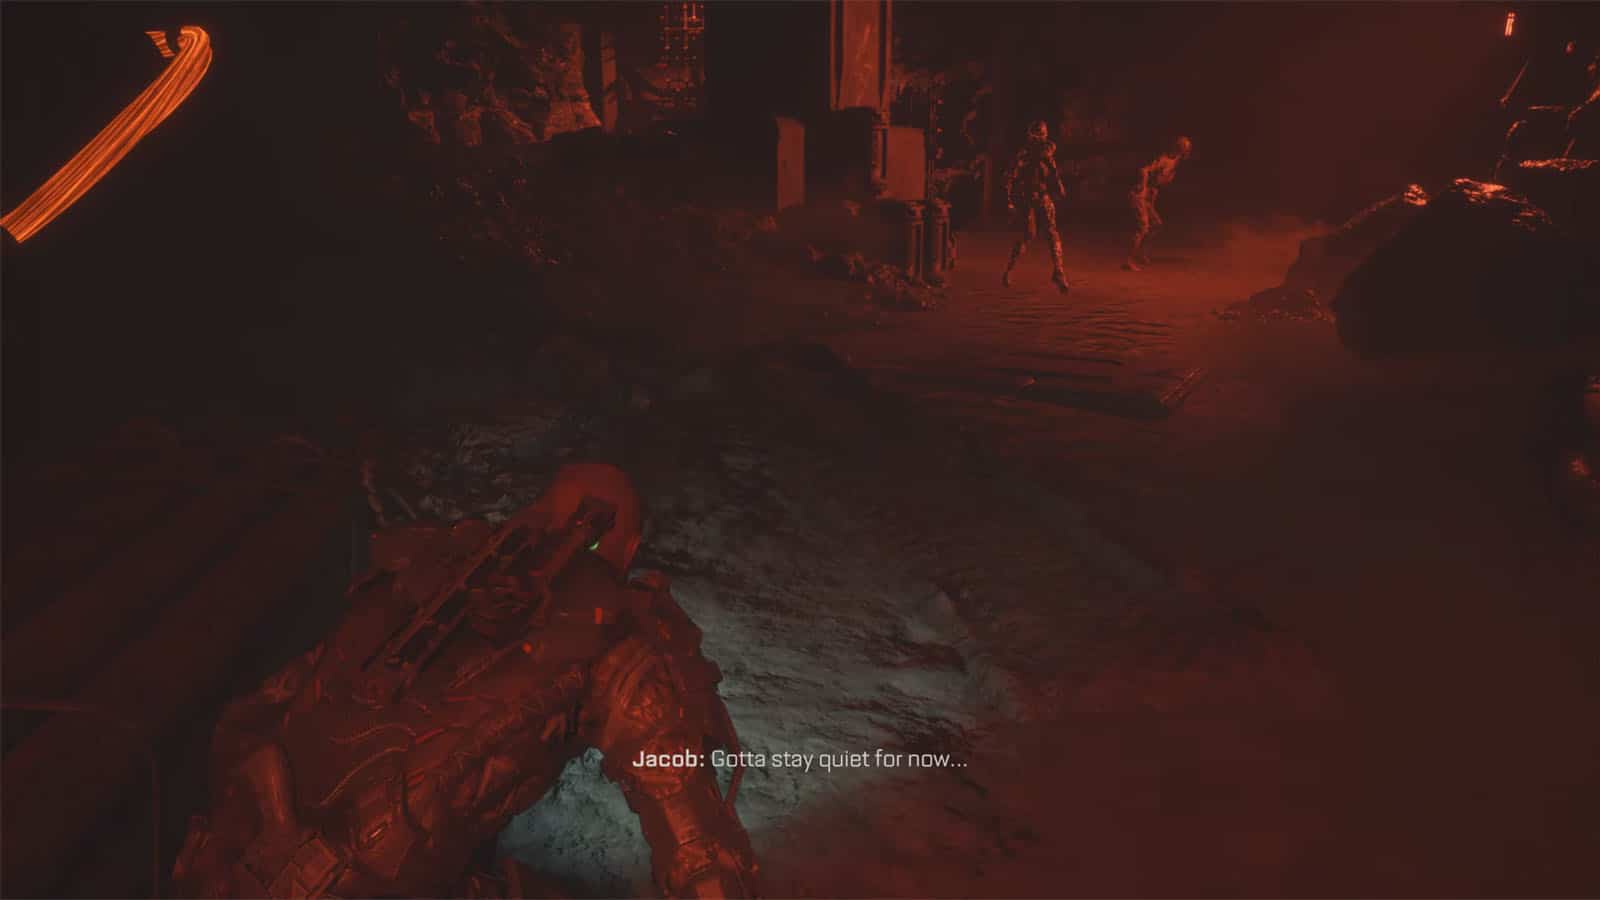
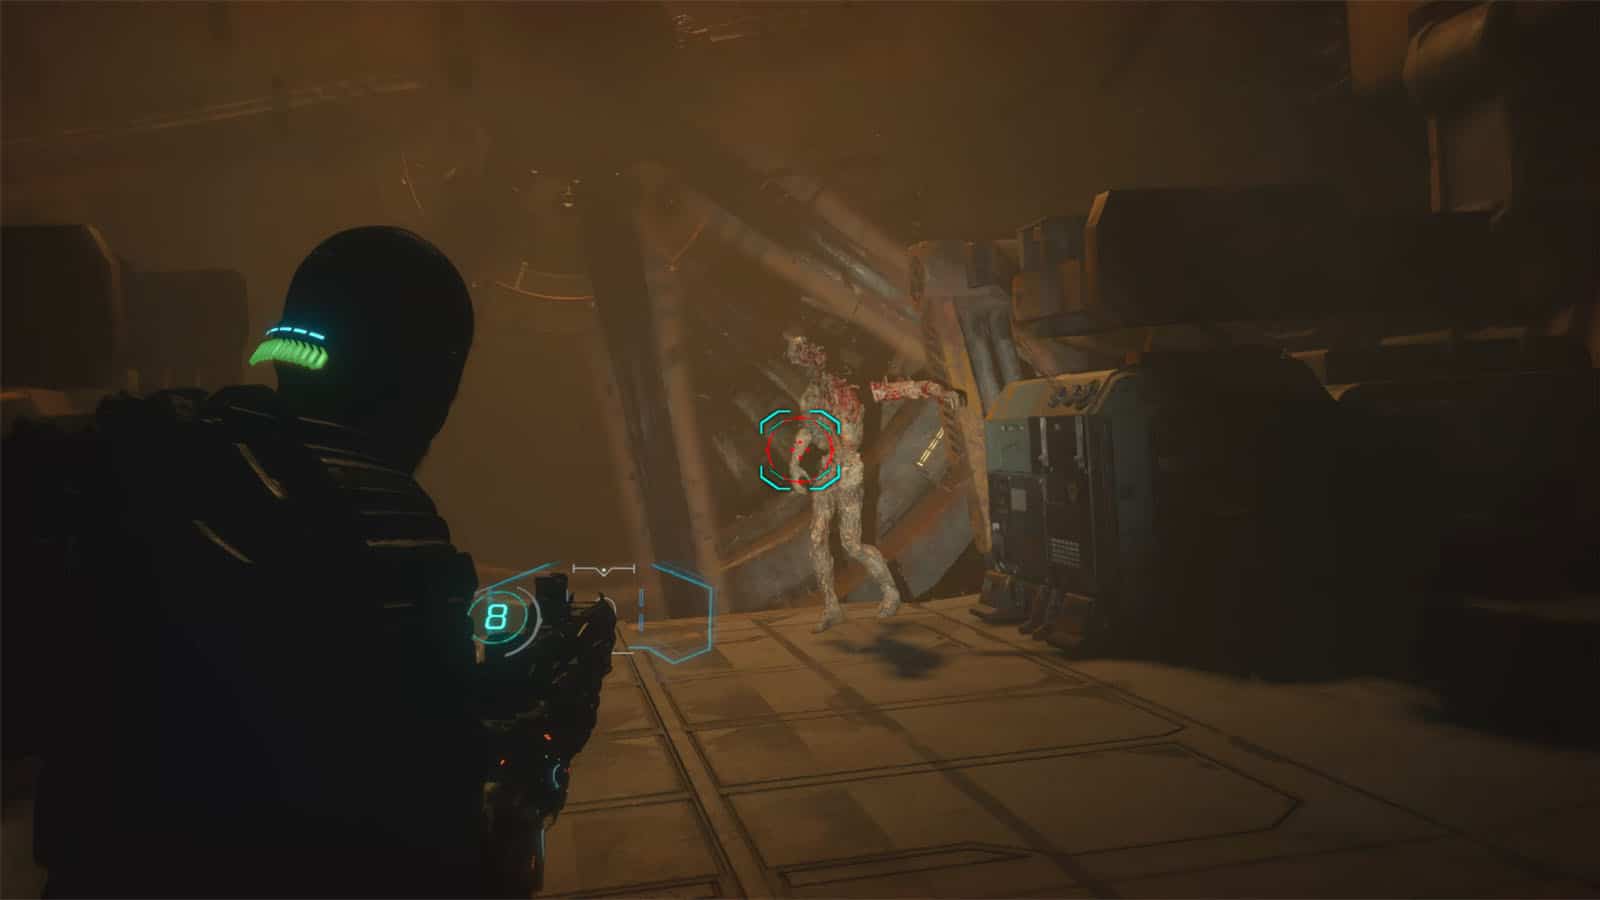
Luckily, you’ll get snagged by wires, but the noise awakens a new type of biophage called The Blind. These enemies use their sense of hearing to detect anyone. Silent kills are effective against these enemies, but in this encounter, you won’t have an opportunity to stay silent. Quickly dispatch of the one in front of your using the wall spikes, and take out the other one behind you.
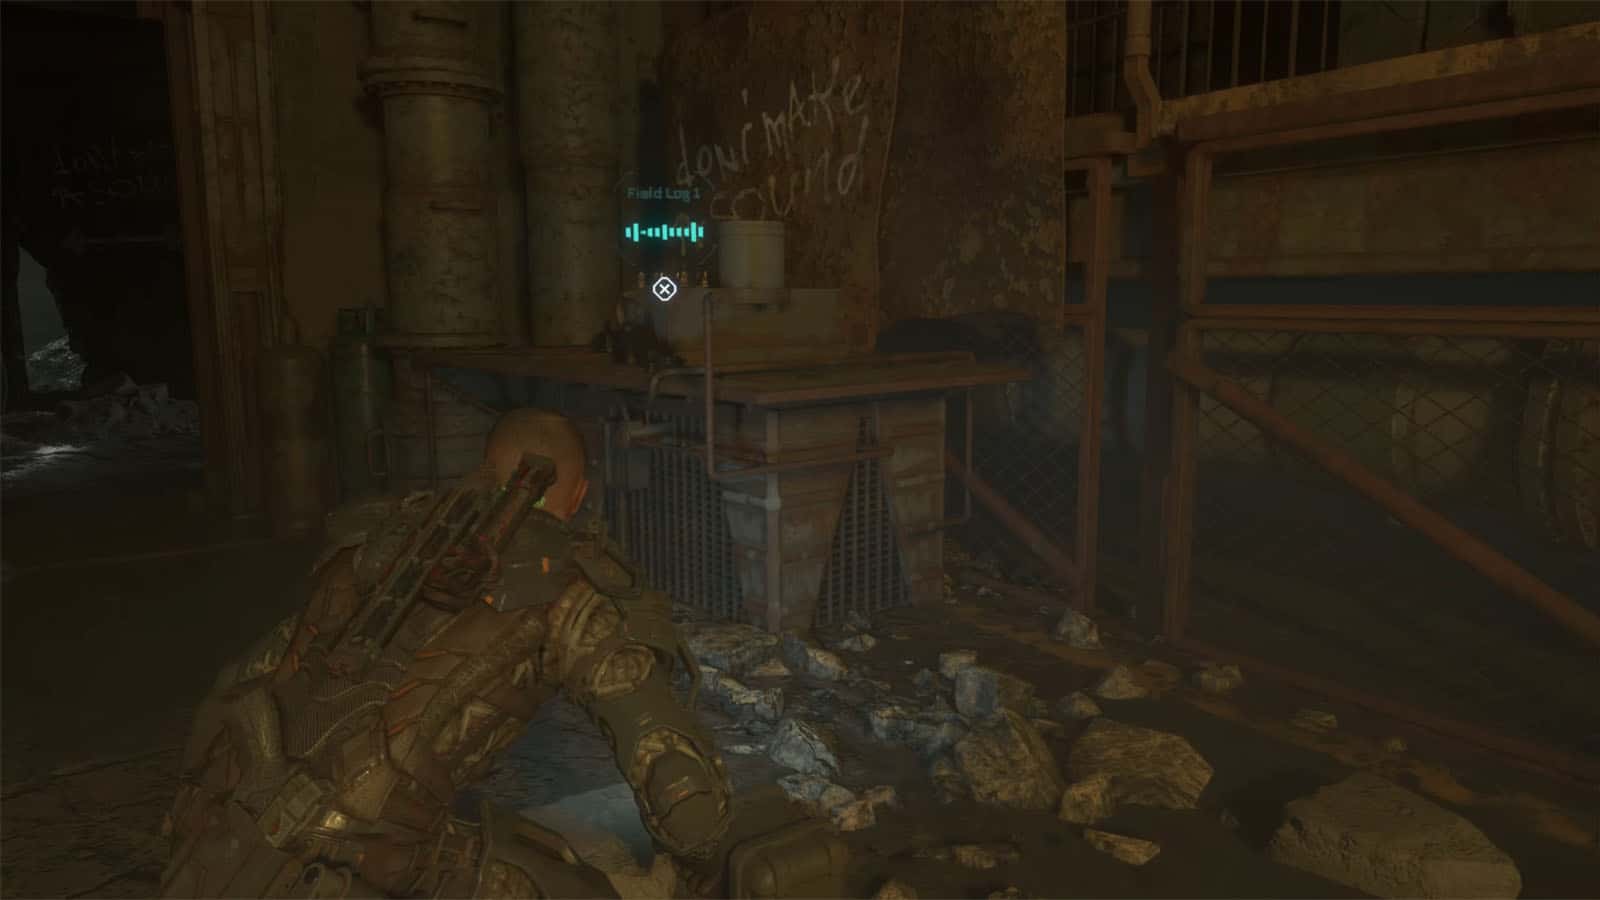
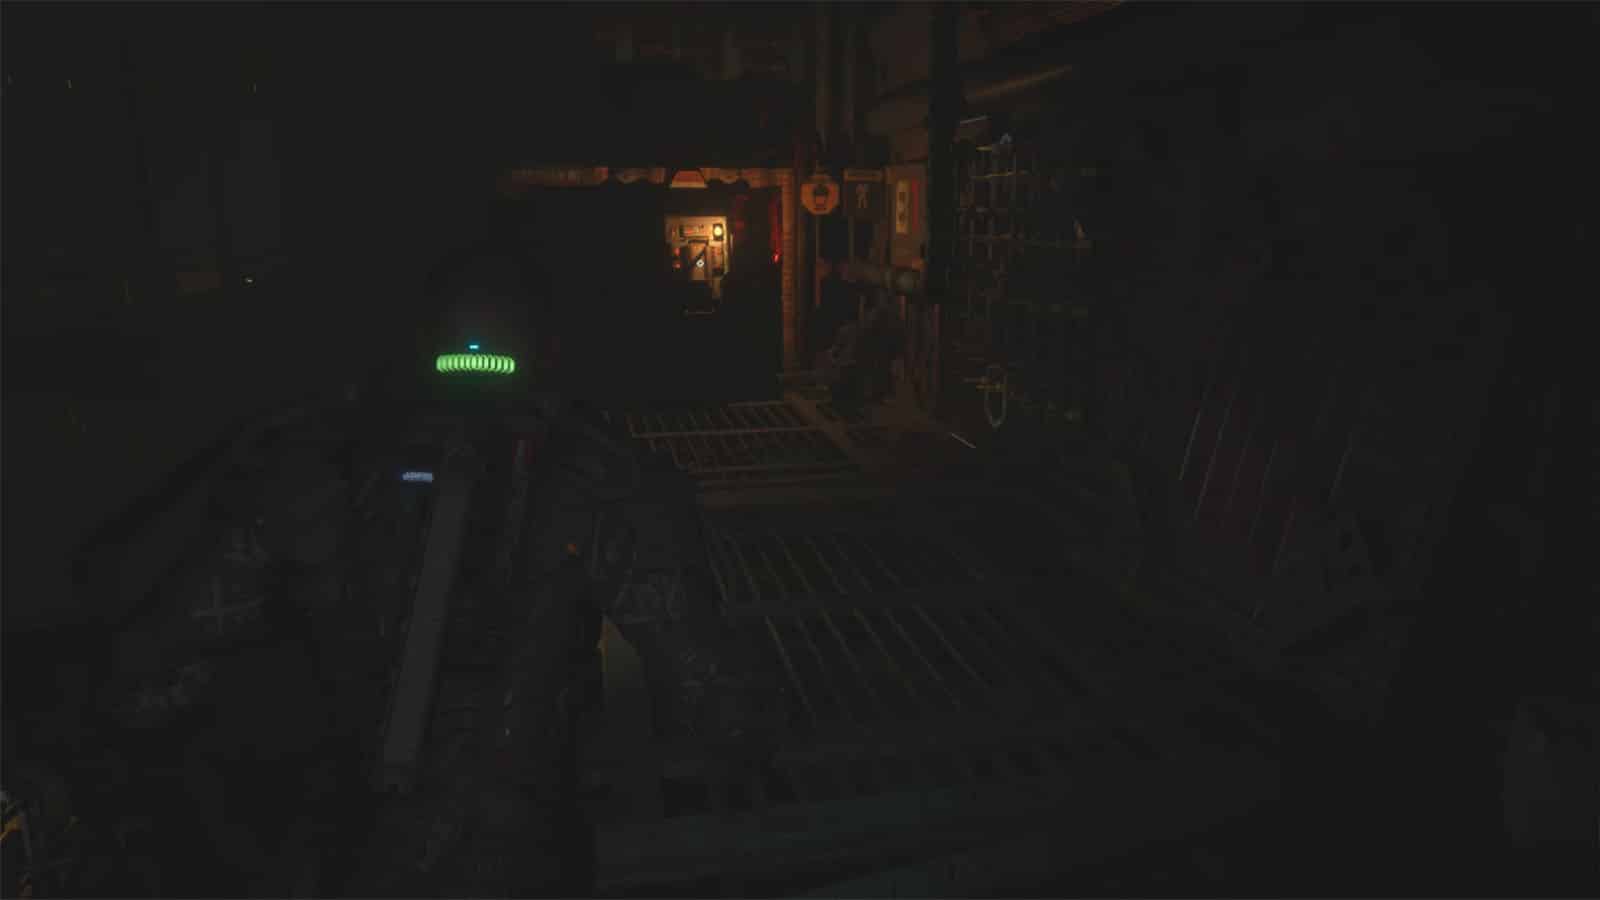
Reach the Transport Hub / Data-Bios #28 and #29 / Giving Back Achievement
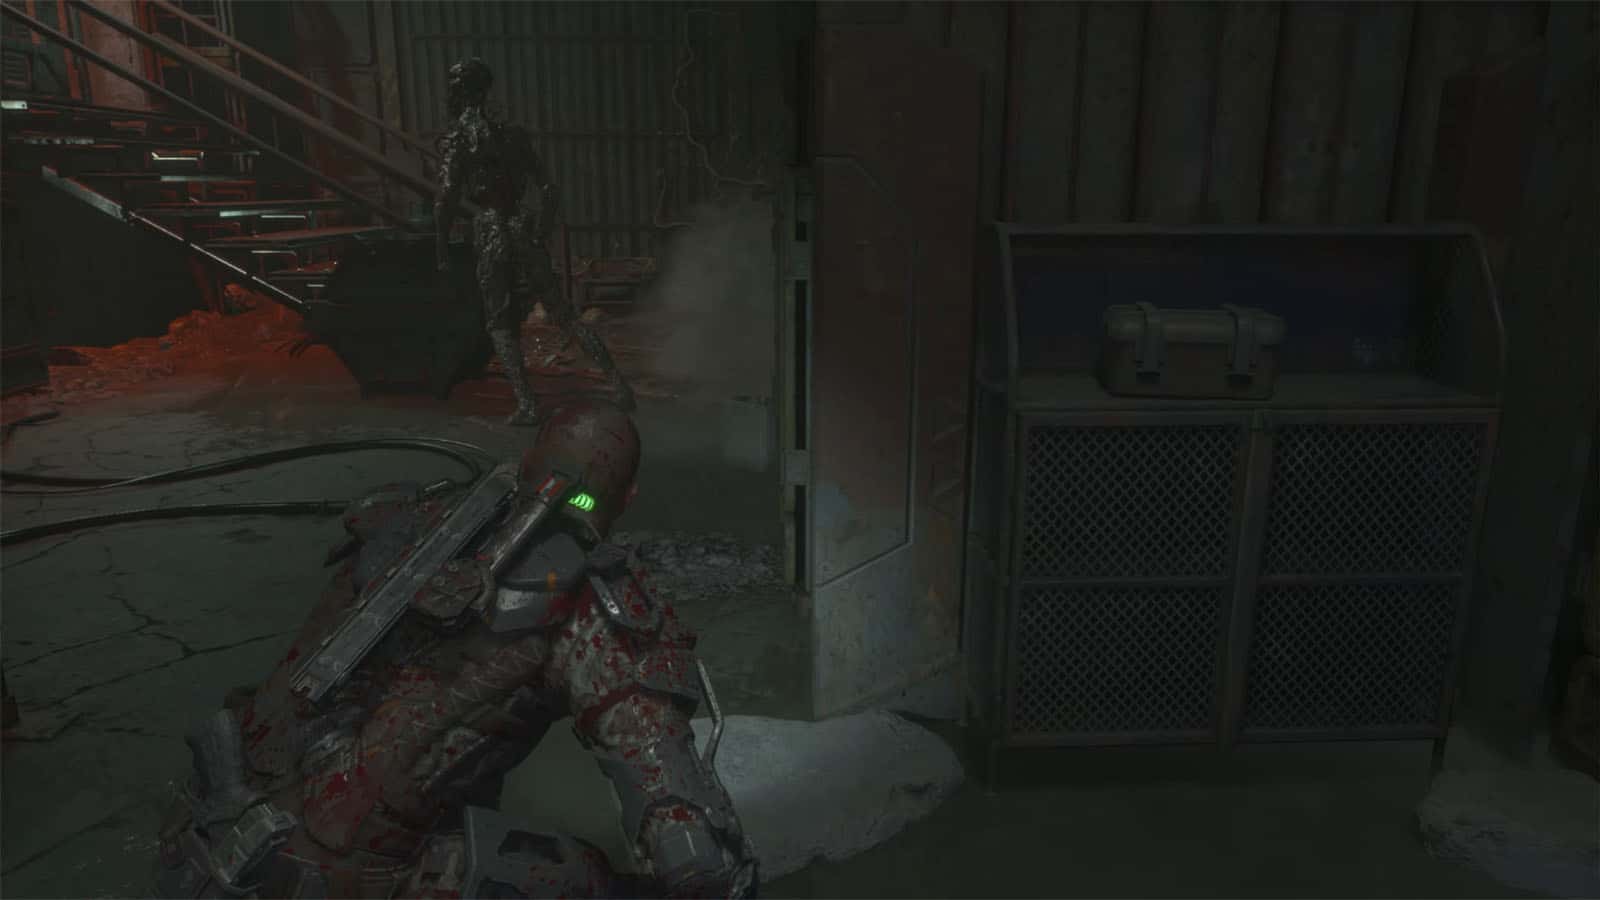
After defeating the enemies, head down the stairs where there are more Blind walking around. By the table is where you can get the Data Bios #28: Dr. Sheehan Yune: Log 1.
Head down the path where the Blind went to. The path on the left is lined up with Blind that will wake up the soonest you make a sound. A crate it on the very end of the path. You can skip it or use your GRP to grab it and take it with you to the other room where you can smash it without alerting the enemies.

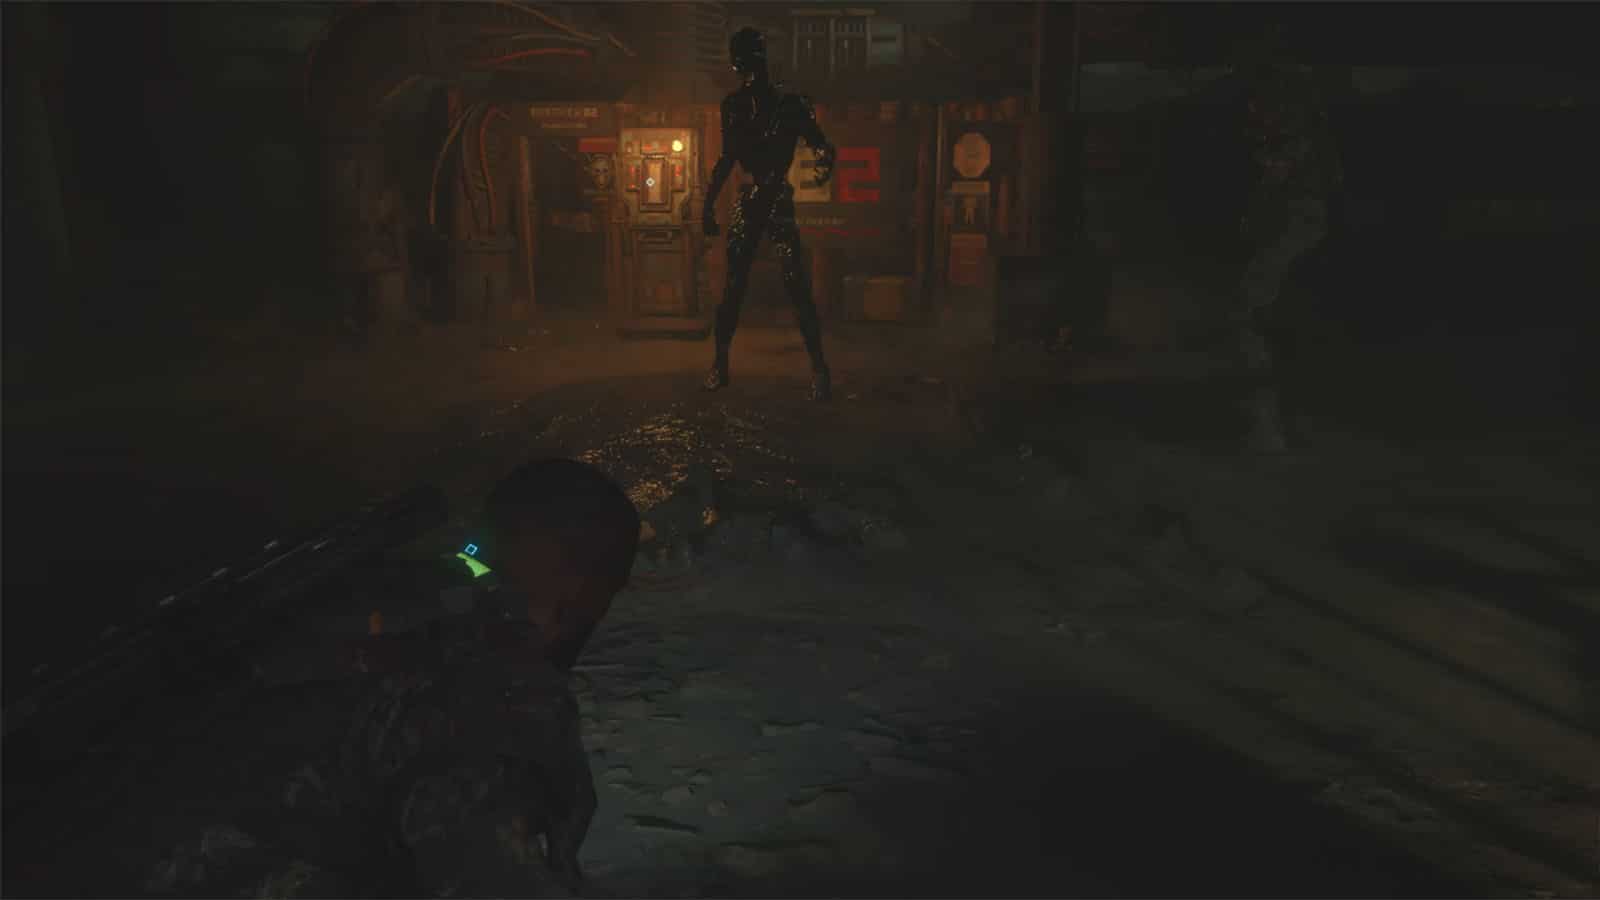
Take the path on the right for now into some caverns. As you exit the gap, a Blind will walk towards you; don’t move towards it any more and wait for it to turn around to get a chance for a stealth kill. The path forward will be tricky as the gap is too narrow and you’re most likely get detected. If you do get detected, slowly walk backwards as they might still lose track of you, otherwise swing away.
Another one will crawl out from a crevice in the path leading to the room; it can easily be stabbed as you follow it. Another one will appear inside the room; go near the fence and wait for it to walk around the table before making the stab as crouch walking is not fast enough to chase it. Don’t forget to loot the lockers and crates before heading to the door. You’ll then be back at the split path.
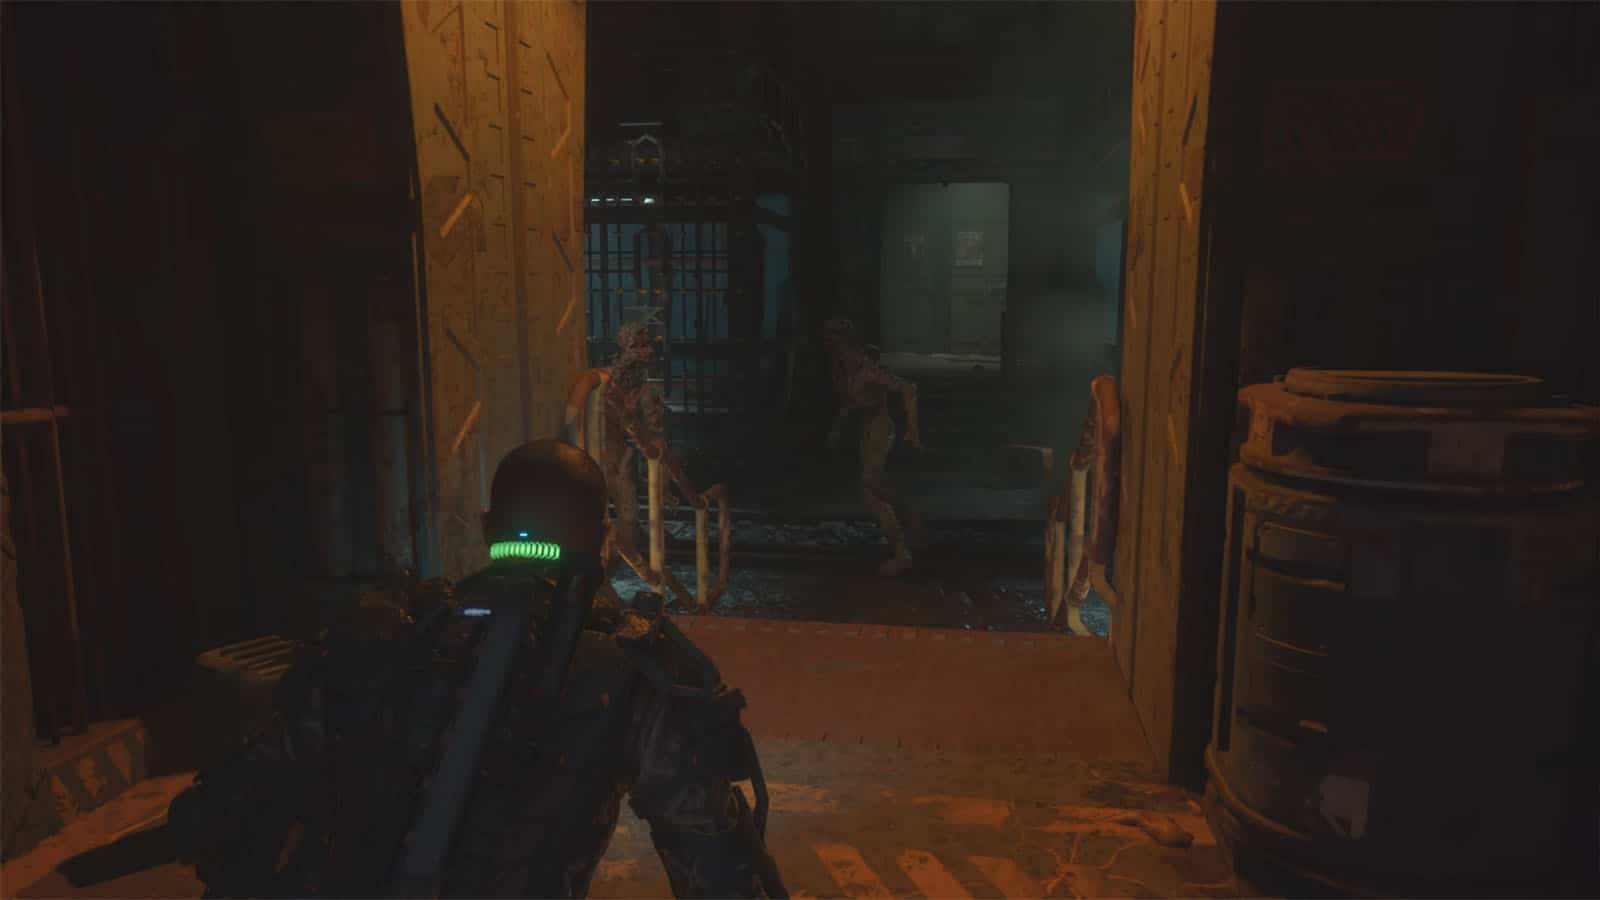
Go through the corridor where you found the small crate from before and you’ll find a corridor to the left where there are three patrolling Blinds. You can Frogger your way across to the opposite side, or kill them all via stealth or environmental kills. If you have been stabbing Blinds since the start of this level, you’ll most likely get your 5th Blind backstab at this point and get the Giving Back Achievement.
As you proceed ahead, you’ll find another narrow path flanked by Blinds. You might as well take them one by one, but be careful about the other Blinds behind you if you left them alone.
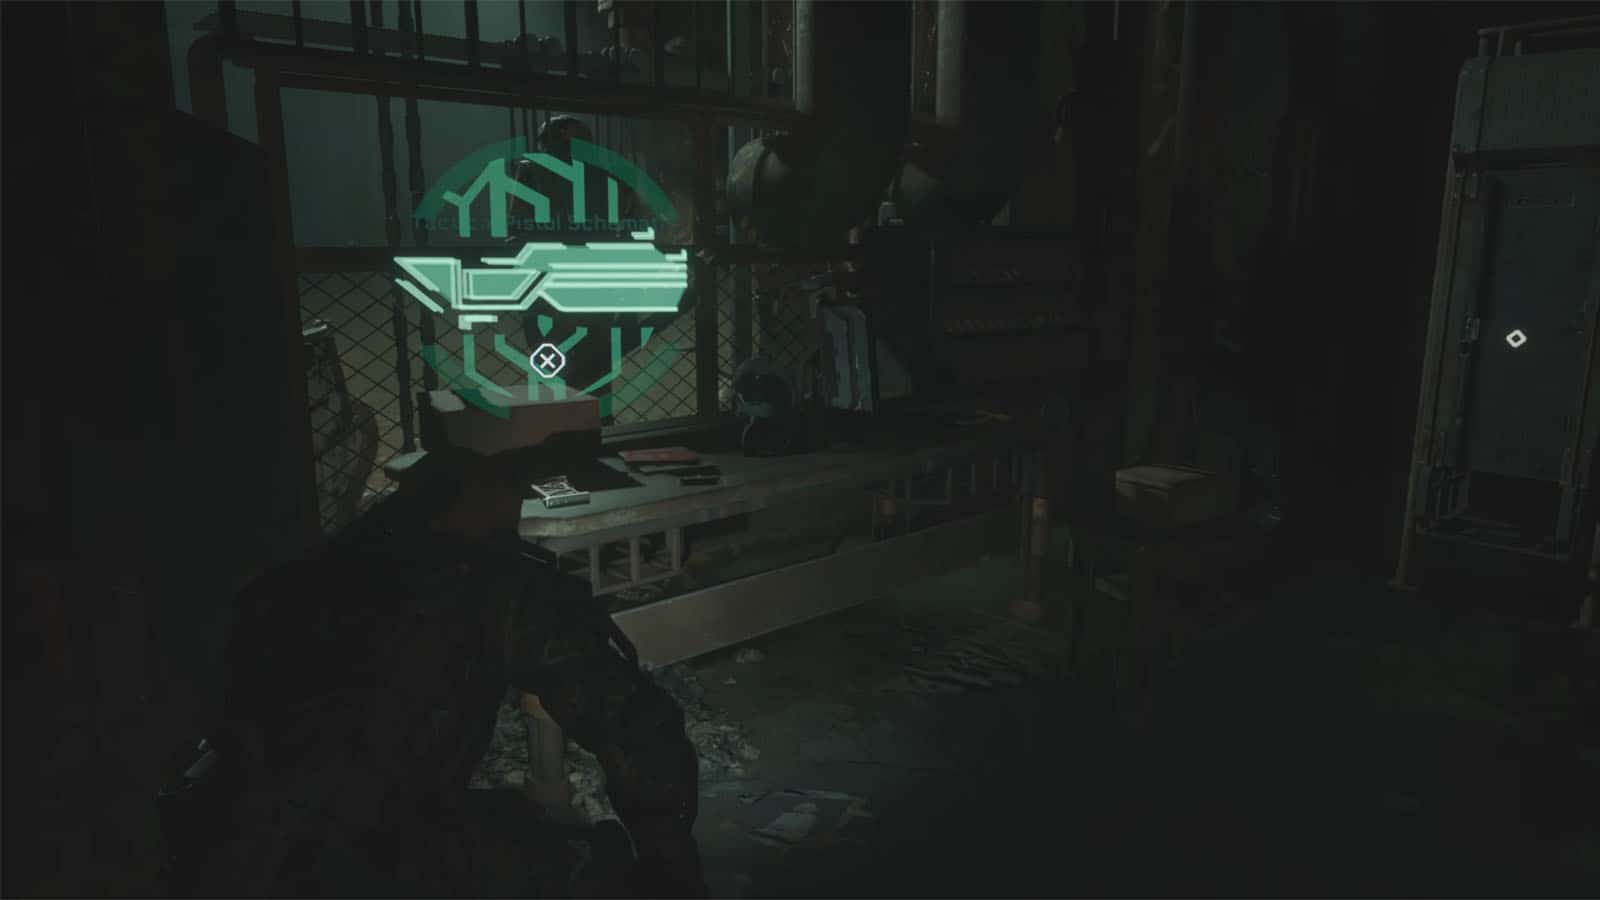
Move towards the next room and to the left side are some lockers you can loot and the Tactical Pistol Schematic on the table.

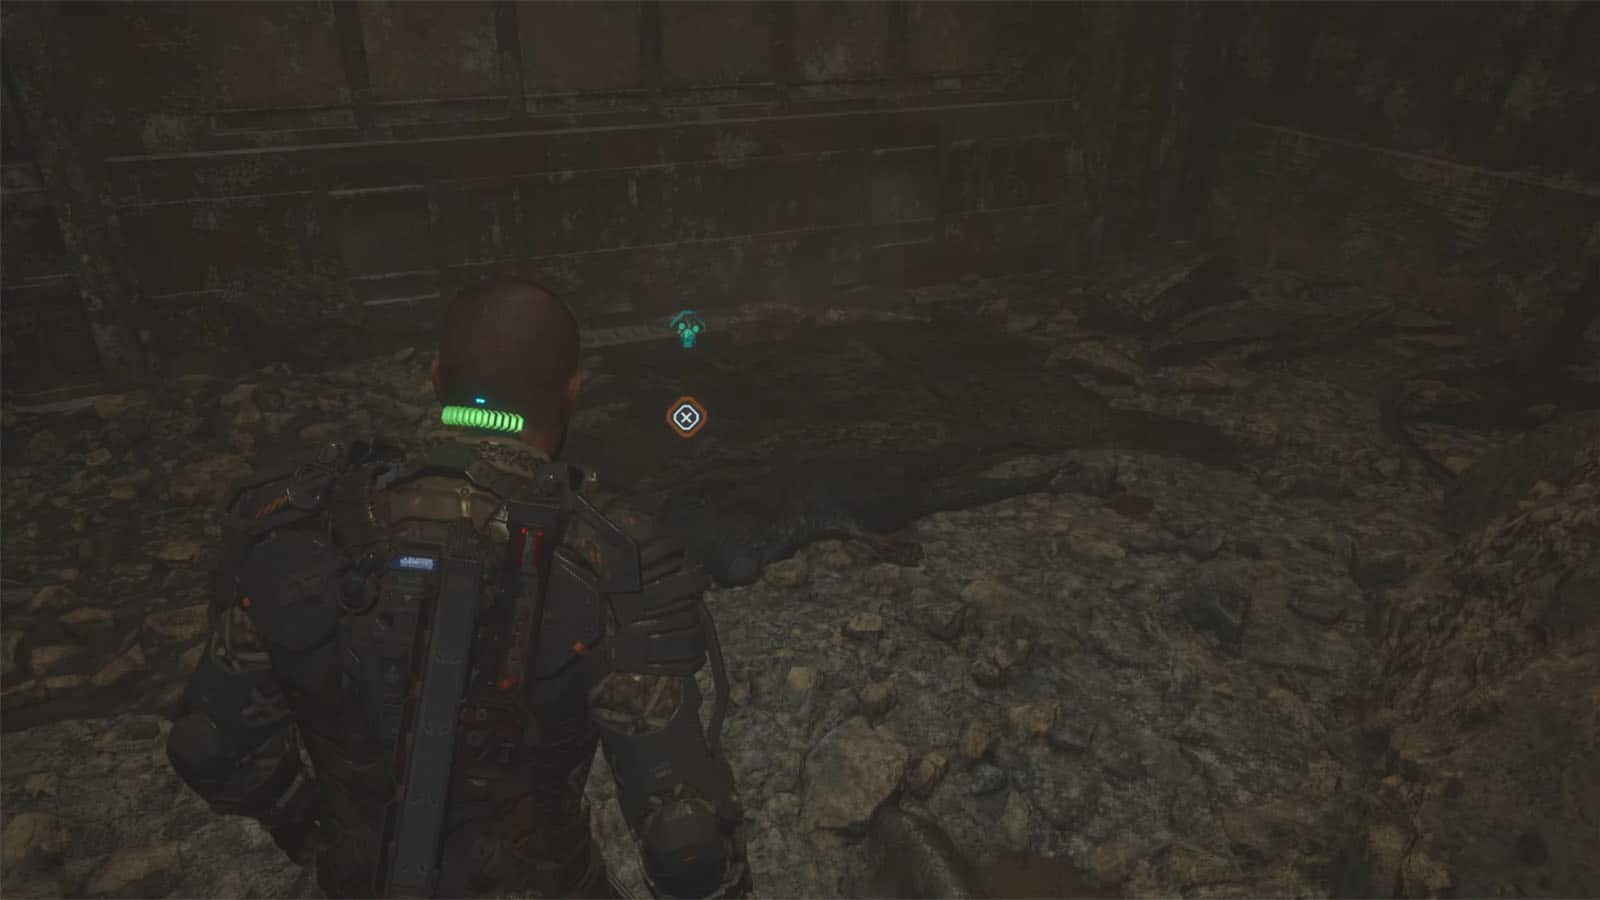
Find the ladder on the right side and prepare to take out the Blind that is directly behind you down below. This will alert the other Blind to approach your direction, but stay where you are; there’s a Bloodworm that will pull you that’s by the orange light. You can shoot the Bloodworm sac right away then take care of the charging Blind.
You can then use the Reforger station up ahead to do some upgrading. Continue towards the hole in the wall to the left. As you jump down, you’ll most likely alert the Blind nearby, so prepare to take it out. Crawl through the hole and prepare to get jumpscared midway through; no combat, though.
Climb the next ledges you see and you’ll be back in the facility. Take the path up ahead first for some loot then head to the lit path. Within the mass of flesh on the opposite side is a Bloodworm. Shooting it will attract more Blinds to come in, but it’s better to deal with it soon than have it interfere later on. Same as before, these Blinds will be shambling around. Try to go for ones that are away from the others or ones that are tailing behind as stealth killing them won’t alert the others despite being close.
Another way to dispatch possibly multiple of them at once is to climb on the ledge to the left and grab the explosive canister. Wait for them to converge before chucking the canister at one of them.
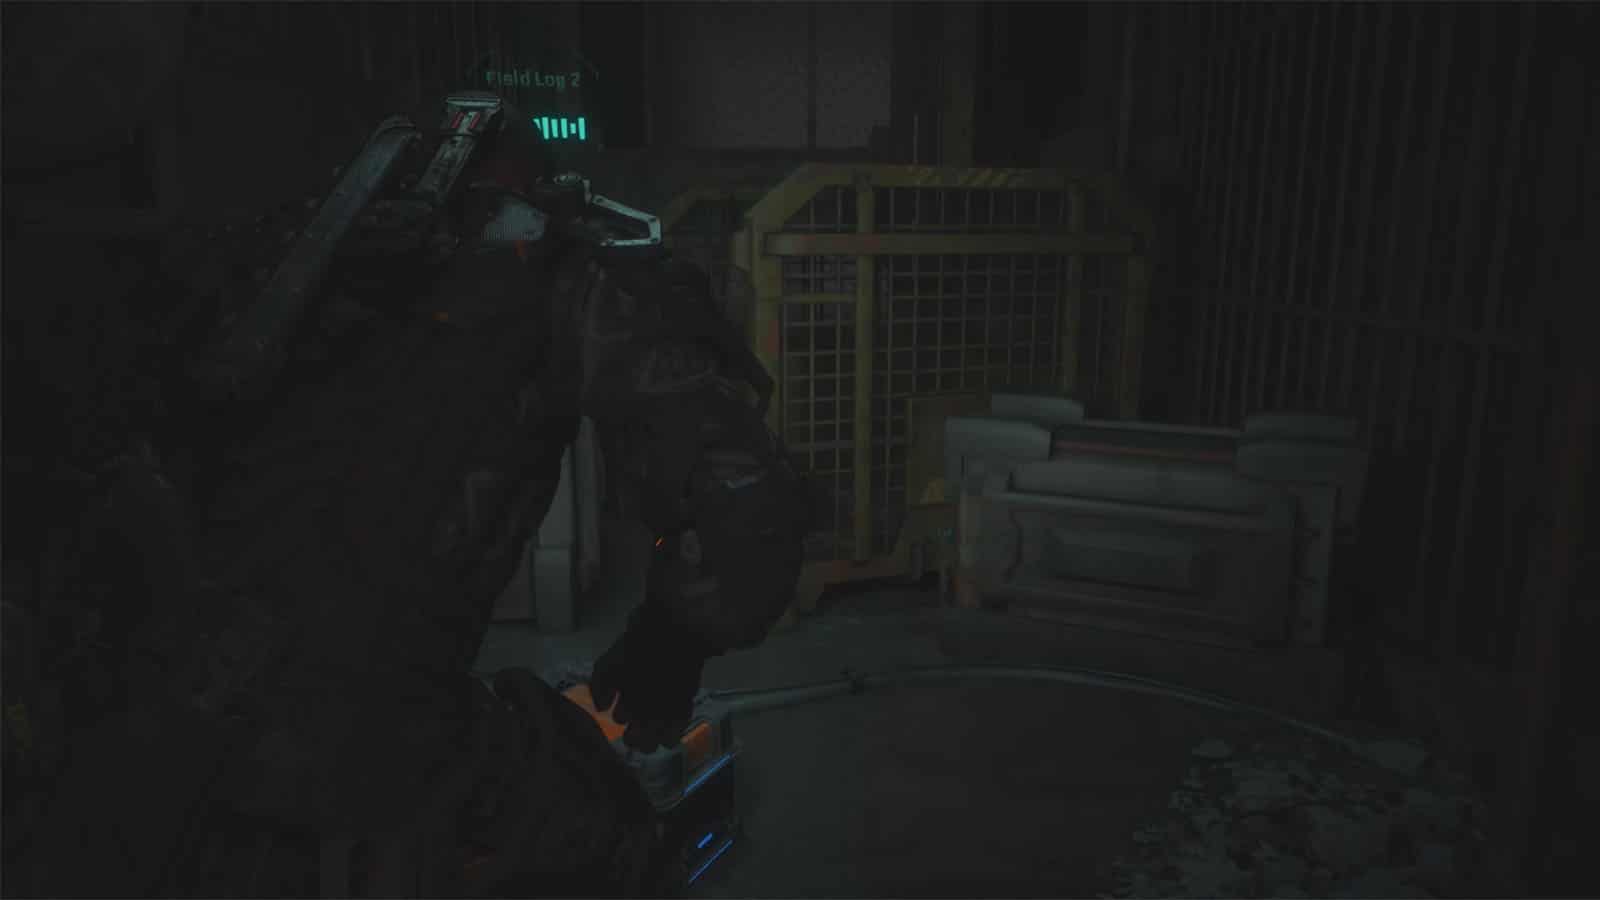
Head to the room across and to the left is a crate and the Data-Bios #29: Dr. Sheehan Yune: Field Log 2.
Continue up the ramp and once you arrive at the lit corridor, immediately look left and shoot at the Bloodworm sac before taking the loot on the right. Push through and crawl under the hole where you’ll see a drop and a crate on the opposite side. Grab the crate then jump down.
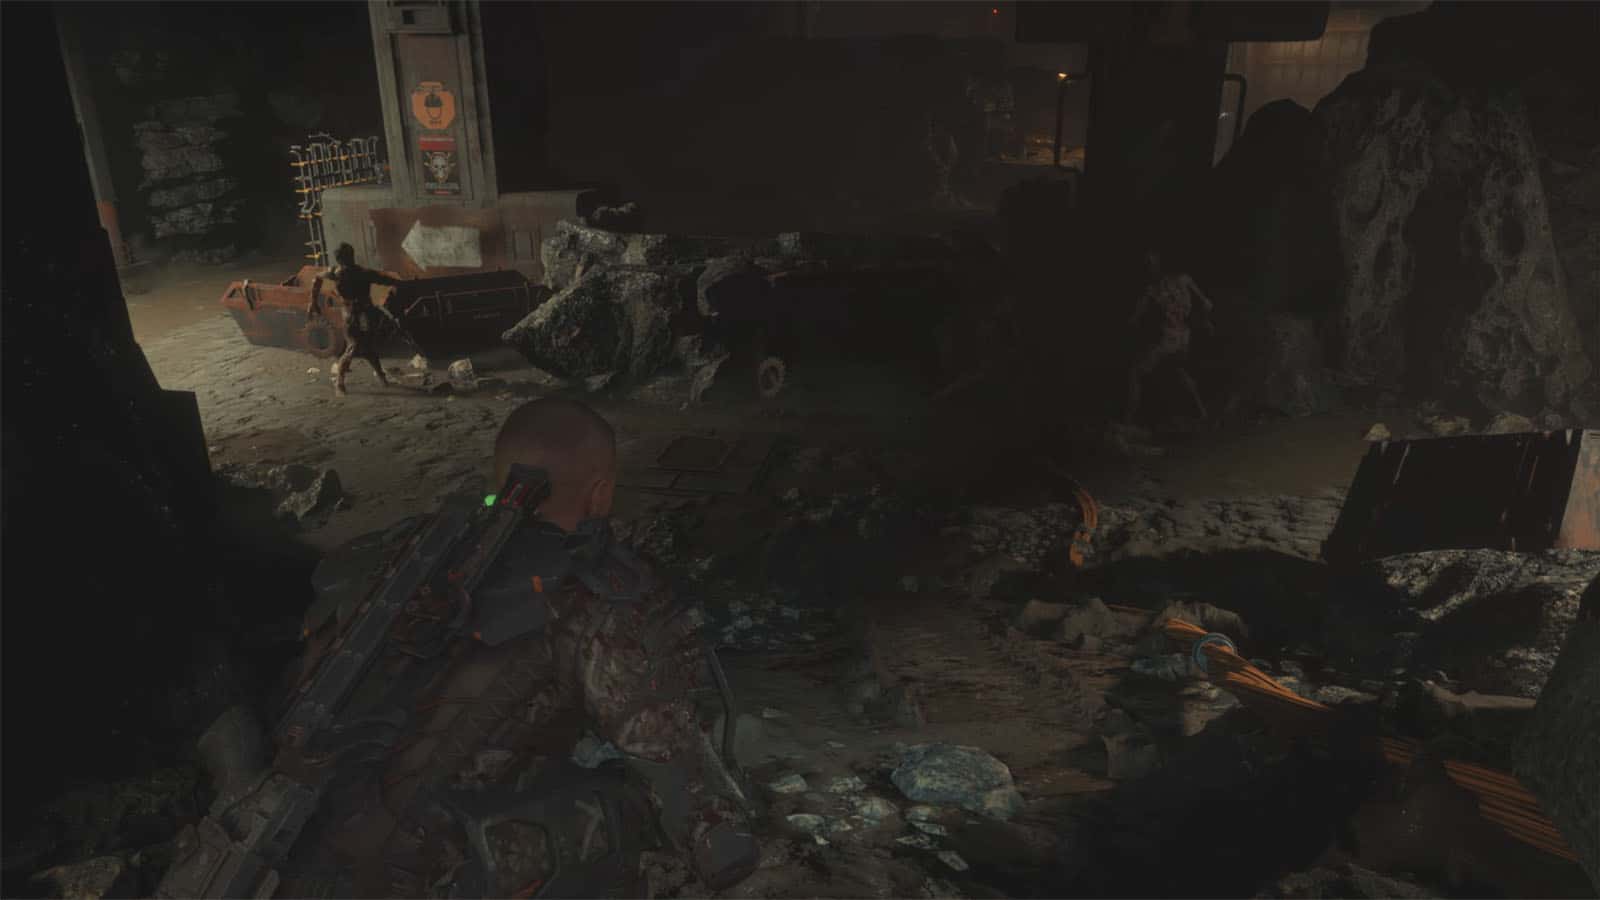
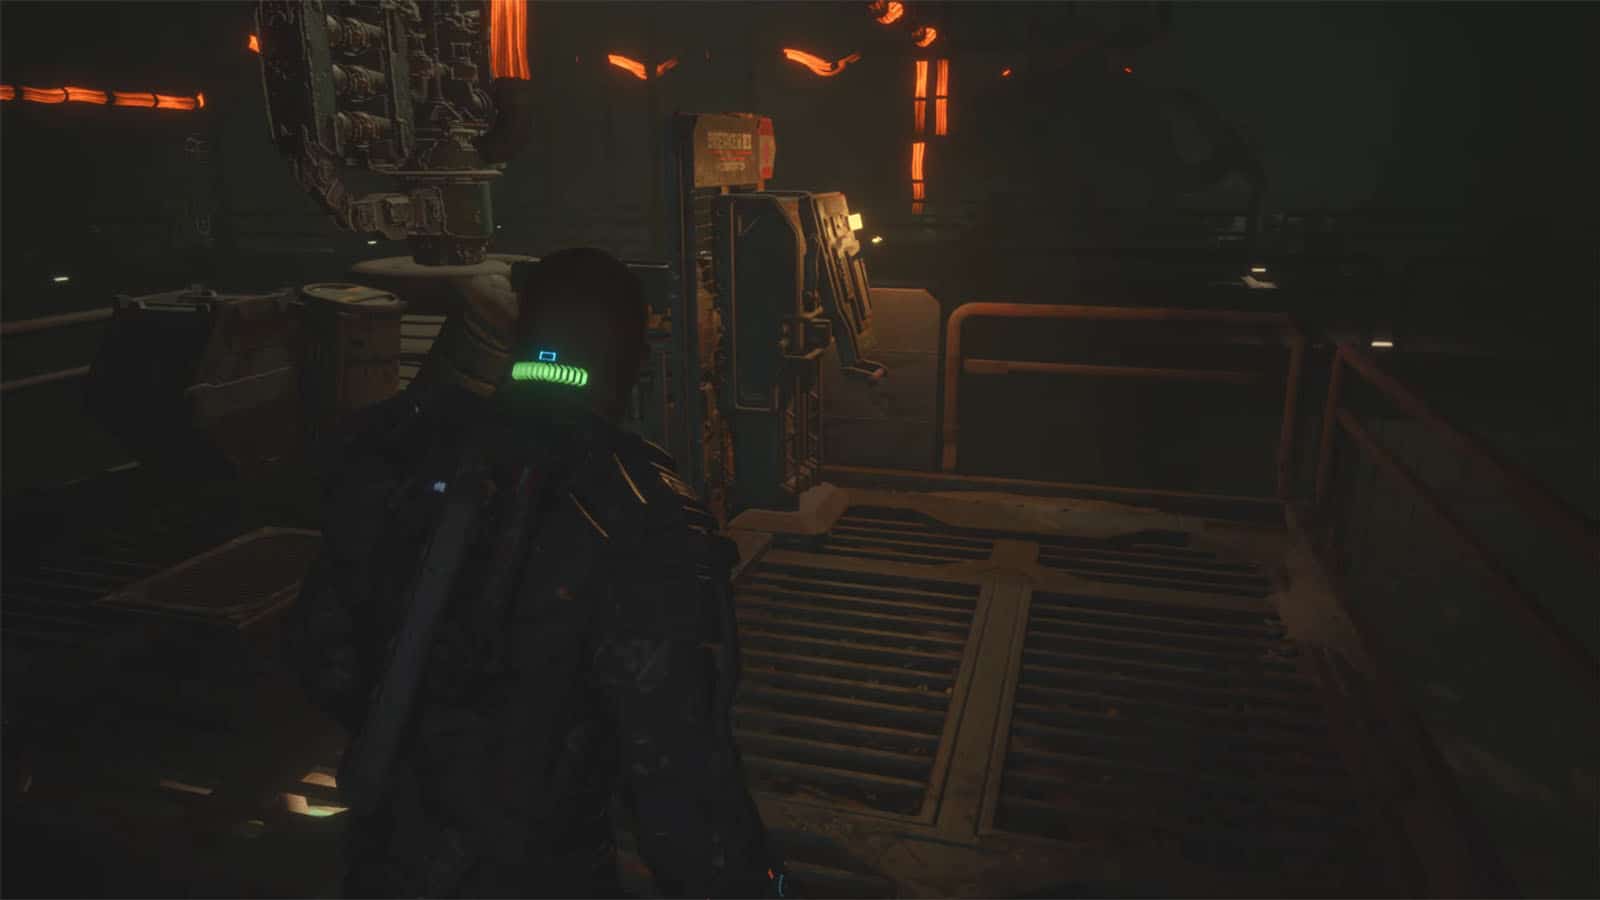
It gets dark from this point. A Big Mouth will wander by which you can dispatch with the wall spikes. Further ahead is a Blind. After killing both, climb the ladder up to the next floor. After walking through two doors, you’ll be in a huge area with lots of enemies around.

You can take out the first two Blinds near the first bulldozer quickly. Four more will be shambling near the spikes, find the right timing to pin one of the on the spikes. More will start appearing; you can choose to slip by or reach the door on the other side.
Find the Power Tunnels Keycard
You’ll have to find the keycard to open the door. There will be more Blinds in the next room so eliminate them. Afterwards, head through the gap and you’ll see another Reforger station you can use. Continue through the door and you’ll find the keycard near the control panel. Take it back to the power tunnel door.
Unlock the Power Tunnels Door
Take the keycard back to the power tunnel door to open it.
Locate the Power Reactor / The Commonality Achievement / Data-Bios #31
Continue up the path and you’ll find a split. Check the tunnel on the right first where you can get the Data-Bios #30: Dr. Sheehan Yune: Field Log 3. Head back and take the path to the right, you’ll encounter two more Blinds; execute them as needed.
The next section will be infested by a lot of blinds that just evading them will almost be impossible. If you have not used the explosive canister from the previous area, this is the good time to use it. The Blinds are patrolling in groups, so you can eliminate one group first from a safe distance without alerting the others. There are also wall spikes all around to help quicken the kills. Pay attention to the ones that spawn from he ground.
At the end of the path, you’ll see a staircase to the next door, but there are three Blinds that are huddled up just at the base of it. There’s enough space for you to crouch walk towards the stairs without getting detected as long as you hug the rail.
You’ll see a room on the left that has lockers and a Reforger station, but there’s also a Bloodworm hiding in the left side. The angle to get a clean shot at it is almost nonexistent, so you can just let yourself be grabbed instead and stab it to death.
Climb up the next set of stairs and you’ll see the generator. More further ahead and down the stairs to see a hole in the ground and a crate on the other side. Grab the crate first and then jump down the hole. Prepare for a fight as a Big Mouth jumps behind you. You can still crawl away from it towards the wall spikes, then grab it to pin it to the wall to prevent the others from waking up.

As you proceed to the next area, a Big Mouth will be spitting at you from a distance. Kill it, then prepare for the next area ahead. You’ll see a light on the corner and some crawling grunts coming at you. You can grab the explosive on the far end to save some ammo. Continue down the path on the right until you see a ladder.
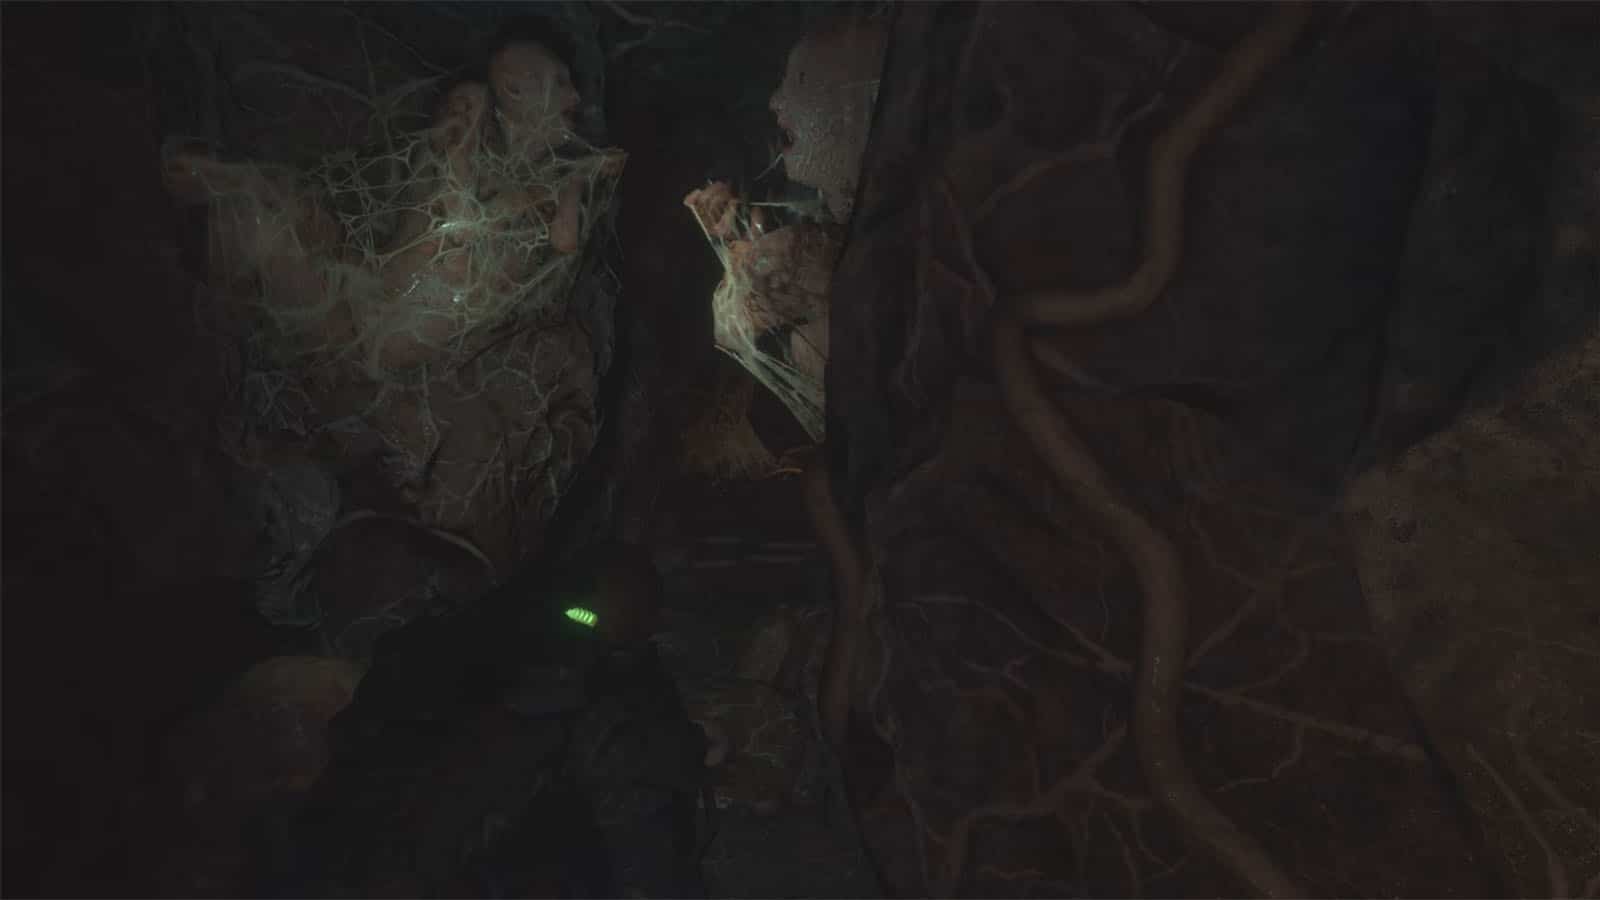
Up the ladder, you’ll find a gap on the left and a path ahead. Take the gap first. Follow the path through the infected caverns and jump down the ledges. There will be lots of bodies and sacs in here, but the only combat you need to worry about is the one Blind appearing near the door at the end. Continue to the gap on the right side and you’ll arrive at another secret room. Shoot the sac in the middle of the room to kill the Bloodworm.
As you enter the room, you’ll get The Commonality Achievement. You can also get the Data-Bios #31: Yannick Sage: Secret Room 2 at the table. Exit the room and take the stairs to the left. You’ll then be at the room before the split earlier. You can use the Reforger station in here first before interacting with the control panel for the power breaker.
Reset the Breakers
After turning on the power breaker, turn around and go for the newly unlocked door to the right. Then, walk towards the breakers.
Find the First Breaker
Continue towards the blinking panel and pull down the lever. A Blind will appear behind you which you can easily pin on a wall.
Find the Second Breaker
Follow the lit up power line to the next breaker by taking the ladder downwards. Prepare to get ambushed by Blinds that come out from the vents and roam in the lower level. Dispatch all of them then pull the lever on the second panel.
Find the Third Breaker / Power Up Achievement
Once again, follow the lit power line to the next breaker. There will be more Blinds along the way; use the wall spikes to get rid of them. Follow the painted arrows up a ramp and you’ll reach the third breaker. After pulling it, you’ll receive the Power Up Achievement.
Return to the Transport Platform
Continue following the line and it will lead to the transport platform. However, there will be Blinds patrolling along the way which you can avoid or kill. The power line should lead you back to the platform station from earlier.
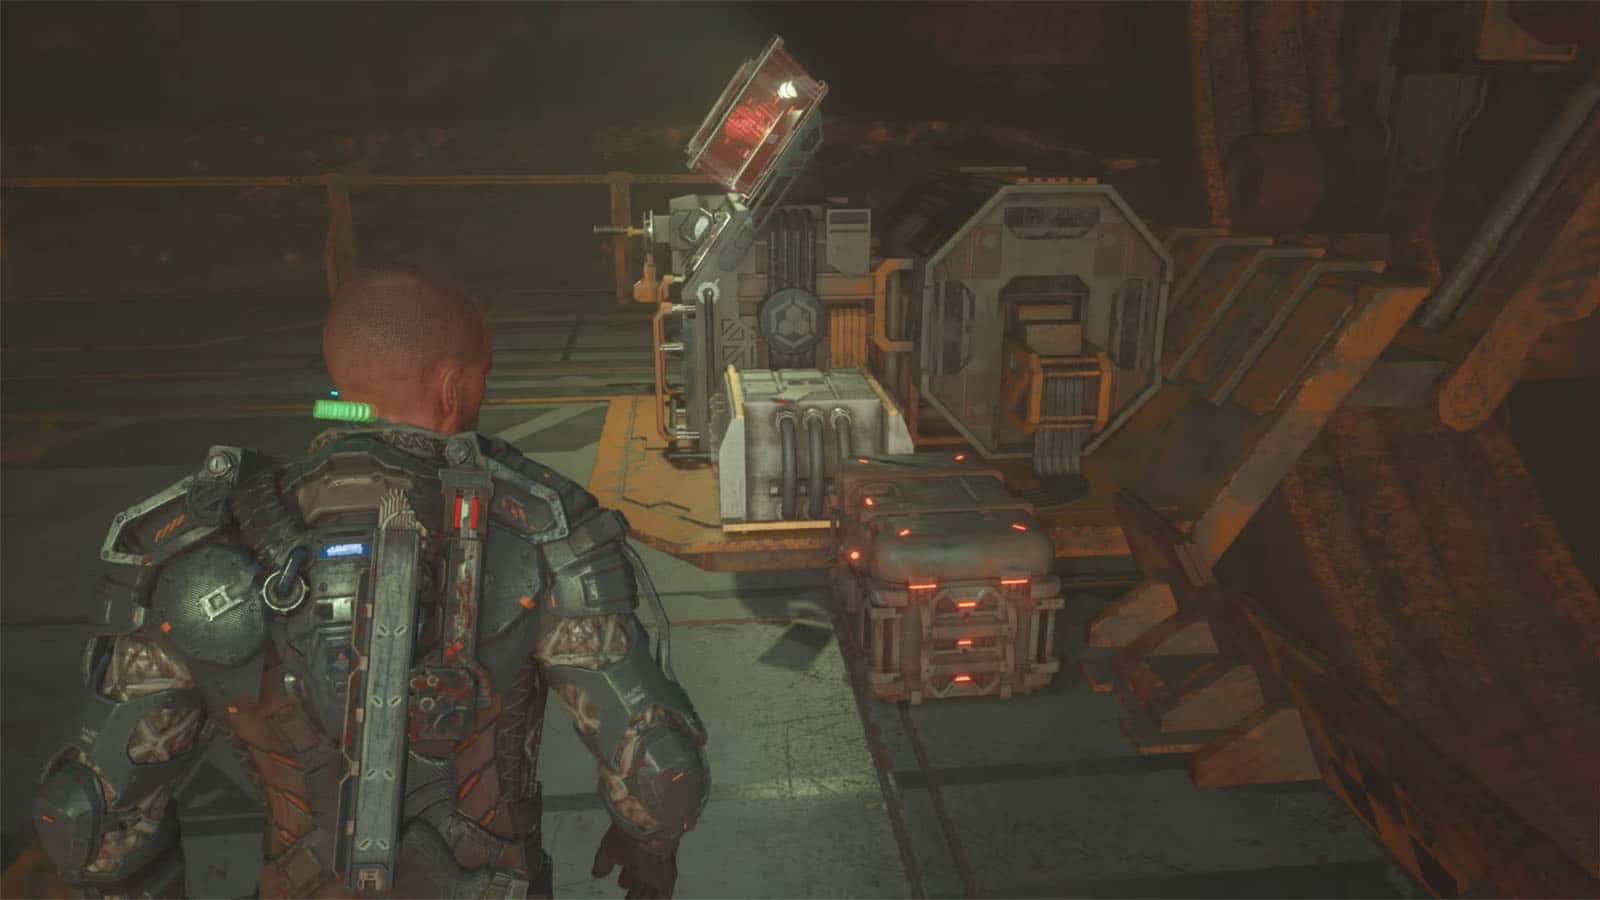
Ride the Platform to Arcas
Once you’re back at the platform, loot all the crates around first if you haven’t yet. Then interact with the console to start the platform. Once it’s moving, more enemies will be riding on the platform, too. These enemies are primed to mutate faster, so dealing with them as soon as they arrive is best. At the backside of the platform is a huge propeller where you can throw enemies at, or you can throw them overboard.
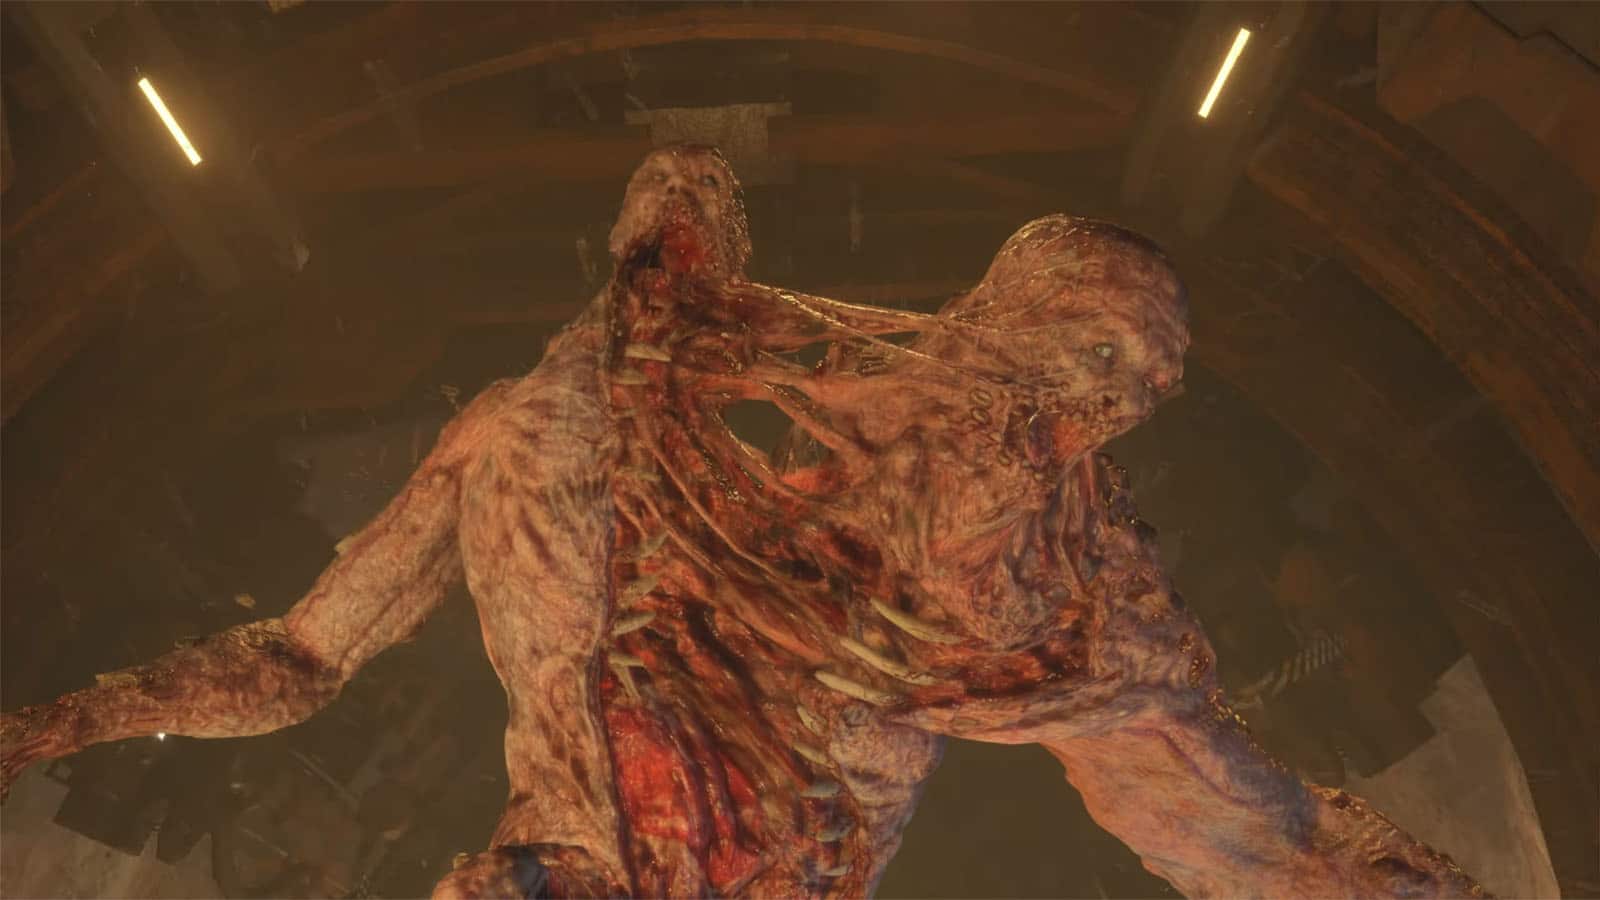
Survive the Platform Ride: Two-Head Boss Fight / Two Heads Are Better Than One Achievement
After killing around a dozen Mutated, prepare to face your first boss of the game: the Two-Head. This brute has enormous strength that can rip Jacob with one swing, so unless you are a god at evading, it’s best to take on this boss from afar and make use of your guns. You certainly still need to learn how to evade as Two-Head can walk around fast enough for its wallops to connect.
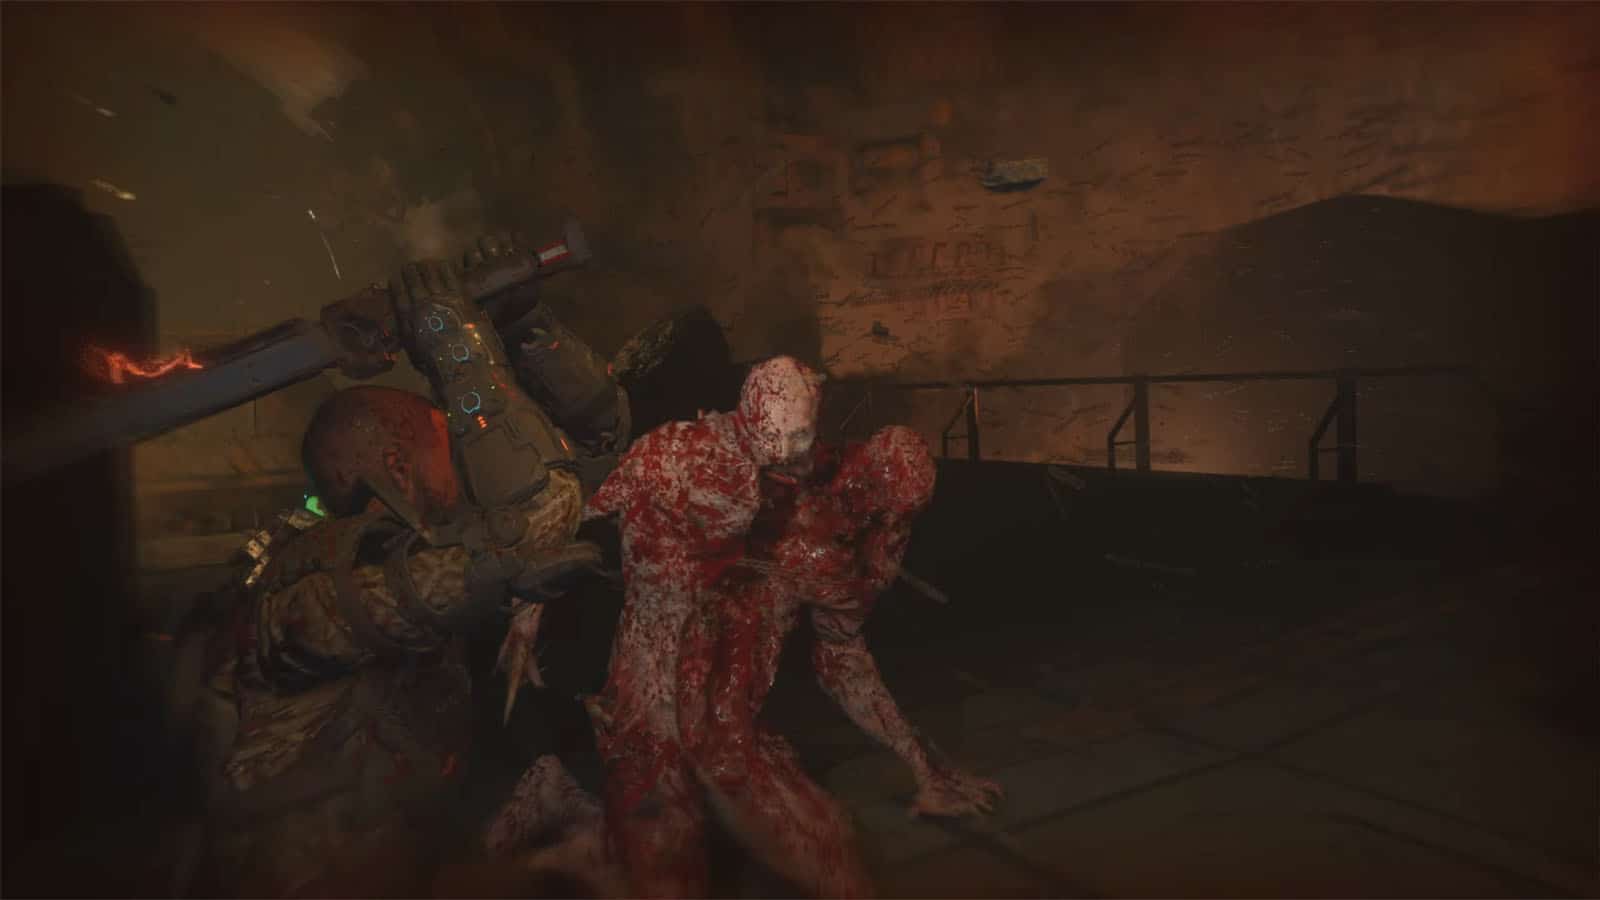
Use the carts as cover or as a way to put some distance between you and the boss while you reload. It may not look like your shots are doing damage, but after taking enough damage, it will kneel down, giving you the chance to get some melee hits until you smash one of its heads off.
The other half of the boss will then rip off its headless half off and continue chasing you down with its swings. Keep unloading your shots at it and be aware where you are evading to avoid getting stuck or getting shredded by the propeller. After taking enough damage, it will kneel down again and you can deliver the final blows to its head. You’ll also get the Two Heads Are Better Than One Achievement. Don’t forget to stomp the boss down for some valuable loot.
Locate Arcas Station / Data-Bios #32
Disembark the platform and move to the next door, but check out the corpse right by the huge gate to get the Data-Bios #32: Arden Jeddha: Arcas Evacuation. Continue down the stairs to end the chapter.
Chapter 6: Below Achievements
Here are the achievements that can be obtained in chapter 6:
- The Commonality: Uncover the mystery of Kallipolis.
- Power Up: Restore power to the old facility.
- Two Heads Are Better Than One: Take down the Two-Head.
See next The Callisto Protocol: Colony Walkthrough (Chapter 7)
If you like this guide, be sure to check out our other The Callisto Protocol articles:
- The Callisto Protocol Characters and Cast
- The Callisto Protocol Chapters List
- The Callisto Protocol ending explained
- How to upgrade weapons in The Callisto Protocol
- How long to beat The Callisto Protocol?
- The Callisto Protocol PC Plays Horrendously
- The Callisto Protocol Post-Launch Content Revealed
- Is The Callisto Protocol on Xbox Game Pass?
- The Callisto Protocol PC System Requirements Revealed
- The Callisto Protocol to Include Denuvo DRM Protection
- The Callisto Protocol Devs Refute “Extra” Death Animations Behind Paywall
Chapter Walkthroughs:
- The Callisto Protocol: Cargo Walkthrough (Chapter 1)
- The Callisto Protocol: Outbreak Walkthrough (Chapter 2)
- The Callisto Protocol: Aftermath Walkthrough (Chapter 3)
- The Callisto Protocol: Habitat Walkthrough (Chapter 4)
- The Callisto Protocol: Lost Walkthrough (Chapter 5)
Also watch this video by BuffMaister showing the gameplay for Chapter 6 – Below:

