
Trek to Yomi is the newest cinematic action game to get published by Devolver Digital. Set in feudal Japan, this game follows the story of Hiroki, a samurai who has to defend his town from a warlord that is out to claim lands to his name. Trek to Yomi is presented in the Kurosawa art style with everything in black and white and is set on a 2.5D world.
This Trek to Yomi Chapter 5 Walkthrough is the fifth part of the Trek to Yomi guide series, we’ll follow Hiroki through the fifth chapter of his journey through the Yomi. If you have not seen the previous chapter yet, check out our Trek To Yomi Chapter 4 Missions Walkthrough.
How to Complete Trek to Yomi Chapter 5
The steps below are the paths to take to get through the objectives quickly. There can be different paths that should be taken to get to secret areas and find upgrades or collectibles which can easily be missed. We’ve included notes at parts of the guide to tell which areas have artifacts.
Journey forth
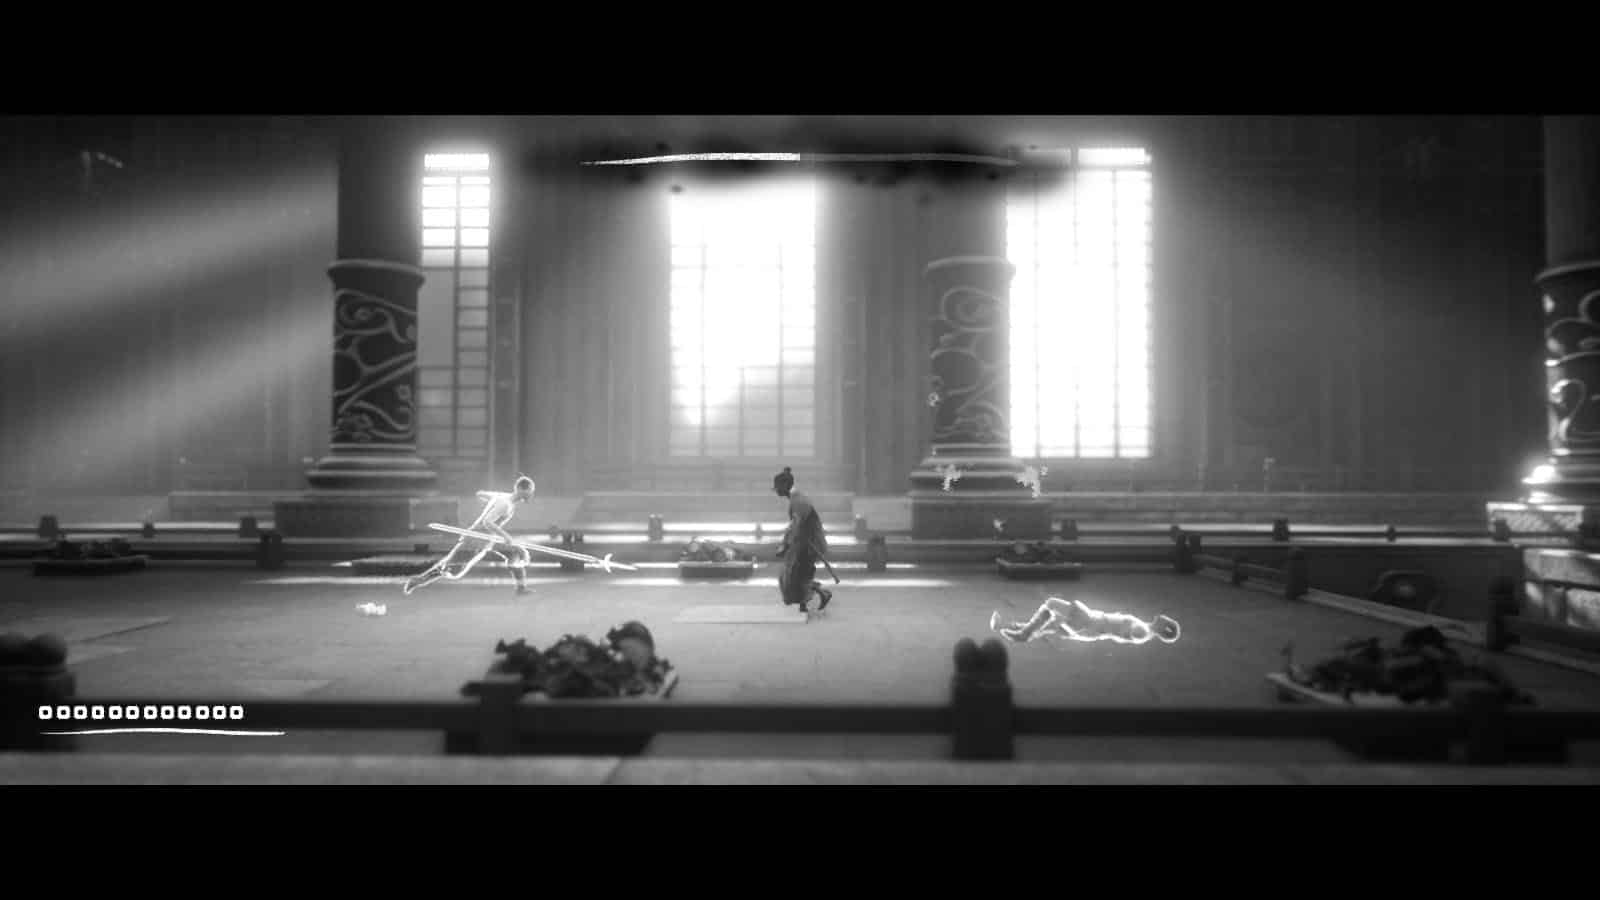
Hiroki finds himself in the Yomi where he has to go through its challenges to go back to the mortal world once more. The path through the Yomi is a straight one, however there are lots of spirits, wraiths, and other entities that will make the journey a difficult one.
Follow the path forwards and pick up the Great Thunder Artifact at the side of the path near the starting point. Once you have crossed the curled path that has straightened, up you will arrive at the first shrine of the chapter.
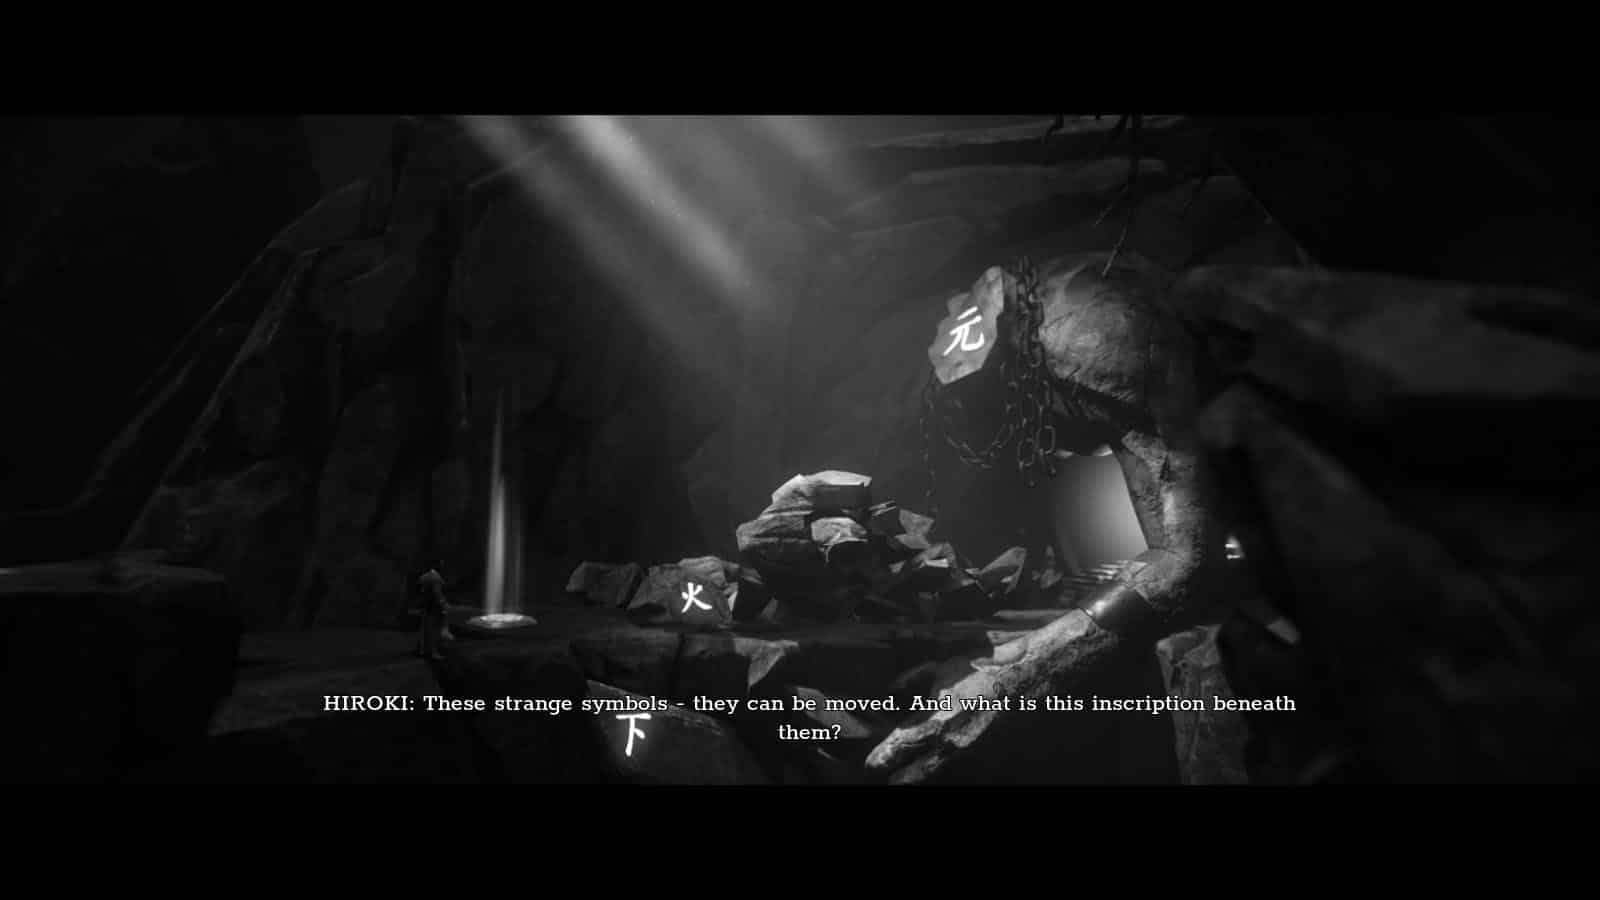
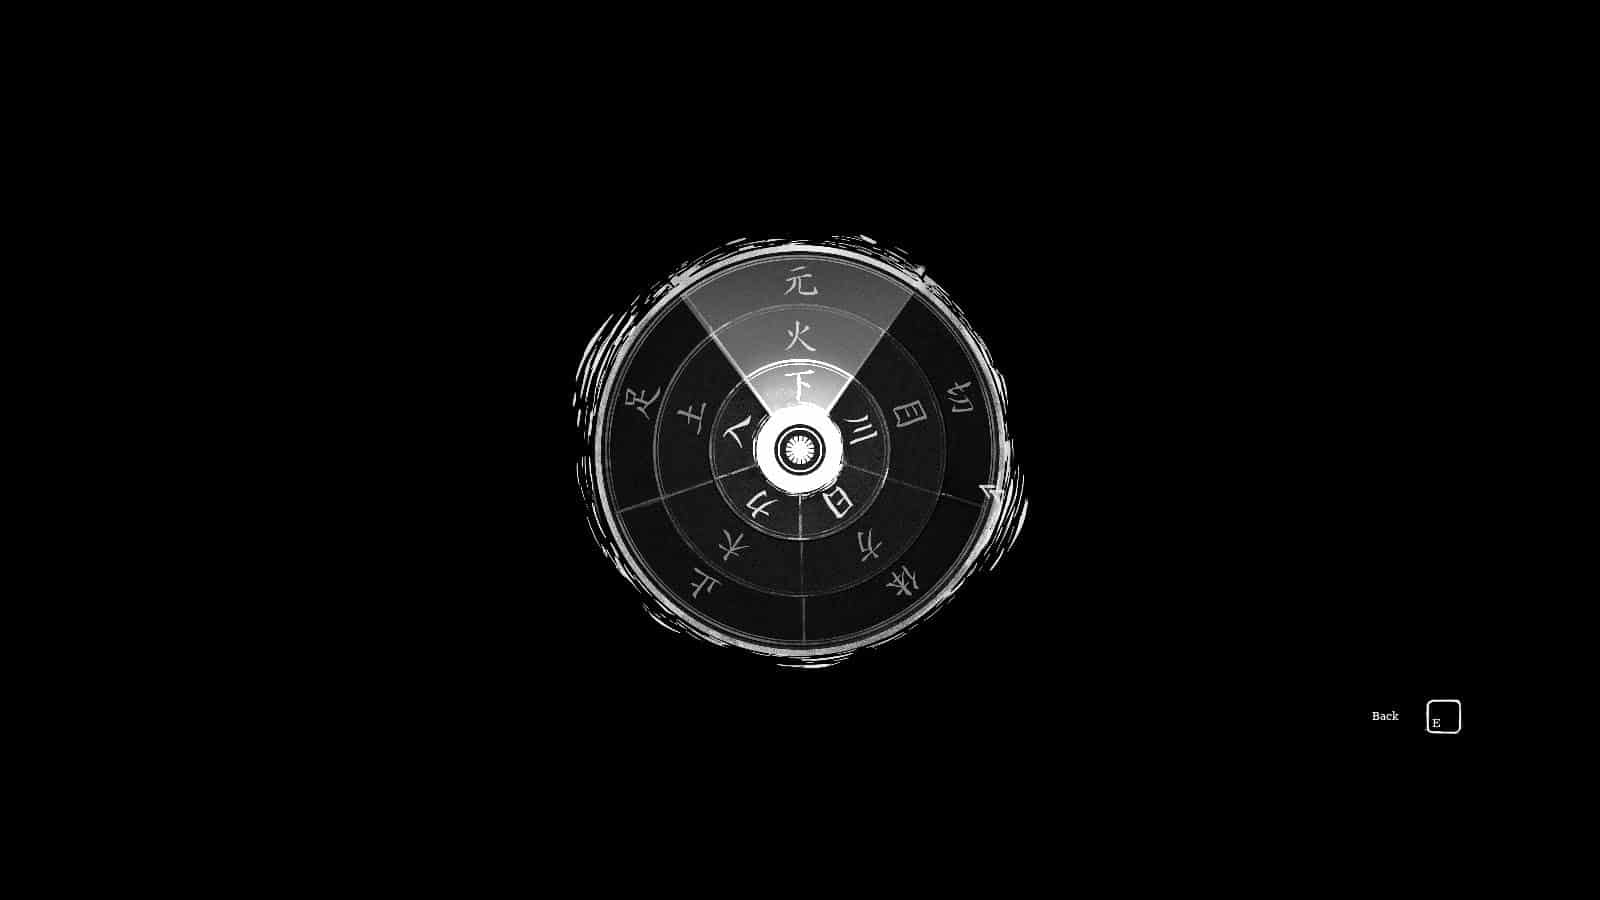
A little bit further away are some glowing symbols on the stones translating to “beginning”, “fire”, and “down” (from top to bottom). There is also a glowing tablet on the ground that shows a puzzle dial with three concentric circles. Turn the circles so that the symbols will all match the ones inscribes on the rocks.
Continue forward where you’ll enter a hall and the spirit of the first man Hiroki slew. Defeat him and proceed to the next area. Head towards the left side to get some ammunition and the Cleaving Thunder Artifact.
Continue moving to the right past the vista looking at the tall tower until you arrive in front of a gate. Before entering, check on top of the crates to the right to get a Stamina Upgrade. Inside the gate is the next shrine. Follow the path down to a couple of ledges where you will encounter two spirits. Defeat them and continue moving forward.
You’ll encounter more spirits along the way and then you’ll face against your first specter. You can block its flying swords easily and the close combat is similar to previous enemies. After defeating it, you will learn the Light Long Combination.
You’ll then enter a ruined building. Head tot he room up north to get an Ozutsu Capacity Upgrade. Continue moving to the right where you will gave to face more spirits and specters. The journey towards the next shrine is far away, so make sure to learn how to heal through perfect parries and finishing strikes when needed.
Once you’re at the end, use the shrine and head into the next gate. In here, you will fight against the wraith who will summon other spirits to fight for her, after the third wave, you can hit her and dispel her aura so that she becomes vulnerable. Try to fight near her so that you don’t have to run across the map. You can also just rush to her and hit her a couple of times before she summons spirits. After the wraith is defeated, you will learn the Anti-Armor Rotation Combination.
Continue moving to the right and defeat the other spirits. Then, head into the house and move to the right to defeat an armored spirit and reach the next shrine. You can also get the Ozutsu Capacity Upgrade from the table.
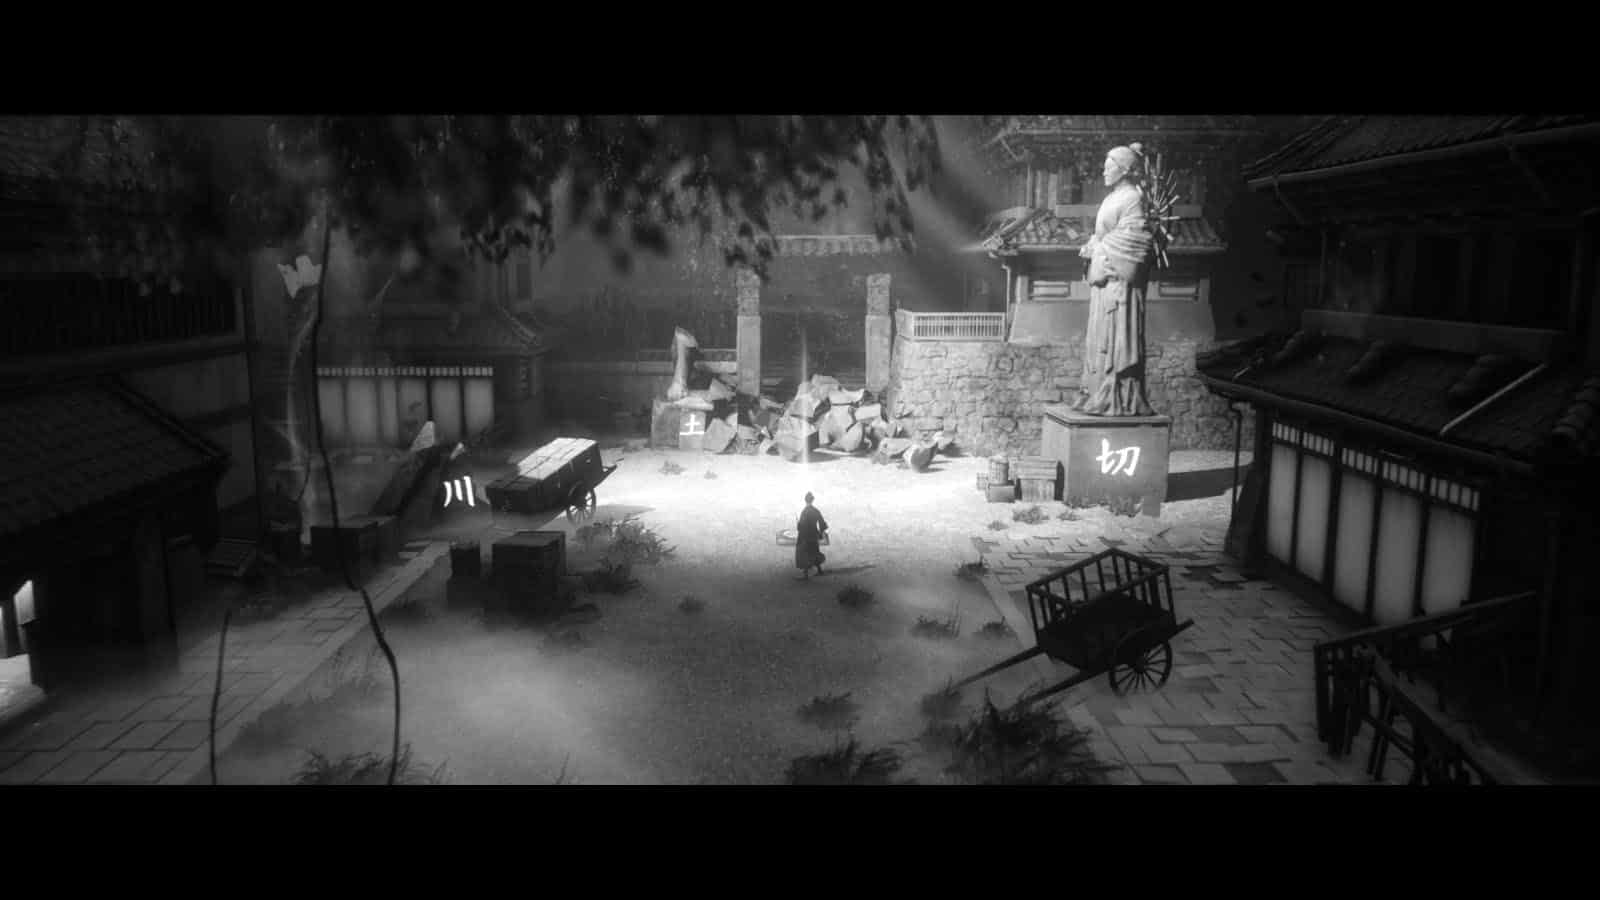
Head back to the entrance and go to the north room. Fight the ambushing spirits to proceed. As you exit the house, you’ll find the next shrine. You’ll then see another set of symbols with one obscured by a movable cart. These translate to “river”, “earth”, and “cut” (from left to right). You’ll then have to move to the tablet and rotate the pieces again so that the symbols match arranged from left to right to top to bottom. Solving this will reconstruct the statue and clear the path to the stairs. (Go to the back of the rightmost statue to see a Stamina Upgrade)

Climb the stairs to encounter another batch of spirits and a wraith. After defeating them proceed forward, but check the crates first to get the Earth Thunder Artifact before heading down the stairs. Continue going through the path as you clear it from spirits until you reach the palace door.
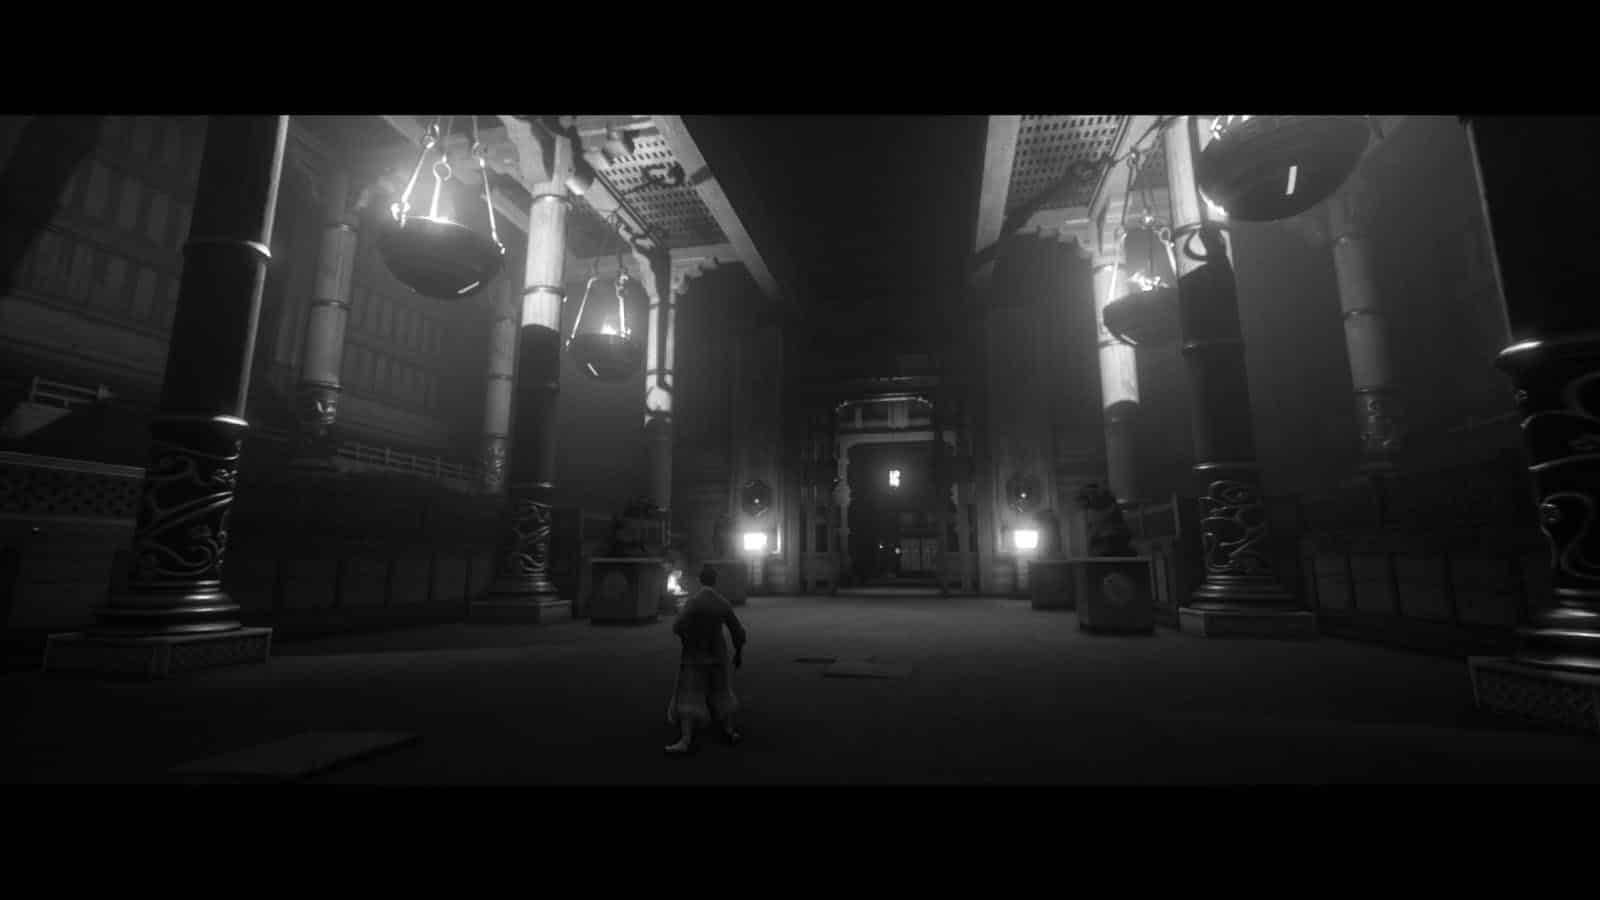
Enter the depths
Enter the palace and on the left side of the hall is a shrine you can use. Head further into the main hall, but immediately retreat as soon as the walls start moving. At the entrance of this hall to the left is another passageway that opens up. Enter through this path and you’ll encounter a shade. This enemy can teleport behind you, so time your Heavy Stun to easily eliminate it. It will give you a Bo-Shuriken Capacity Upgrade.
Continue moving to the left to another hallway. Go towards the pedestal and interact with it. Immediately run back as the walls move in. Go to the left side where a new passageway appears to reach the next shrine. Head next to the other side of the room and defeat the spirits that appear. You’ll then arrive at a junction. Head to the path up north to get a Bo-Shuriken Capacity Upgrade.
Go to the right path and eliminate the enemies that appear. Continue moving to the right and the path up north opens up. Before heading there, move to the right side to get ammunition and the Black Thunder Artifact. Enter the path to the north. At the junction, head to the left first to get a Stamina Upgrade, then to the right.
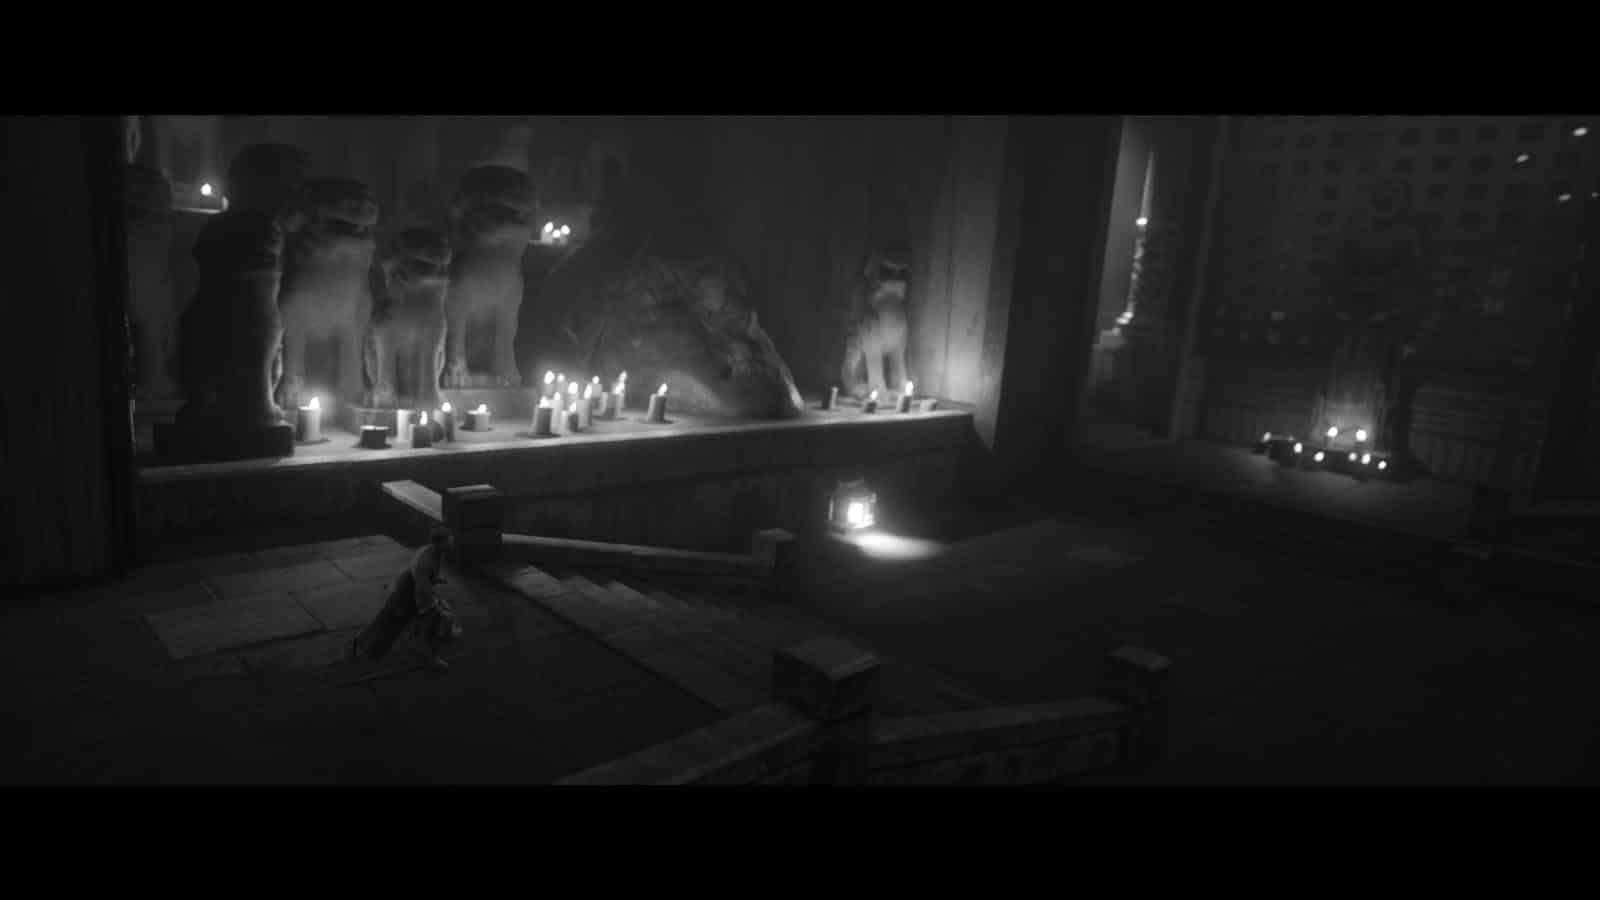
You’ll then arrive at a shrine room with a shrine nearby. Climb up the stairs and head to the right path to get the Couchant Thunder Artifact. Head back and go up the other flight of stairs. Go towards the center platform and face the spirit of Sadatame once more. Similar to the first fight, he will sit back and have other spirits fight for him once his health reaches half. Once he’s defeated, you will learn the Block Ignoring Combination.
Head towards the right path to find the next shrine, as well as the Roaring Thunder Artifact. Go outside and cross the bridge where you will find another shrine. Continue moving to the left as you encounter more spirits. After that, you’ll reach another shrine. Head up towards the north path to get a Health Upgrade.
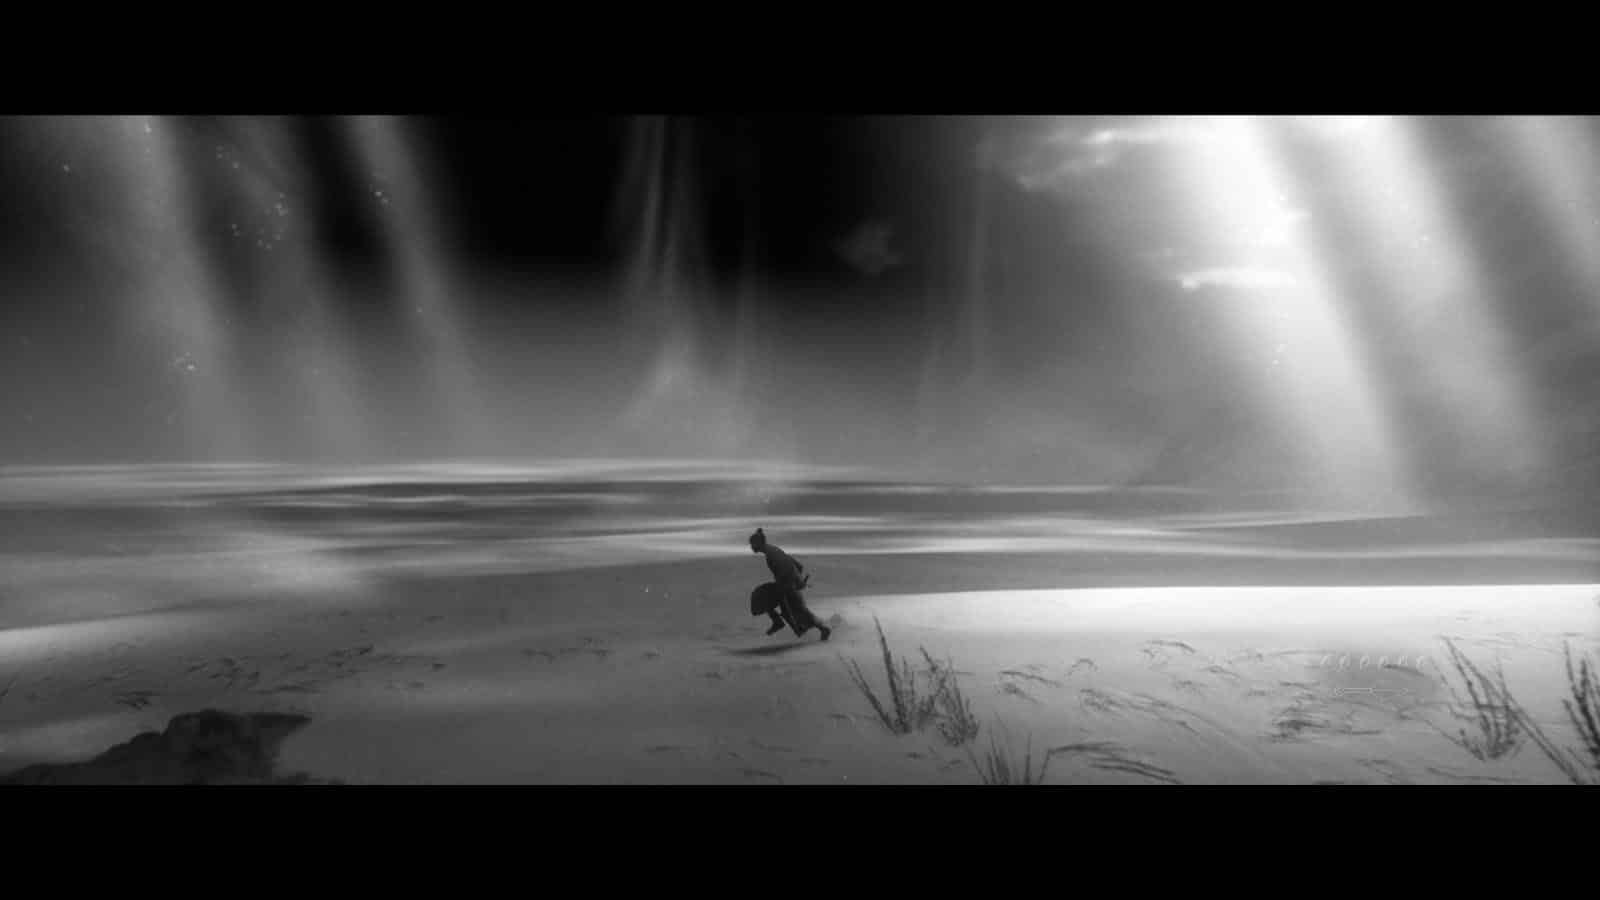
Back to the main route, head to the left and prepare to fight against mounted spirits. Similar to the mounted bandits, hit them three times to defeat them. There will be three mounted spirits that will patrol the area. Cross the desert afterwards to reach the next shrine.
Continue moving to the left and you will encounter more spirits and a wraith. You will then slide down and end up down a canal. Cut the rope attached to the boat and then press on the button on the side of the canal. Then, press on the button and ride the boat as the water rises. Go to the shrine afterwards.
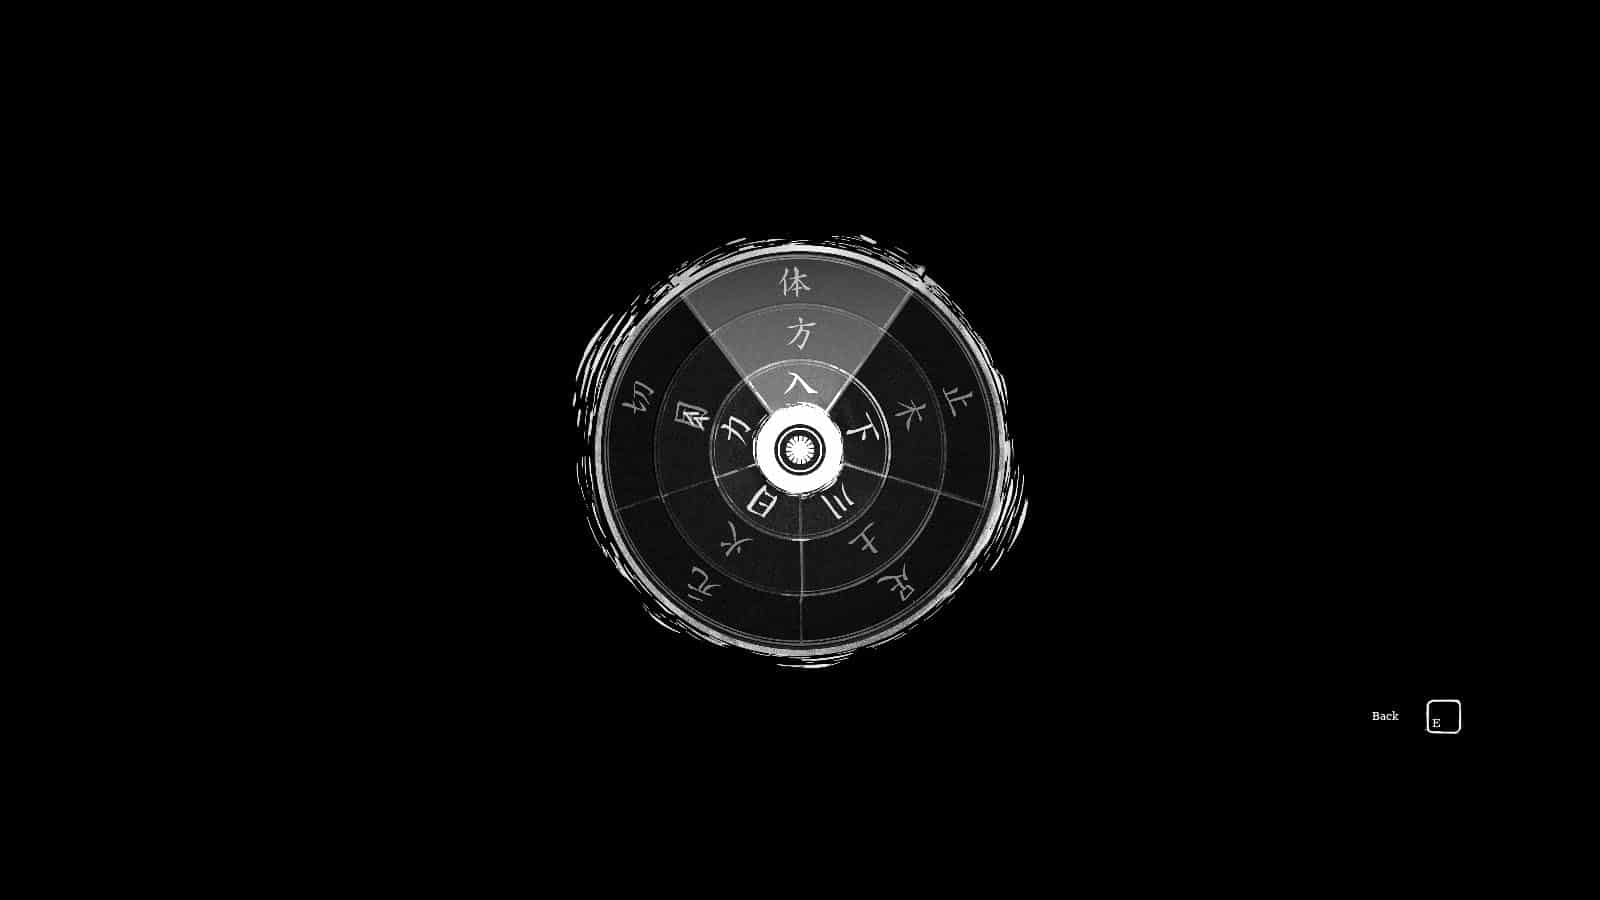
Follow the path through the jungle ruins as you slay enemies and you’ll reach another shrine. Enter the cave beside the shrine to get a Health Upgrade. Exit the cave and go up the stairs to arrive at another symbol puzzle. There are another set of symbols translating to “body”, “enter”, and “direction” (from top to bottom). Match these symbols once more on the tablet and the tower will be rebuilt.
Go to the pressure plat on the far side of the area to rebuild the missing floor. Then, run towards the far right side to get the Young Thunder Artifact. There is another pressure plate in the same area in case the floor crumbles again. Head down the stairs on the other side to reach the next shrine. Then, head to the left side to get a Quiver Capacity Upgrade.
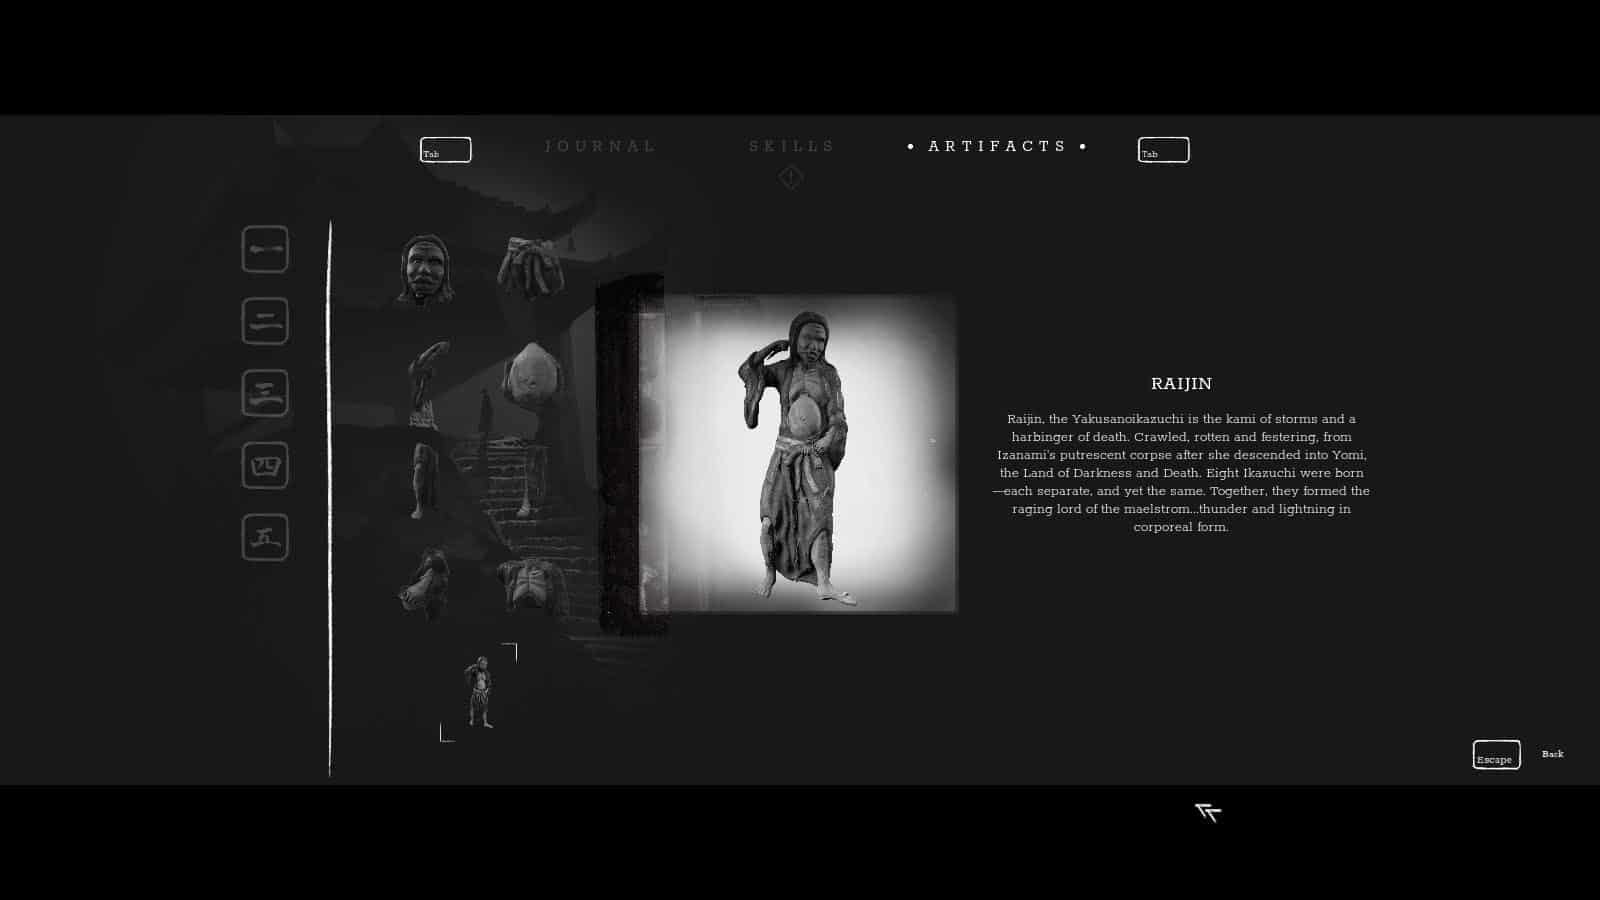
Continue moving to the right path, defeat the spirits, and then climb the long flights of stairs. Before climbing the last one to the top temple, check on the left side to get the Fire Thunder Artifact. Once you have collected every artifact, a new artifact will appear which is the complete statue of a Raijin.
Continue up the temple and to the right path while defeating the spirits. Climb up the ledge at the end of the path and head towards the left path to see another shrine and a Stamina Upgrade. Move towards the right path and through the enemies until you reach the base of the peak where the torii lies. In here, there are a couple of ammunitions that you can pick up to restock. There’s another shrine just up ahead and another boss fight to clear.
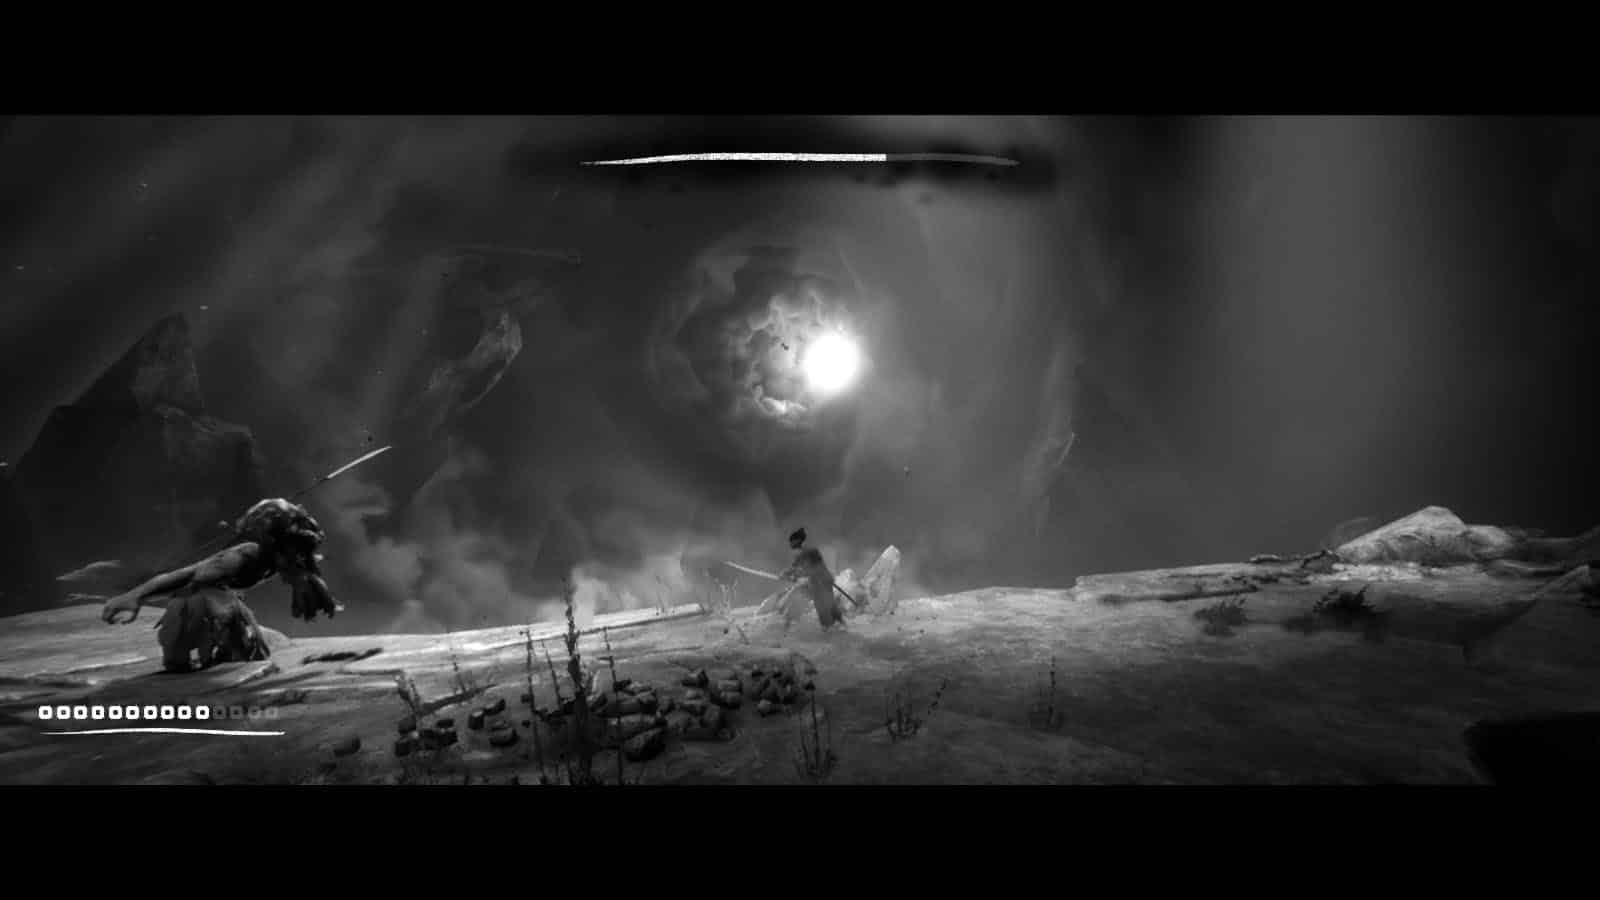
Shadow Sanjuro Attacks
Shadow Sanjuro 5 has main attacks and one non-damaging move:
- Spear Whack: Shadow Sanjuro will whack his spear to the front and to the back. This has a very wide reach so it is recommended to roll towards him and take advantage of the i-frames, especially when trying to avoid the second attack. This attack can be interrupted with an attack just before it starts. When it gets interrupted, he will transition to a Triple Whack.
- Triple Whack: He will whack his spear to the front, then to the back, and then to the front once more. Normally, he will initiate the attack when you are behind him, so you need to dodge the second attack, and then the third one by doing two consecutive rolls towards him (left to right or right to left). When done properly, you will have a good opening to land two heavy attacks after his third whack.
- Shout: He will shout to push you back. This move does not deal any damage.
- Charge: He will pause for a split second and push you far away, enough to knock you out of the arena if you are too close to the edge. Pay attention to the pause, and try to dodge towards him to avoid the pushback.
- Whack and Swing: He will whack his spear and turn 180 degrees while swinging his spear. Best to dodge away.
- Swing and Dive: He will swing his spear wide and then jump into the air and dive on to your position. Dodge towards him and try to reposition underneath him to prepare for a counterattack as he lands.
Tips on how to defeat Shadow Sanjuro
- Your Bow and Arrow is a good way to deal some damage as long as you are far away, for example: when at the start of the fight or when he shouts and pushes you back. The Ozutsu is way too slow and is quite unreliable; use sparingly.
- When doing the dodges, keep in mind to rest for a bit to replenish your stamina and prevent from getting fatigued mid combo or mid dodge.
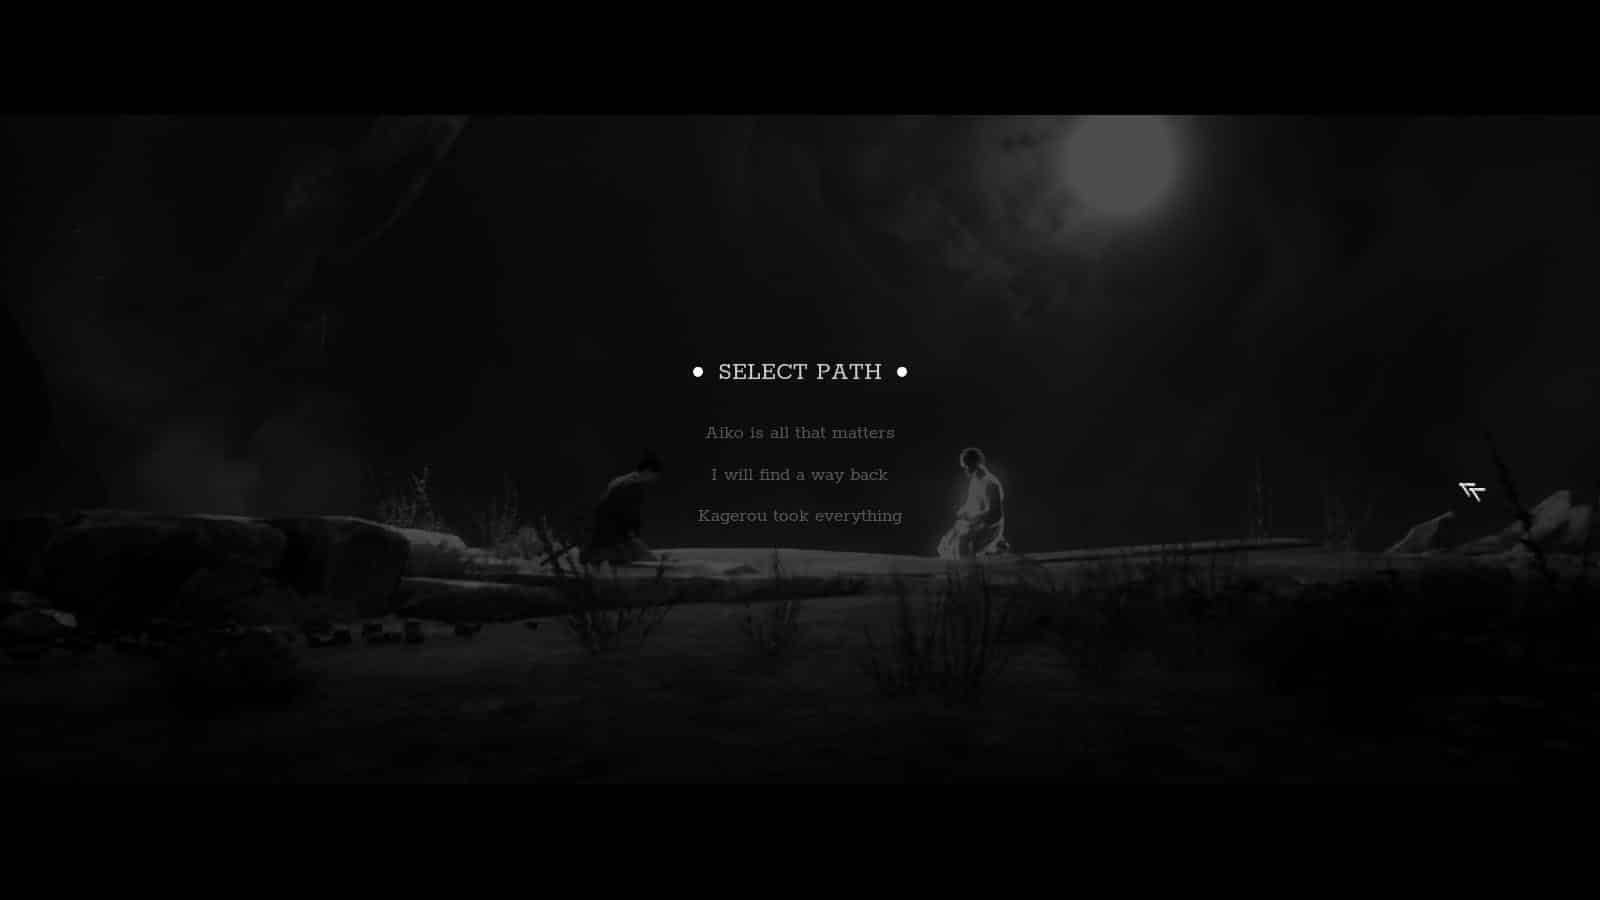
After defeating Shadow Sanjuro, you’ll be once again given a chance to respond using these three choices:
- Aiko is all that matters
- I will find a way back
- Kagerou took everything
These choices are connected to the ending, but they will not affect what ending you will get just yet. The ending will depend on what your choice will be after the final boss fight in Chapter 6.
If you like this guide, be sure to check out our other Trek to Yomi articles:
- Trek To Yomi Collectible Artifact Locations (Chapter 1)
- Trek To Yomi Collectible Artifact Locations (Chapter 2)
- Trek To Yomi Collectible Artifact Locations (Chapter 3)
- Trek To Yomi Collectible Artifact Locations (Chapter 4)
- Trek to Yomi Chapter 1 Walkthrough Guide
- Trek to Yomi Chapter 2 Walkthrough Guide
- Trek to Yomi Chapter 3 Walkthrough Guide
- Trek to Yomi Chapter 4 Walkthrough Guide
- Trek to Yomi Stamina Upgrade Locations
- Trek to Yomi Health Upgrade Locations
- Trek to Yomi Achievements – Trophy Guide and How to Get Platinum
- How Long is Trek to Yomi?
Check out this video by MKIceAndFire showing the full gameplay of Trek to Yomi:

")
")