
Tales and Revelations is the ninth chapter in A Plague Tale: Requiem which follows the siblings as they explore the island of La Cuna. They have been lucky enough to be invited by the Countess over to her castle and be spared from being hunted down by the Count. Still, they keep their seach for the cure to the Macula which they believe is somewhere within the island.
In this guide, we will go through the walkthrough of chapter 9: Tales and Revelation, of A Plague Tale Requiem, showing some tips, tricks, or solutions on how to complete the chapter.
See previous A Plague Tale Requiem Walkthrough (Chapter 8 - A Sea of Promises)
A Plague Tale: Requiem Chapter 9: Tales and Revelations starts off with Amicia and Hugo wanting to explore the island in search for the cure to the Macula.
Chapter 9 Objectives:
- Exploration
- Explore the island
- Follow the bird statues
- Find out what the ruins are hiding
- Towards the sanctuary
- Reach Las Madres
- On the mountain
- Entering the Sanctuary
- Find a way around the checkpoint
- Day & night
- Follow the ritual
- Reach the sacred quarters
- Phoenix
- Enter the sacred quarters
- Immersion
- Leave the sanctuary
Explore the island
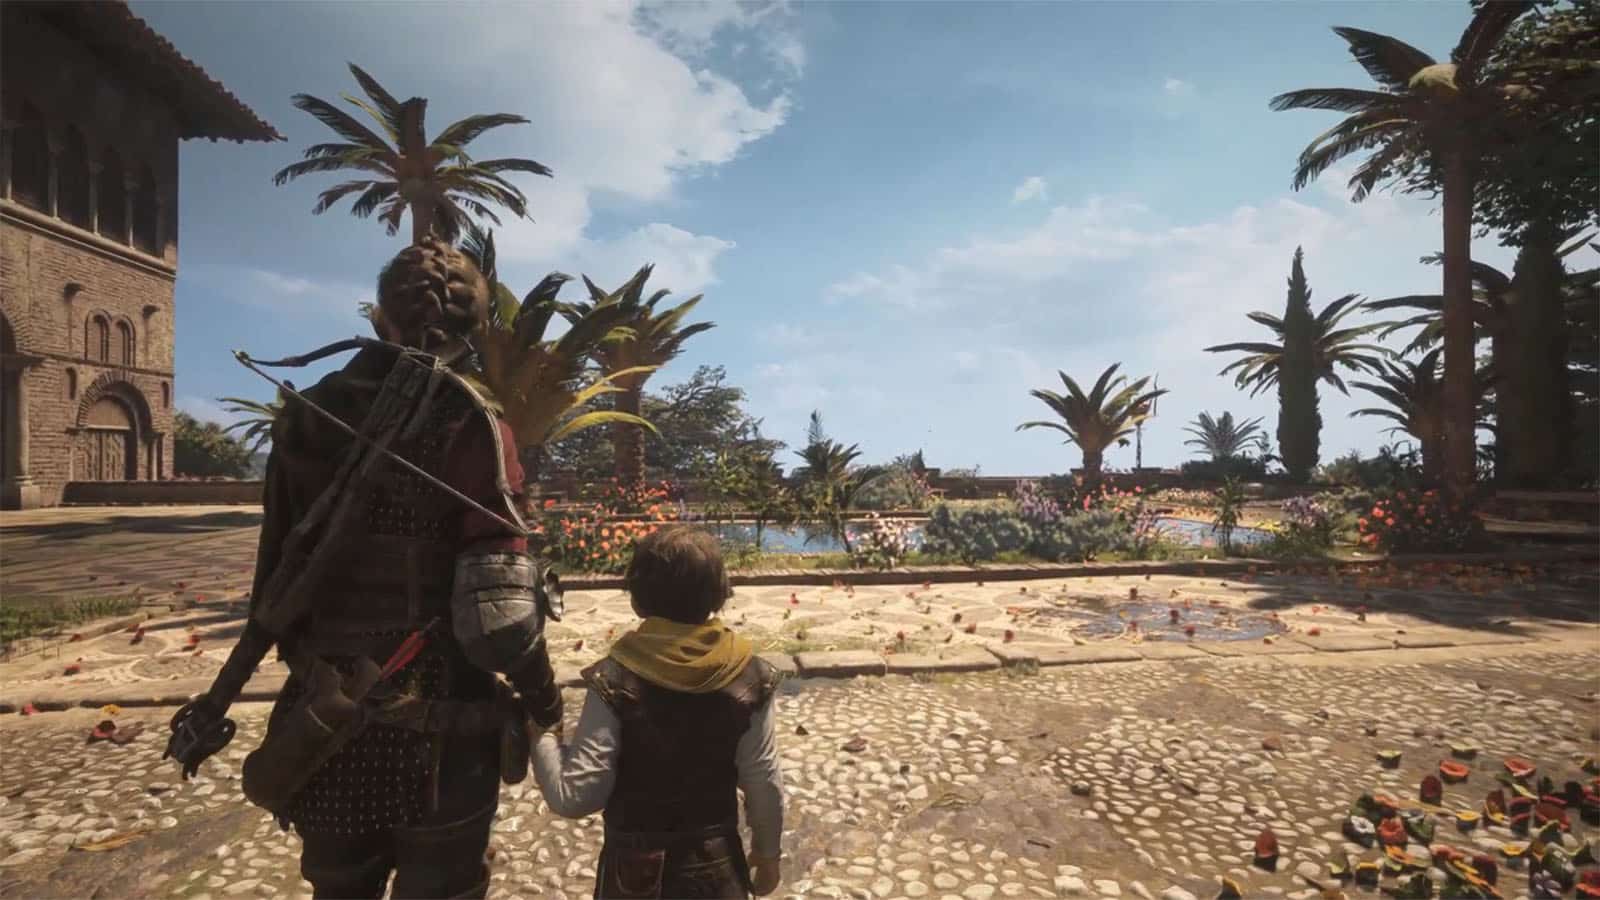
First off, make your way through the castle’s garden until you meet a guard by the door. Talk to him and you’ll be allowed to pass and go outside.
You’ll then meet up with Sophia who has been waiting for the siblings. She then offers her help as part of paying the favor.
Head towards the bird statue seen from a distance to proceed.
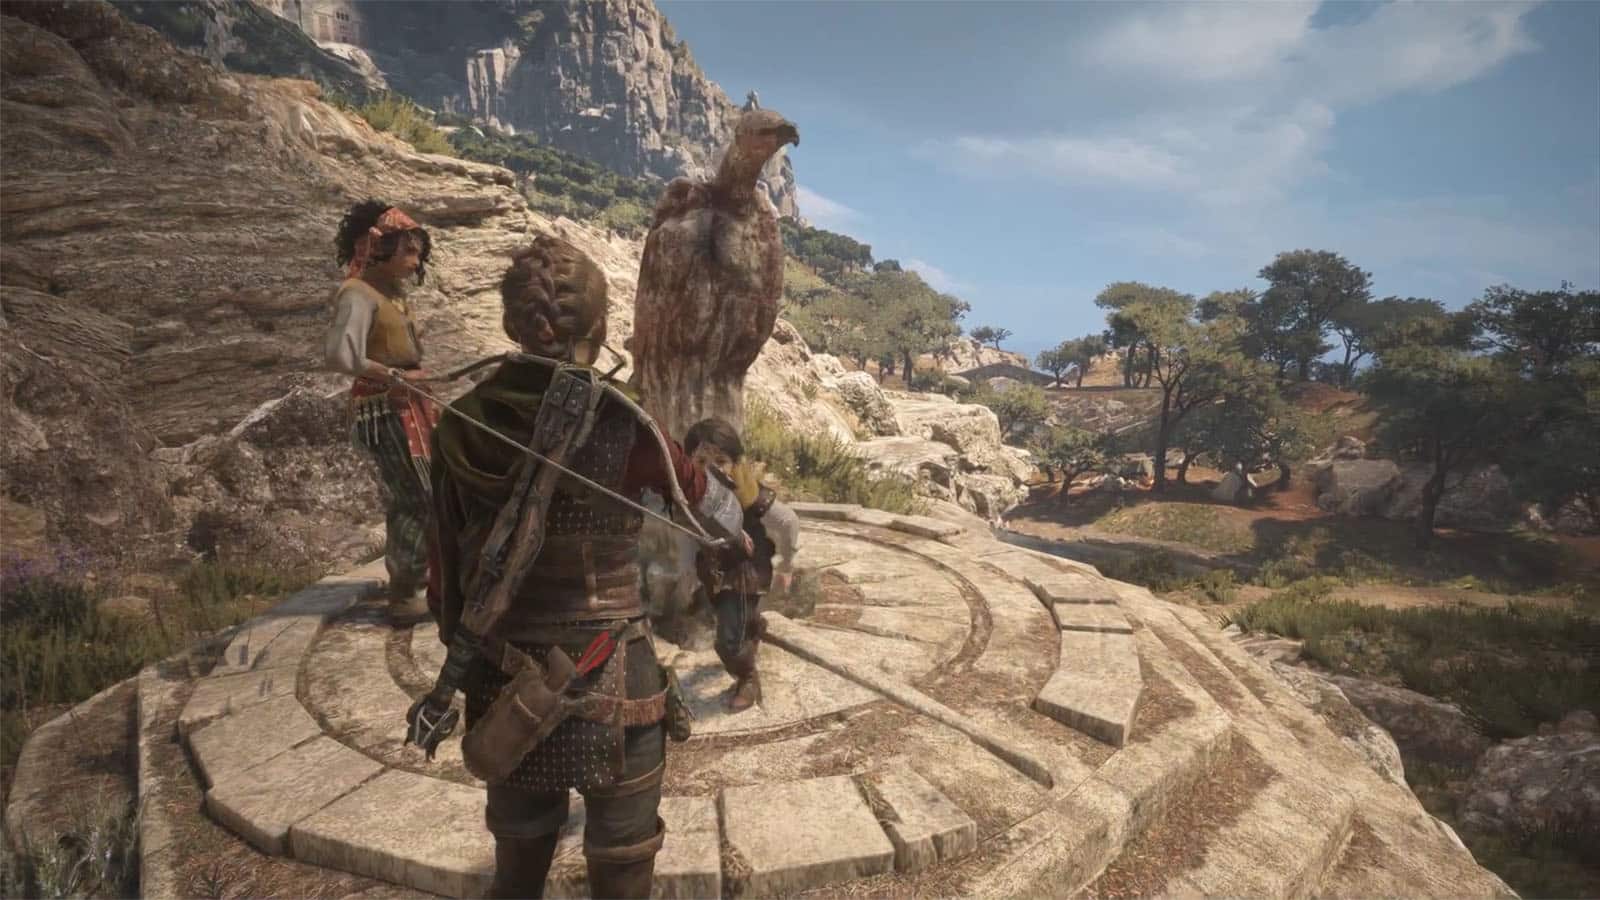
Follow the bird statues
As you approach the bird statue, you will notice that it’s facing to a certain direction. Follow the path to where it is facing to find another bird statue.
Between the second and the third statues, follow the path behind the house to the right to find a tree and unlock the A thousand more years souvenir. Then, head back to following the birds.
After crossing the bridge from the fourth to the fifth statue, climb the stairs to the right to reach the windmills. After completing the windmill puzzle, you will find the secret bracer which allows Amicia to recover quickly when beaten down. Once found, it can be used again even in a new game plus save. Check out our How to get A Plague Tale Requiem Bracer Secret Armor to know how to solve the puzzle.
Go back down the stairs and in to the main path. Head towards the house with the kites and go around it to find a ladder. Climb up the ladder and up the roof to find a hole. Shoot the chain connected to a handing crate through this hole, and then climb back down. Look through the window and shoot the two chains on the locked door. Finally, head inside the house and loot the chest.
Next, go past the tents and the watchtower, then cross the bridge to see a ruins of a building. Go to the opposite side of its locked door and shoot the chain through the opening. Go back to the door and climb to the higher levels where you’ll find a locked chest. Climb to the highest part and you will unlock the Nice screeching souvenir.
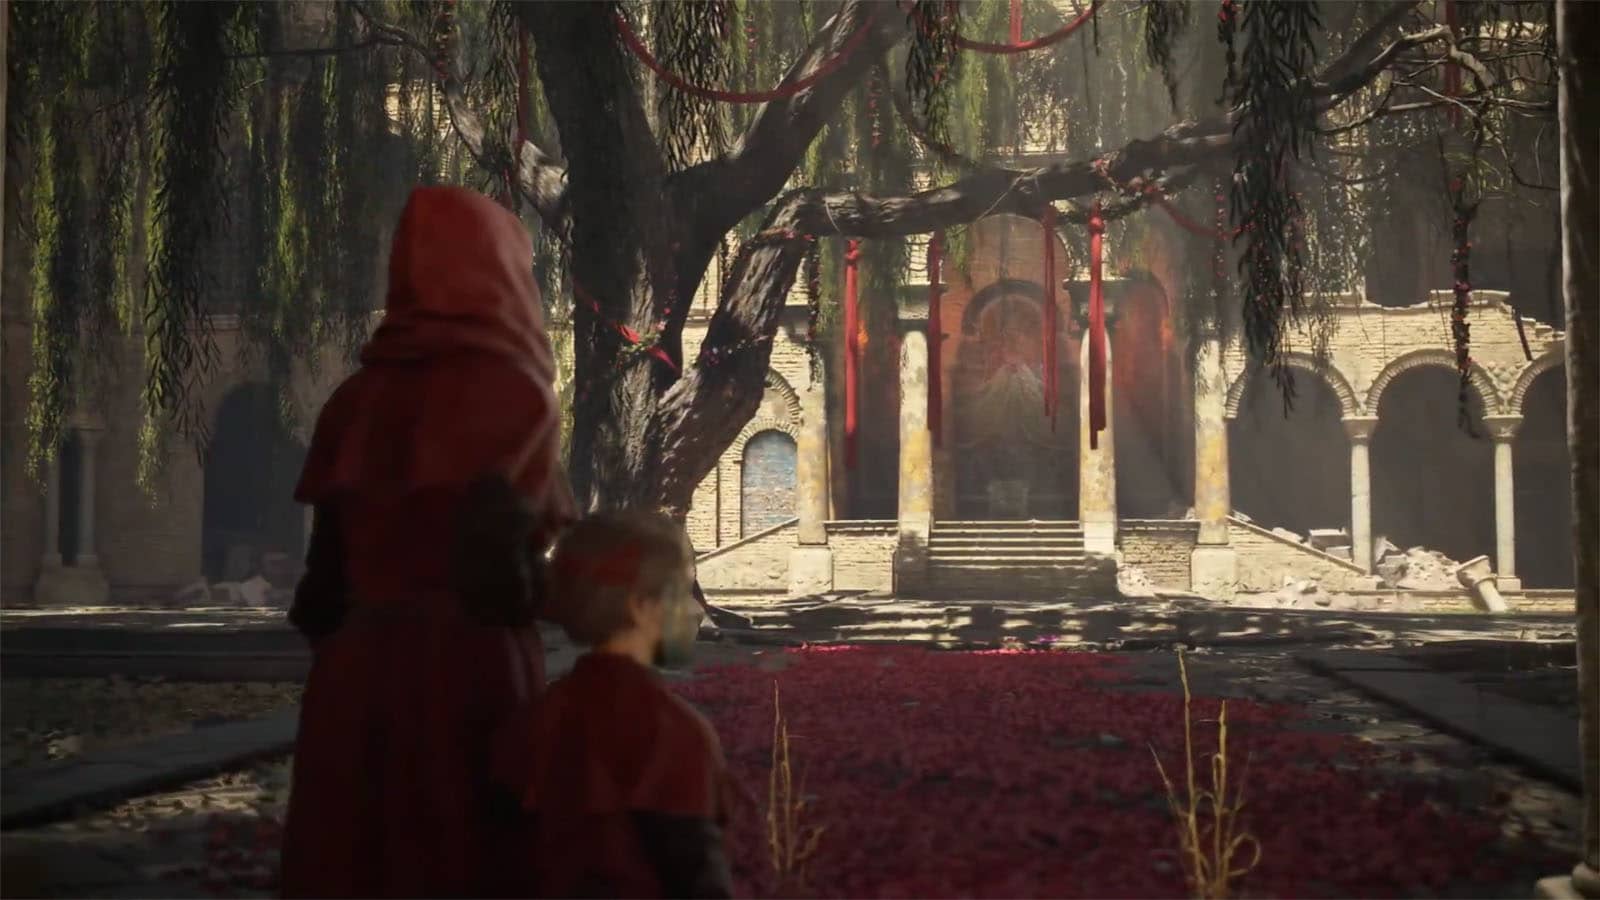
Head back to the main road and continue following the bird statues. You’ll eventually find a boarded gap in the wall that leads to a theatre ruins.
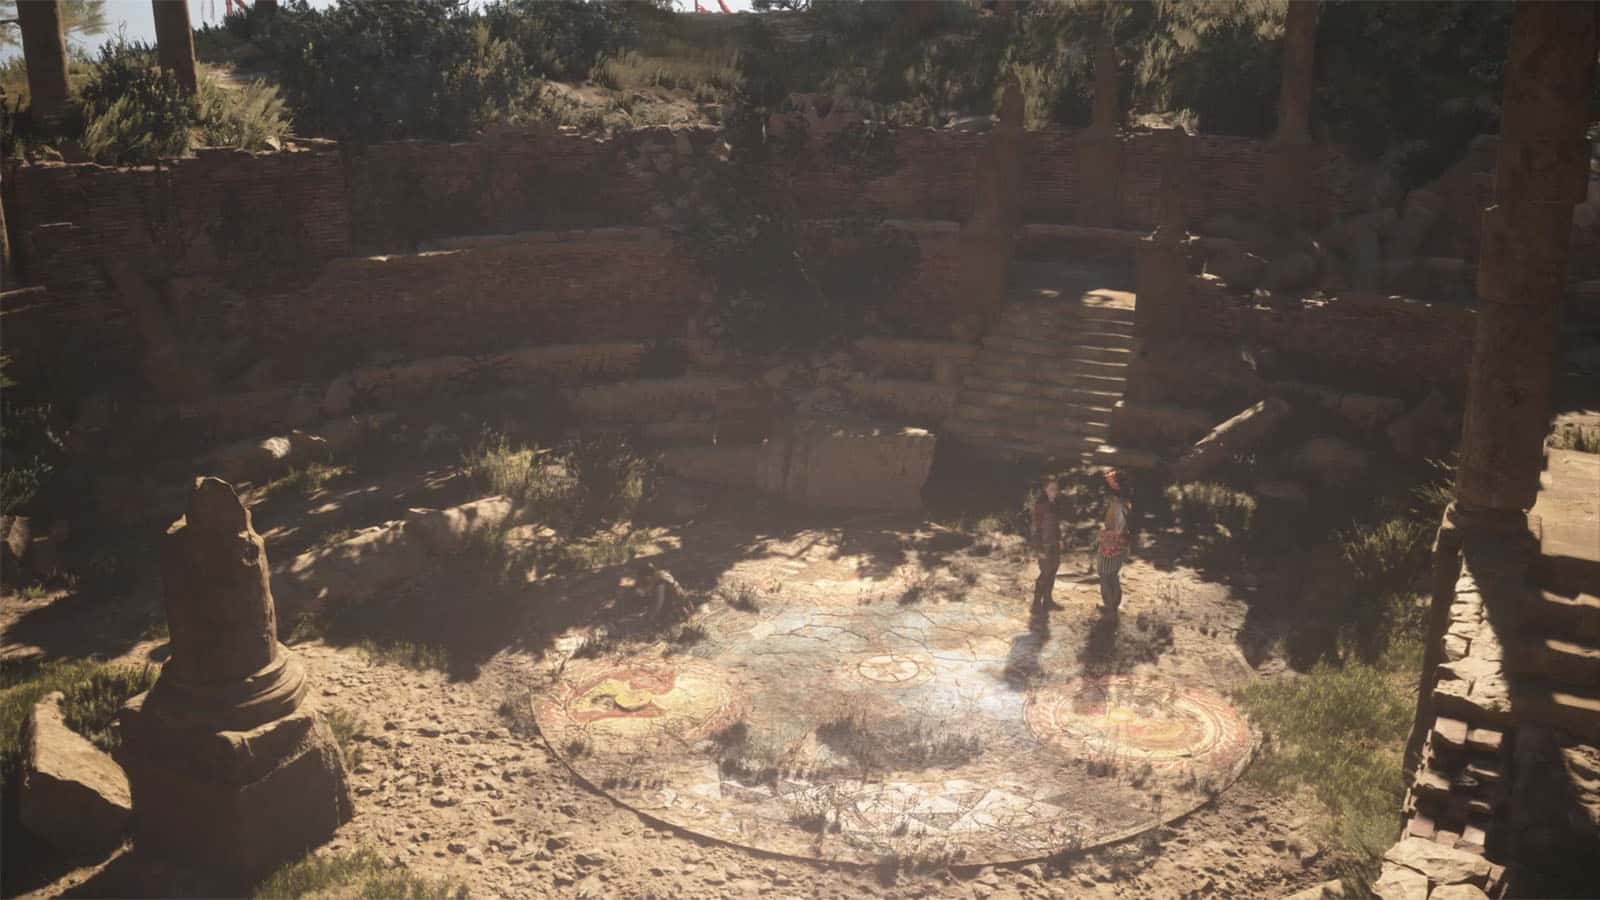
Find out what the ruins are hiding
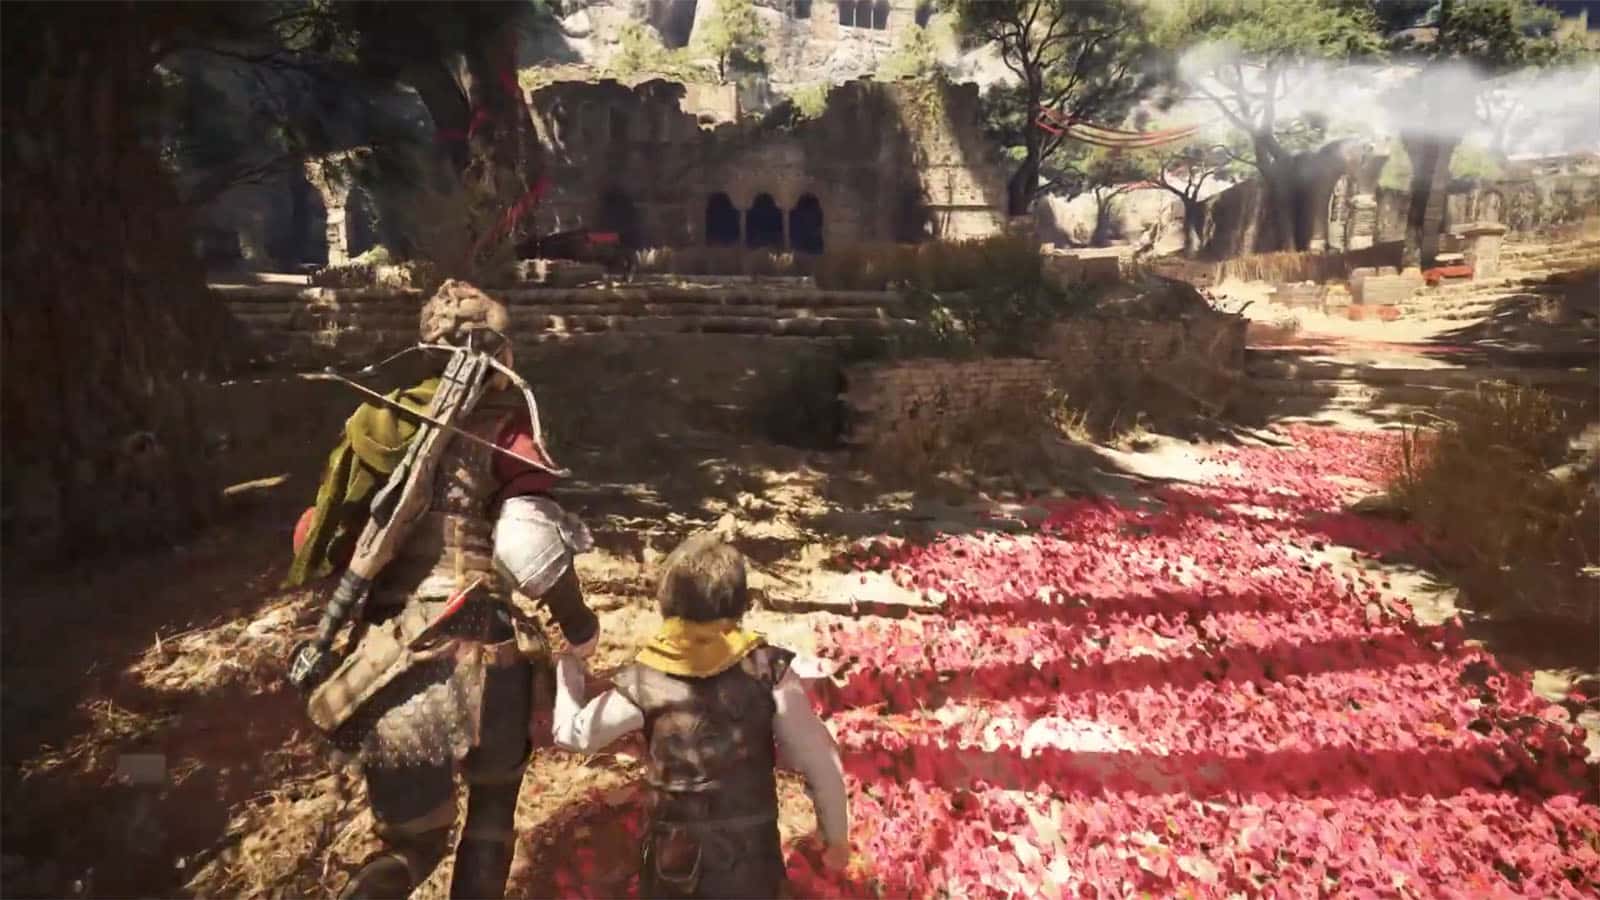
Once you arrive in the theatre ruins, look at the murals on the floor. Then, burn the grass to reveal more with the use of an ignifer. A small cutscene will play revealing more details about the Child of Ember and the same bird that Hugo sees in his dreams, along with the map of the island.
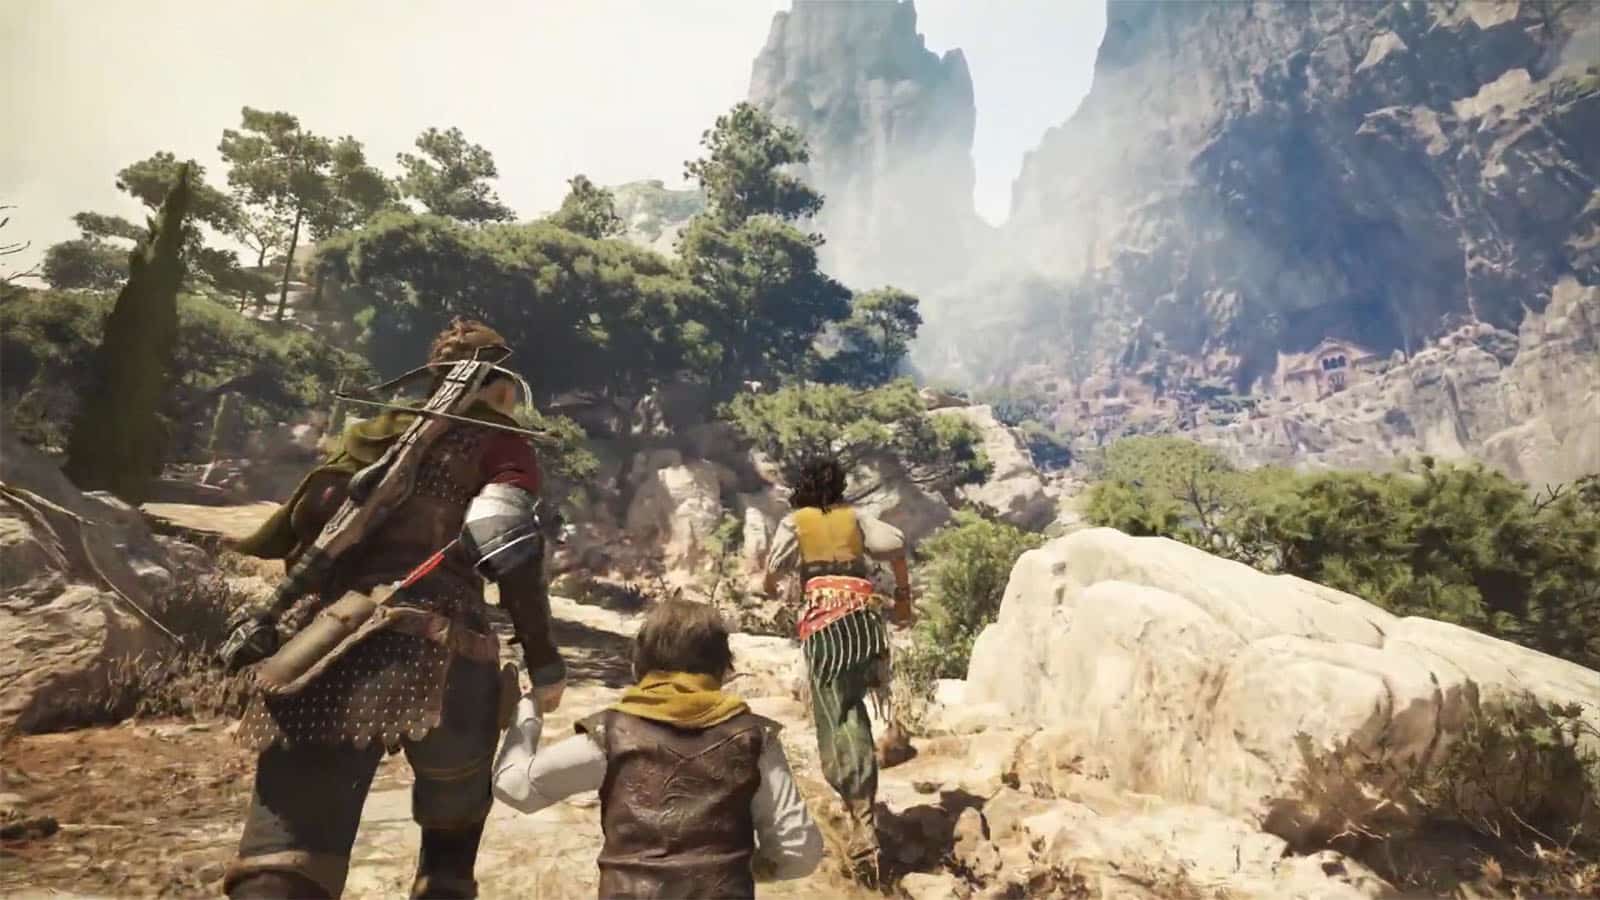
Reach Las Madres
Exit the theatre via the ledge and follow the path to Las Madres and you’ll eventually arrive at the gate to the sanctuary up top. Stop by the spring fountain that you pass and then check the camp for a chest. Continue forward and you’ll meet a a shepherd with his goats by the closed gate.
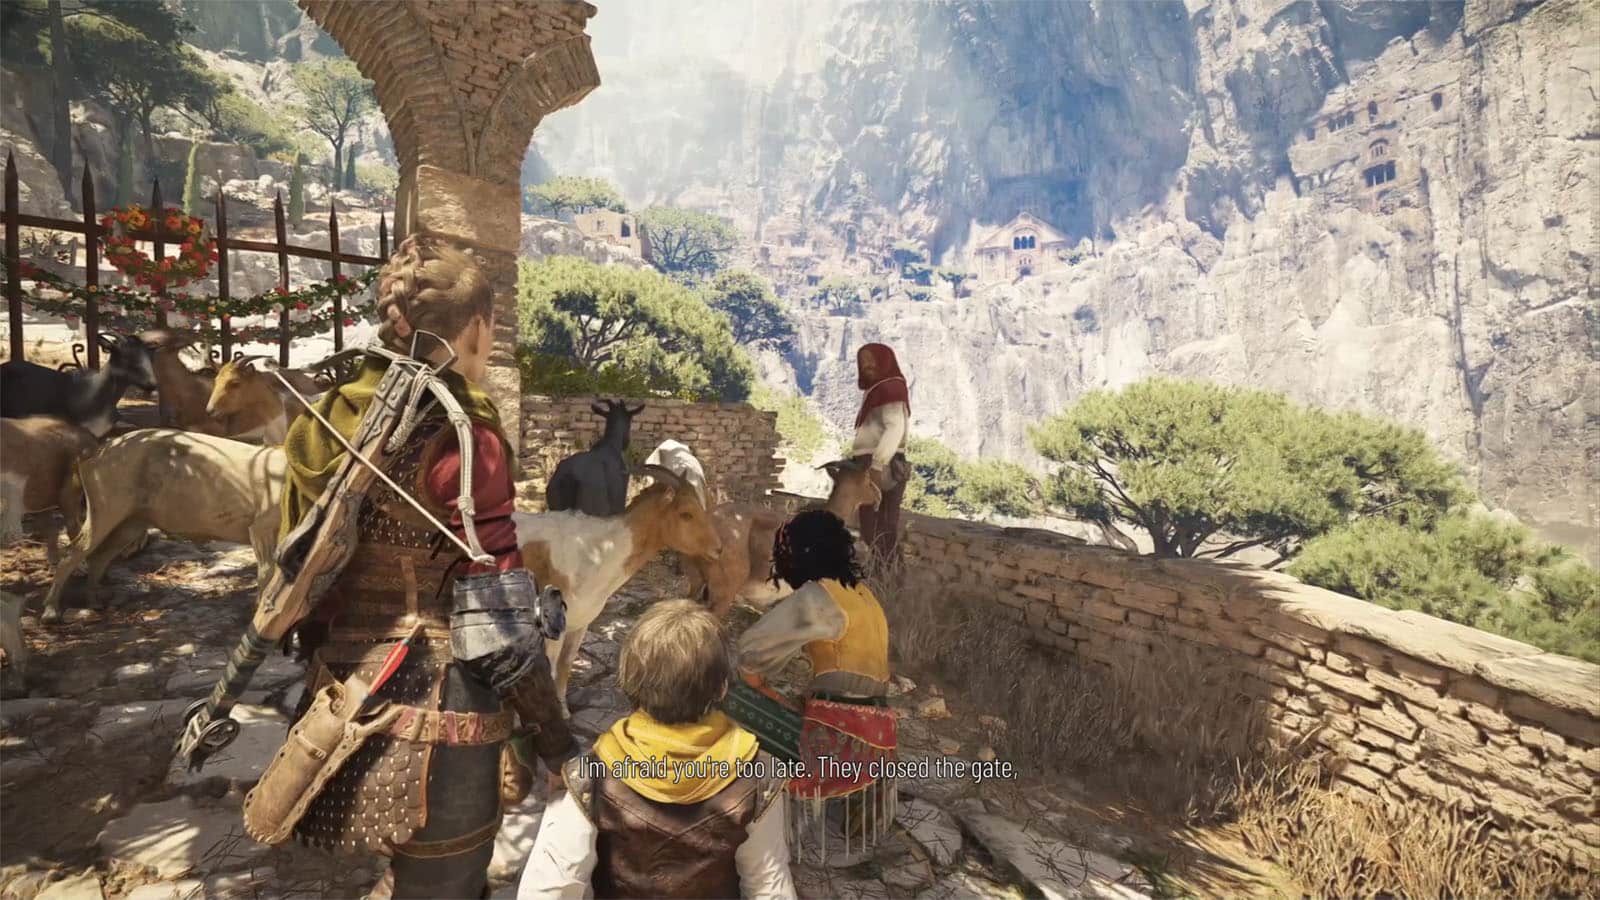
You will need to find another path to go to the sanctuary. As you leave, the shepherd also requests to help him find one of his goats, Tramontane.

Find a way around the checkpoint
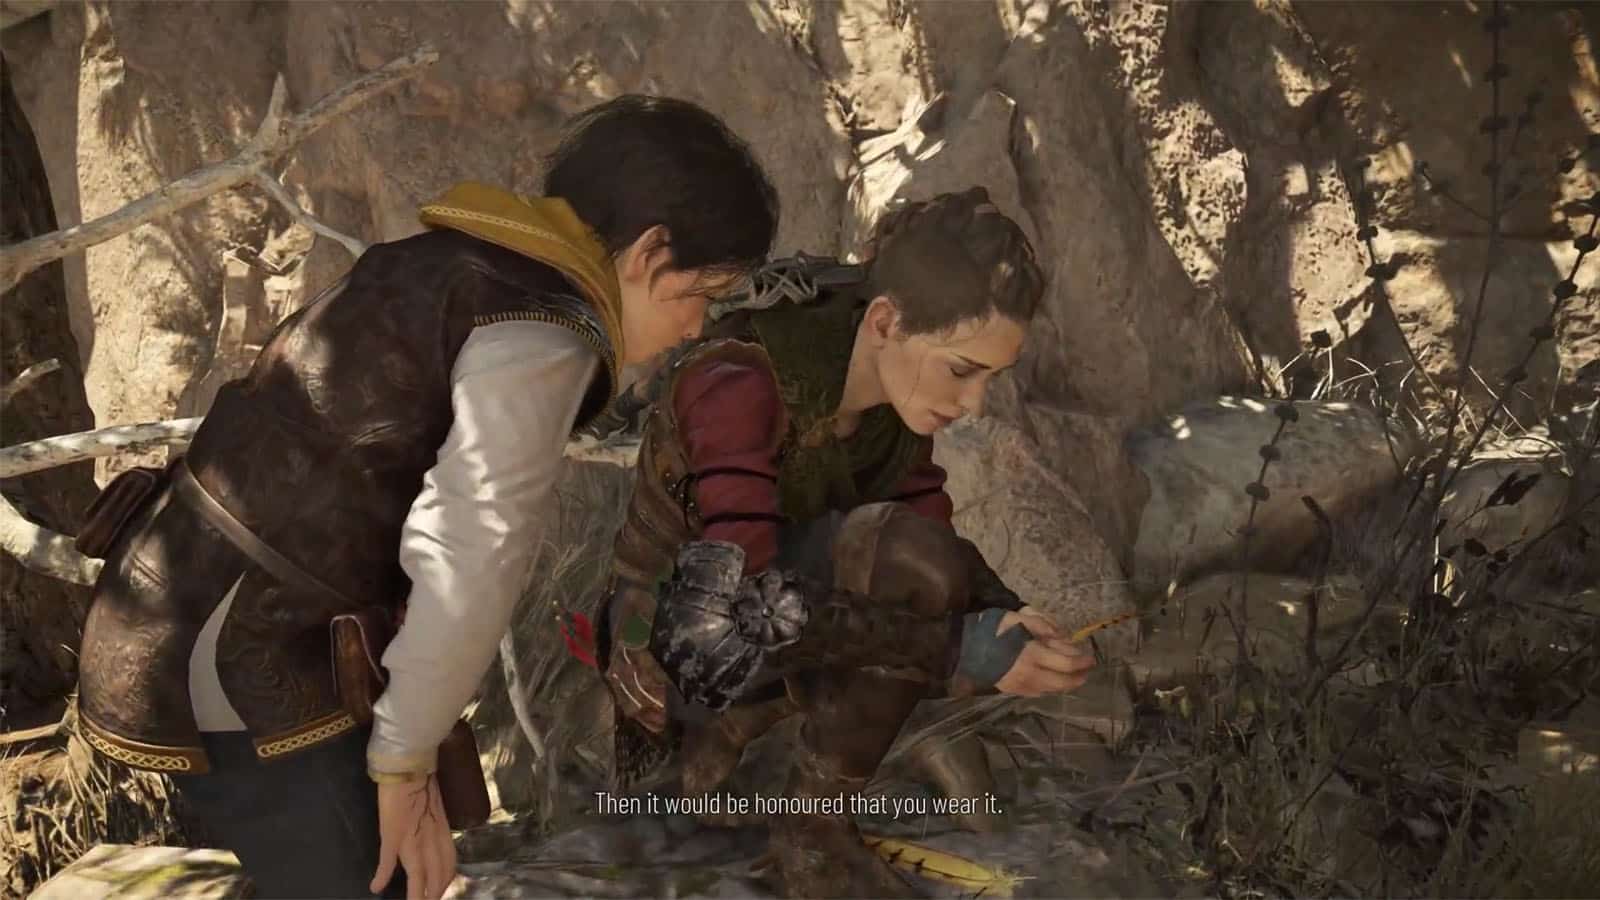
Go to the path on the left and follow it until you arrive at another ruins where the missing goat is. Go to the side and burn the grass near the door with ignifer. Then, let Hugo go through the hole and unlock the door from the other side. Check the huge chest then interact with the goat to get the Tramontane souvenir.
Continue down the path then climb up the ledge. Turn left and you will see another locked workbench. Head back and follow the path some more until you arrive at the forbidden area.
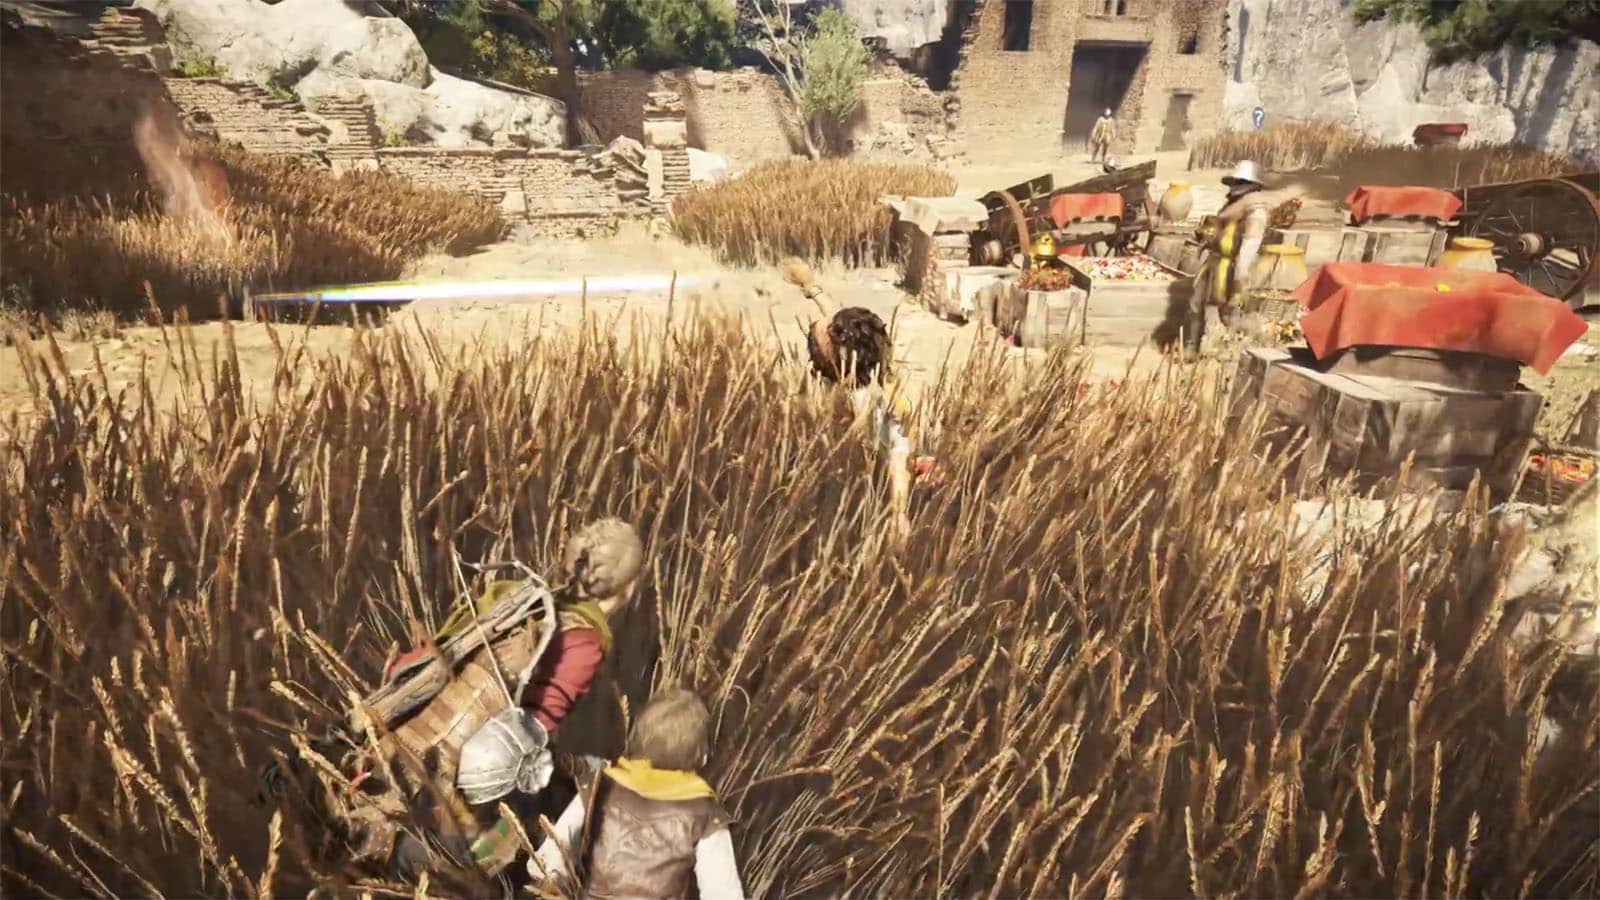
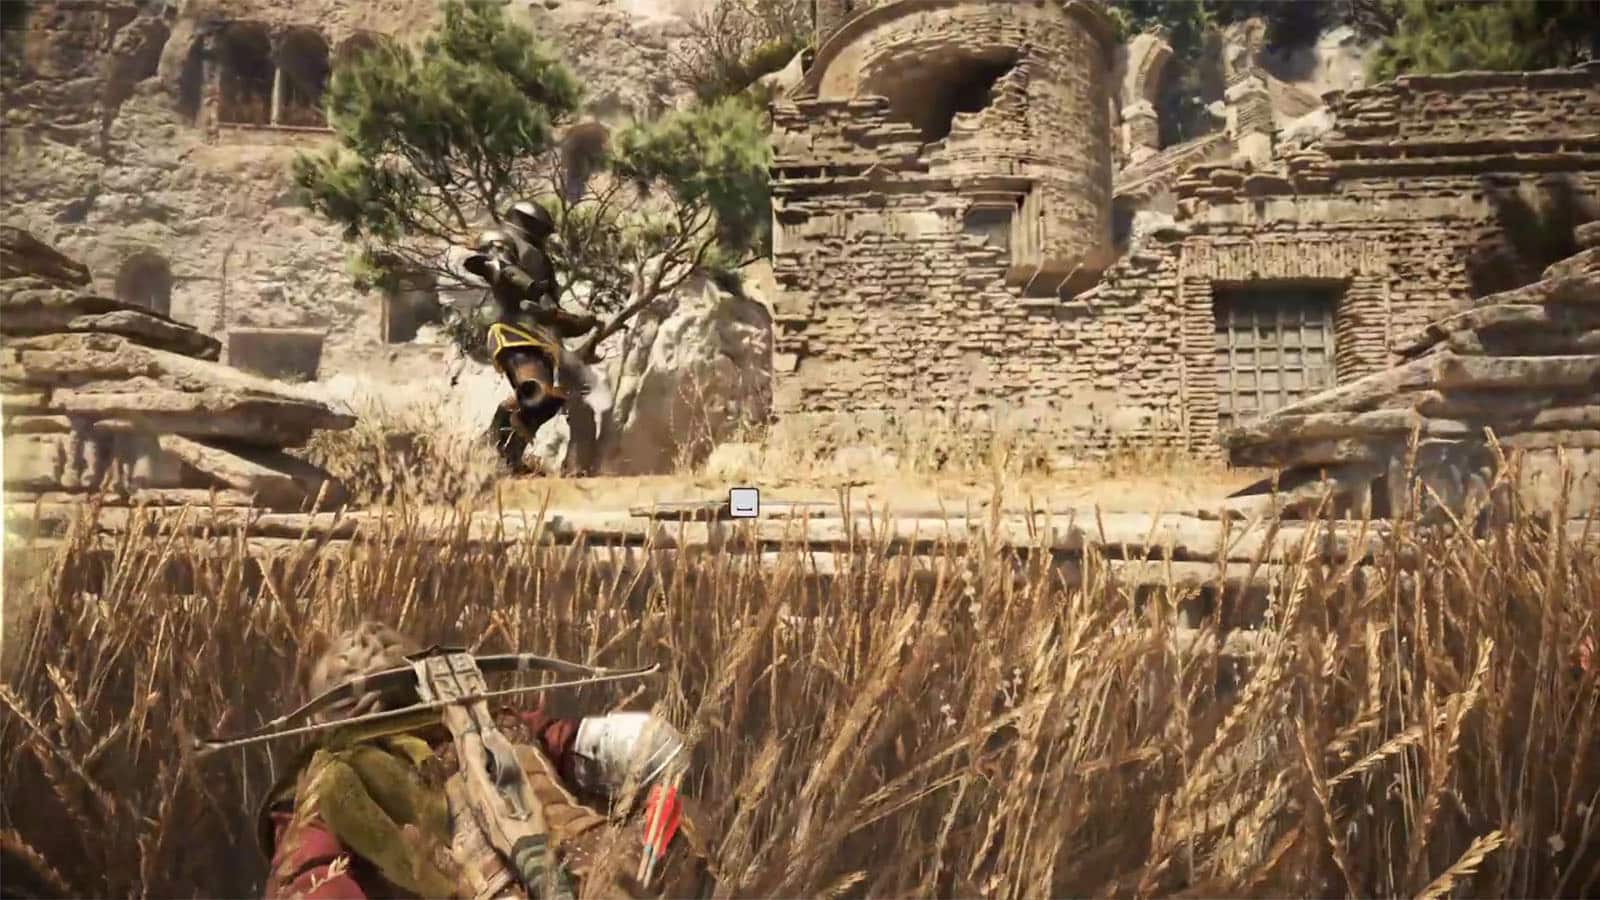
You will need to sneak past guards this time and make sure not to harm any of them. Sophia will lend a hand by using her prism that can burn tall grass to create a smoke distraction.
Along with the guards, there will be chests along the way, so make sure to lure them as far away from the chest as possible to get a wider window of sneaking through. Make your way to the far side near the edge where a door is without being detected. Through the door, you will find a chest and a workbench.
Once you’re done, go through the gap and walk on the ledge to safety.
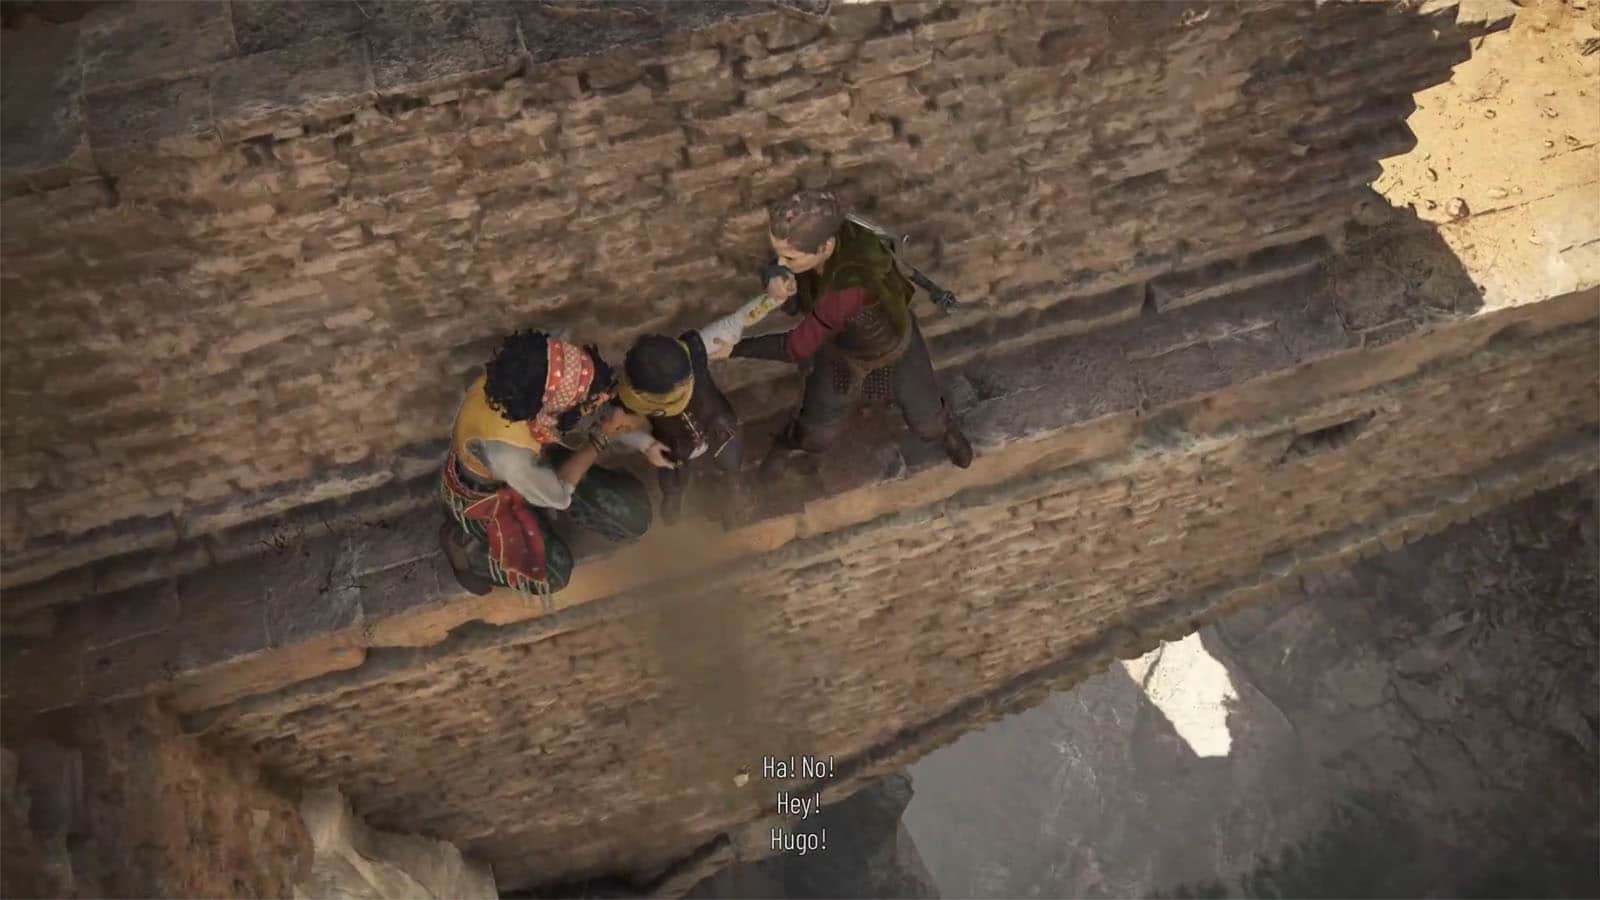
You will arrive at another forbidden area with more guards and patrolling armored soldiers.
As soon as you arrive, head to the tall grass to the left then walk past the tree with the ribbons where you will find another chest. You can either head to the far left path or through the building ruins, each with a patrolling guard on site. Once you’re through, use Sophia to distract the standing guard before sneaking through. Use Sophia once more to get past another standing guard. If you want to get the two chests that you pass by, make sure to be aware about patrolling soldiers and time your distractions.
Cross to the other side of the path into the tall grass where you’ll see that the main gate will be closed. You will need to find a new path to get into the sanctuary.
Find another way inside the sanctuary
You need to cross to the other side of the path again by distracting the standing guard. Then, wait for the armored soldier to pass by before heading towards the left side of the building where you’ll find a window you can go through.
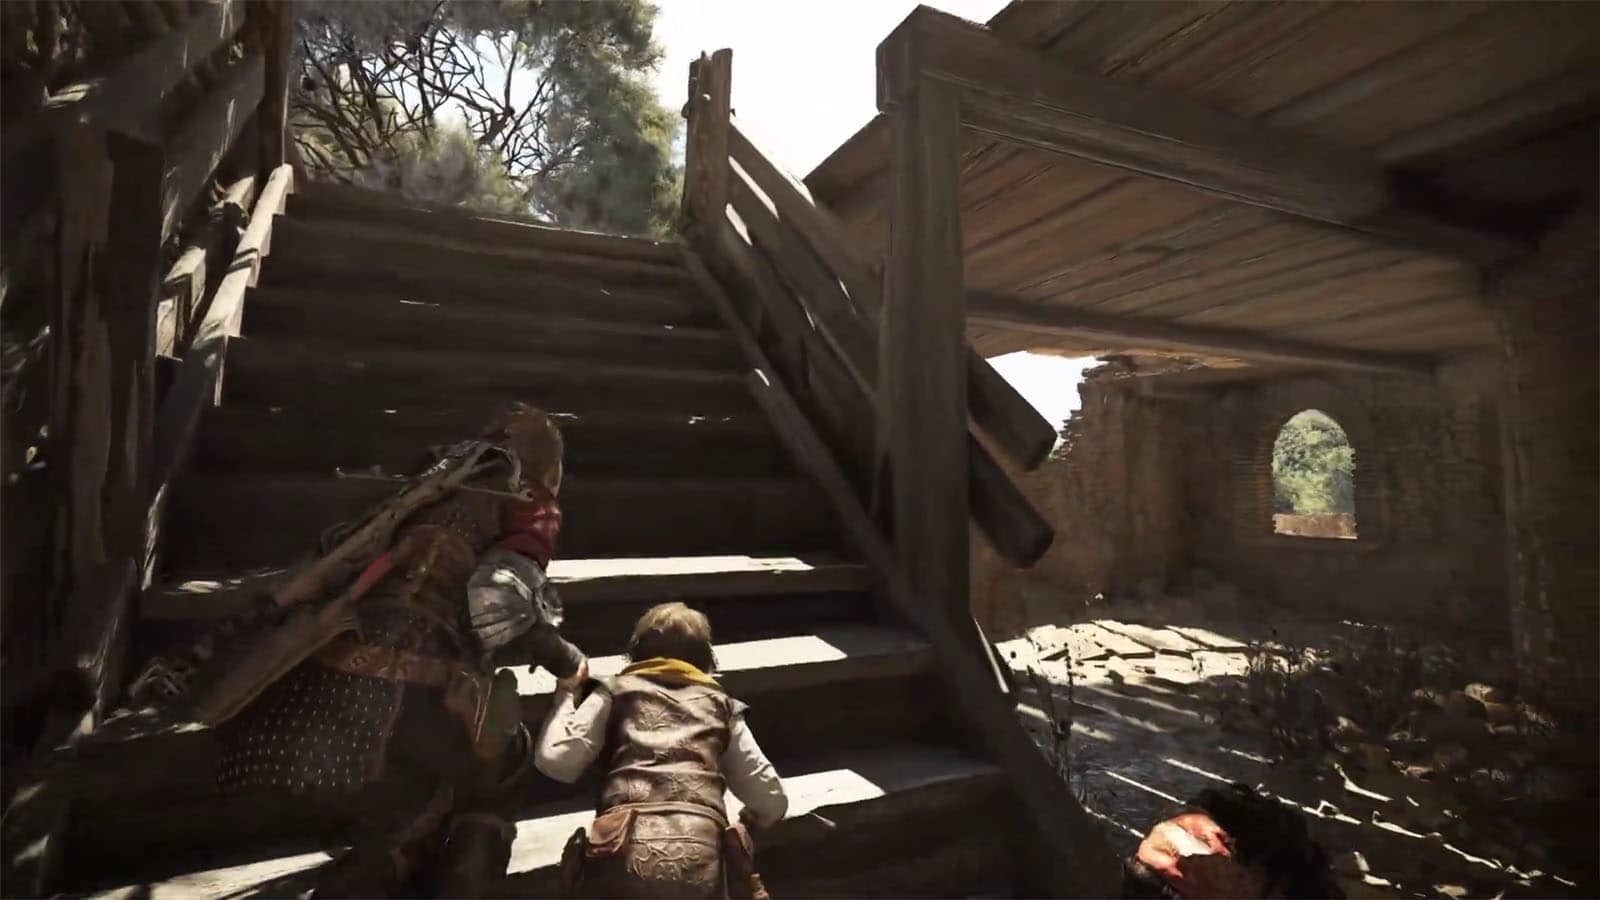
Climb the stairs and then go to the door of the tower. Walk up to the very top of the tower then climb another ledge where you’ll find the Barn owl feather collectible.
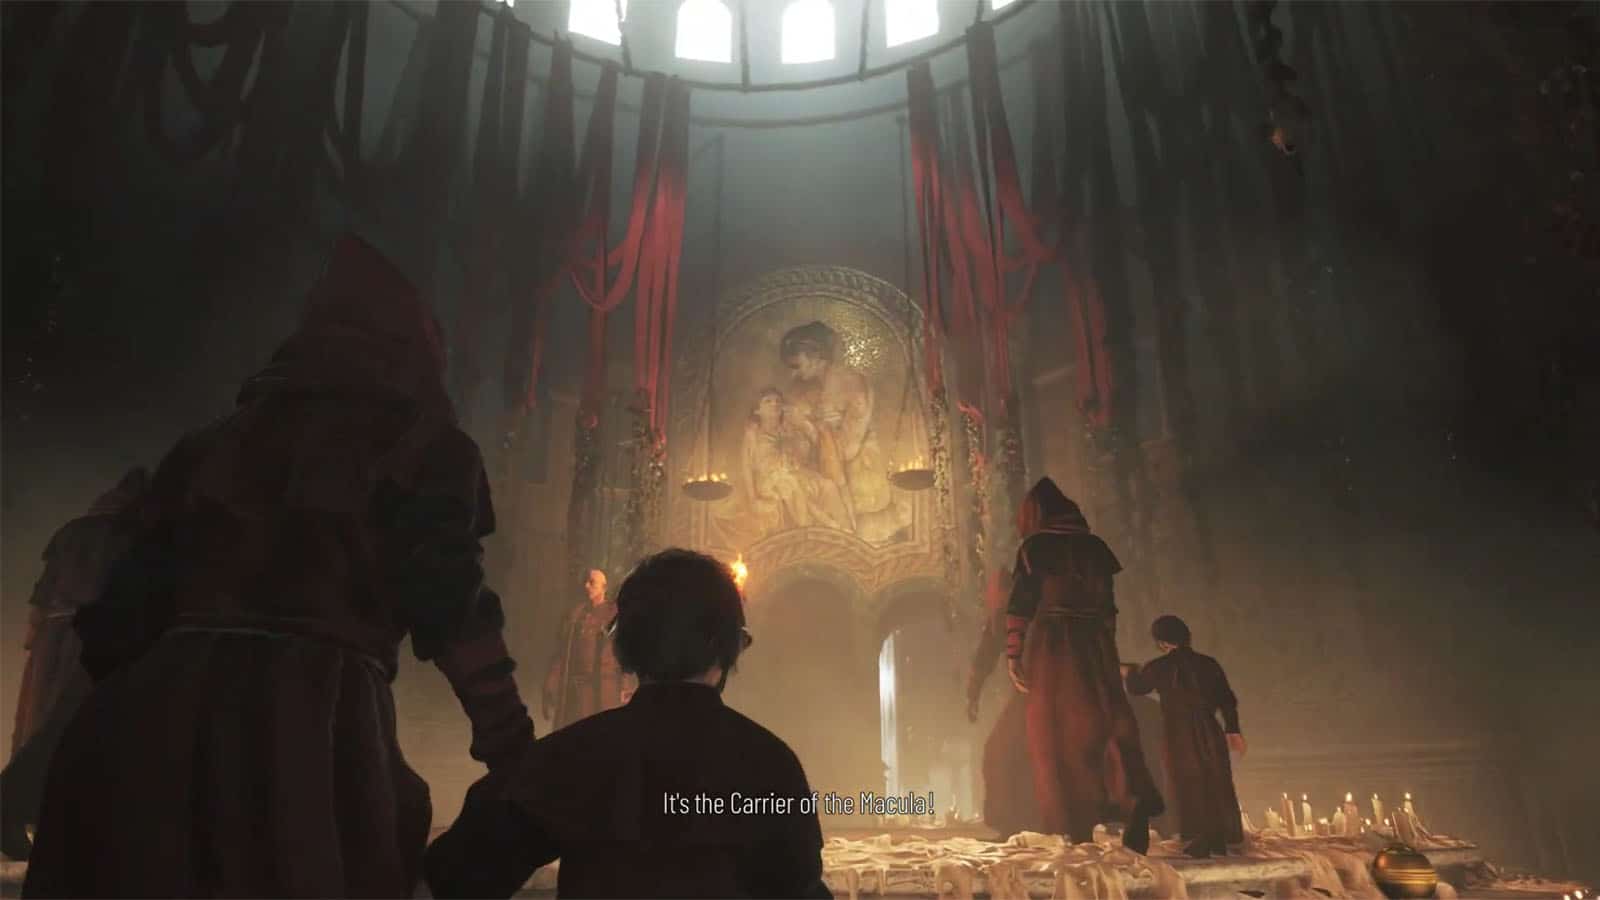
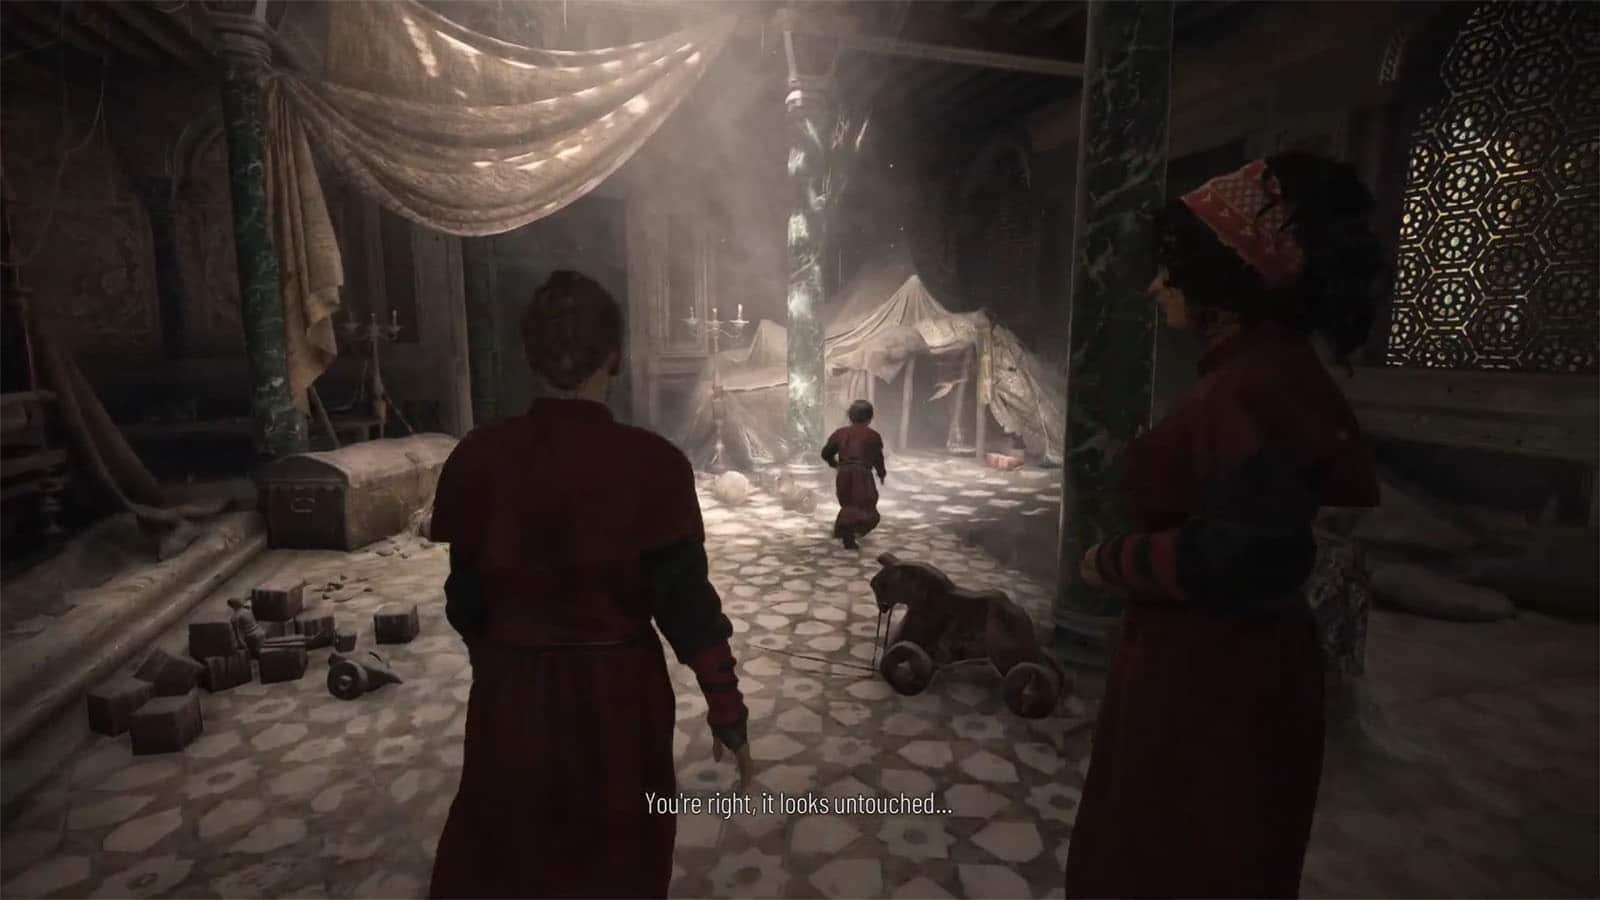
Jump down the ledge and hide in the grass, then approach the tent to trigger a cutscene. You’ll then be shown that the Count and Countess are holding a ritual for the Child of Ember, so the three head into another tent to get a disguise.

Follow the ritual
Follow along with the rest of the villagers as the Count and Countess do the ritual. You will then arrive at a chamber showing the Prima Macula or the first carrier of the curse. Amicia will then be chosen as the torchbearer for the ritual.
Walk straight through the corridor and under the waterfall that leads to a dark hallway. You will arrive at the ritual chamber where Sophia will arrive and lea you to another passageway.
Reach the sacred quarters
You arrive at the quarters where a throne can be seen from a distance. A cutscene will play where Amicia and Sophia talk about the throne and whom it belonged to. The names of Basilius and Aelia are etched at the back.
You then head into another room.
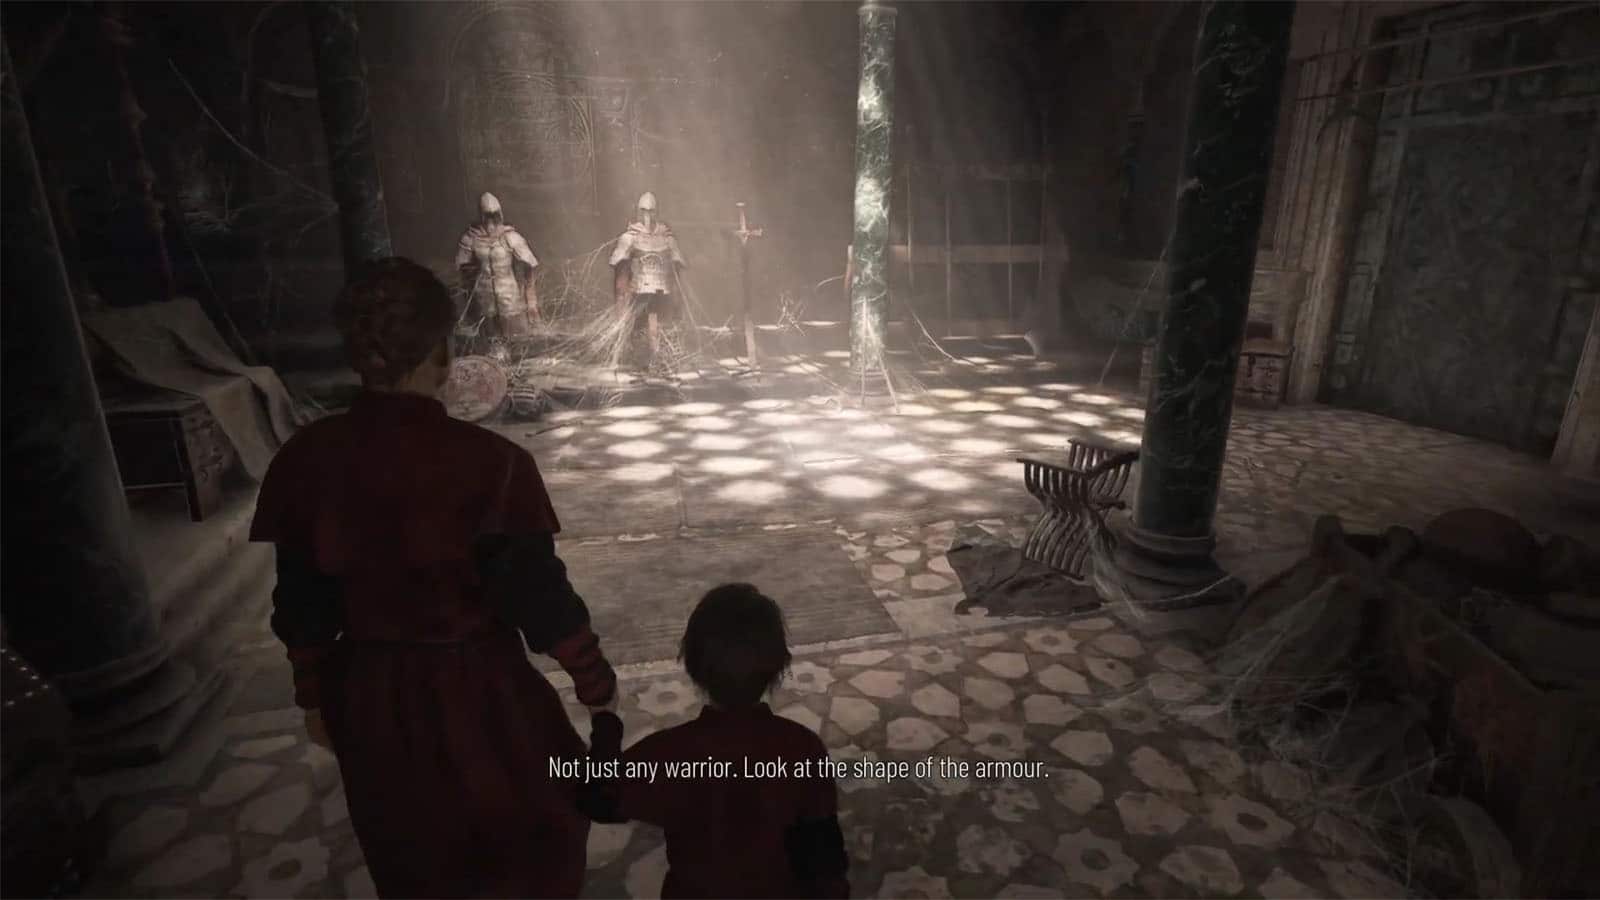
Explore the sacred quarters
The room that you check first was once owned by Basilius, the Prima Macula. Interact with all the stuff in the room, and then talk to Hugo. Go to the next door to visit the next room. To get the Old Protector trophy, you must inspect all the items in this room and in the rest of the following rooms, except for the garden.
You’ll then arrive at Aelia’s room where she was revealed as Basilius’ protector. Interact with all the stuff in the room before proceeding to the next one.
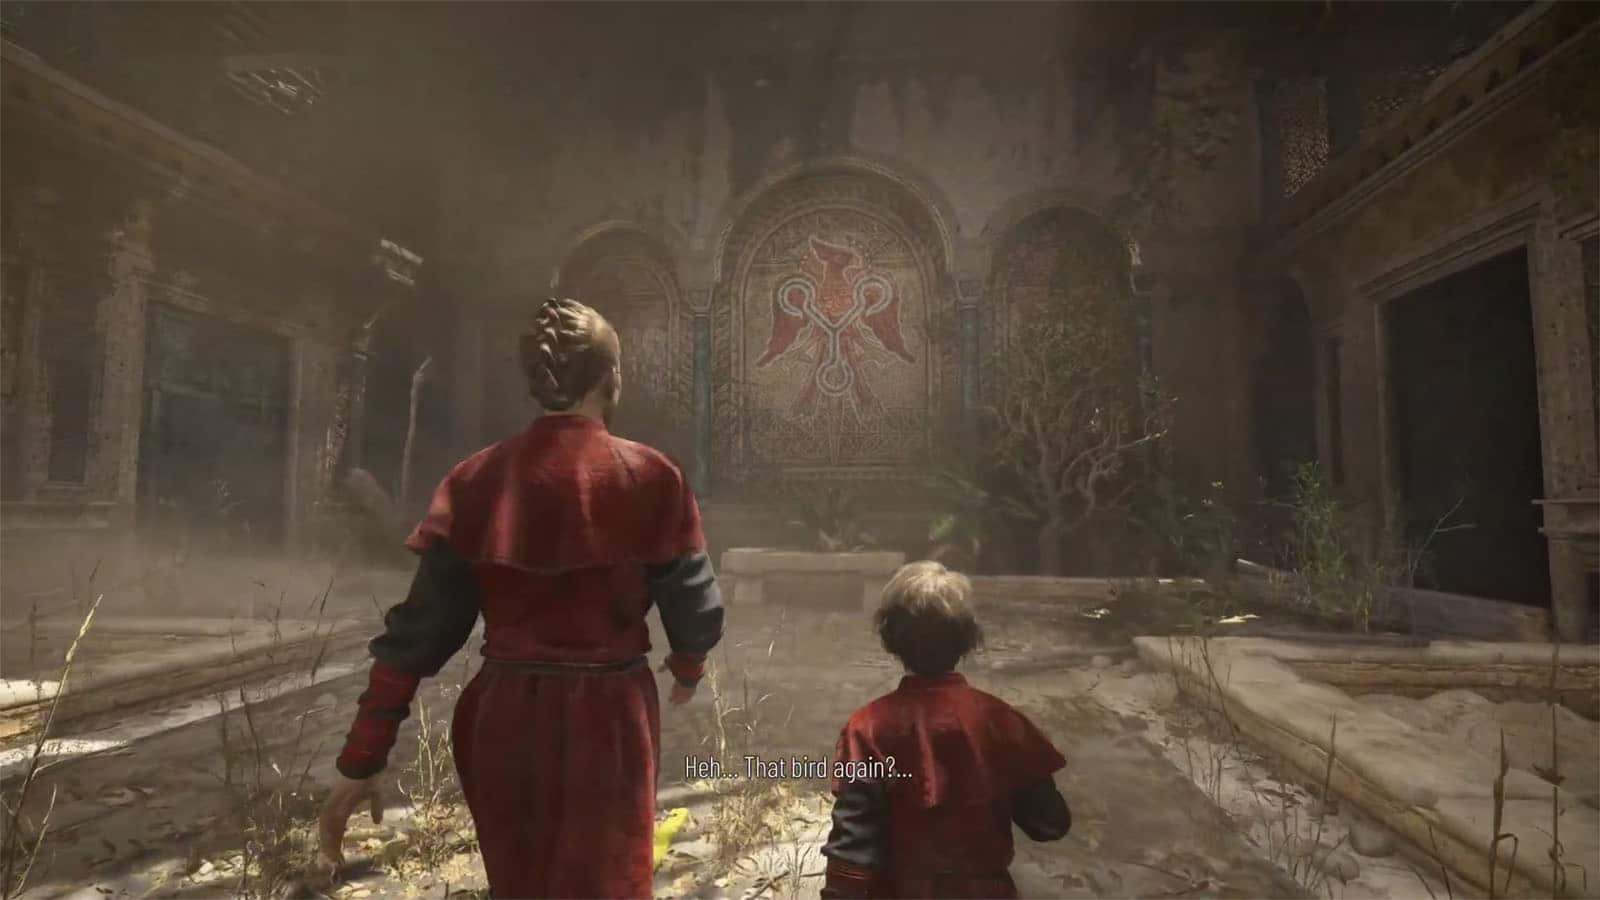
The next room is a small garden with no interactable things. This is where it is revealed that the Order is connected to the phoenix that Hugo saw in his dreams. Go towards the next door to reach the next room.
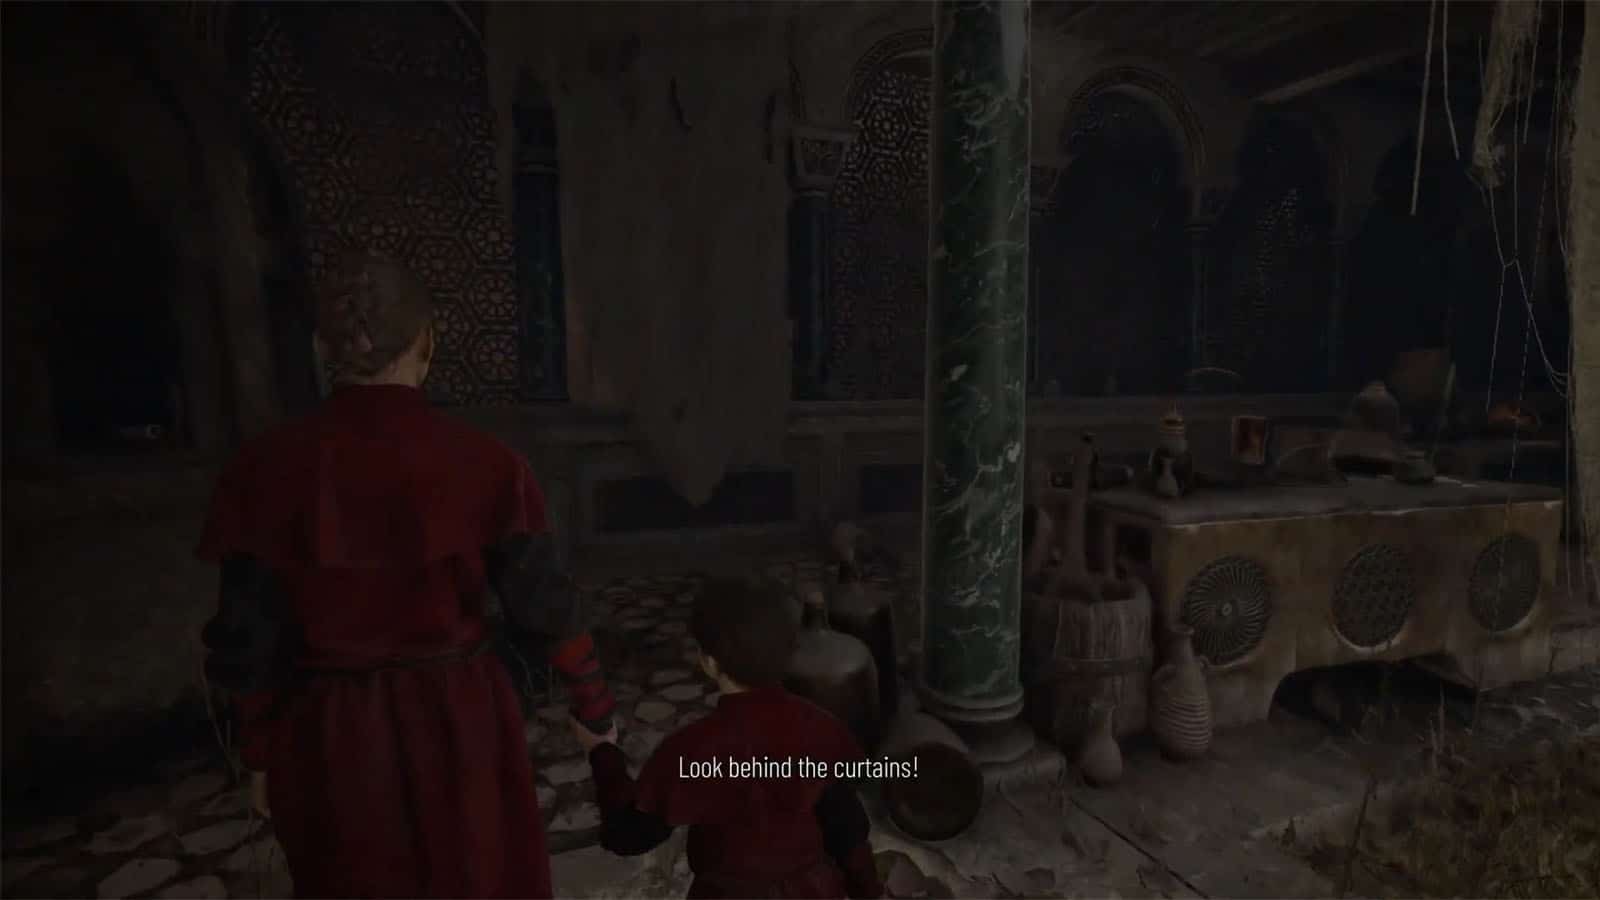
The final connecting room is an alchemy library. Inspect the rest of the stuff around, then talk to Hugo by the operating table. Sophia will then call for you from above. Head towards the curtain to reveal a passage that goes to the upper floor.
Once you’re on the second floor, head to the left and inspect the scrolls and then check the grated floor and you should be able to unlock the Old Protector trophy.

Afterwards, talk to Sophia and then you will hear the Count and Countess coming in to the sacred quarters.

Leave the sanctuary
Sneak past through the rubble and head towards the sewer opening to get out of the sanctuary. Simply follow the path and you won’t need to worry about alerting the two nobles. Once you’re out, another cutscene will play and the chapter ends.
Chapter 9 – Tales and Revelations Trophies in A Plague Tale Requiem
Here are the trophies that can be obtained in Chapter 9:
- Tales and Revelations – complete Chapter 9.
- Old Protector – interact will all 16 of the Old Protector’s items.
See next A Plague Tale Requiem Walkthrough (Chapter 10 - Bloodline)
If you like this guide, be sure to check out our other A Plague Tale: Requiem articles:
- A Plague Tale Requiem Walkthrough Chapter 1: Under A New Sun
- A Plague Tale Requiem Walkthrough Chapter 2: Newcomers
- A Plague Tale Requiem Walkthrough Chapter 3: A Burden of Blood
- A Plague Tale Requiem Walkthrough Chapter 4: Protector’s Duty
- A Plague Tale Requiem Walkthrough Chapter 5: In Our Wake
- A Plague Tale Requiem Walkthrough Chapter 6: Leaving All Behind
- A Plague Tale Requiem Walkthrough Chapter 7: Felons
- A Plague Tale Requiem Walkthrough Chapter 8: A Sea of Promises
- How to get A Plague Tale Requiem Bracer Secret Armor
- A Plague Tale Requiem Trophy Guide & How To Get Platinum
- A Plague Tale Requiem Considered Book Closed According to Developers
- A Plague Tale Requiem – All Hugo’s Herbarium Locations
- A Plague Tale Requiem – Chapter 2 Collectibles Locations
- A Plague Tale Requiem – Chapter 6 Collectibles Locations
- A Plague Tale Requiem – Chapter 8 Collectibles Locations
- A Plague Tale Requiem – Chapter 9 Collectibles Locations
- A Plague Tale Requiem – Chapter 10 Collectibles Locations
- A Plague Tale Requiem – Chapter 13 Collectibles Locations
Also check out this gameplay video by NeatPick for for A Plague Tale: Requiem Chapter 9 – Tales and Revelations [100% Hard] [No Commentary]:


