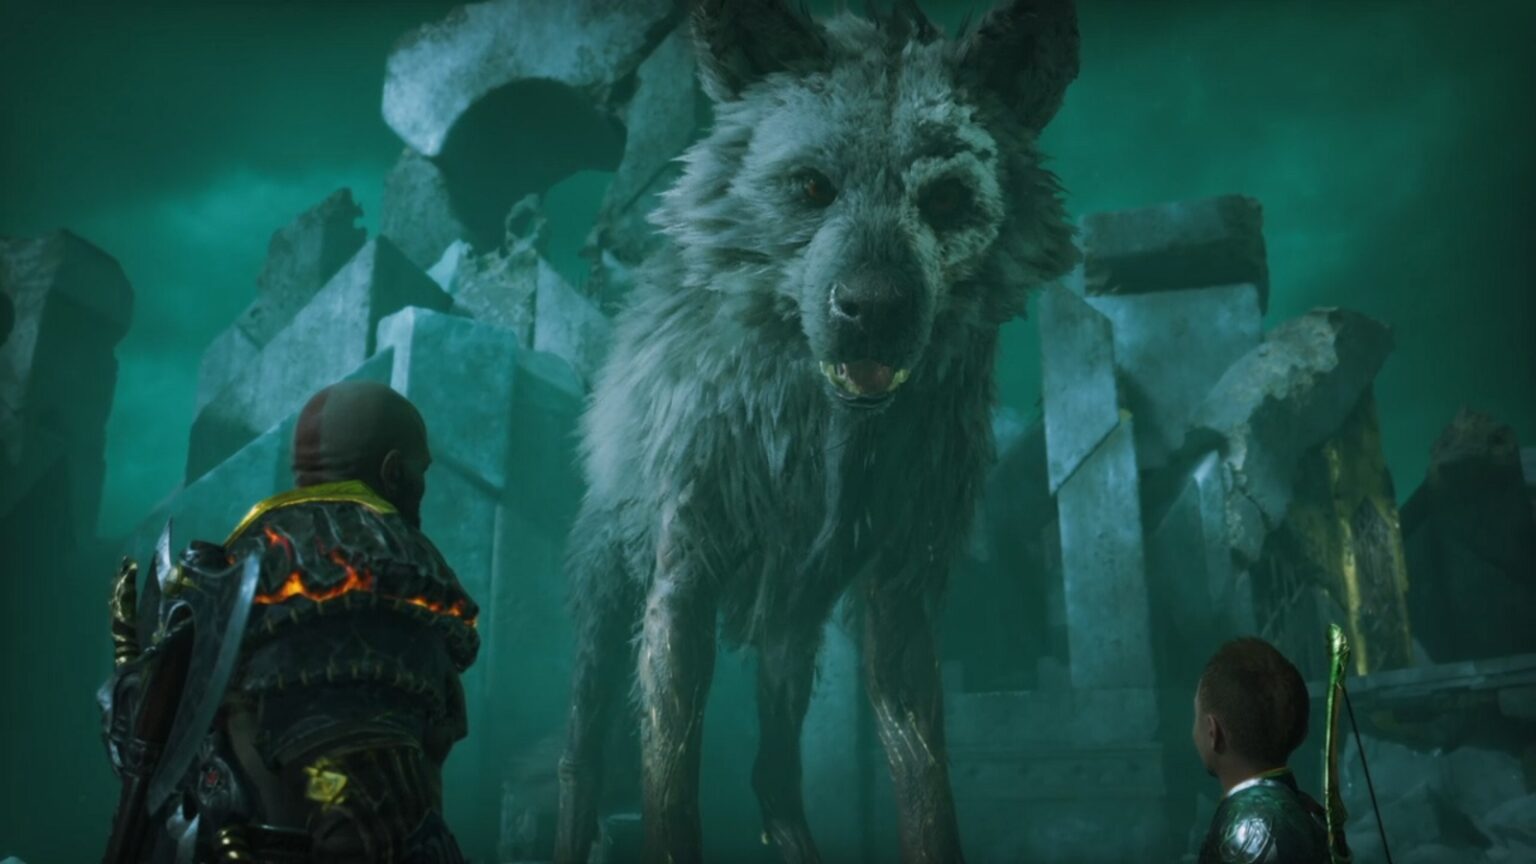
As the name suggests, the Hel to Pay Favor in God of War: Ragnarok is a deeply personal one to Kratos, even if it was Atreus’ mess to clean up. Putting the dead back where they belong is something Kratos is very much familiar with. But it’s more important now knowing it’s something Atreus wishes to be resolved.
In this guide, we’ll tell you where to go and what to expect when encountering a realm tear during your adventures.
Hel to Pay Favor Walkthrough
How it works
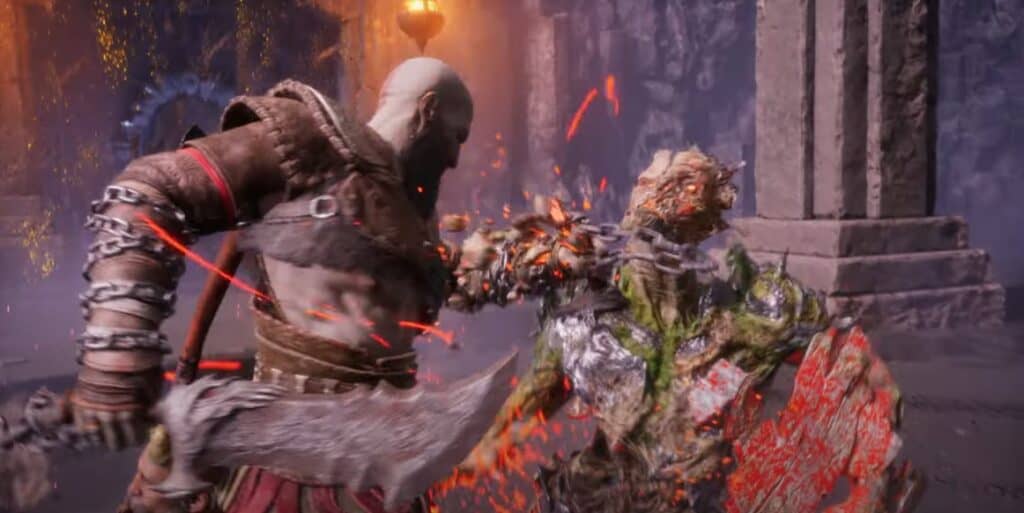
Once you’ve encountered a realm tear, you need to signal your companion to start an encantation to close the tear for good. In theory, you’re supposed to protect the spell caster for a set amount of time. In practice, however, it’s more like how well you can hold the hel-walkers off without dying. At least that’s how it feels like.
While the encantation is channeling, hel-walkers will keep appearing, and will only stop once the tear is no longer open.
Rewards
Your reward for closing a realm tear is usually a weapon upgrade fragment. Closing the last tear will you to upgrade the Leviathan Axe to level 9. Provided you’ve collected all previous weapon upgrades available.
Other than that, there’s some Dust of the Realms, Essence of Hell, and hacksilver up for grabs.

The First Tear
The favor actually starts before you even get the prompt that the Favor has even started.
As Atreus, you return home to the World Tree only to find out firsthand the effects of allowing Garm to run rampant throughout Helheim. This results in a battle with Atreus learning to close a realm tear on the spot.

The Second Tear
The second tear is one both father and son encounter while looking for a way to deal with Garm in Helheim. Much like the previous one, you can expect to encounter base hel-walkers initially. It gets more hectic when shielded ones start spawning. Survive long enough so that Atreus can get the job done. Once the tear closes, all hel-walkers will disappear.

The Third Tear
The third tear is in Midgard. It is located North of Shore of Nine at the base of the mountain that leads to Well of Urd. This tear’s defining trait is that it instantly spawns two Hel-Raider Chiefs right off the bat. They can be troublesome with their amount of health. But since you don’t need to defeat them, you don’t have to pressure yourself to get rid of them fast.
Eventually, hel-walkers will start spawning from the cliffs up above. They will continuously cast frost magic at you. But the same still applies. You don’t have to pay them much mind as long as the chiefs are alive.

The Fourth Tear
The fourth tear will not appear until the game’s Epilogue chapter. After Ragnarok. You can tackle these ones in any order you wish.
This tear appears in the Augvangar Wetlands. In the place where Kratos learns how to close off water spouts with his axe. The area North of the boat dock is the arena.
At the start of the encounter, a Hel-Viken will spawn. You may want to kill this one quickly as there won’t be any more coming in after that one. Regular hel-walkers will spawn at the edges of the arena. They aren’t much of a threat but you might as kill them all to pass the time.

The Fifth Tear
You can find this one immediately after walking North of the Mystic Gateway in The Southern Wilds of Vanaheim.
Upon starting the encantation, a Hel-traveler will greet you running with its sword. Followed shortly by a group of Hel-Brood. You may want to use your AOE attacks if you want some measure of control on the battlefield.
Even with the traveler defeated, hel-brood will spawn non-stop until the tear is closed. Take special care not to be overwhelmed by their numbers.

The Sixth Tear
The sixth and final tear can be found South of the Strond. You can actually see it from the drop-off point on top of the cliff.
A Hel-Viken will spawn at the start. It’s not much of a threat if keep up the pressure. Eventually, regular hel-walkers will keep spawning until the tear is closed.
And there you have it. That’s all the realm tears accounted for in the Hel to Pay Favor. You don’t have to worry too much about any follow-up missions after this one. At least until Fenrir gets bored or something.
For more God of War content, feel free to visit our other God of War Ragnarok guides and articles here.
- God of War Ragnarok Trophy Guide & How to Get Platinum
- God of War Ragnarok – The Elven Sanctum Favor Walkthrough
- God of War Ragnarok – Garden for the Dead Favor Walkthrough
- God of War Ragnarok – Conscience for the Dead Favor Walkthrough
- God of War Ragnarok – The Mysterious Orb Favor Walkthrough
- God of War Ragnarok – Guiding Light Favor Walkthrough
- God of War Ragnarok – Cure for the Dead Favor Walkthrough
- God of War Ragnarok – Secret of the Sands Favor Walkthrough
- God of War Ragnarok – A Stag for All Seasons Favor Walkthrough
- God of War Ragnarok – Across the Realms Favor Walkthrough
- God of War Ragnarok – The Weight of Chains Favor Walkthrough
- God of War Ragnarok – The Eyes of Odin Favor Walkthrough
- God of War Ragnarok Guide – All Artifacts and Where to Find them
- God of War Ragnarok Guide – All Lore Locations
- God of War Ragnarok – All Relics and Sword Hilts Locations
- God of War Ragnarok – All Treasure Map Locations and How To Decode Them
- God of War Ragnarok Guide – The Lost Lindwyrms Favor and Where to Find Them
Check out this video by MichaelXboxEvolved showcasing all of Atreus’ Skills + Weapons & Armor Looks in God of War Ragnarok:


