
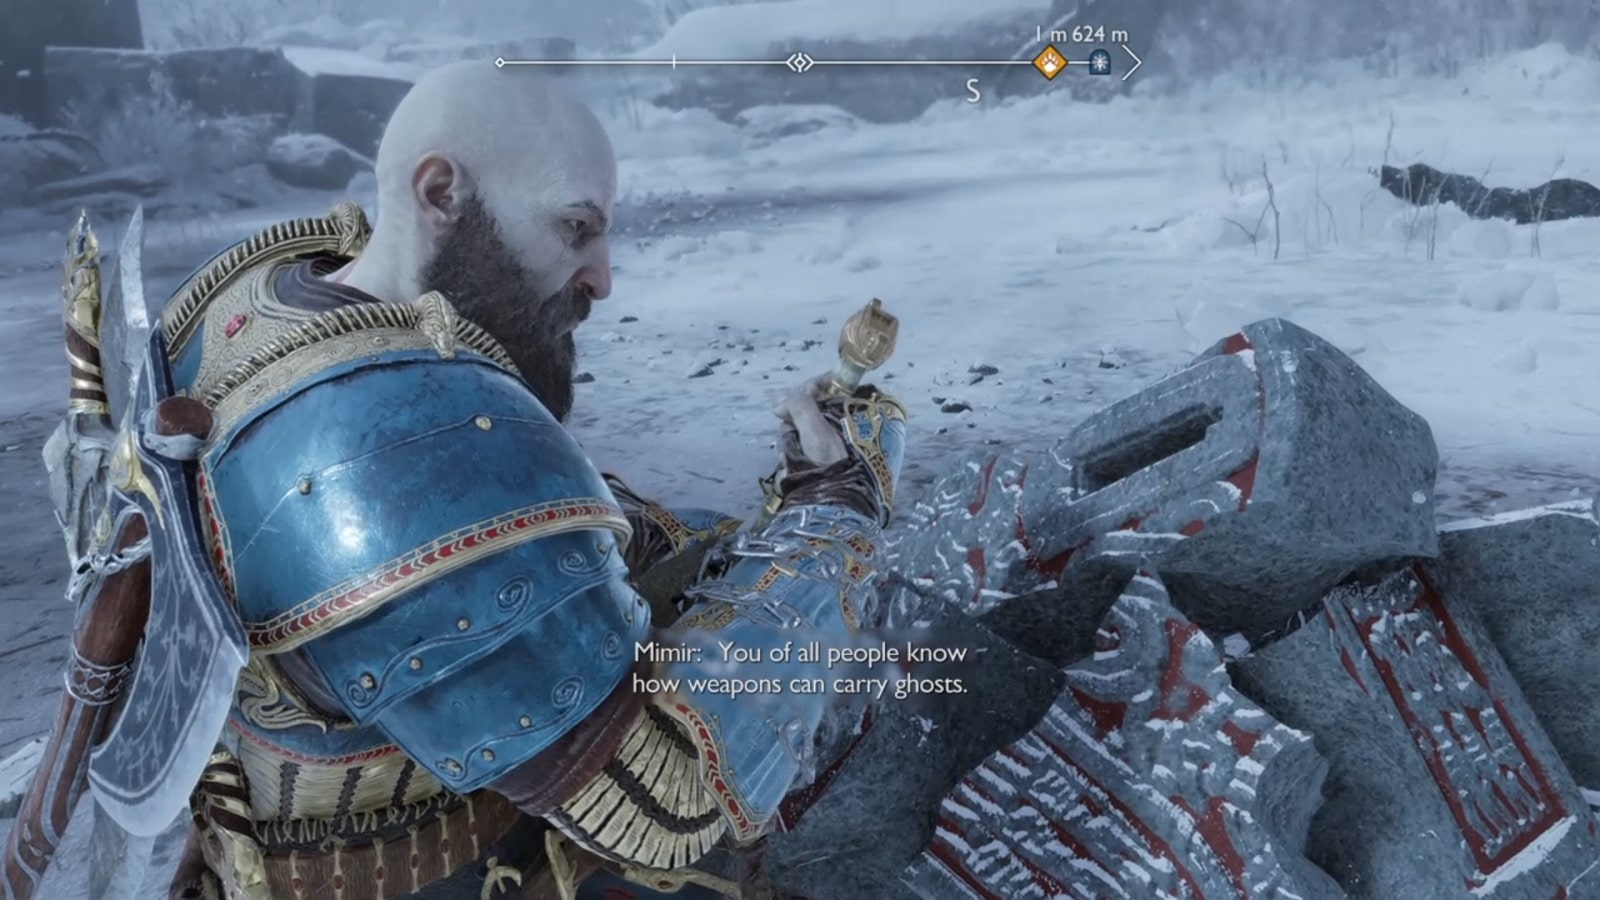
In a desperate bid to look for anything that would help him locate his son, Kratos searched high and low for the Norms, this land’s version of the Fates. During the quest, however, he came upon a gravestone that holds a cursed sword hilt. We will learn later on that this is the start of a lengthy and grueling test of skill.
In this guide, we’ll walk you through the Fit for a king favor of God of War Ragnarok – specifically where to find them, and how to defeat them. This Favor is also tied to one of Mimir’s deepest regrets. One that’s equally as bad as convincing Freya to marry Odin.
God of War Ragnarok Fit For A King Walkthrough
For starters, this is not going to be an easy task. Even on ‘Give Me Balance’ this set of challenging fights are magnitudes tougher than the Valkyries, the closest side objective we can compare to.
There are 12 berserker spirits in total. Technically, 13, if you count King Hrolf Kraki among them. (We will cover him in a different guide) They are fought in 9 different encounters across the realms. What makes this task even harder is the fact that there will be times when you’ll be asked to fight 2-3 berserker spirits at a time.
You better bring your best armor and weapons, cause they will show no quarter. Especially one who walks around carrying their King’s sword hilt.
General rules for each fight:
- Hold off on using your preferred Rage burst until the moment they either break your guard or an unstoppable attack cannot be avoided.
- A Valor healing burst can somewhat work in a pinch but they can damage you while the ability is channeling. Keep that in mind.
- Fury is not advisable at all. You won’t be nearly enough damage and you won’t be able to use more than once or twice per attempt.
- Wrath is generally good because at Max Rage you can have as many as 5 bursts ready to counter at any given time. You’ll forgo healing but it’s worth it to present further damage.
- You’ll want as much Health and Vitality as possible. Unless you’re the best at evading attacks, a high attack stat means nothing if you are dead with a few body blows.
- Depending on your build, Runic attacks deal a good amount of damage but their health pools are so deep that you can’t rely on them all the time. It’s best to use ones that deal a lot of damage while being quick to initiate to avoid any counterattack damage.
- Parrying can mean the difference between victory and defeat.
- Pay close attention to their voice lines. They will usually scream out their intentions before doing the actual attack.
- The encounter doesn’t end until the Spirit is put to rest and the sword hilt picked up.
You can also choose to skip this Favor until the Epilogue since the resolution won’t be available until you finish the main story line.
Fraekni the Zealous
Fraekni the Zealous is one of the first Berserker Spirits you can choose to confront after paying the Norn a visit. You can find the Berserker Gravestone North of Tyr’s Temple.
How to Defeat Fraekni the Zealous
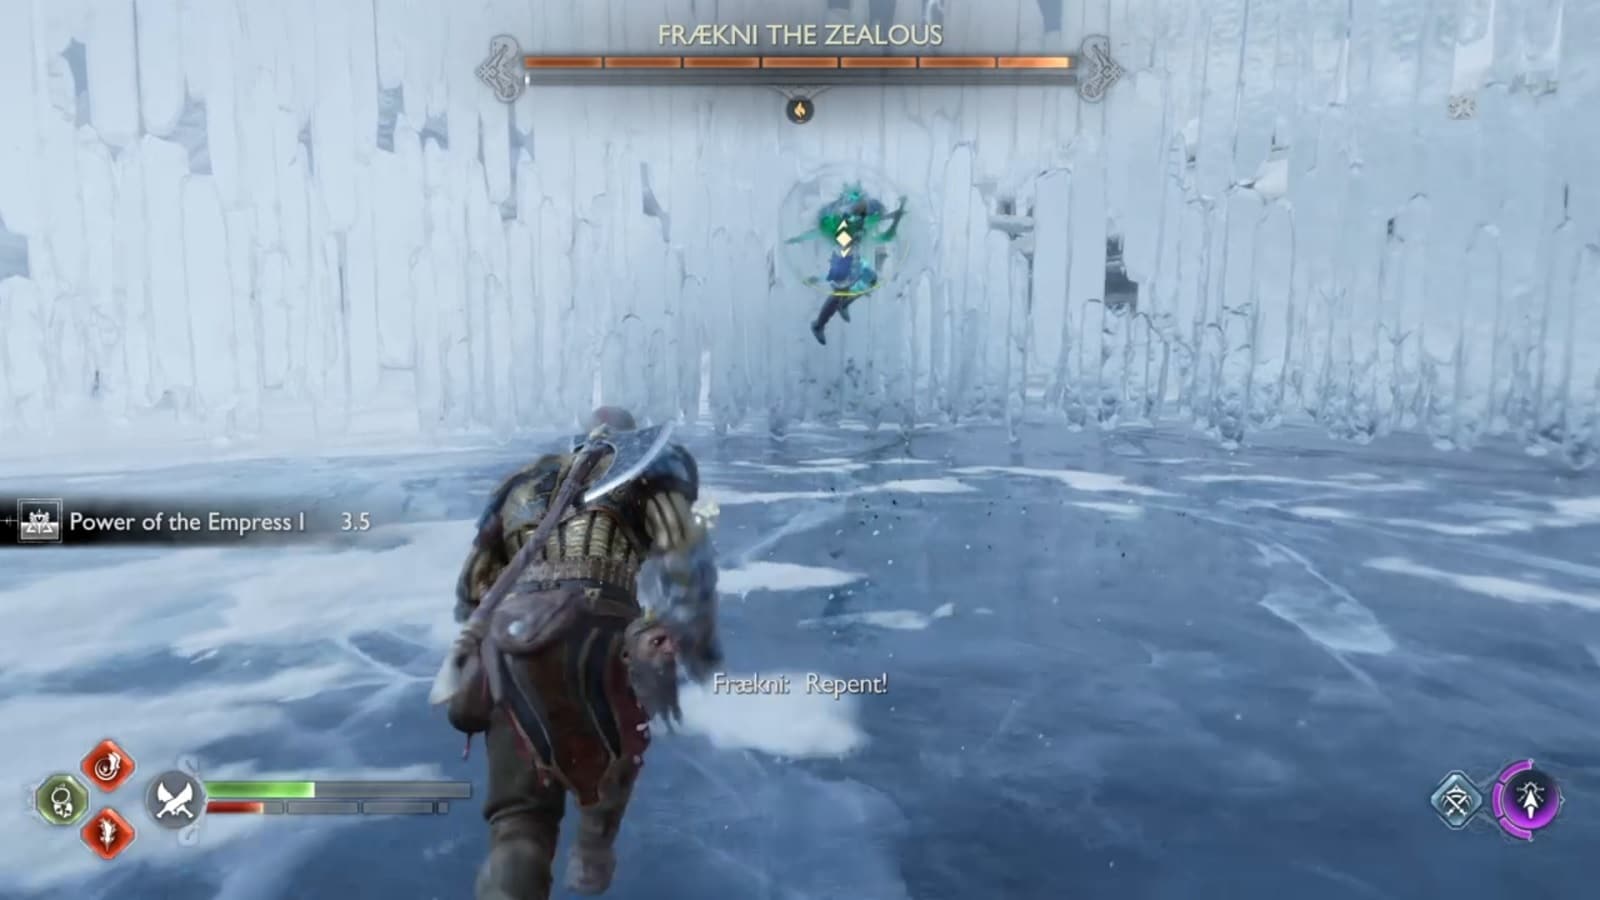
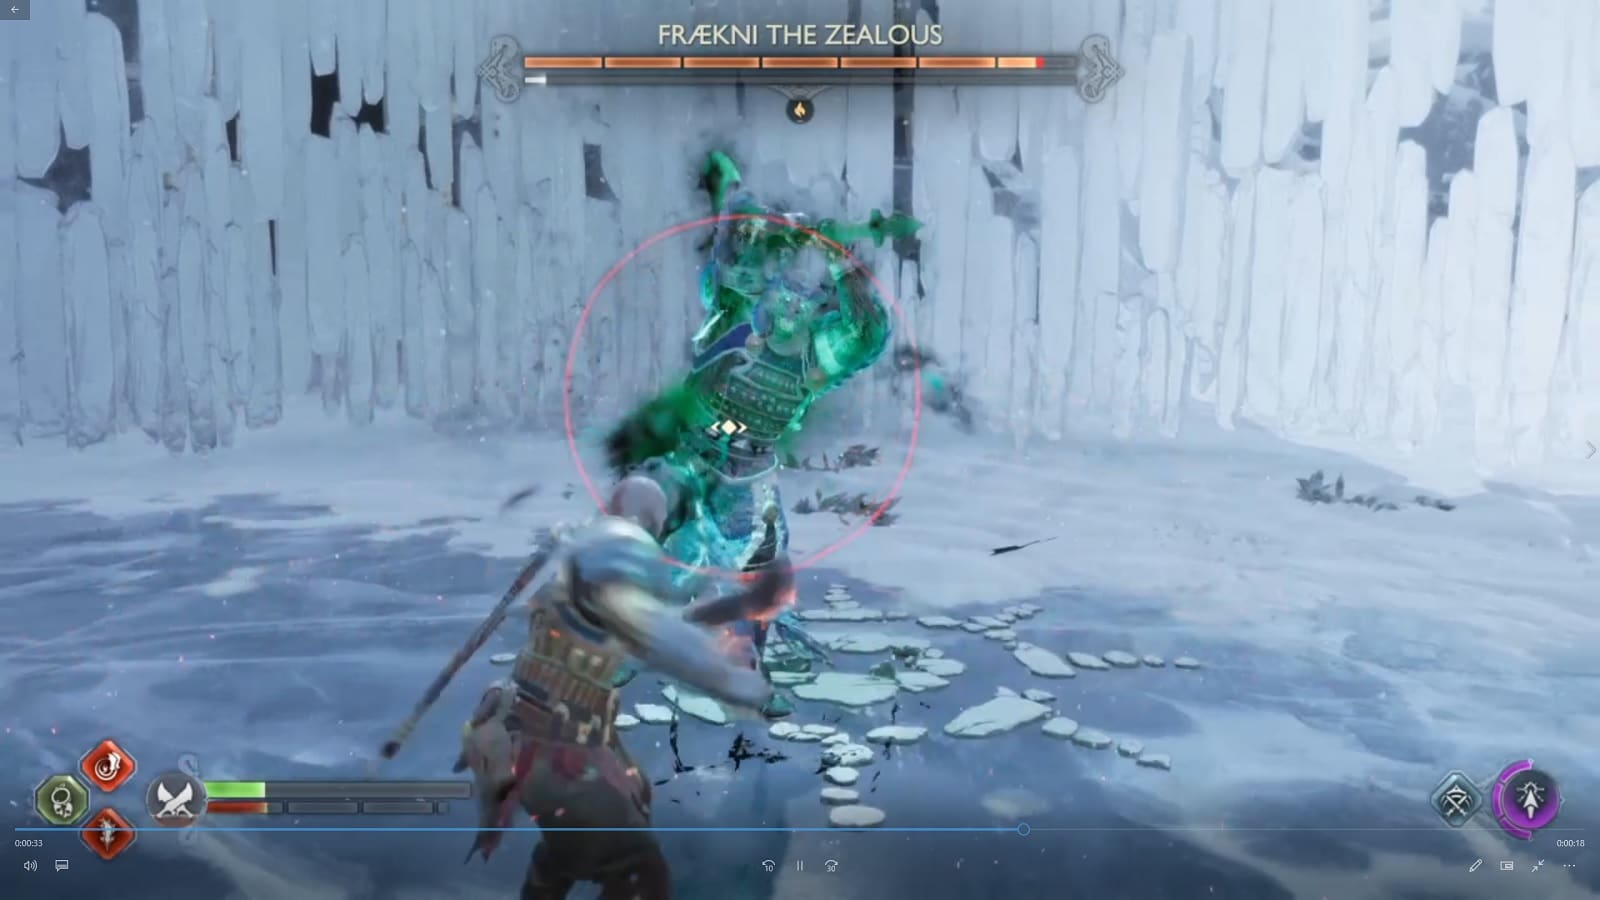
The mechanics for this fight aren’t too hard to get used to. Fraekni only has a handful of attacks that are relatively easy to read. One of these moves, you can parry with the right timing.
Fraekni’s unblockable attacks are equally easy to read. The only thing you’re going to have to watch out for is Fraekni’s quick thrust. That attack can potentially catch you off guard.
It is good to note, however, Fraekni punishes sloppy play with every heavy damage dealing attack. You can say that this fight sets the tone for the rest of the fights going forward. You may compelled to start investing in armor that leans heavily on Vitality and Defense. Though you’ll still want to maintain a good amount of Strength as you don’t want to prolong the fight.
Rewards:
- Bonded Leather
- Shattered Rune
- Tempered Remnants
- Berserker Waist Guard
Hardrefill the Callous
Hardrefill’s Gravestone is located South of the platform you exited from after your latest visit to the Forge. It is close to the Mystic Gateway on the Nidavellir Beach from Svartalfheim. In terms of progress, this can be considered the second fight as it carries the same lessons from the first fight while adding mechanics that will be present in future fights.
How to Defeat Hardrefill the Callous
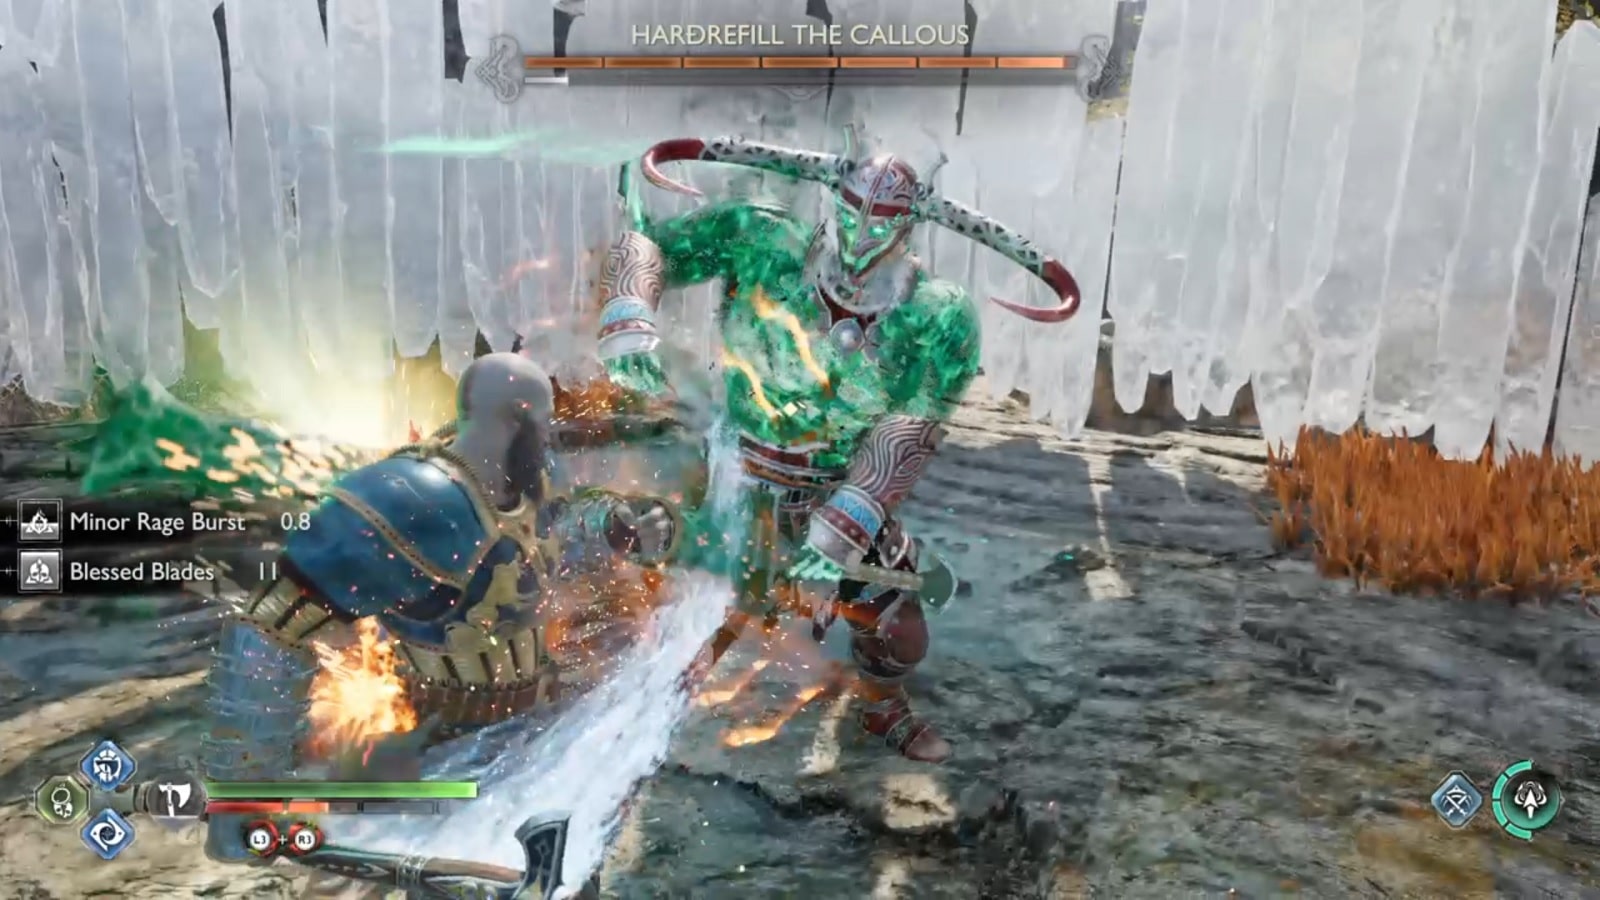
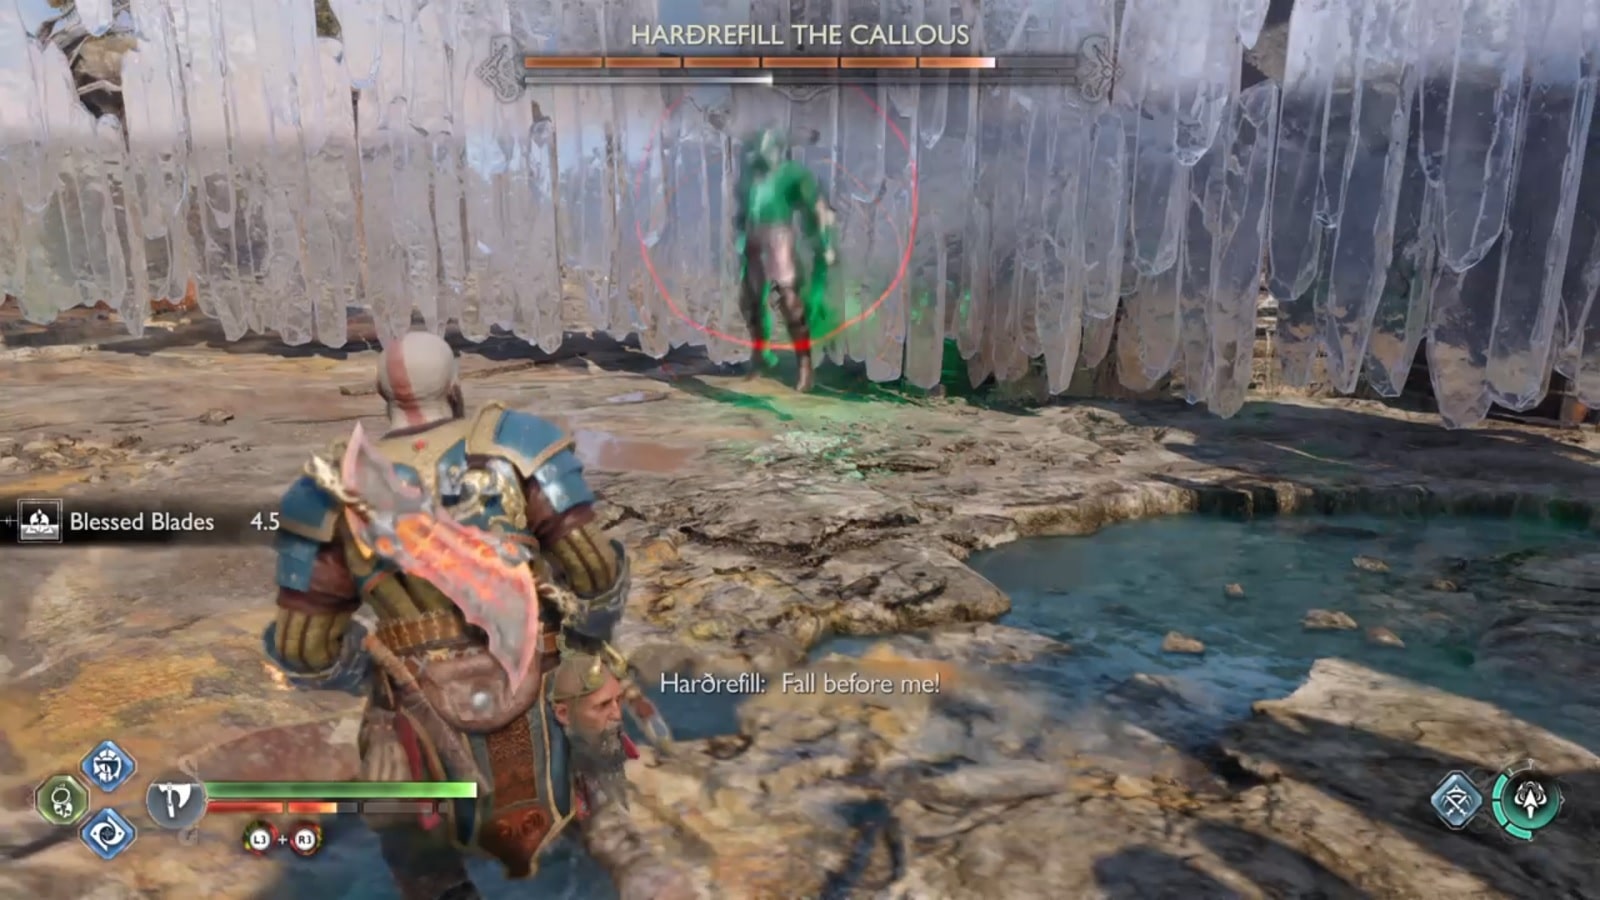
Hardrefill the Callous shares a similar moveset to Fraekni with the difference being Hardrefill is more mobile.
This fight introduces two mechanics that you should be looking out for in every fight going forward.
- Combo attacks chains that you can parry.
- Leap delay attack
Some of Hardrefill’s attack combos do not break after you parry them. Instead, they are continue on, allowing you to parry multiple times and increase the stun break meter further. You can choose to dodge them too if you wish. Parrying just has more benefits overall, in my opinion. And getting into the habit of parrying really helps in some of the tougher fights.
The leap attacks functions similarly to the Valkyrie’s rapid dive attack from the last game. Give yourself a second for the attack to lock on a location and then dodge it to clear the AOE. Dodging too early will result in the attack connecting.
Rewards:
- Shattered Rune
- Bonded Leather
- Tempered Remnant
- Asgard’s Fortitude Amulet Enchantment
Beigadr the Feared
Beigadr’s Gravestone is located on Alberich Island, Svatalfheim. Considered the second Berserker fight on Svartalfheim, this fight is a considerable leap forward in difficulty compared to the first to second one. Beigadr the Feared has more health and attacks more frequently. Don’t be afraid to back off and improve your equipment and skills for a bit.
You’ll also see Beigadr’s attack patterns repeated again during the King Hrolf Kraki final boss fight. Something to consider down the line.
How to Defeat Beigadr the Feared
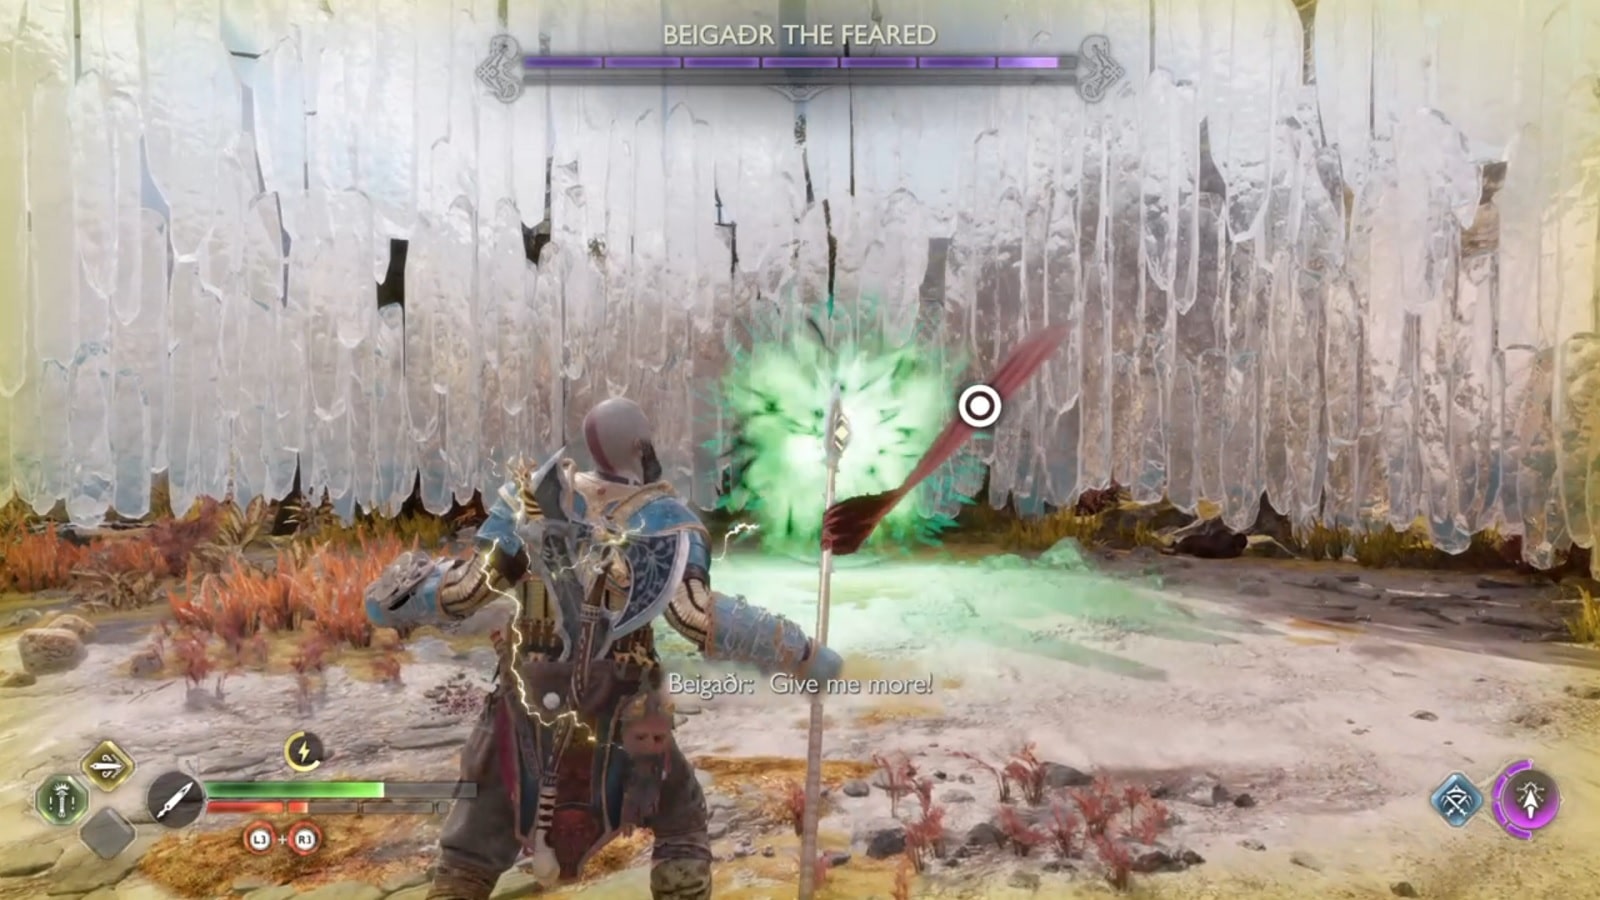
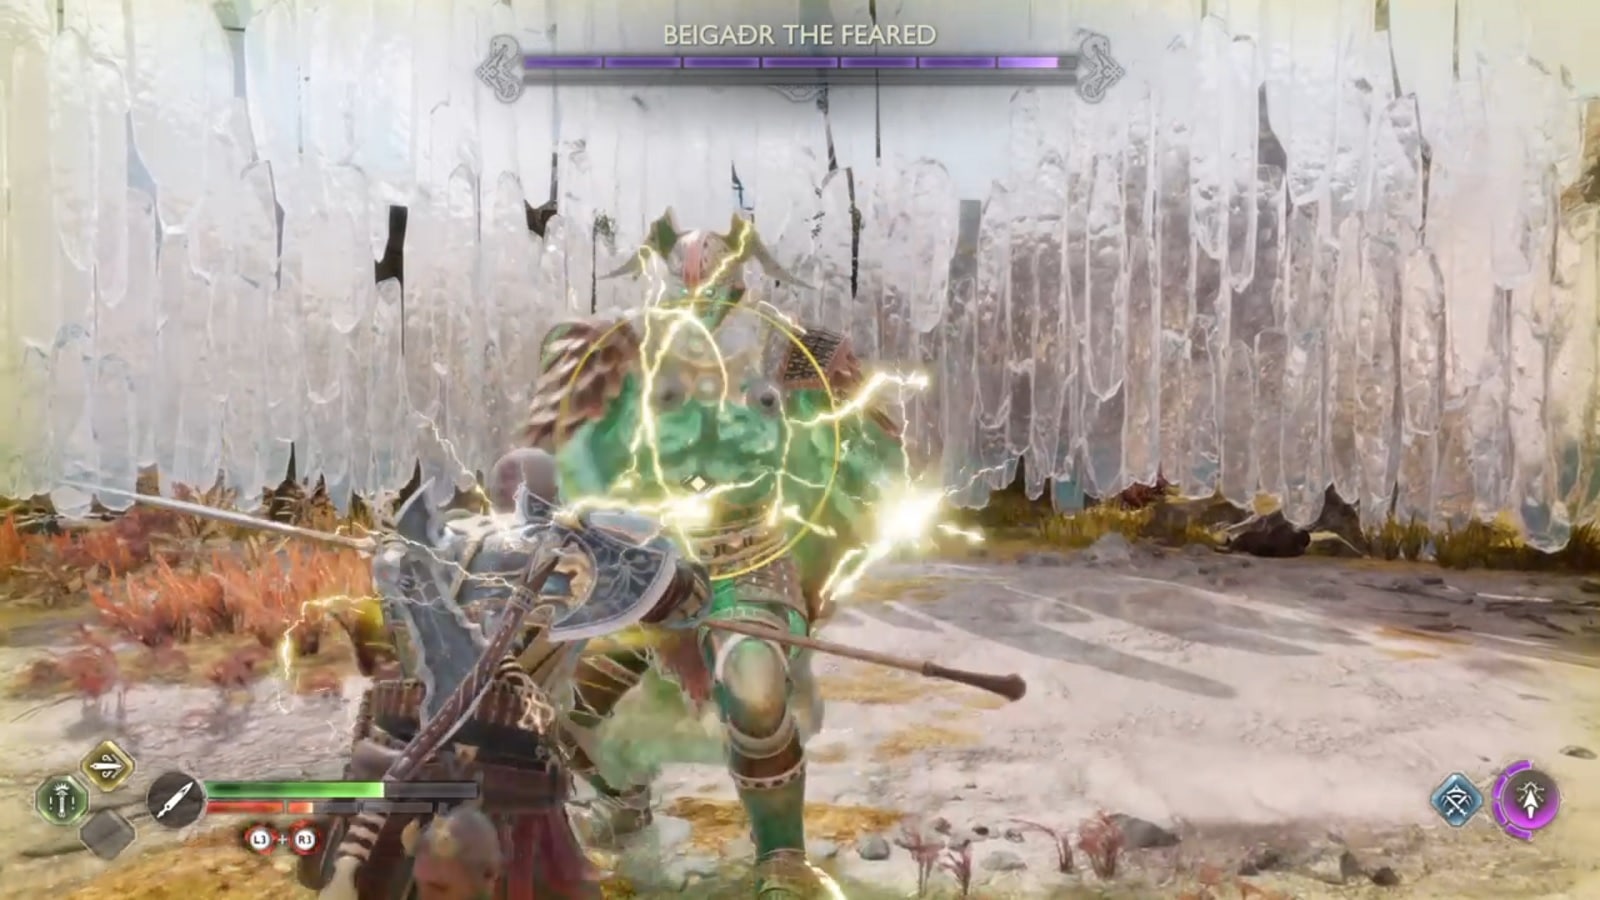
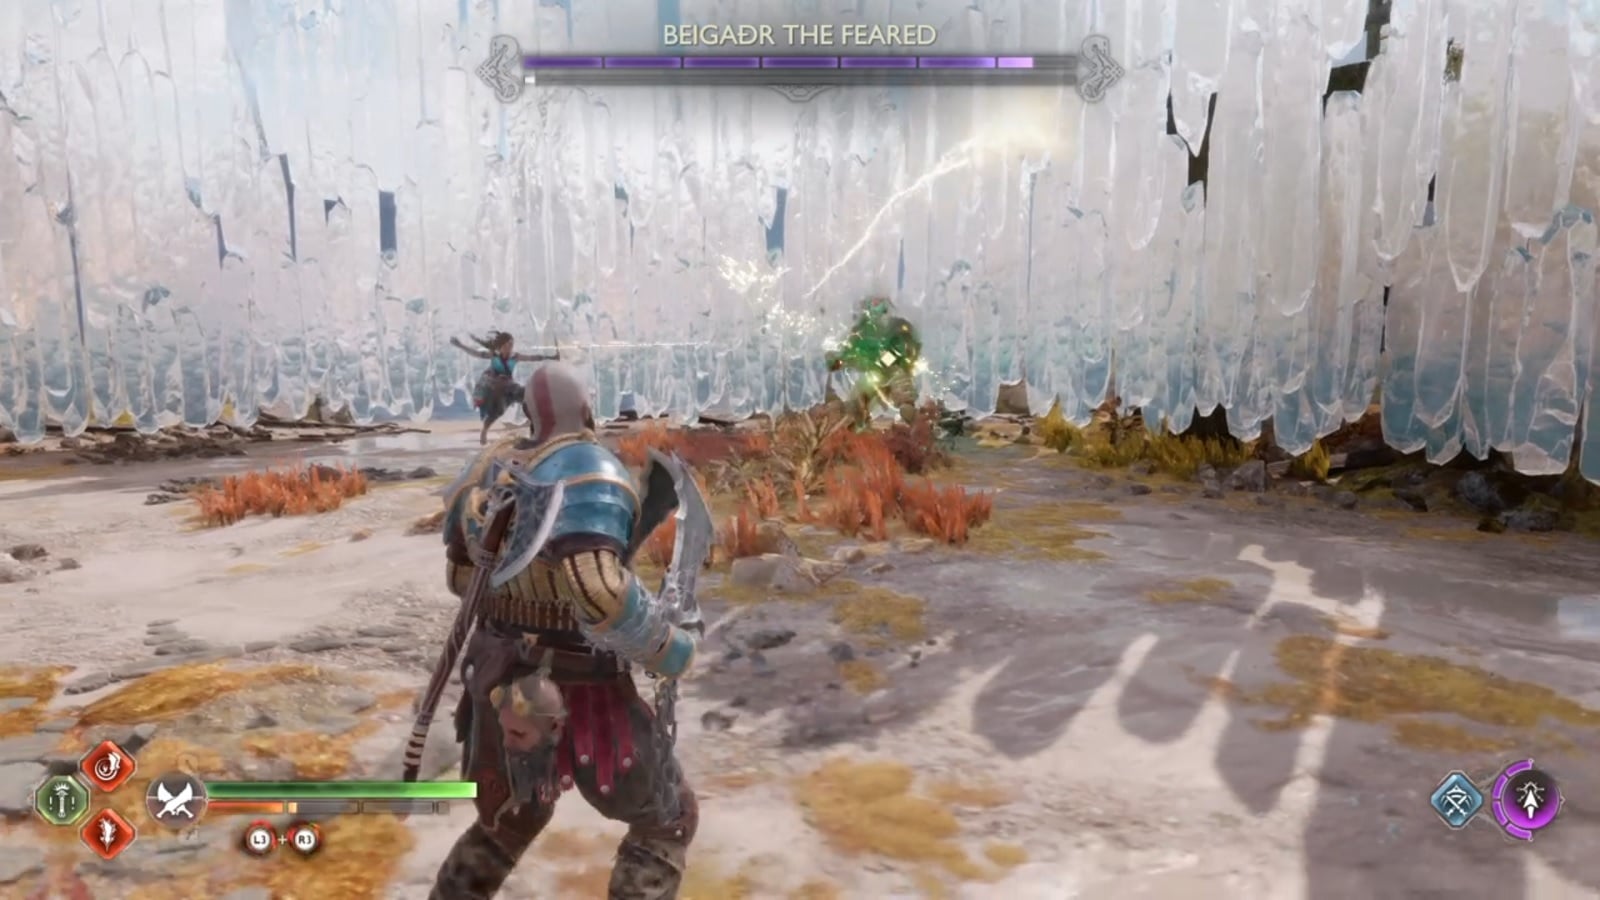
From a combat style perspective, Beigadr fights like a warrior monk. The vengeful spirit loves to open up attacks with lighting bolts, followed closely by combo punches on a stunned target.
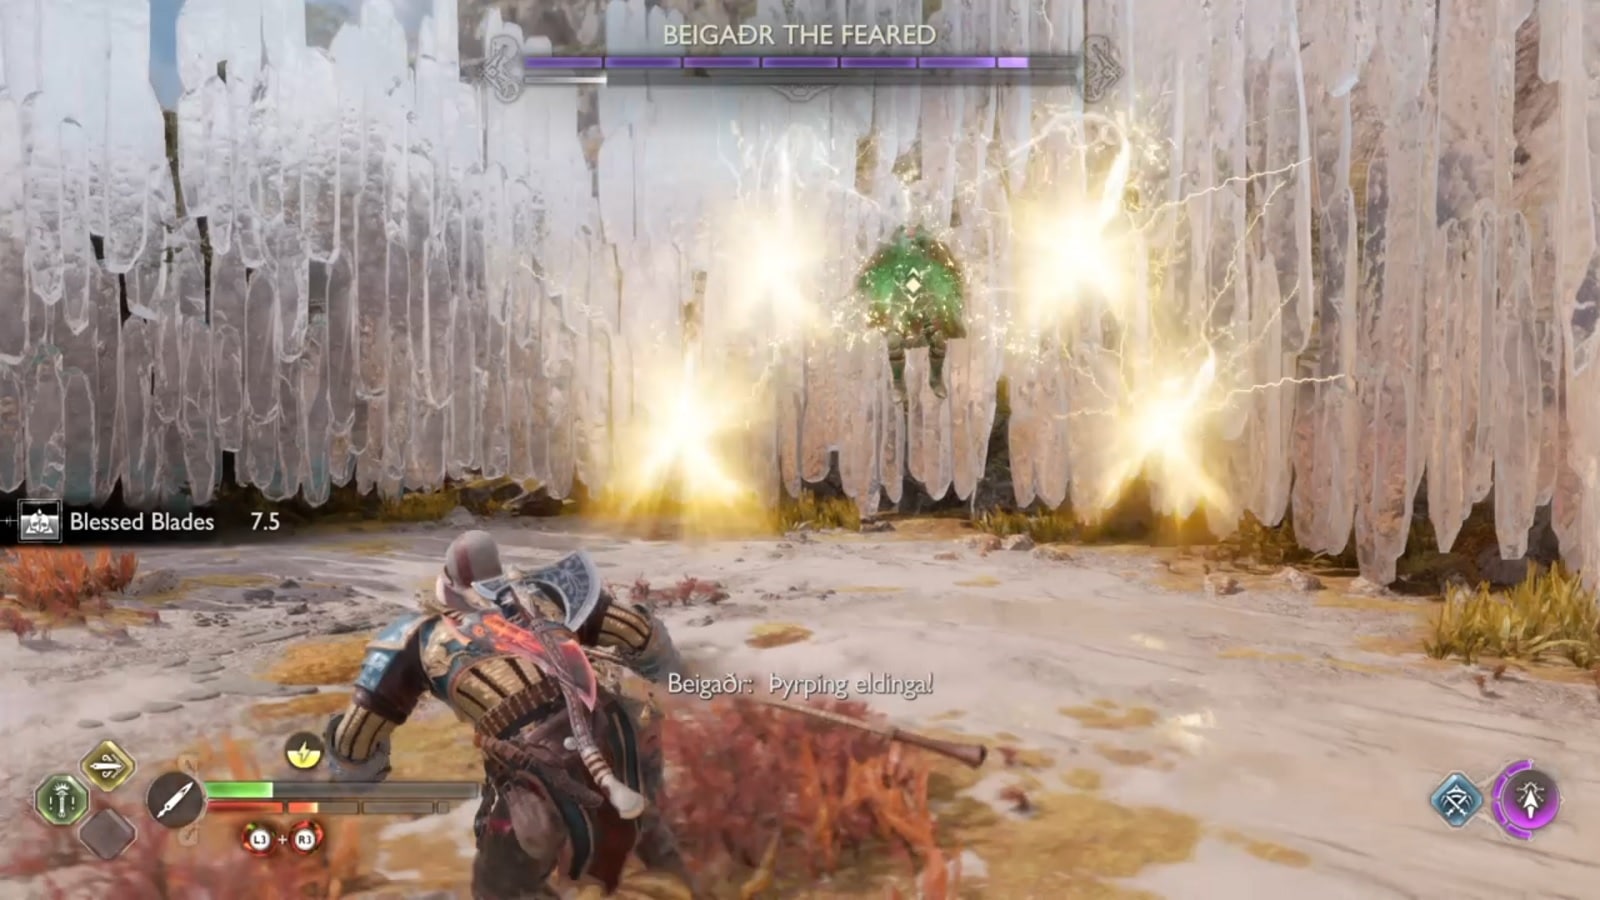
Beigadr lightning attacks are as follows:
- An unstoppable 4 point volley that you’ll no choice but to dodge at the last second.
- 2 quick lightning shots done in quick succession. You can parry them back to do damage.
- 2 different AOE attacks that cascade forward. The red one doesn’t track well so you may have a chance to dodge. The other one has strong tracking but can be blocked with your shield.
After a target has been stunned, Beigadr follows up with a one-two punch combo that deals significant amounts of damage. He is known to use the jump attack so dodging at the last second is a must.
Rewards:
- Asgard’s Might Enchantment
- Tempered Remnants
- Bonded Leather
- Shattered Runes
Hjalti the Stolid
Hjalti’s Gravestone is located in the South part of the Forbidden Sands region of Alfheim. You’ll still need to free the Hafgufa first to get rid of the sandstorm that’s covering the whole place. There is another Gravestone in an earlier area but that one is far harder to beat than this one.
How to Defeat Hjalti the Stolid
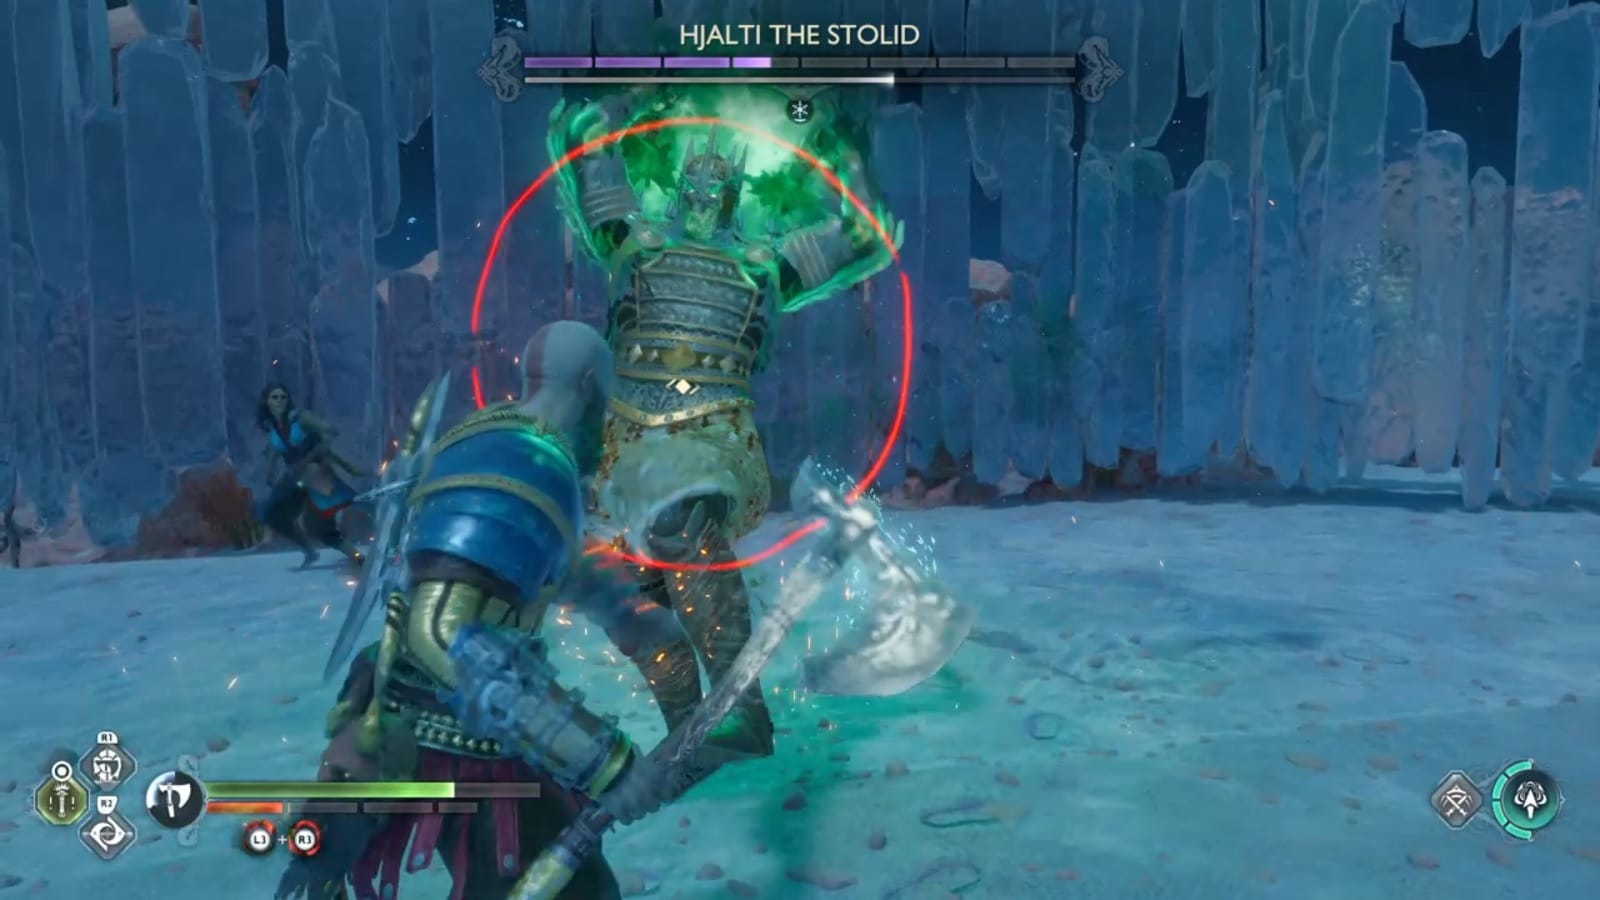
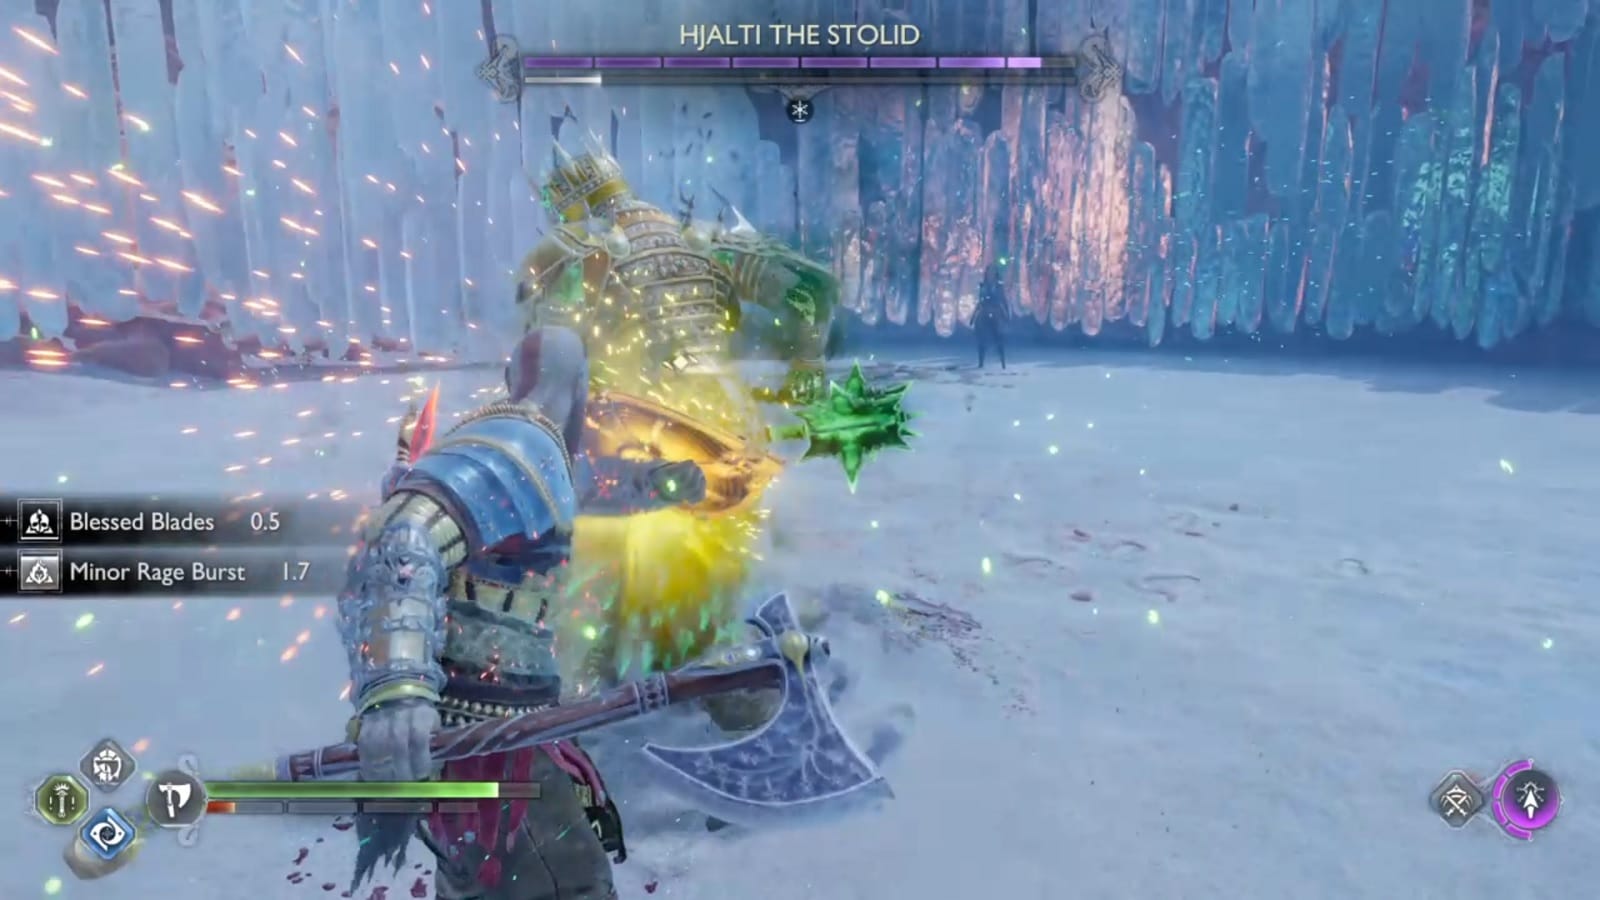
The Hjalti fight is another step up to the Fraekni and Hardrefill fights. In that Hjalti uses the same moves but has all new deadlier techniques on top of these.
For instance, at the end of Hjalti’s combo is an unblockable attack. You’ll need to watch out for that one while you’re parrying swings.
Hjalti also two new attacks that need that are devastating if you’re not paying attention.
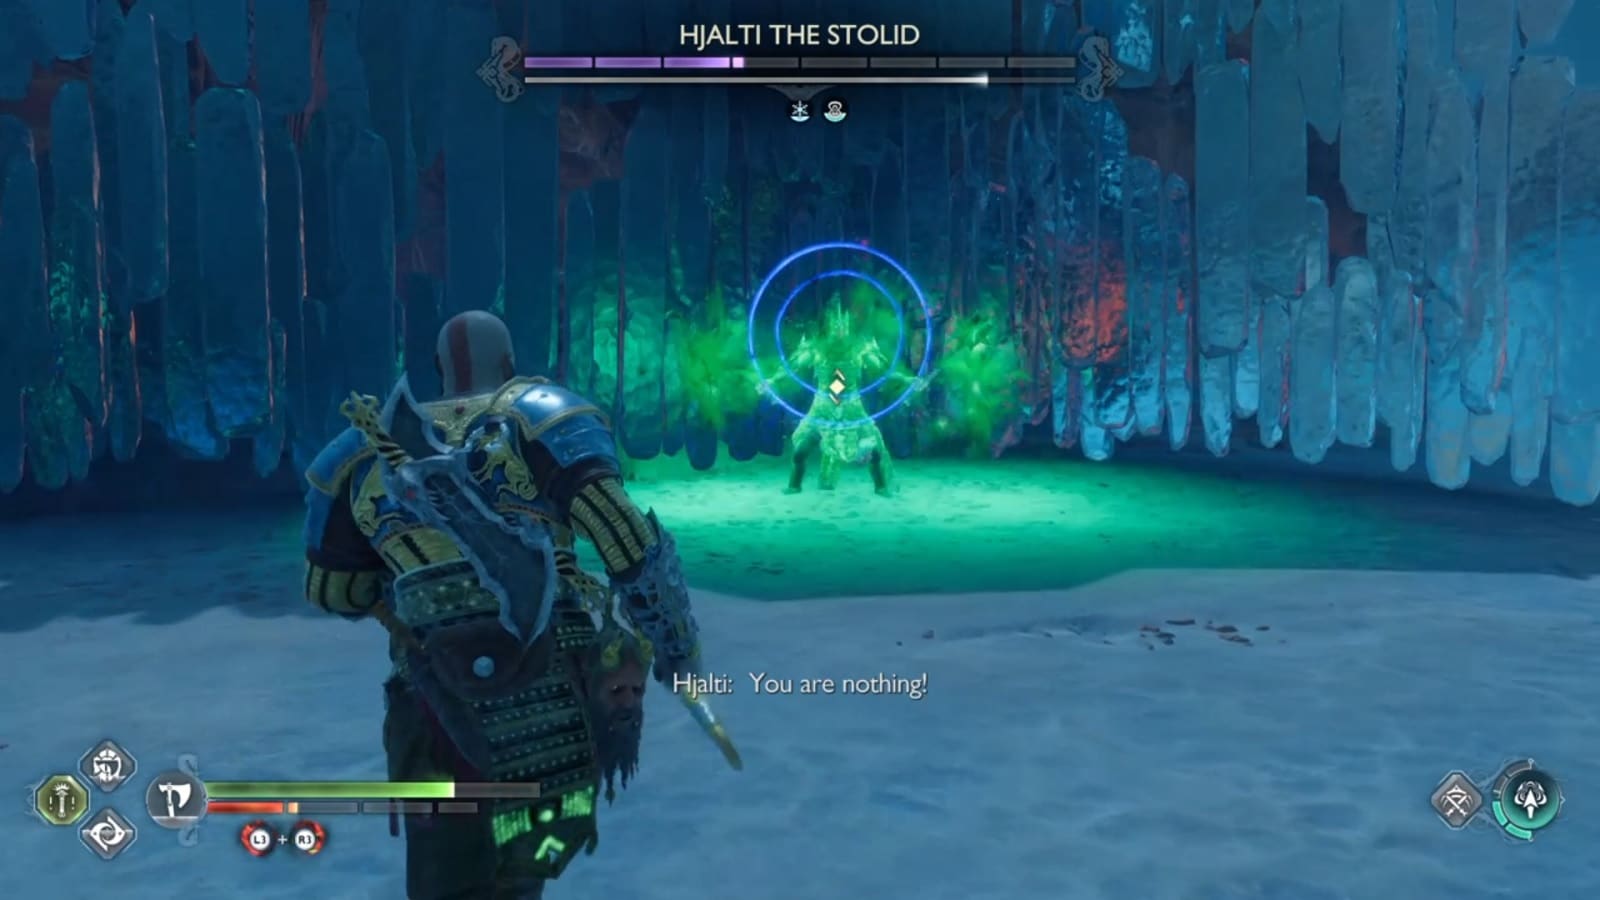
- The spirit has a blue AOE attack that can only be stopped with a shield bash. You need to be wary at all times as this attack not only causes a great amount of damage, it also covers a wide area of the arena.
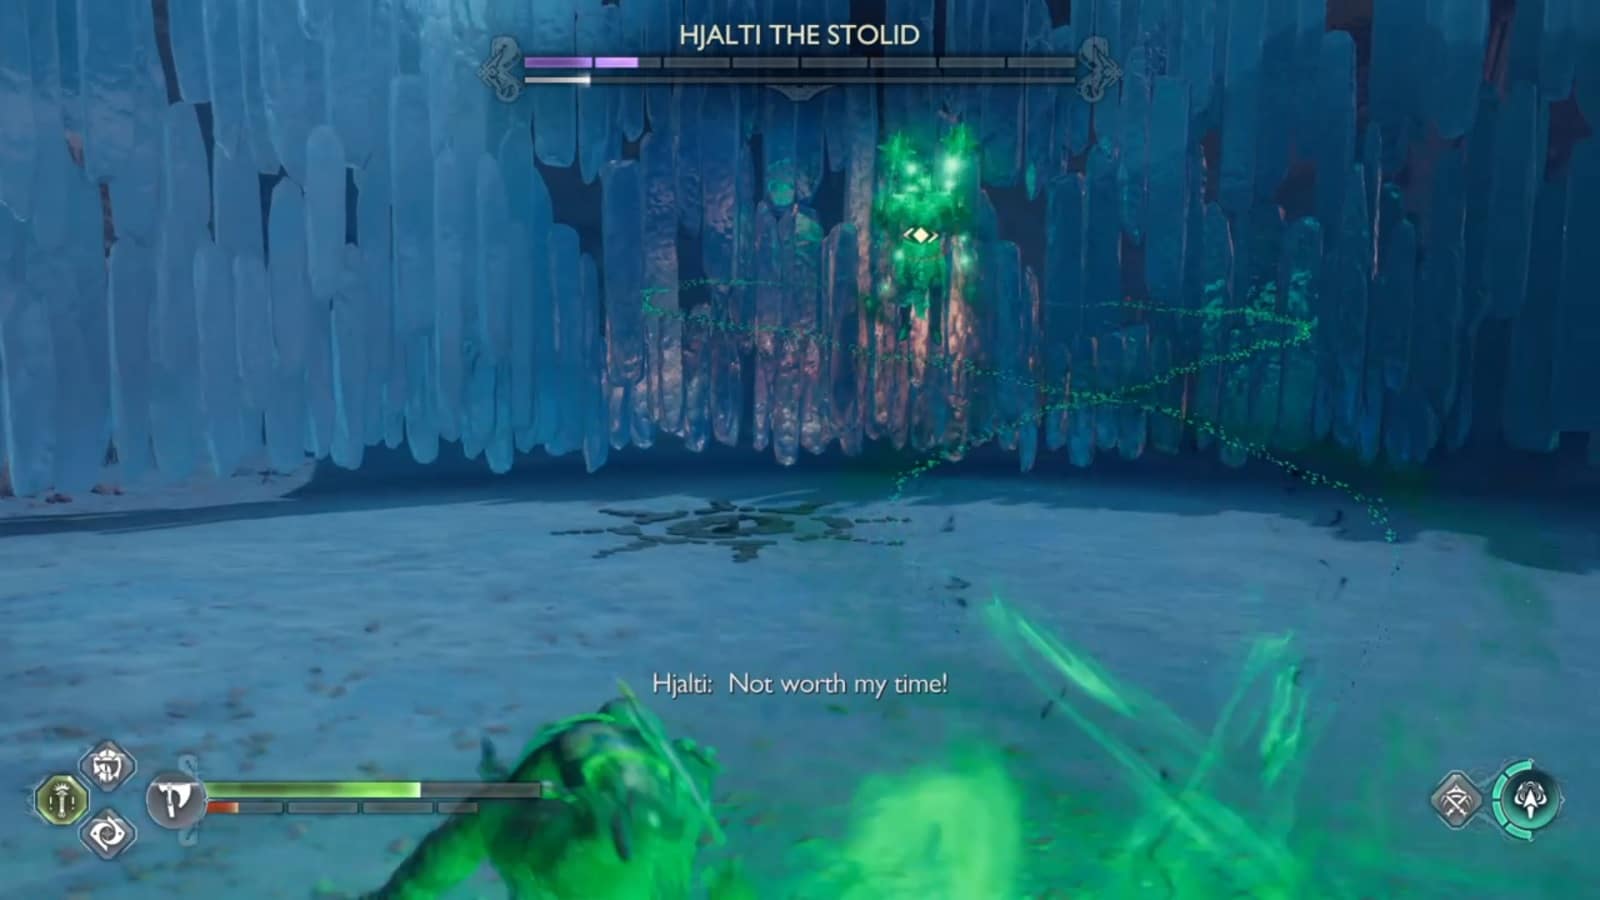
- Hjalti has a floating attack much like the one Beigadr the Feared uses. Except this one fires multiple times and the projectiles moves faster and it is unblockable. You’ll just have to get used to the timing of this attack.
All-in-all, not the most difficult. But that’s it for all the starting bossing. The bosses you’ll be facing next are the ones that are either unique or take these previously established concepts to the extreme.
Rewards:
- Grip of the Nine Realms Axe Attachment
- Bonded Leather
- Shattered Rune
- Tempered Remnants
Hvitserkr the Bold
Hvitserkr’s Gravestone can be found directly in front of the Pilgrim’s Landing boat dock in Vanaheim. This is one of the more “unique” fights in the quest line. Hvitserkr is a summoner and somehow the enemies the spirit summons are far more of a threat.
How to Defeat Hvitserkr the Bold
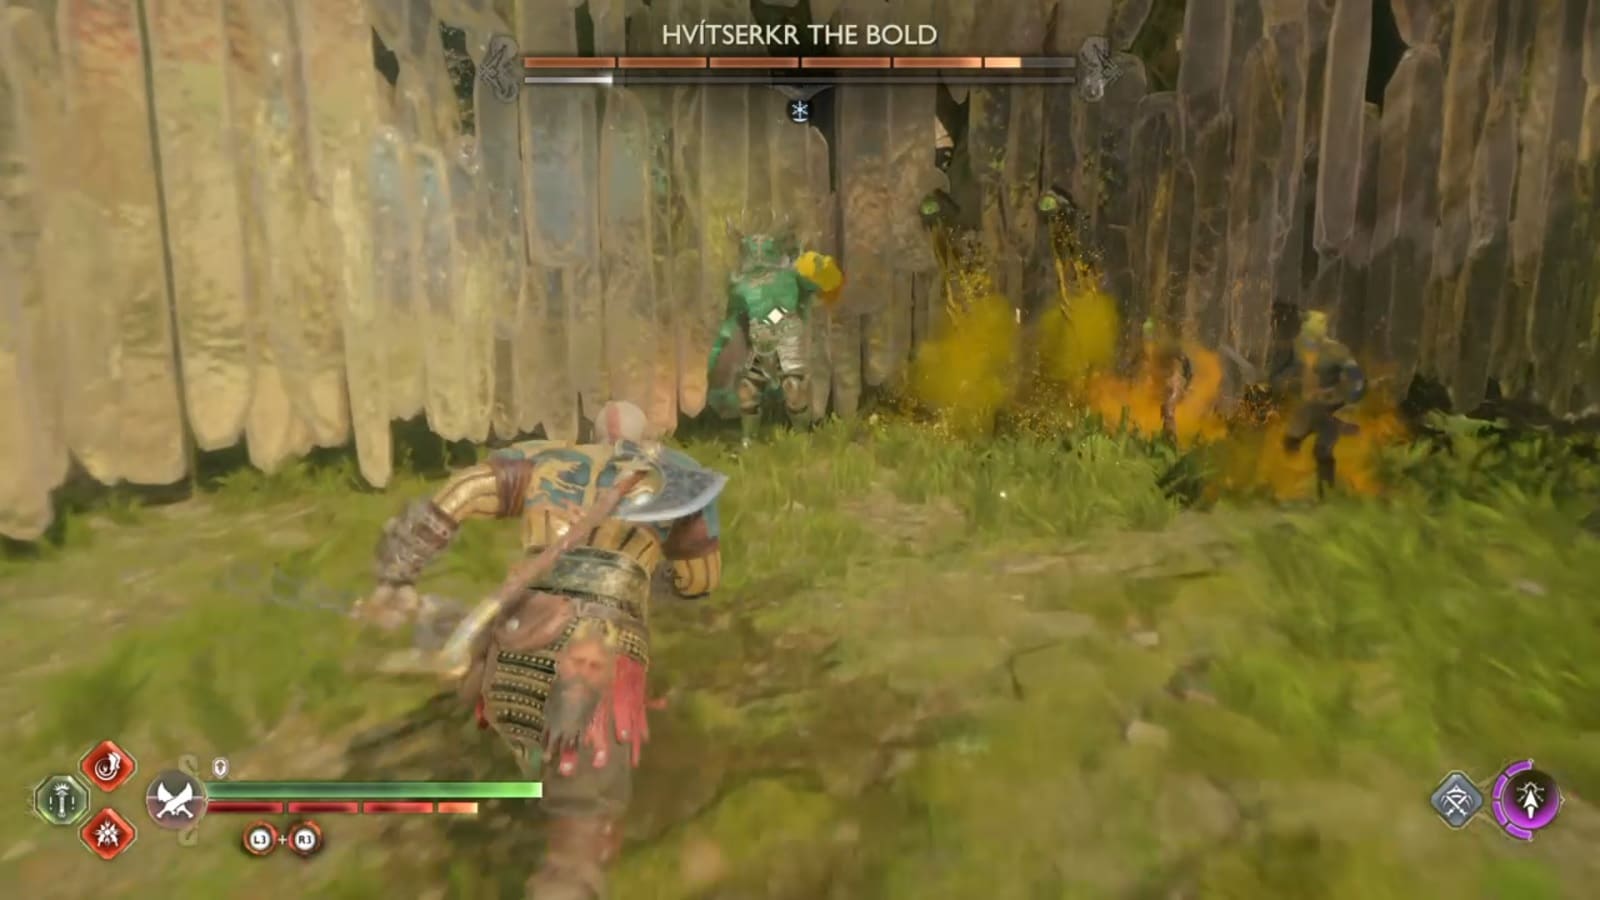
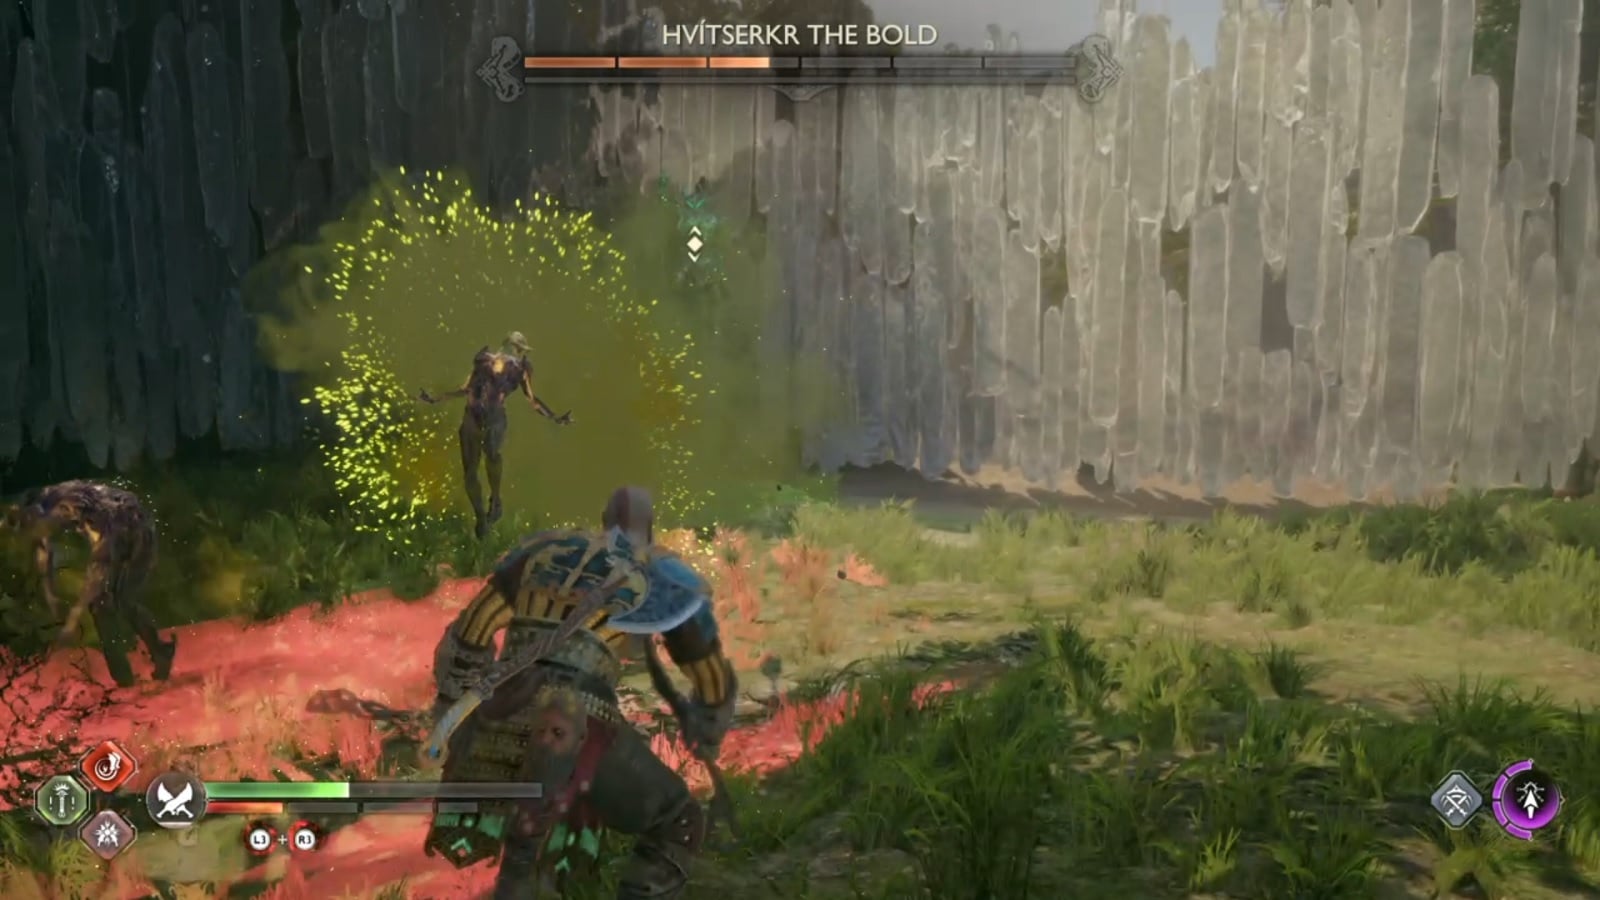
Hvitserkr’s move set is very similar to Beigadr the Feared. What sets this one apart is the fact that Hvitserkr periodically summons enemies into the arena. In fact, the first thing the spirit does is summon Seidr allies.
One would forgiven if they thought that these enemies are push-overs but they are anything but. For some reason, these summoned units hurt a lot more than the garden variety mob. You should prioritize them while also keeping an eye on Hvitserkr. You don’t want to lose track of him. Which is very hard on arena.
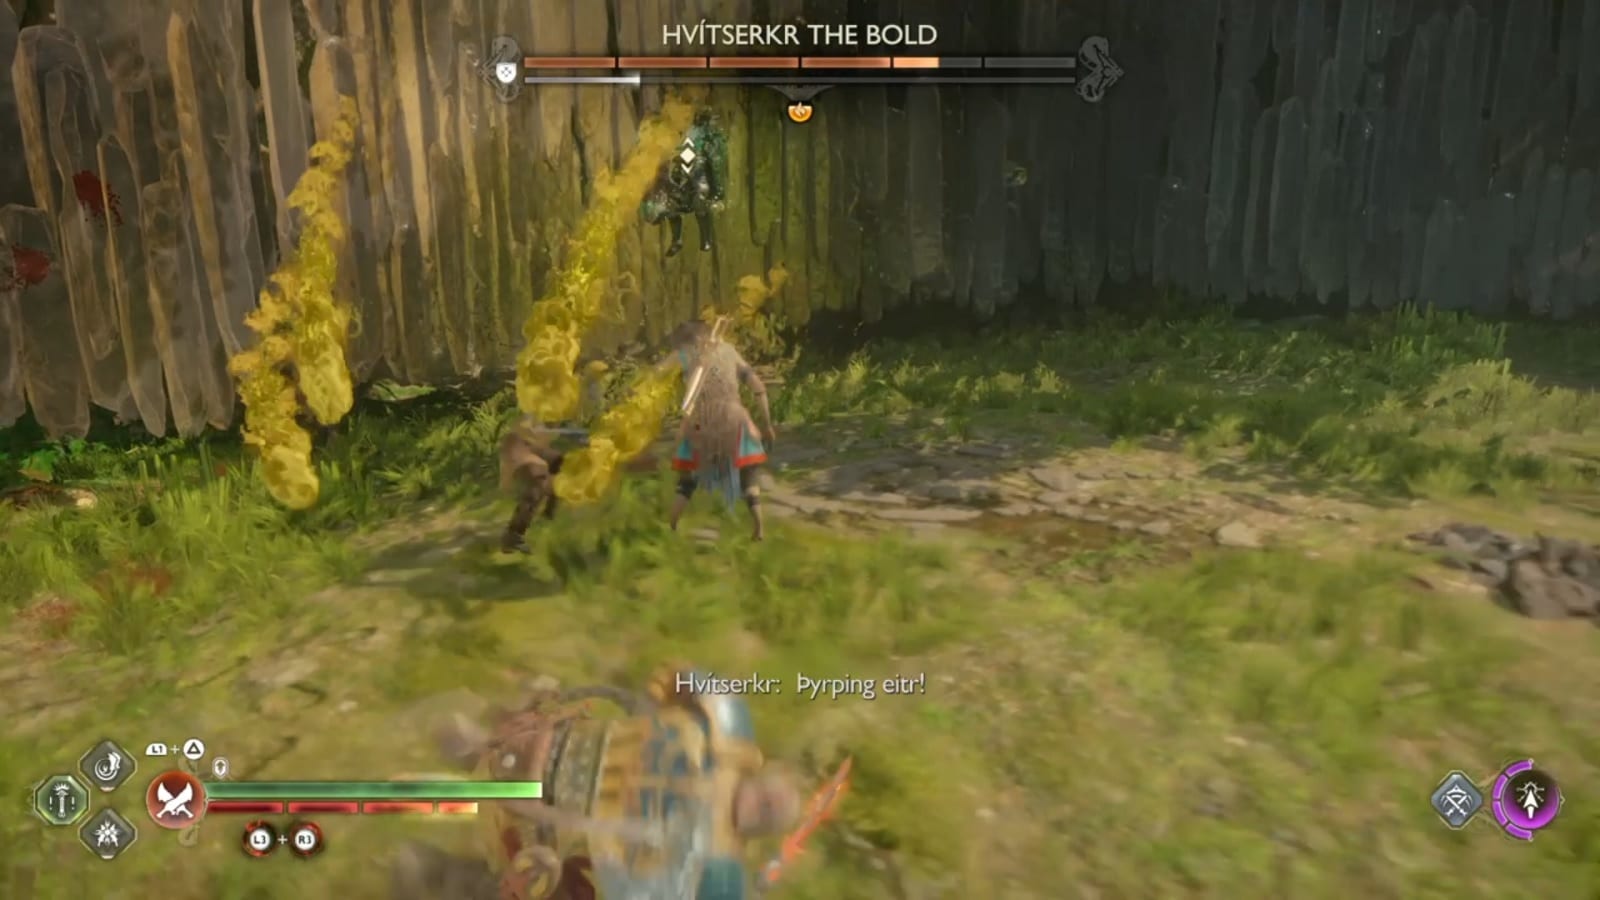
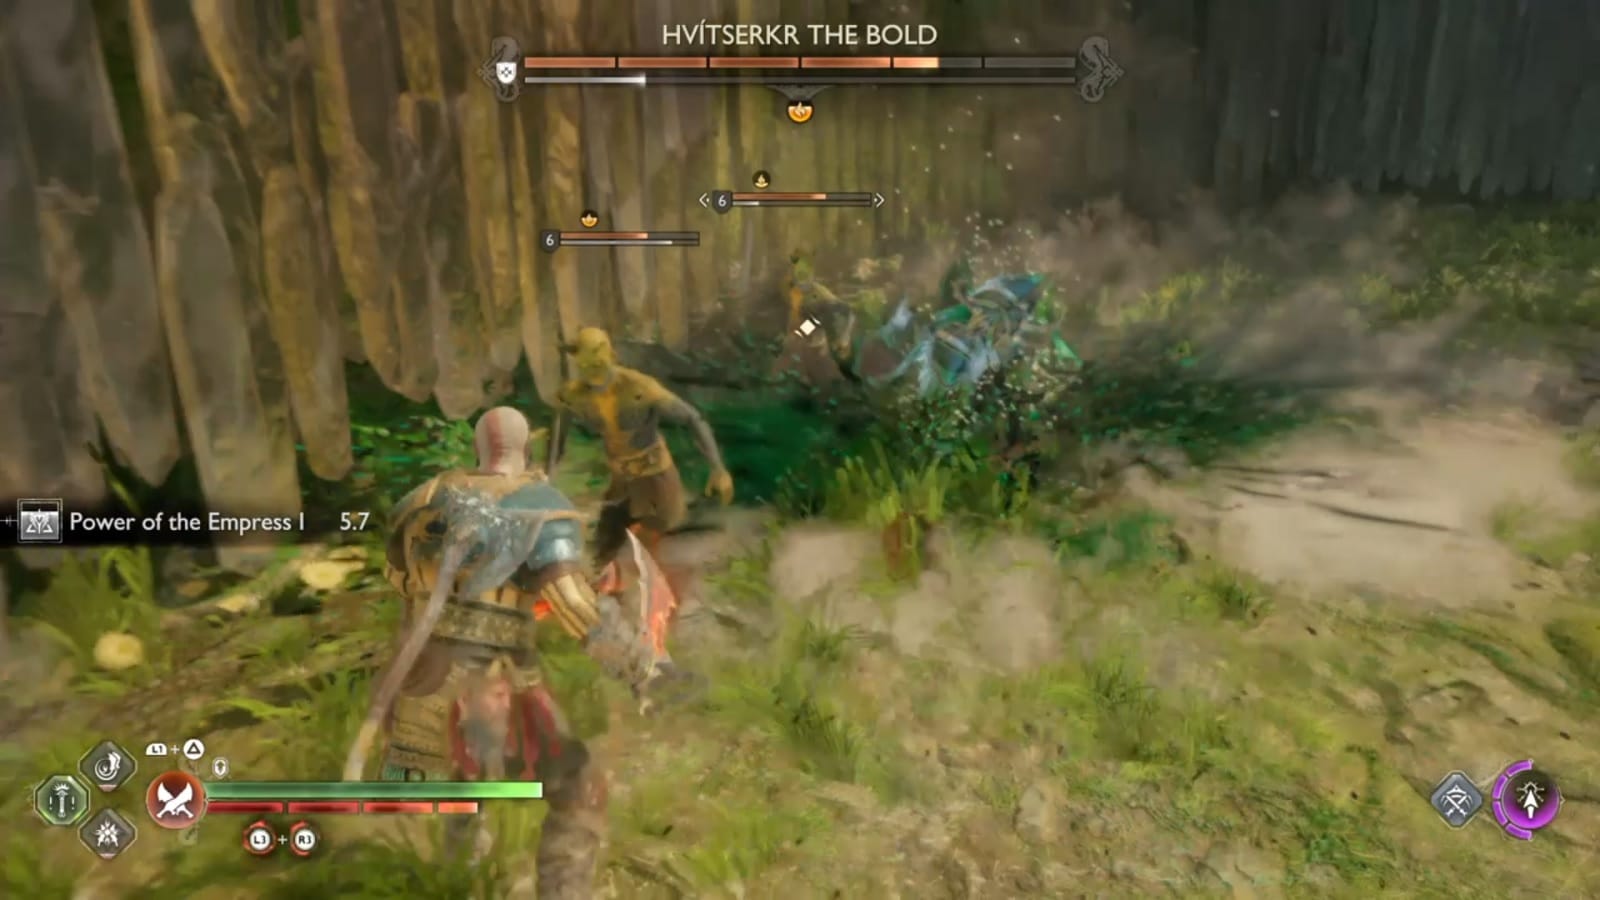
If you notice that all of Hvitserkr’s attacks have a green tint to them. And with the green grass around, it can sometimes be hard to see, especially the delayed high jump. You’ll have no choice but the pay close attention to audio cues.
Use AOE runic attacks to make quick work of the extra enemies. You don’t want them around. As a stray Nightmare projectile or a Seidr slash can prove fatal even in the most favorable circumstances.
Your only saving grace is that Hvitserkr has the fewest health points among the bosses. Deal with the mobs while evading the boss, and you should be good.
Rewards:
- Tempered Remnants
- Bonded Leather
- Shattered Rune
- Pommels of the Nine Realms Blades Attachment
Harklangr the Bearded
Haklangr’s Gravestone is located in The Sinkholes region of Vanaheim. You’ll first need to complete the Return of the River Favor to unlock the waterways. Once the waterways are open you’ll have access to the area where the arena is.
How to Defeat Haklangr the Bearded
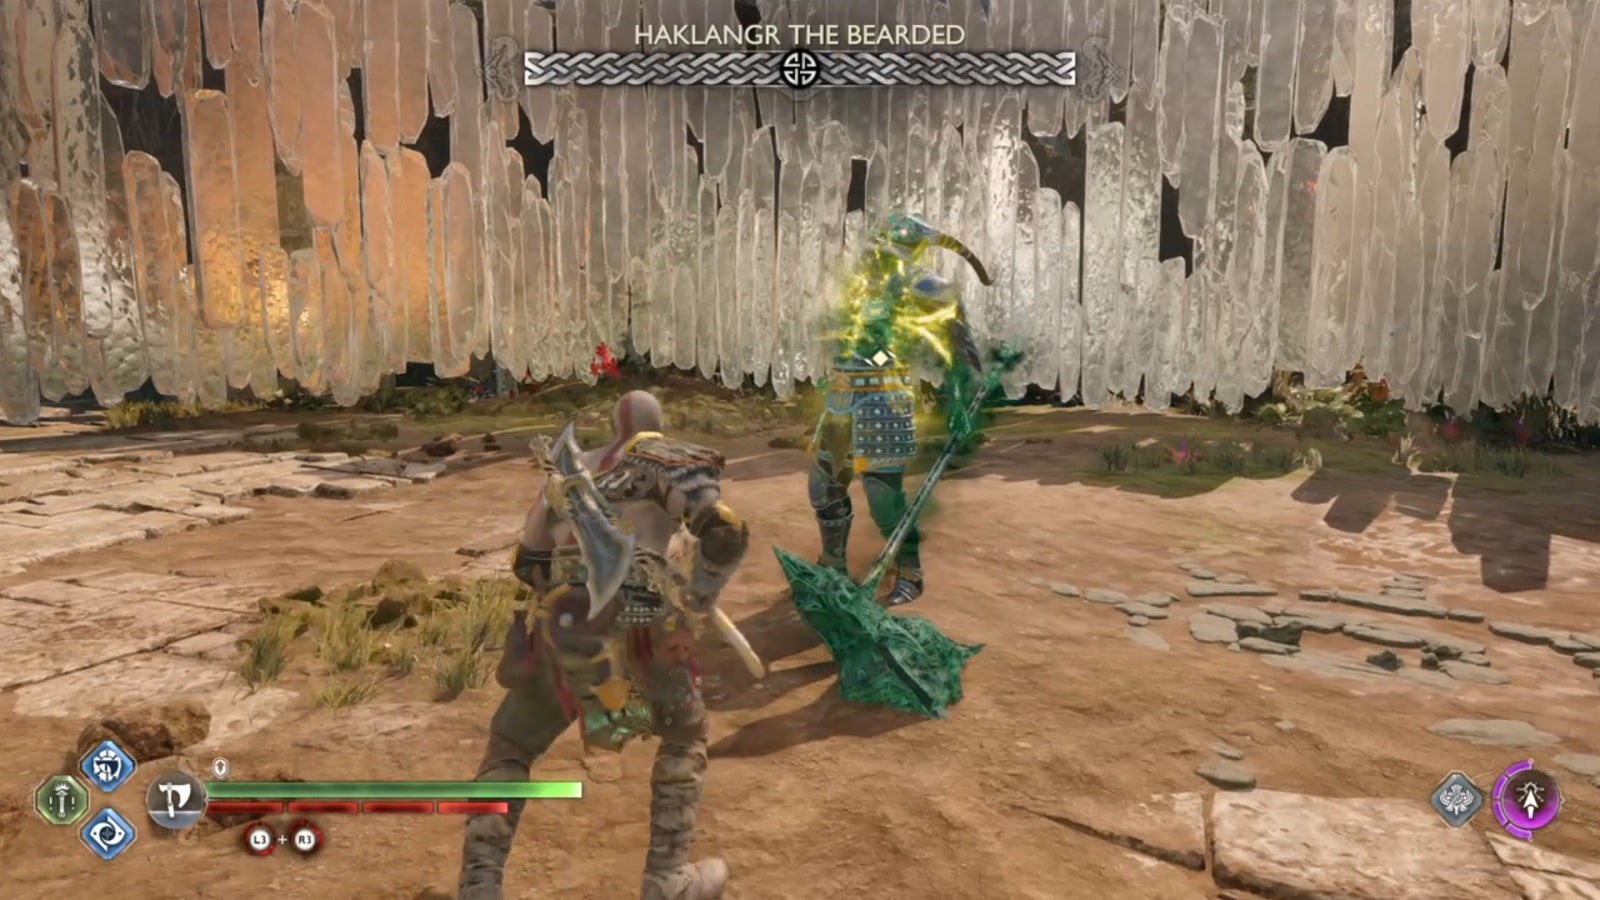
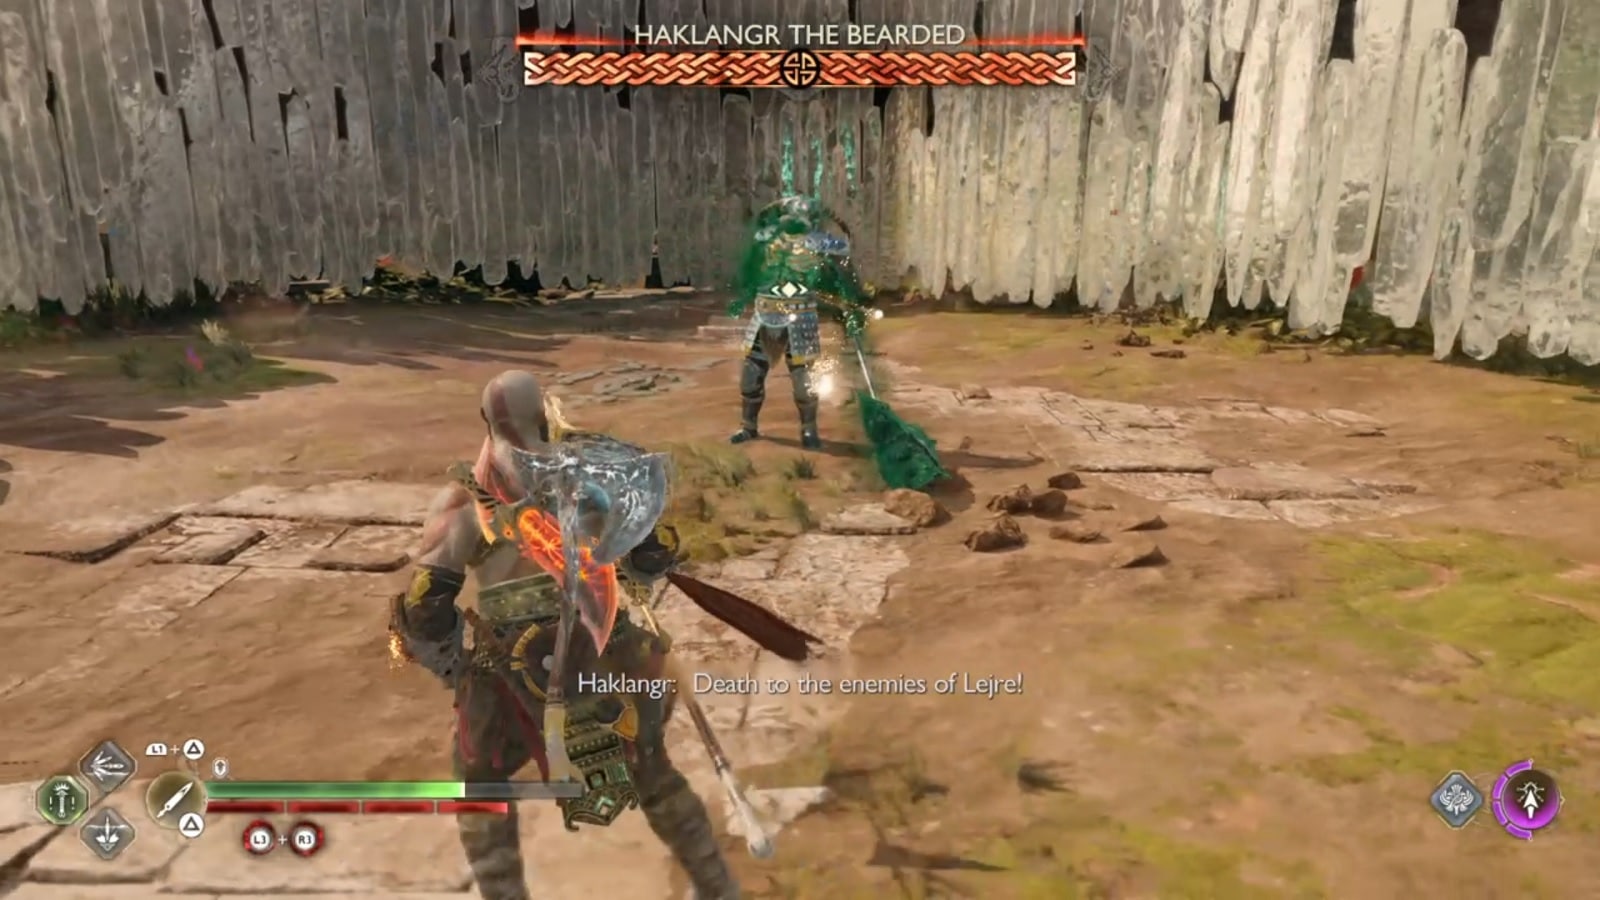
Haklangr the Bearded is yet another step up to the warrior archetype we’ve previously encountered before. These are moves that set him apart from the others:
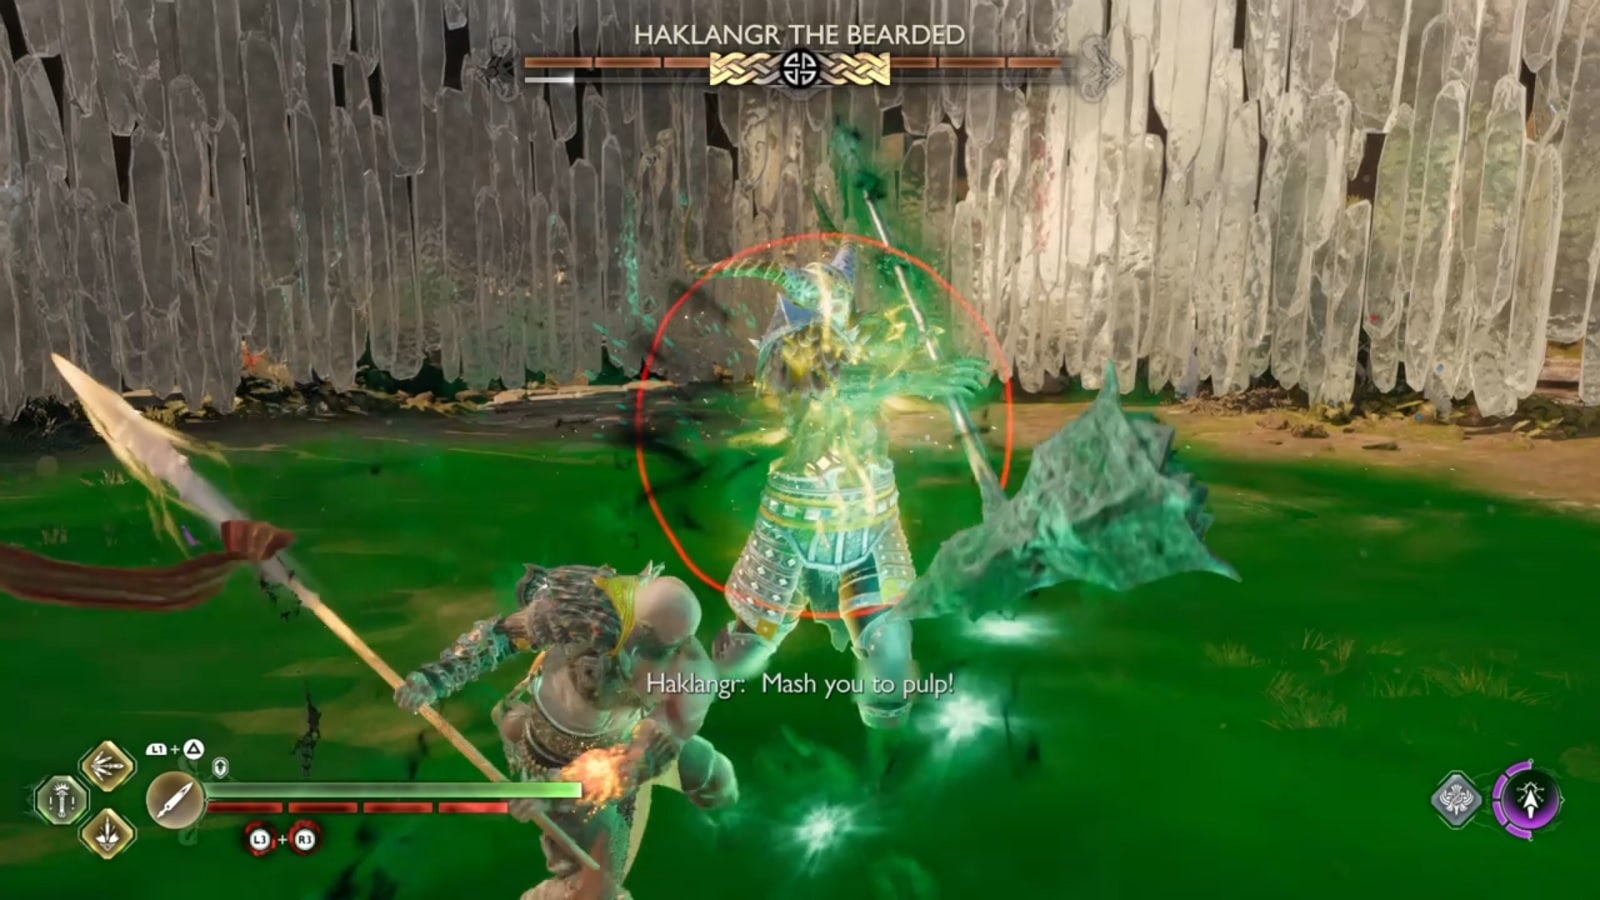
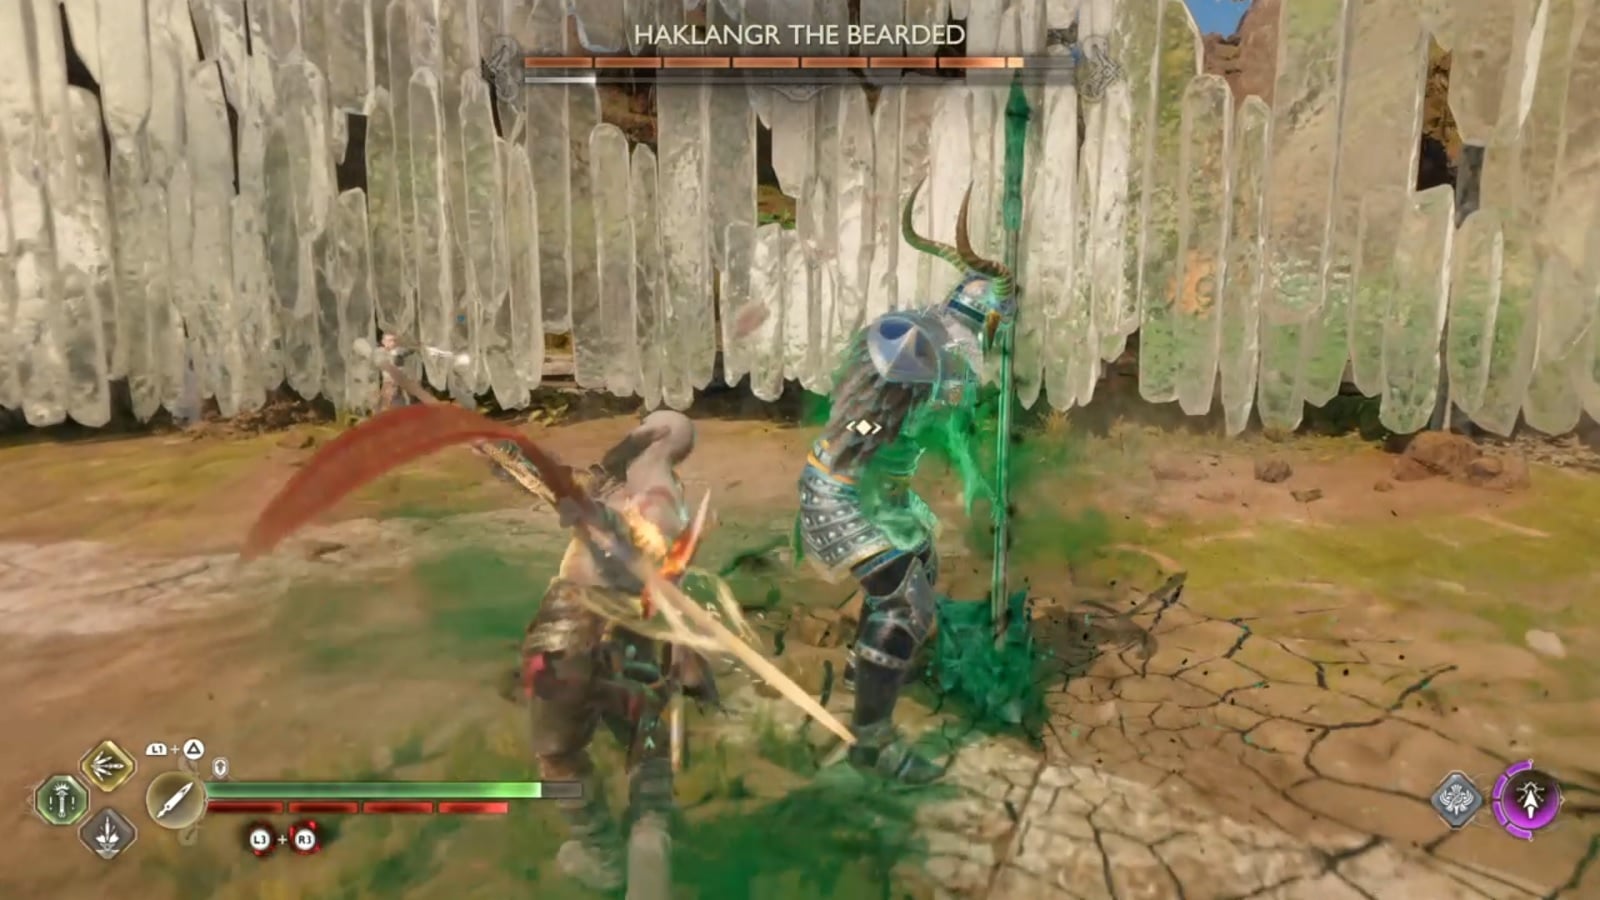
- Haklangr can cloak himself in elemental armor. You’ll need ice to break the fire armor, fire to the ice, and interestingly enough wind beats wind. At least the Spear gets some usage.
- The spirit has an AOE attack that’s pretty much unstoppable save for perfectly timed Runic attack. Your options are to either break his focus with a Runic attack or stay far away.
Haklangr has a habit of disengaging when the heat is on. When he jumps to a corner, there’s a huge chance that he’s setting up for an unstoppable jump attack.
Break the elemental shield as quickly as you can and it should be a short encounter.
Rewards:
- Shattered Rune
- Bonded Leather
- Tempered Remnants
- Chaos Flame Weapon Upgrade
Svipdagr the Cold and the Sisters of Illska
Svipdagr the Cold, Vottr the Prideful, and Hromundr the Cruel can be found in The Barrens region of Alfheim. The gravestone is close to the entrance of the Below. This is one of the most difficult boss fights pre-Ragnarok.
How to Defeat Svipdagr the Cold
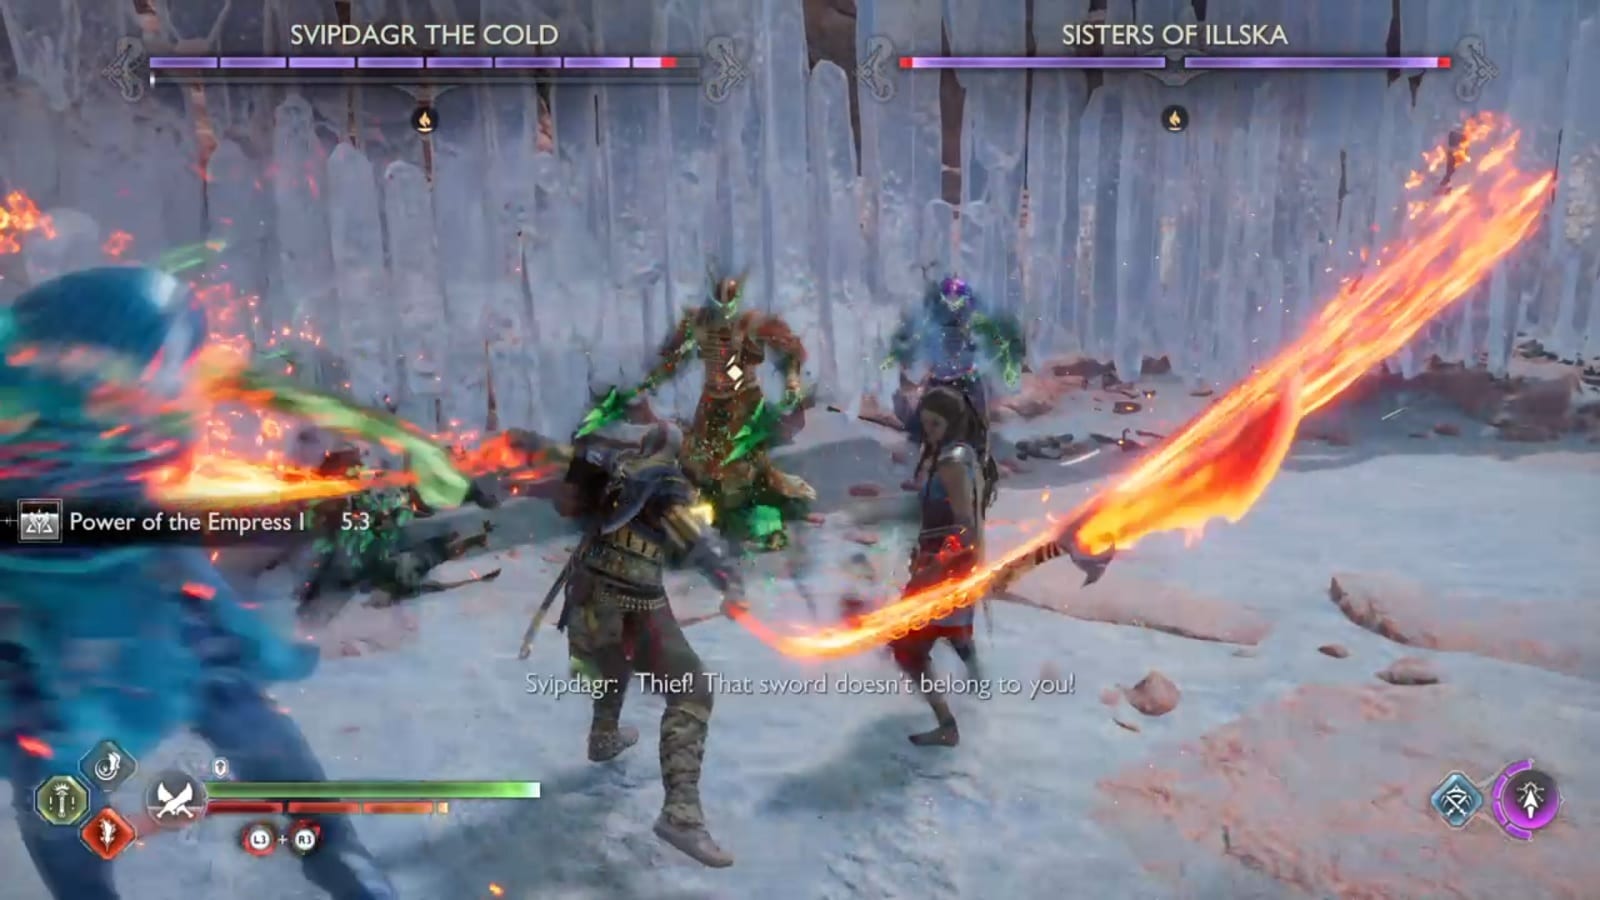
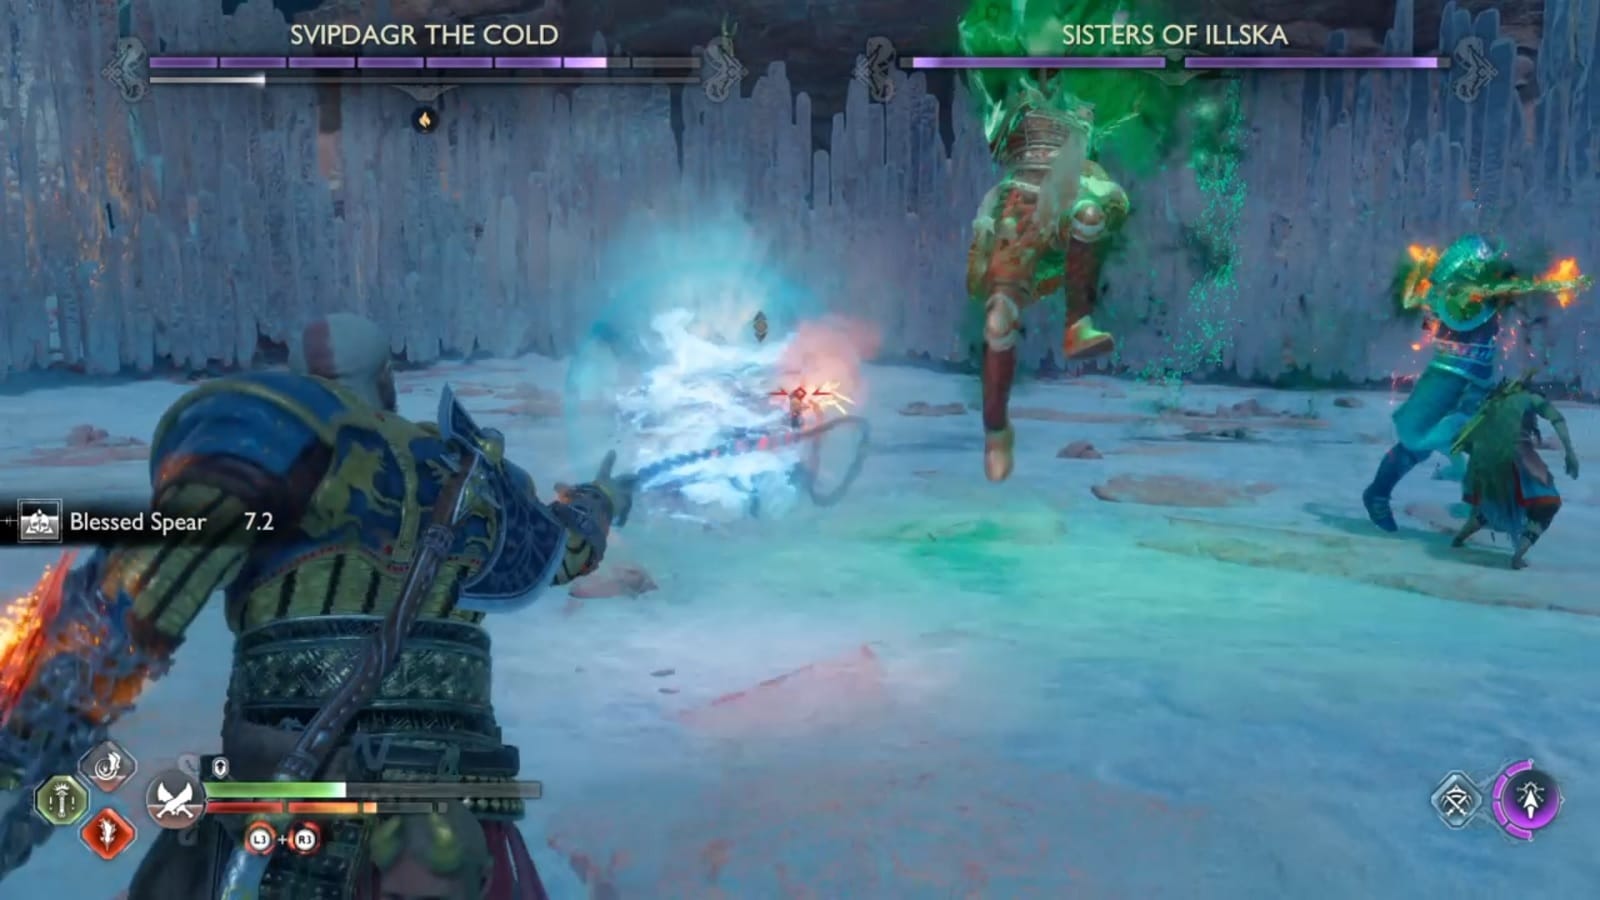
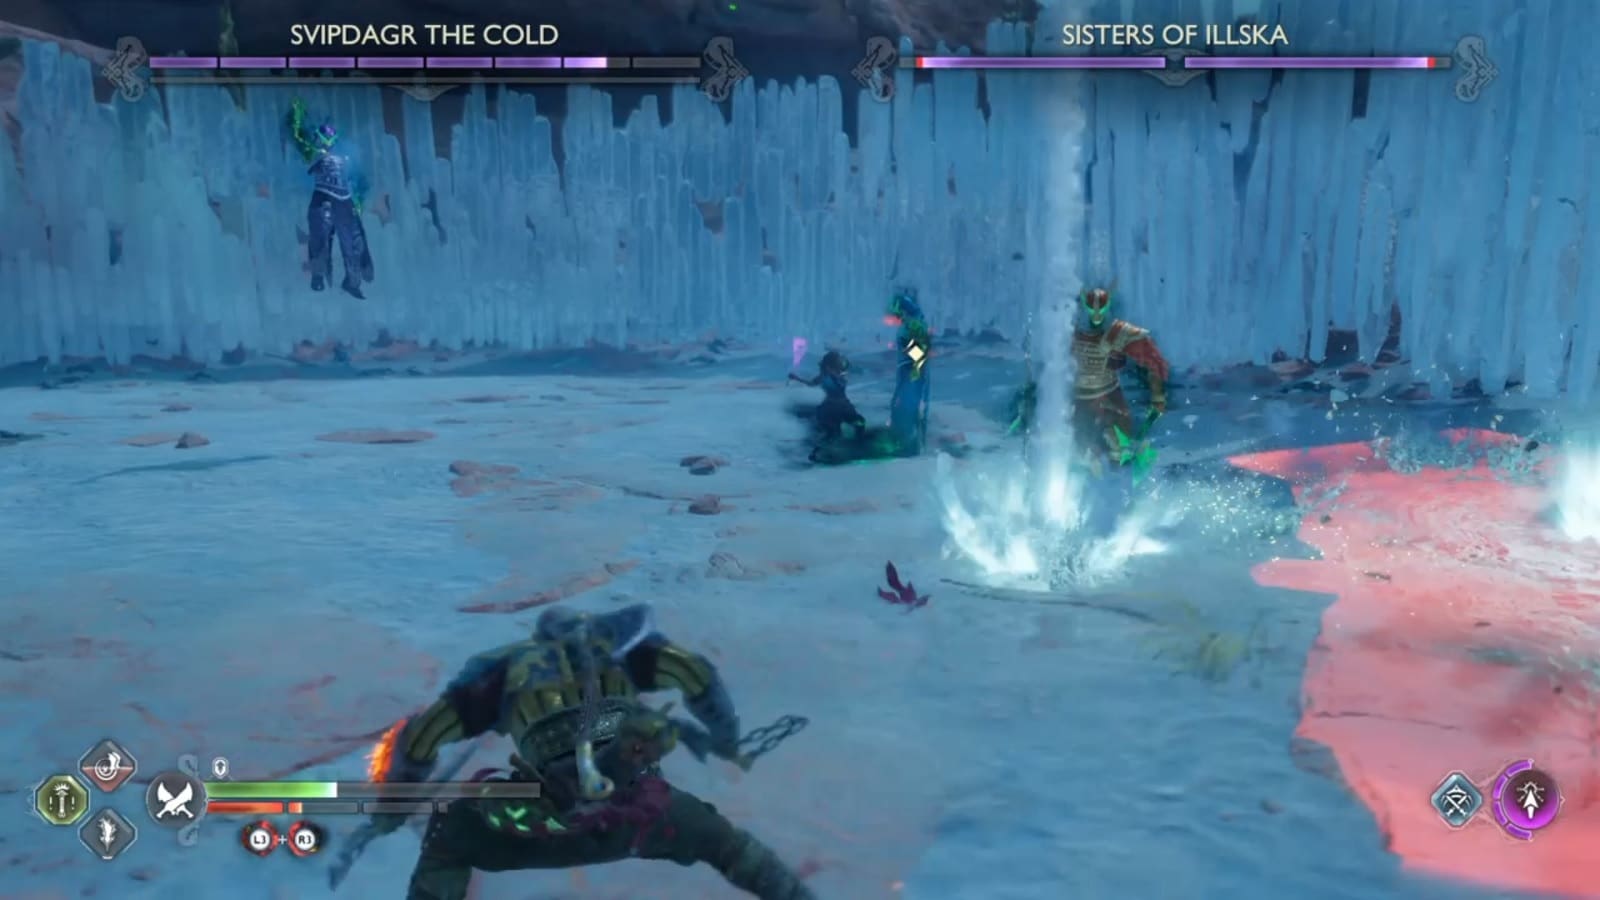
Svipdagr the Cold is the melee specialist while the Sisters of Ilska are elemental mages. The first thing you should notice that not all three attack Kratos at once. It will always be Svipdagr advancing forward and a range attack from either of the sisters.
Svipdagr only has two attacks. A spinning attack with the dual axes or an unstoppable forward jump attack. The warrior also swipes the axe every once in a while but that hardly counts as a proper attack.
The sisters use elemental AOE attacks frequently. Fortunately, only one of them attacks at any given time. You won’t be facing ice attack when fire is on the field. And much like the Light Elf mages, you can use your weapons to break the elemental orbs they summon. You’ll want to get rid of them ASAP.
The best results I’ve ever gotten is by focusing on Sviipdagr first and then dealing with the sisters. Once the warrior has been removed from the picture, the mages will become more aggressive. Rush them down to secure a decisive win.
On a final note, you need only kill one of the sisters. They share the same life bar. But you’ll still need to do finishers to both of them. I hate to imagine what would happen if one gets enough time to recover.
Rewards:
- Berserker Cuirass
- Asgard’s Security x1
- Frozen Flame x1
- Bonded Leathers x180
- Shattered Runes x75
- Tempered Remnants x5
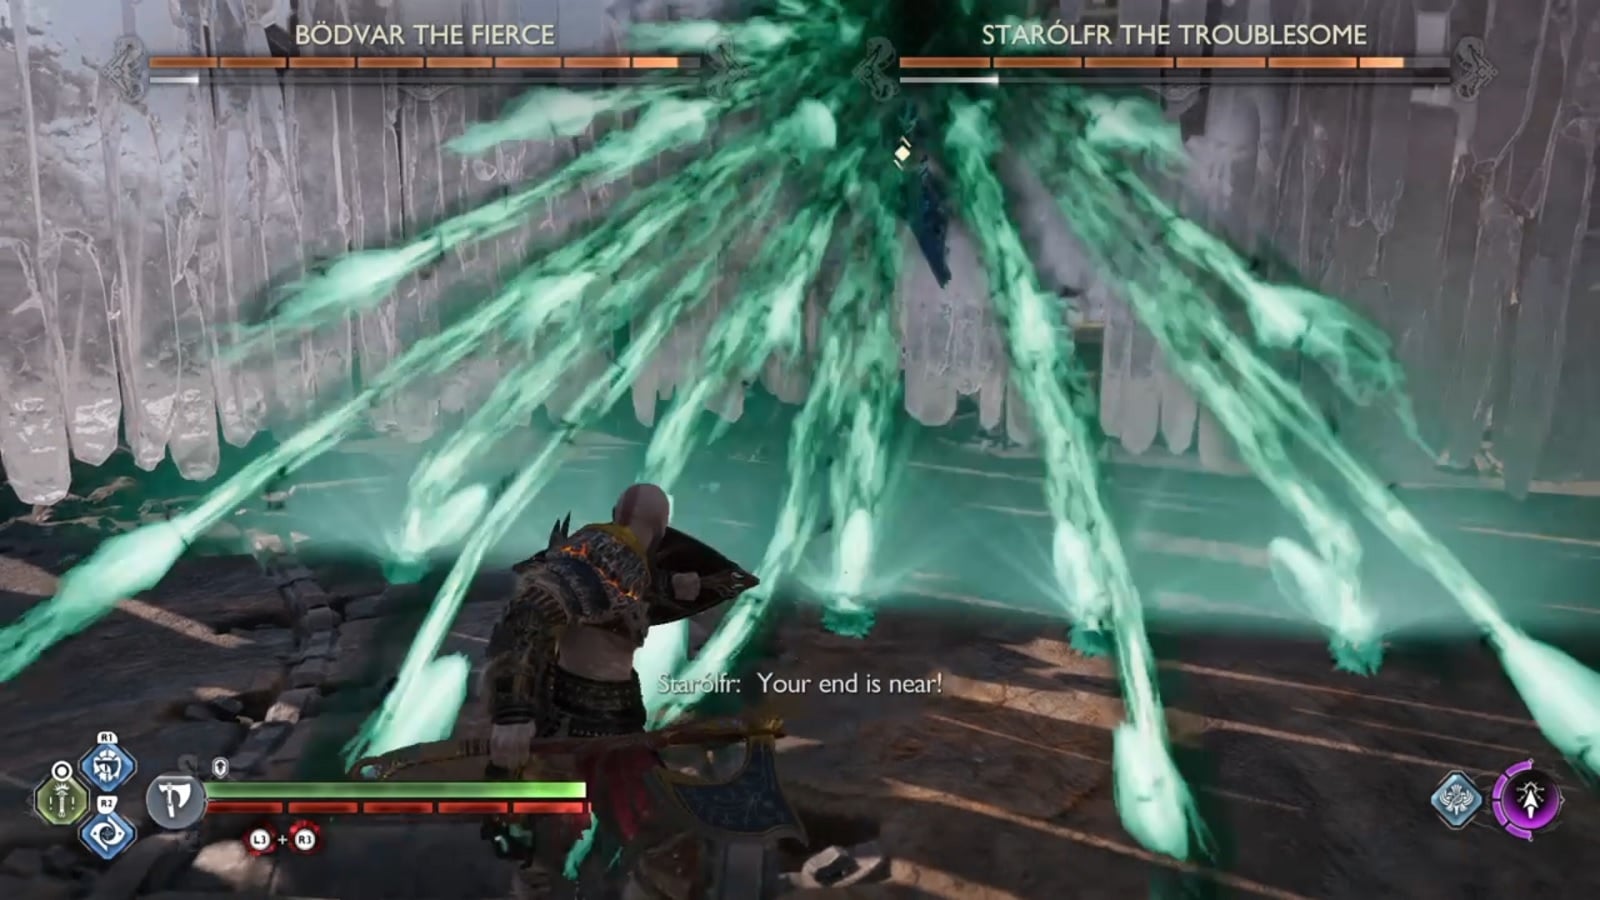
Bodvar the Fierce and Starolfr the Troublesome
There is a reason why I put the encounter with Bodvar the Fierce and Starolfr the Troublesome so far down this list. In terms of difficulty, I say that this one fight is more difficult than the Thor fight on Asgard. To get to this gravestone, you’ll need to pay another visit to the Jarnsmida Pitmines in Svartalfheim. It is located directly in front of the mine entrance.
How to Defeat Dodvar the Fierce and Starolfr the Troublesome
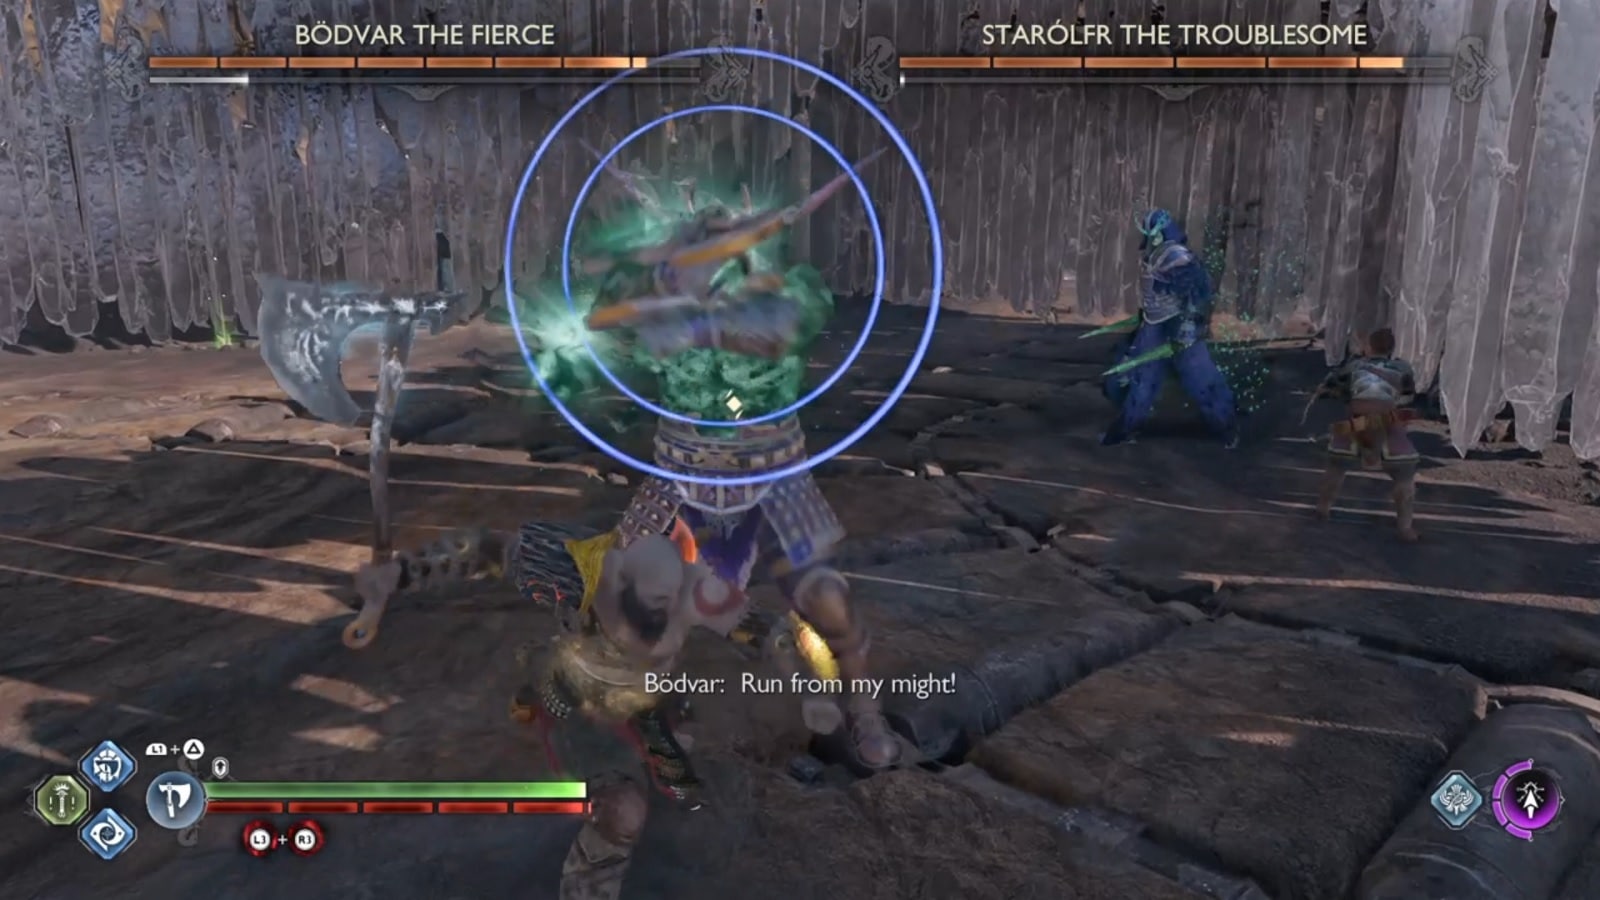

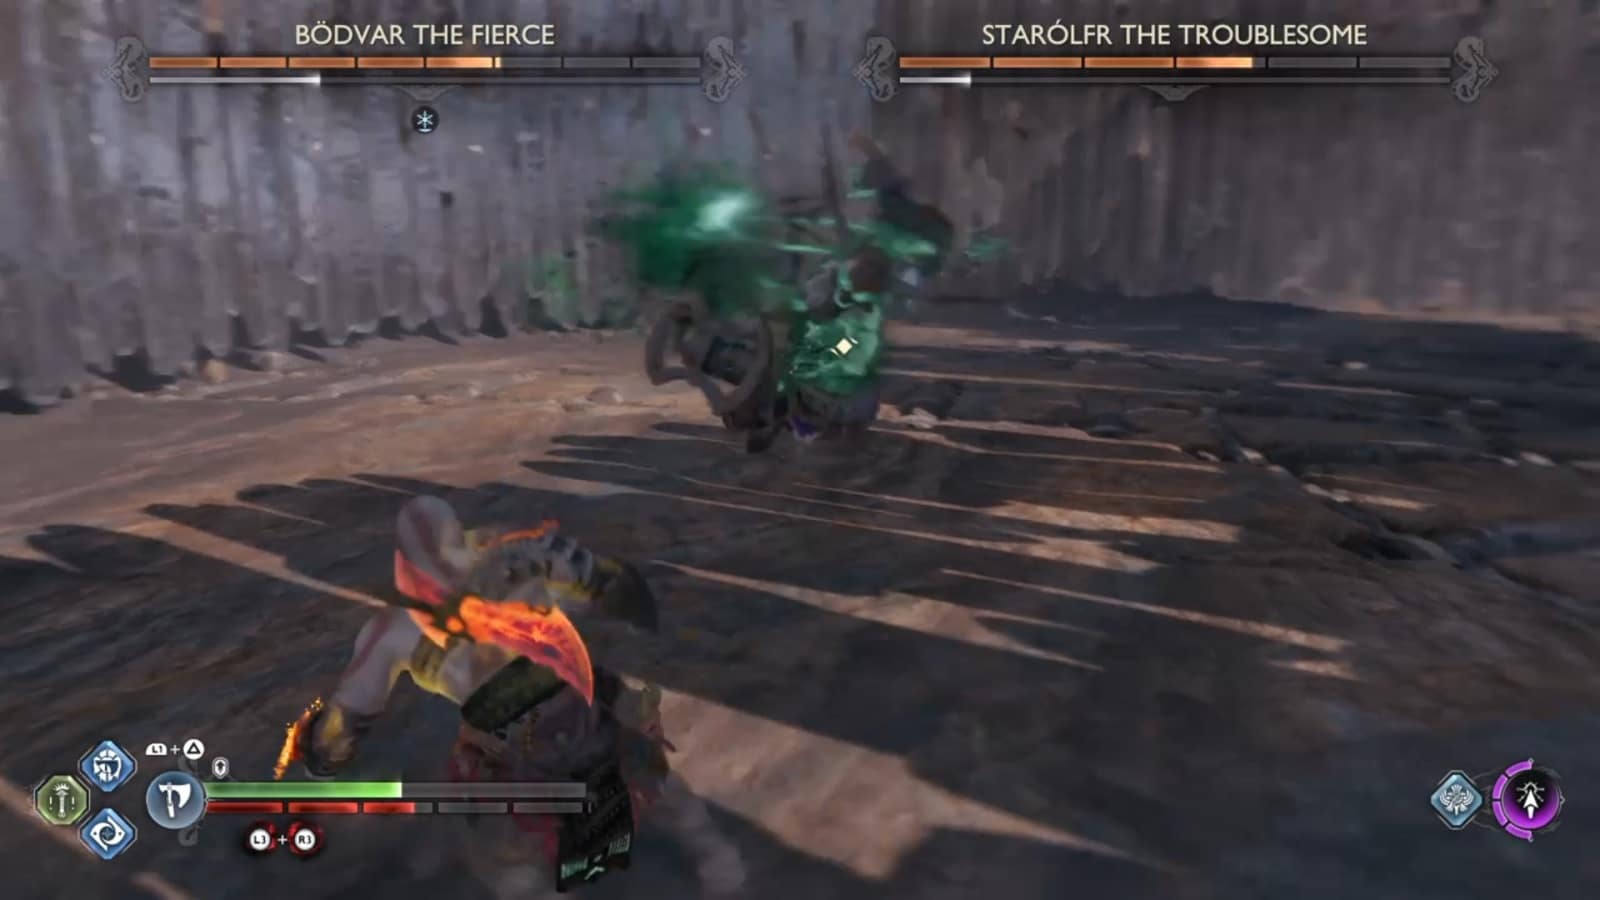
Dodvar and Starolfr are both close-range fighters that take turns fighting Kratos and his companion. There are a couple of things to note before we go into the specifics. Firstly, they both have deep health pools. If you don’t want to slug it out over a long period of time, save this fight until you know you’re ready. Secondly, they will not attack you at the same time. Once you’ve done a good bit of damage, they will back off and the other will tag themselves in.
Bodvar is dynamic fighter who fights like a boxer. You want to stay as close as possible to this enemy. If given enough space, he will activate a rocket punch attack that leaves a split second to dodge. At least in close range you can parry punches and prevent him from using a deadly blue AOE attack. The same goes for wave attack. But at least you can block that one with the shield.
Starolfr, on the other hand, fights like an assassin. She does a lot of damage with those knives. If you’re a little bit careless, she’s going to make you pay dearly. When subbing out, she’s known to do an AOE attack that covers a wide area with spirit knives. Use your shield to block it cause there’s no dodging that.
My advice is to hold on using an AOE runic attack until both are close to each other. It doesn’t happen often but when they are, both take a considerable amount of damage. Also, doing a runic attack on one, leaves you vulnerable to the other. Just saying.
Rewards:
- Gale Flame x1
- Hind of the Nine Realms x1
- Bonded Leathers x80
- Shattered Runes x75
- Tempered Remnants x5
Skjothendi the Unerring
Skjothendi the Unerring is the final Berserker spirit that needs to be put to rest before you can confront the King back in Midgard. This is one tricky fight so it’s a good thing it’s reserved to the game’s Epilogue.
The only way to get this Beserker Gravestone as Kratos is to unlock the Mystic Gateway in the Mist Fields of Niflheim. You’ll need to get the seed from Ratatoskr. Once you’re in the world, you’ll see it at the end of the path. You may have to deal with some Hel-Walkers first.
How to Defeat Skjothendi the Unerring
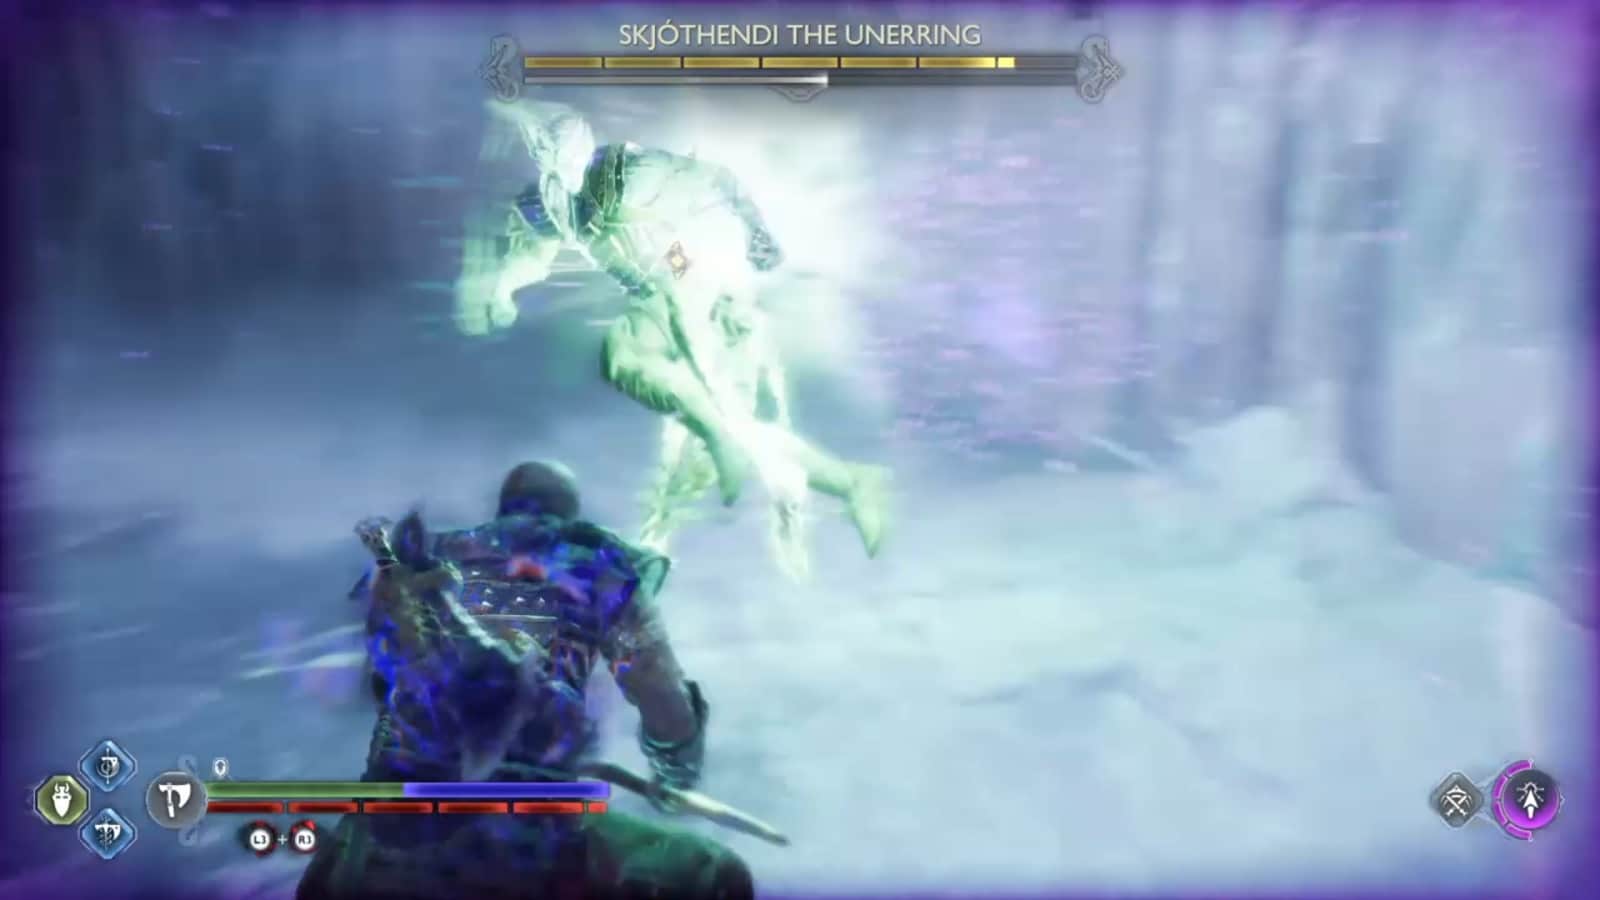
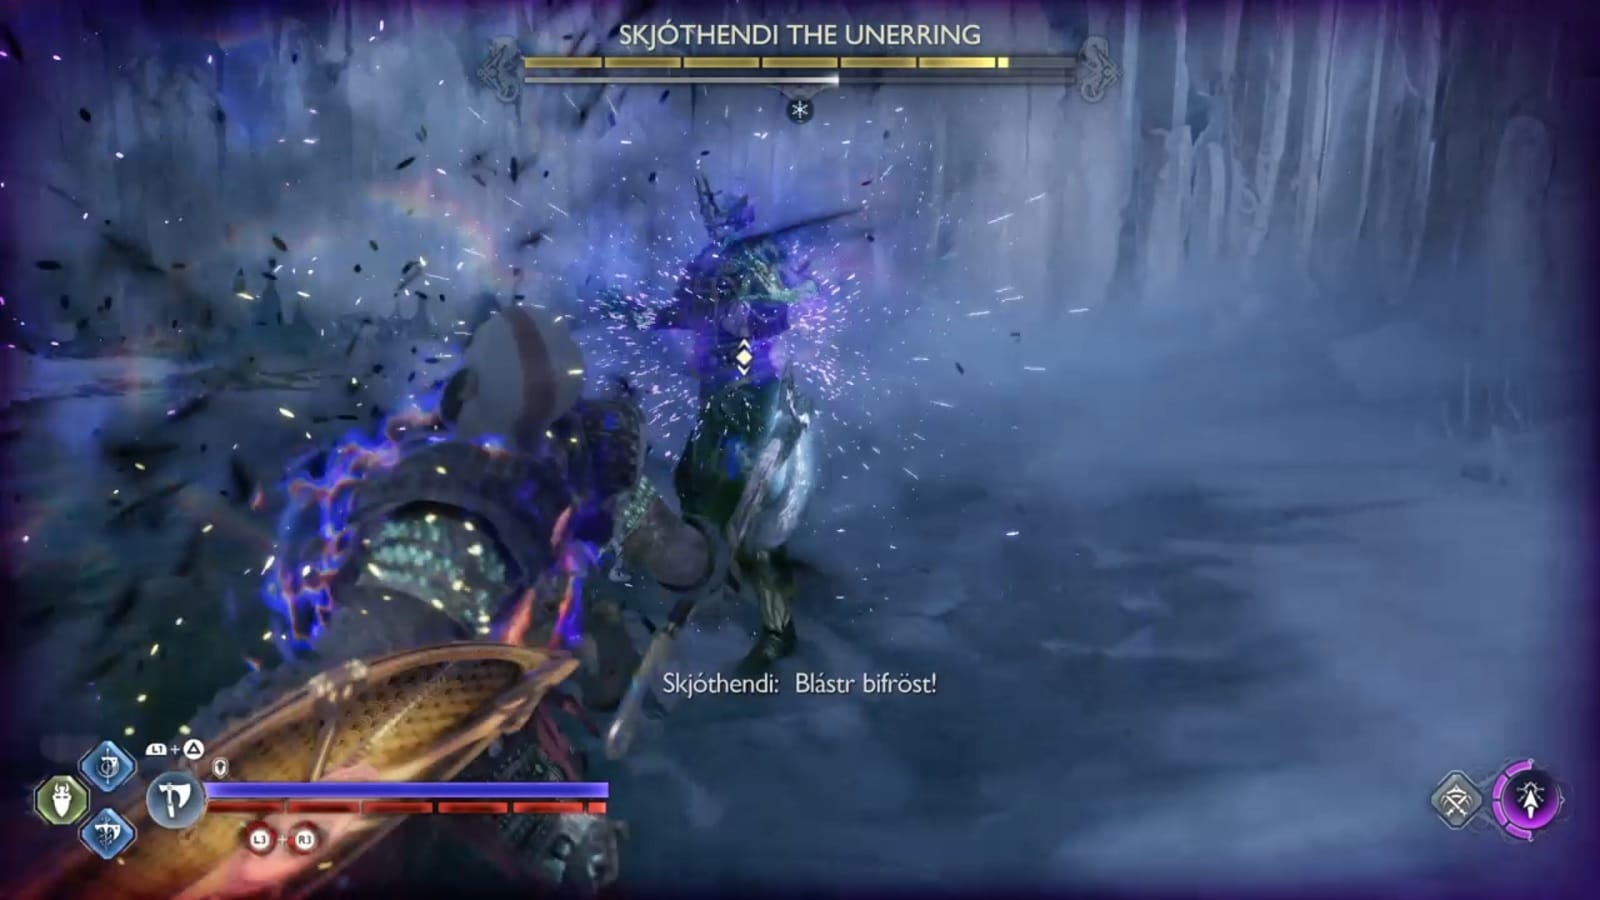
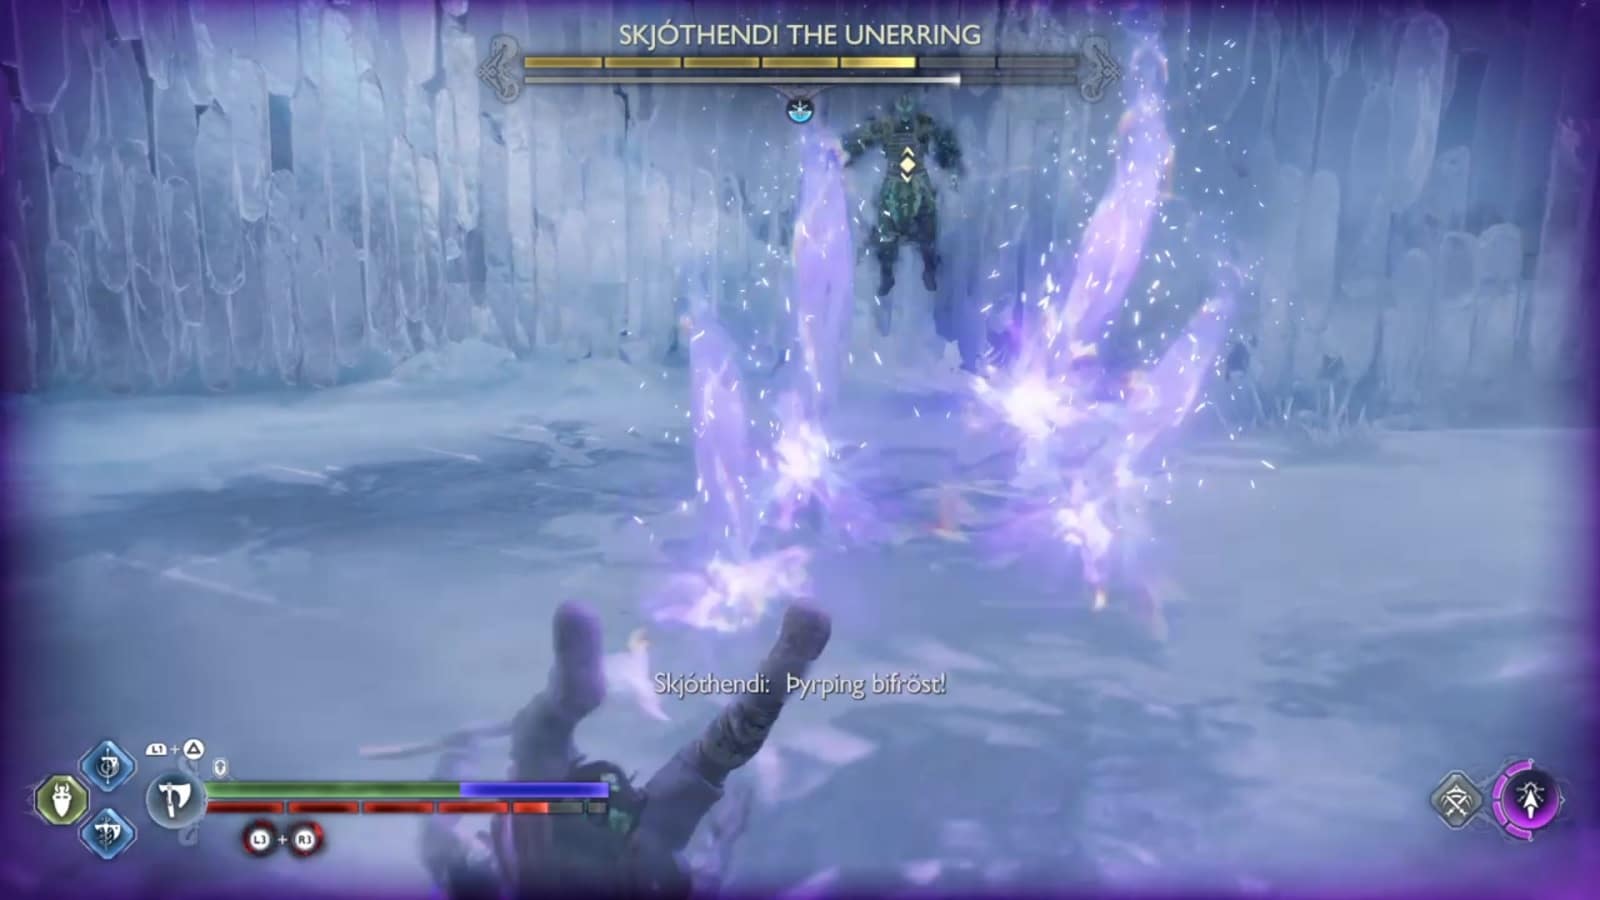
Skjothendi is a straight up brawler with the teleportation abilities of Einherjar elite soldiers. But that’s not the most threatening thing about her. At the start of the fight, Skjothendi will inflict heavy bifrost damage. That stuff will eventually build up and any hit you take will knock that chuck of health off instantly.
There is only one way I’ve found to counter this – using timing Wrath burst rages. When you use Spartan Rage, any bifrost build up gets instantly removed. The bifrost won’t take long to build up again but at least you have some breathing room.
Your other option is to make a bifrost resistant build with all the armor and amulet pieces you have on hand. But I didn’t like the idea of only making an entire build just for this one fight.
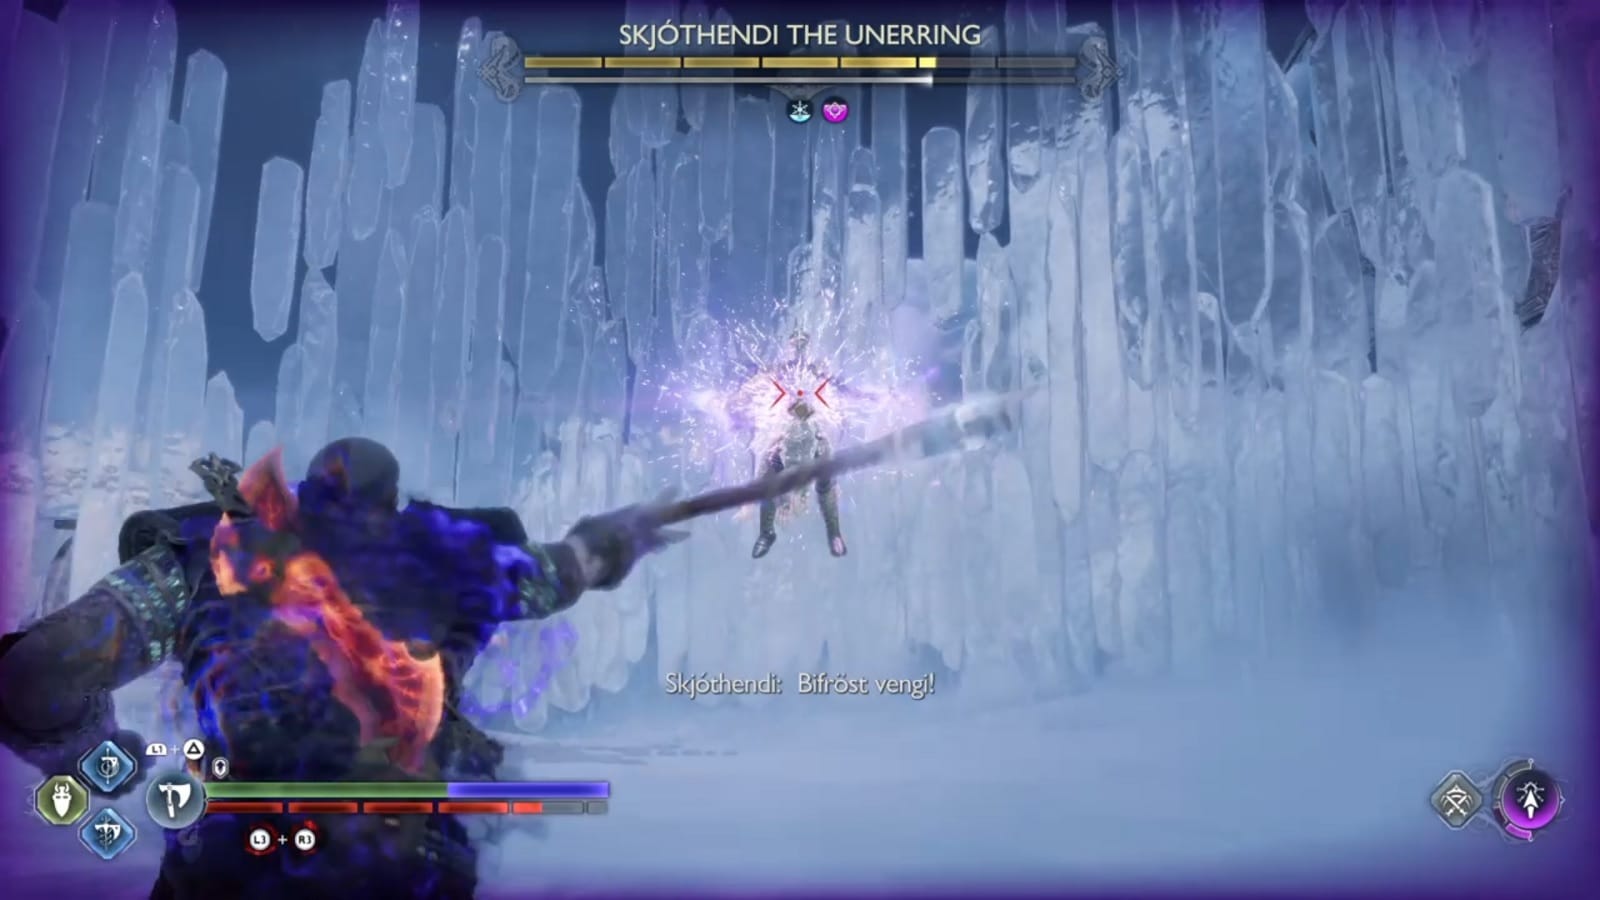
The one attack you should be constantly be wary of, other than the leap attack, is the mid-air charge attack. I recognized it the moment she started floating in the air. The Valkyries had a similarly powerful. To stop it, all you need to do is to throw the axe while it is channeling. I never found out how damaging that attack was but I didn’t want to find out.
As a final note, bifrost build up increases after every on her when she does her war cry. You should be careful not to over extend and you may want to do rage burst just for the sake of removing bifrost.
Rewards:
- Berserker Gauntlets
- Tempered Remnants
- Bonded Leather
- Shattered Runes
And that’s all the Berserker Spirits dealt with. In our next guide, we’ll go through everything you need to know to beat King Hrolf Kraki. For more on God of War Ragnarok content, we have more articles for you to check out.
- How to Beat Alva in God of War Ragnarok: Boss Fight Guide
- How to Beat The Hateful in God of War Ragnarok: Boss Fight Guide
- How to Beat Dreki in God of War Ragnarok: Boss Fight Guide
- How to Beat Bjorn in God of War Ragnarok: Boss Fight Guide
- How to Beat the Huntress in God of War Ragnarok: Boss Fight Guide
- How to Beat Thor in God of War Ragnarok: Boss Fight Guide
- God of War Ragnarok – All Sverd Sands Collectibles
- God of War Ragnarok – All Nidavellir Collectibles
- God of War Ragnarok – All Aurvangar Wetlands Collectibles
- God of War Ragnarok Trophy Guide & How to Get Platinum
- God of War Ragnarok – The Elven Sanctum Favor Walkthrough
- God of War Ragnarok – Garden for the Dead Favor Walkthrough
- God of War Ragnarok – Conscience for the Dead Favor Walkthrough
- God of War Ragnarok – The Mysterious Orb Favor Walkthrough
- God of War Ragnarok – Guiding Light Favor Walkthrough
- God of War Ragnarok – Cure for the Dead Favor Walkthrough
- God of War Ragnarok – Secret of the Sands Favor Walkthrough
- God of War Ragnarok – A Stag for All Seasons Favor Walkthrough
- God of War Ragnarok – Across the Realms Favor Walkthrough
- God of War Ragnarok – The Weight of Chains Favor Walkthrough
- God of War Ragnarok – The Eyes of Odin Favor Walkthrough
- God of War Ragnarok – Hel to Pay Favor Walkthrough
- God of War Ragnarok Weapons Guide
- God of War Ragnarok Guide – All Artifacts and Where to Find them
- God of War Ragnarok Guide – All Lore Locations
- God of War Ragnarok – All Relics and Sword Hilts Locations
- God of War Ragnarok Favors – All Side Quest List in All Realms
- God of War Ragnarok – All Treasure Map Locations and How To Decode Them
- God of War Ragnarok Guide – All Resources and Where to Find Them
- God of War Ragnarok Guide – The Lost Lindwyrms Favor and Where to Find Them
Also watch this video by BAI GAMING showing All Berserker Boss Fights and Locations in God of War Ragnarok’s Fit For a King Favor:


