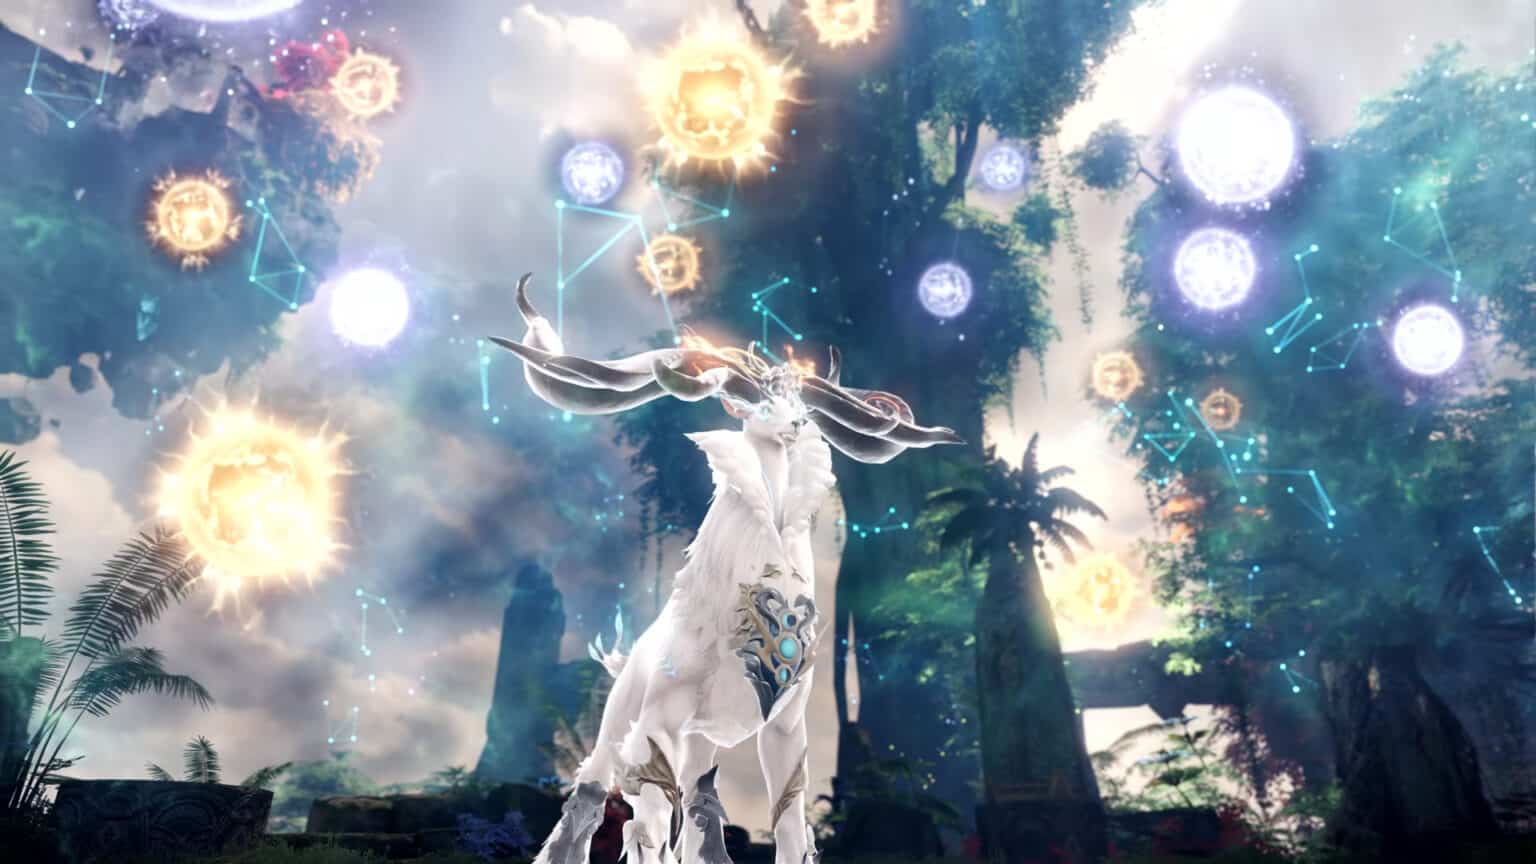
Argos is a boss that players will have to defeat when entering an Abyss Raid in Lost Ark. Do not let its majestic look fool you as it is one tough boss to fight, especially with its plethora of attack mechanics and the looming danger of getting raid wiped if you or a party member screws up.
In this guide, we will look into the Phase 1 of Argos Abyss Raid fight phases and will share the do’s and don’ts so that you can at least survive, and eventually conquer this Abyss Raid.
How to Prepare for Argos Abyss Raid – Phase 1
First of all, as you are just about to have your first foray into an Abyss Raid, it’s best to know that you do not have to defeat all three phases at once. Argos’ raid is split into three, and as long as you defeat the first phase, you are bound to get something useful to make your character strong enough to challenge the other phases. With that said…
Prepare your Item Level or iLvl
The minimum iLvl to be competent enough for an Argos Abyss Raid is at Phase 1 is iLvl 1370. This would be roughly enough that you could take hits without dying (most of the time), but still be able to contribute to the team via DPS or support. As you progress through the phases, the required iLvl also increases:
- Phase 1 – Required Item Level 1370
- Phase 2 – Required Item Level 1385
- Phase 3 – Required Item Level 1400
As mentioned, don’t pressure yourself in going for the second and third phases right away because the game will not allow you to complete them if you don’t have the right iLvl.
In the NA and EU servers, the Oreha Abyssal Dungeon is already available which provides materials to craft the Chosen Set. This tier 3 set can be upgraded enough for you to be able to go through all of the Argos raid phases. You can focus on this set first, and then work your way through getting the Argos set that you want piece by piece as you get the materials to be able to craft them.
Prepare your Engravings
The recommended starting engravings for Phase 1 of Argos Abyss Raid should be at least two Tier 3’s from either your Combat engravings or Class engravings, depending on your class. Try to get engravings that boost your DPS for attackers, and your shielding and healing for supports. For Combat engravings, picking these is recommended:
- DPS
- Grudge
- All-Out Attack
- Barricade
- Master of Ambush
- Master’s Tenacity
- Support
- Cursed Doll
- Expert
- Heavy Armor
Focusing on the optimal DPS output is important because there will be mechanics during the phases where the two parties will be separated with one left fighting Argos, while the other fighting another boss. During this, it’s important that both parties are at around the same pace of defeating the extra boss and getting Argos’ health to its minimum threshold.
Going for the higher phases, it’s recommended to go for three Tier 3 engravings if you can, or get a couple more Tier 2’s, especially for the third phase.
Prepare your Skill Tripods
The recommended starting tripod levels for Phase 1 of Argos Abyss Raids should be at around levels 2-3 for the major skills.
Since you will only be fighting a single target like Argos or the extra boss, make sure to set your Skill Tripods to the ones that matter, like cooldown reductions, damage increase, crit rate and damage increase, shield increase, and so on. Switch from those that increase AoE range or those that primarily provide knockdown or paralyze effects as you won’t be needing them.
Leveling up your Skill Tripods will be part of your endgame routine by now. If you haven’t established good levels on your tripods yet, then keep on farming for gear pieces in Chaos Dungeons and make sure to utilize the Skill Library to keep those tripods that you need for your build. Also, make sure to set your tripod alarm within your Skills page so that you won’t miss out on gears that carry those needed tripods.
Prepare your Gems
For your gems for Phase 1 of Argos Abyss Raid, the recommended starting levels across all of them should be at level 3-4. These could be a mix of both attack damage buffs and cooldown reductions for a few skills, or attack damage buffs for the majority.
Though it is better to invest on gems that buff your major DPS skills instead of spreading the gem slots to buff more of your skills. Remember: you only have a limited amount of gem slots, so make it matter.
Prepare your Party
It is highly recommended to play with people that you know or that you can talk to when going into an Abyss Raid. This goes for both your own party, and the other party. Better yet, all 8 members should be able to communicate with each other effectively through the game or by other means, like perhaps through Discord.
If you’re the kind of player who has been playing the game solo with little to no player interactions whatsoever up until this point, then you better start making friends because it’s almost futile to just queue up as a random for an Abyss Raid. Easiest way to do so is to just join a guild in the game. If you can join other groups that you can play with through social media, that will also work.
You also have to work on your calls or pointers for you to know and to let other party mates know where to go to avoid getting wiped by an attack and whatnot.
Now that we’ve gone through the prep checklist, it’s time to learn the mechanics.
Argos Abyss Raid Mechanics – Phase 1
The main mechanic in all of Argos’ phases is the Day and Night energy. Simply put, you and your party mates will gain either a Day or a Night stigma, and depending on what you have, you should either avoid or stand on a marked spot in the arena to avoid taking massive damage or causing a raid wipe.
There will be several attacks in each phase that will be using the same Day and Night mechanic, albeit just varied is some attacks. Also, you won’t keep the same stigma throughout the entire fight, so make sure to keep checking on the ground or on top of your head to see if your stigma has changed.
Aside from the special attack mechanics, Argos also has a headbutt attack, a back kick attack, and a charge attack to look out for.
Phase 1
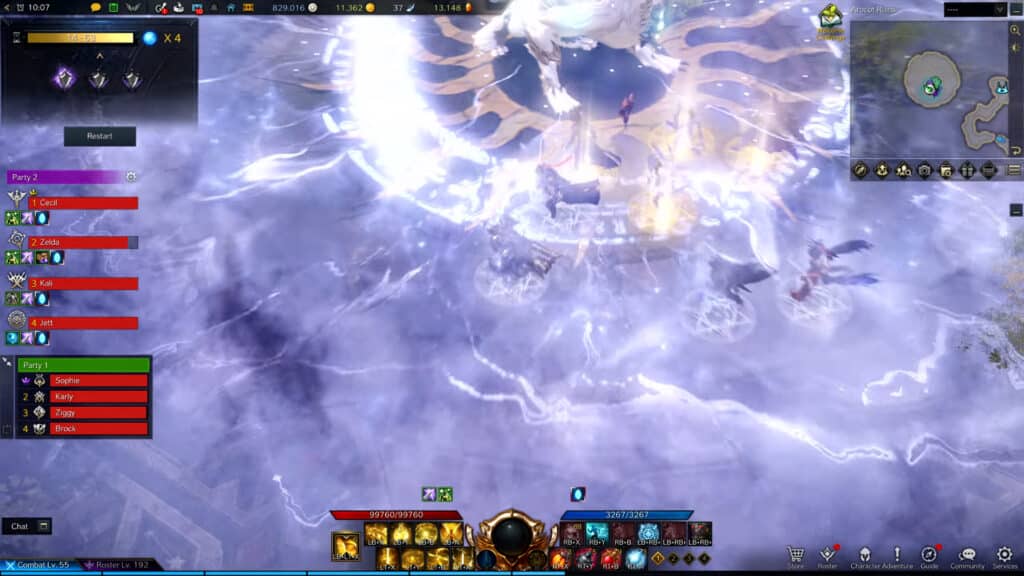
At the start of the phase, Argos will emanate both day and night auras that covers the entire map. This is not an attack, but this is the part where all of the players will be assigned their stigmas.
Large Roulette
Argos will jump towards the middle and a large roulette with alternating day and night markers will appear on the ground. He will then stomp the ground and then the markers on the ground will switch; he can do this move up to three times. Players standing on the spots that corresponds to their stigmas will be safe (day to day, night to night), otherwise they will take damage.
The orientation of the roulette will always be the same, so try to stand on the border of two sides. The pattern will alternate per stomp, so just side step to the correct spot as they change.
Dual Energy Area Explosion
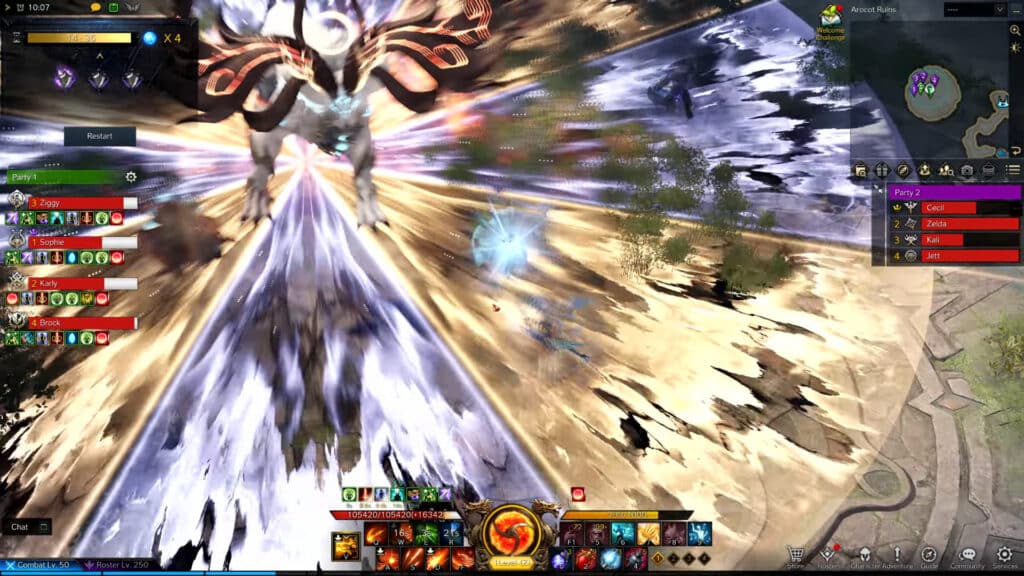
An area of day or night energy will surround the floor around Argos, with another ring of opposite energy surrounding it. Argos will then stomp the ground to release the energy with an explosion, and then follow it up with another set of energy rings, but with the energies swapped.
Make sure to check on your marking as it may have already changed from the last attack. Depending on what it is, stand on the circle or the ring that matches your stigma. Stay close to the boundary of the circle and the ring so that you can easily move for the second attack.
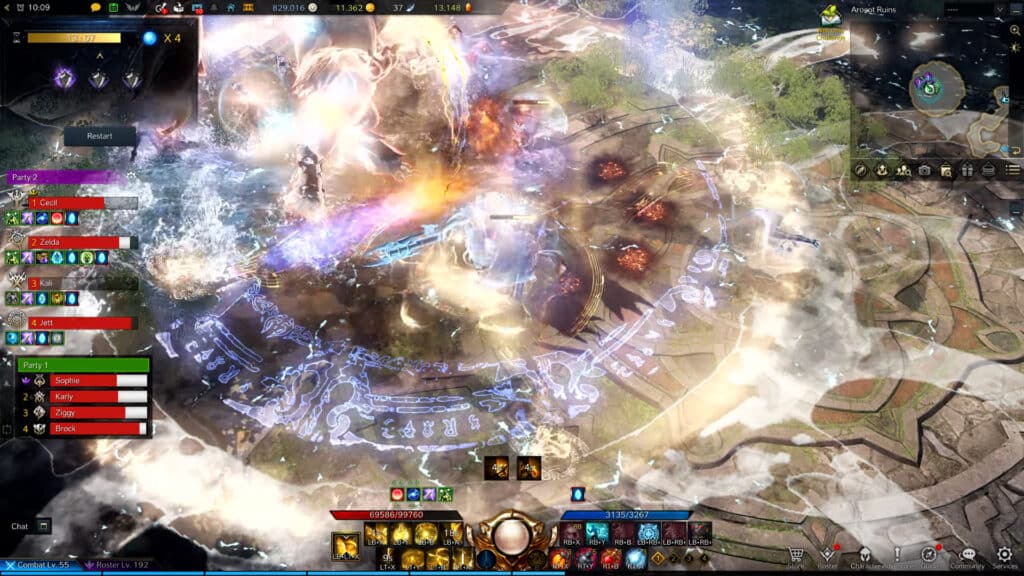
Staggered Blast
When Argos gets staggered, he will then release a blast of energy in a ring or circle similar to his ring explosion attack. The energy that will be blasted off will depend on the color of Argos’ glow; yellow and purple, and can be easily seen on his horns than his body.
If Argos is glowing purple, he will do a ring blast, so players should gather to where he is at. If Argos is glowing yellow, he will do a circle blast, so players should move away from Argos to avoid getting hit. Players with energy stigmas matching the blast will not take any damage if they get hit.
Two-Line Fissure
Two parallel lines will run on the ground which will then explode. The explosion will cover the entire area outside of these lines.
Once you see the lines on the ground, immediately position in between them to avoid getting hit.
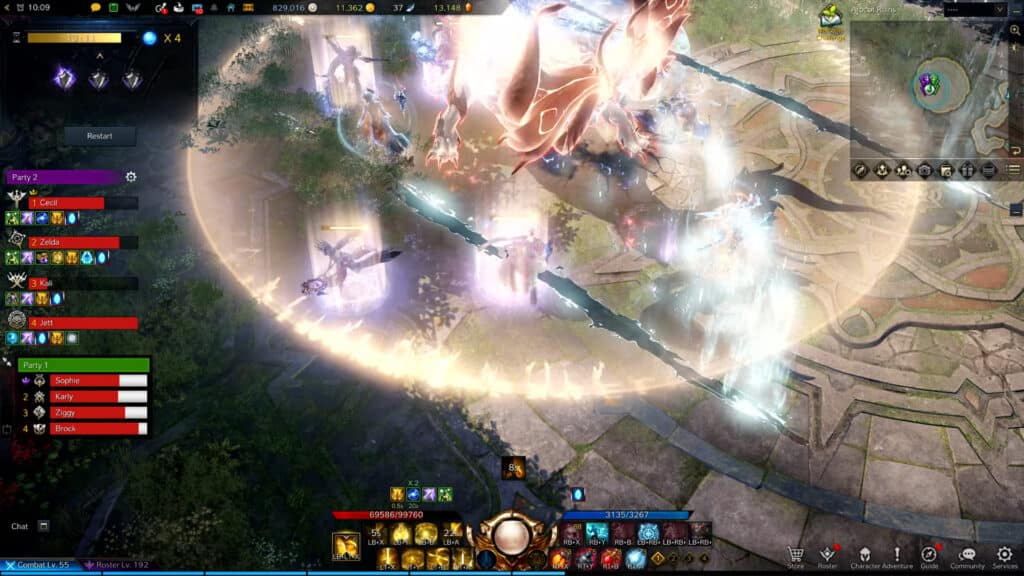
Single Energy Area Explosion
Argos will spawn a circle of either day or night energy around him which will then explode.
Players who have the matching energy can stay within the circle and continue attacking. Otherwise, move away from the area to avoid getting hit.

Energy Orbs
Argos will spawn four orbs of either all day or all night energy. Players with the corresponding energy should grab one of the orbs. If not all orbs have been taken before their time runs out, they will release a massive explosion.
All players of the same energy should get only one orb, as taking another one will also inflict a large amount of damage to the player. Be sure to coordinate with one another when picking up the orbs.
Shooting Orbs
Argos will spawn neutral energy orbs from his head and launch it towards a player.
If you’re being targeted, try to dodge and then continuously move forward to avoid getting hit.
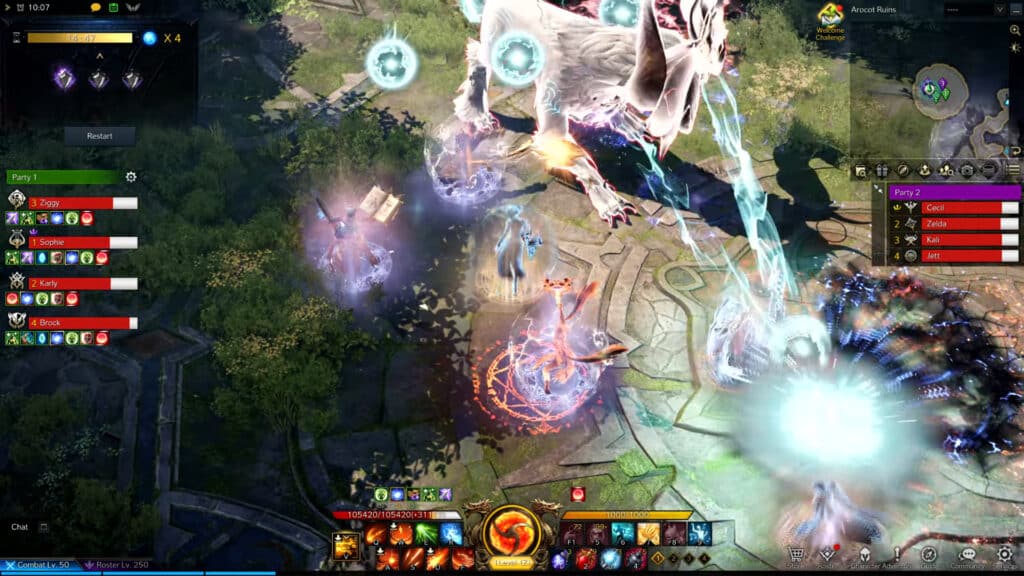
Negative Beam
Argos will shoot a beam of negative energy from its head in a straight line.
Once Argos rears its head backwards, dodge sideways away from his face to avoid getting hit.
Pounce Explosion
Argos will pounce on to another spot and then release a neutral energy explosion in a ring.
As soon as Argos lands, stay close to his position to avoid the following explosion.
Energy Aura
Argos will emit an aura of either day or night energy. Players with matching energies can stay within the aura, but those that do not will see a bar on their heads that is steadily decreasing the longer they stay in the aura. Once this bar depletes, they will get a massive damage.
The aura has quite a wide reach, so it’s best to use your dash and another movement skill, if you have one, once you are caught in the middle of the aura.
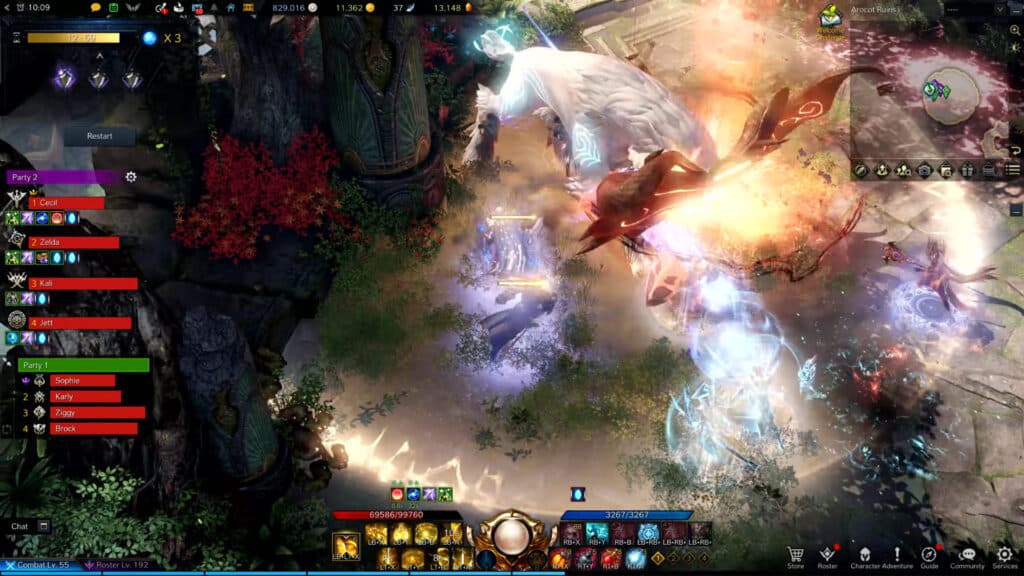
Energy Geyser
Argos will spawn energy markers on the ground which will explode upwards after a few seconds.
Look out for the ground markers and avoid them as much as possible.
Energy Rain
Argos will summon drops of day or night energy from above. Markers will appear on the ground where the energy will be falling at, inflicting damage to players with the opposite energy.
Pay attention to the ground markers so that you can avoid which spots are unsafe. This attack can be happening while Argos is doing another attack, so be careful and stay aware.
Platform Wipe
Argos will jump in the middle of the arena and start roaring. He will then spawn 8 platforms each with a different energy. Players will have to match and occupy all 8 platforms before the attack ends, otherwise Argos will wipe both parties which will result in a failed raid.
Since the platforms will appear in a cross pattern around Argos, coordinate before hand which sector of the area a party member should go in the event that this attack happens. This is to avoid confusion and spot-taking during the attack.
Energy Transfer
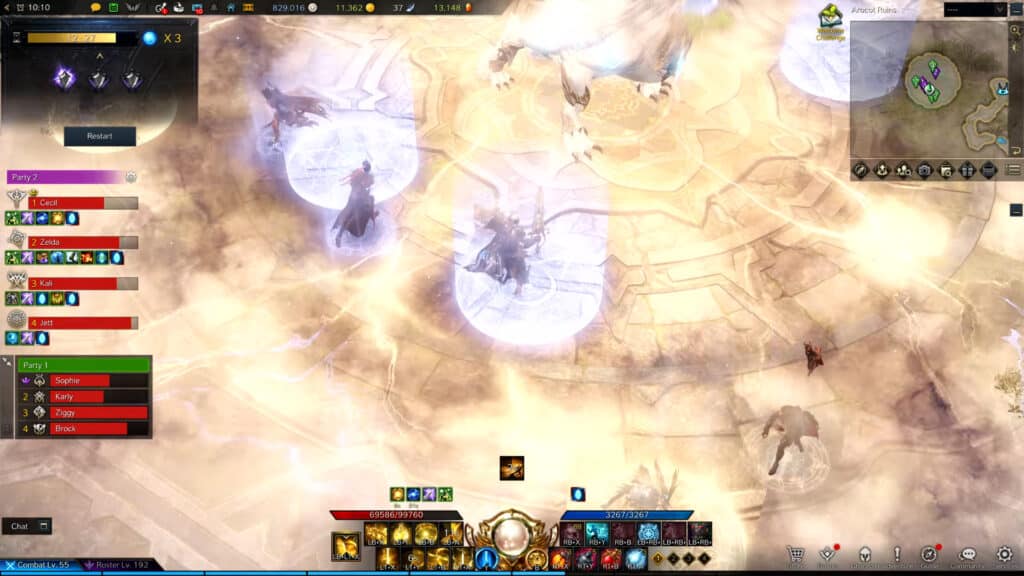
A timer will show up on the ground around Argos. The players will also gain 10 stacks of energy depending on their current stigma. Every normal or skill attack done on Argos at this point will tip his energy towards the day or night.
Once the timer runs out and if Argos is glowing either day or night, his stomp will wipe out the players that have the opposite energy. If he’s neutral, then the players will not take any damage.
Players will have a choice to either coordinate with each other and try to maintain the balance and keep Argos neutral, or both parties can decide to attack Argos until he becomes neutral and then hold off any attacks until the timer runs out. Either way, this should be coordinated. Take note that Argos will also be free to do any attack while the timer is active.
Small Moving Roulette
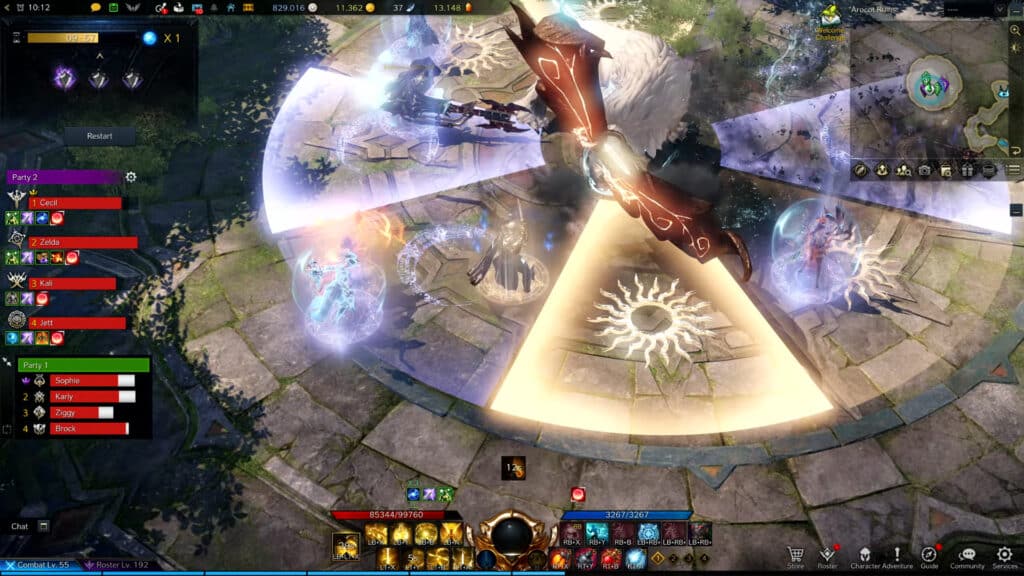
Argos will summon a smaller version of the roulette, but the energy will be moving for five times towards its adjacent side. The preview for the attack’s pattern will be fast, while the attack’s movement will be slower. Following the correct pattern will prevent the player from taking damage. Otherwise, the player will take damage for every mistake and the final explosion can be lethal.
Try to take note of the pattern as best as you can. In case you missed it, the final spot will always be fixed for a specific color. Day players will be safe from the explosion on Argos’ northeast and southwest, while night players will be safe at his northwest and southeast.
Phase 1 of Argos Abyss Raid Final Notes
- Argos will be cycling through his attacks multiple times, and you can expect him to do the Platform Wipe at least three times. After the first wipe, he will start adding the Energy Transfer and the Small Moving Roulette into his cycle.
- There will be 4 revives shared by all the players in the fight. This is enough to give some leeway for failing a single Energy Transfer wipe, though it’s much more preferable if nobody dies throughout the entire phase.
This is just the first of the three phases in the Argos Abyss Raid. Once again, you don’t have to rush through the entire raid. Take your time gathering mats and improving your character. You’ll also be able to study and become familiarized with Argos’ attack patterns, which will surely help out in the later phases.
If you think you are ready to challenge the second phase, check out our Argos Abyss raid Phase 2 Guide.
Check out this video by ATK sharing his experience from the KR server on how to prepare for the Argos Abyss Raid:


